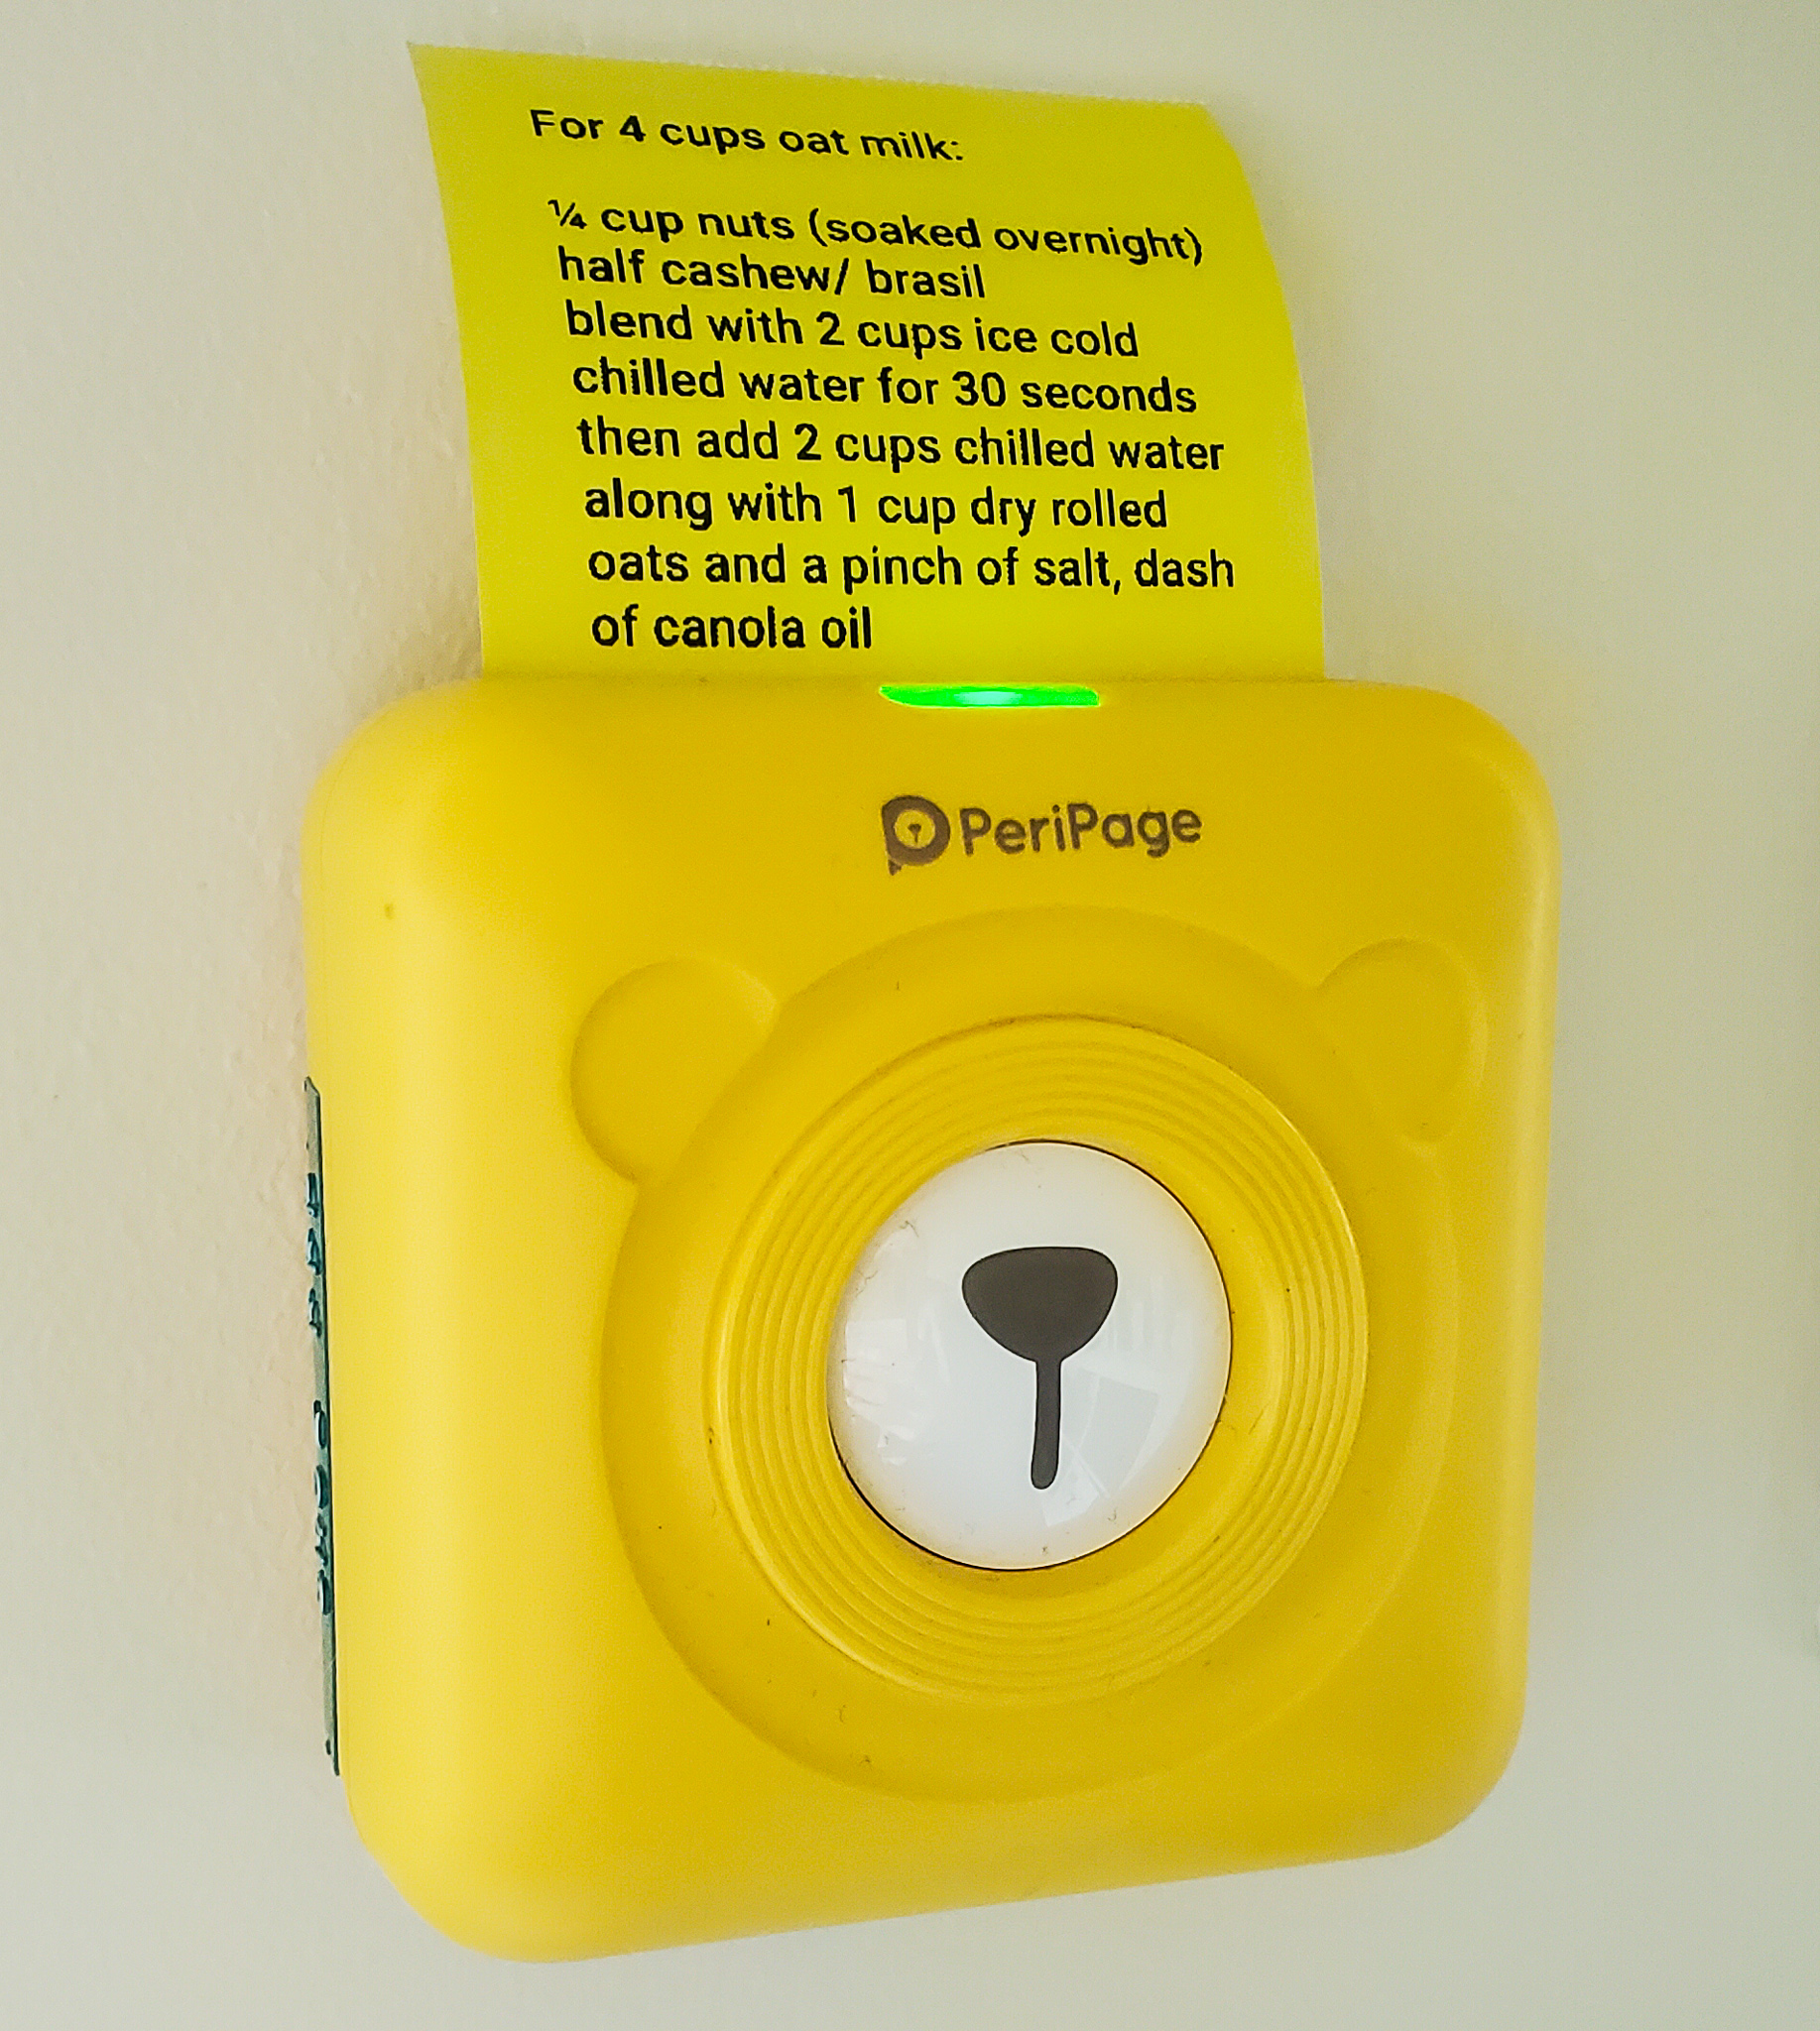
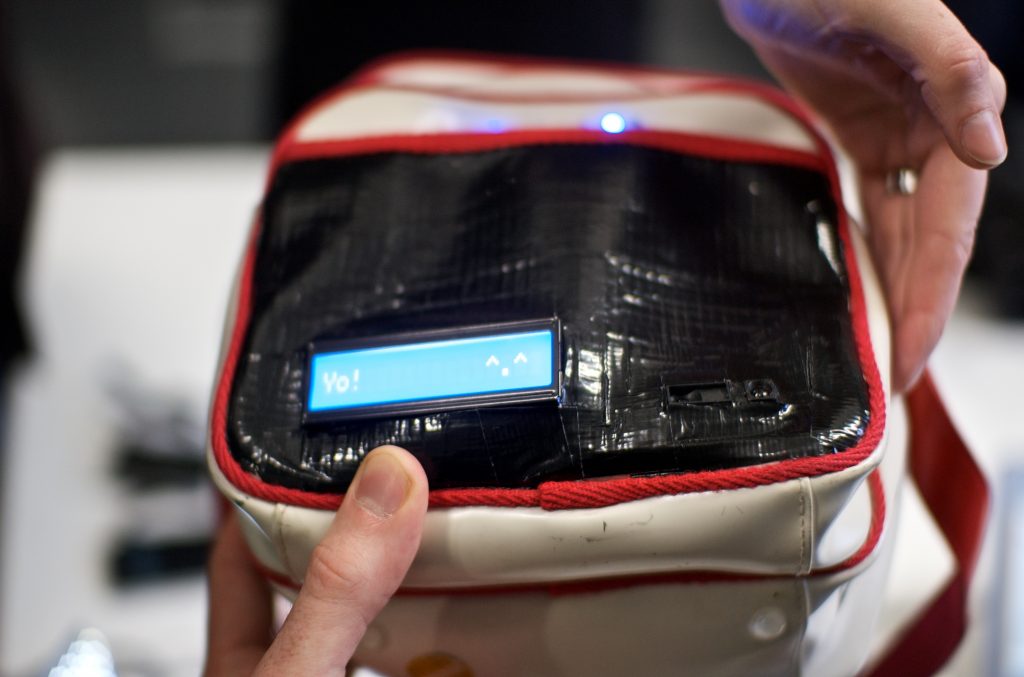
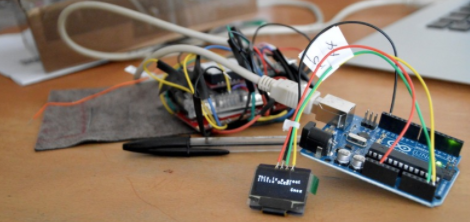
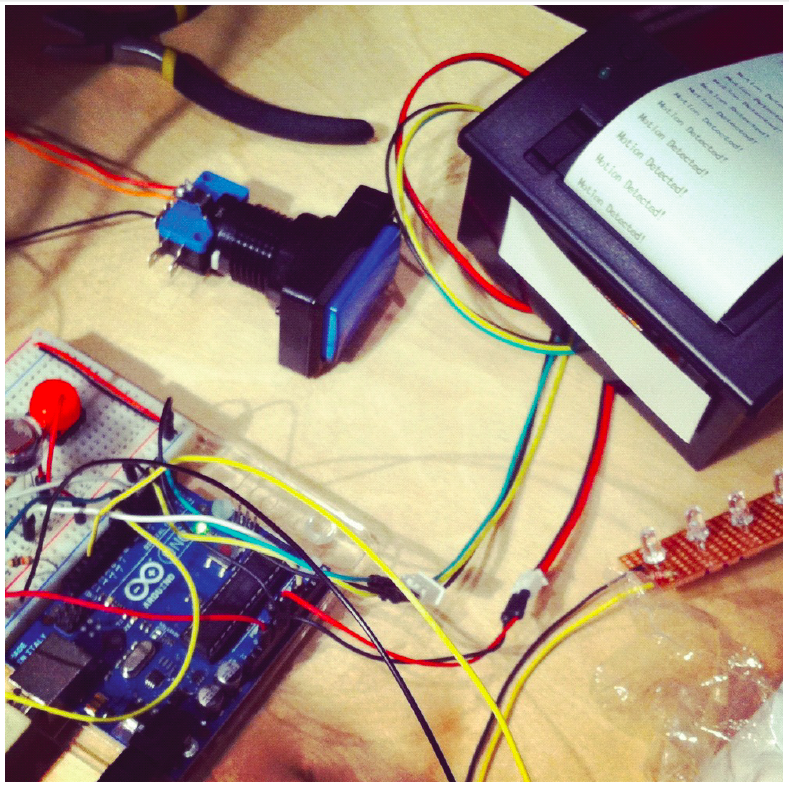
Here is a great link to a superdooper (yes really!) tutorial for hooking up your mini printer to the Internet.
There is an Introductory Blog Post to get things off the ground. This initial post – is long and very detailed. It discusses reasons why they made it, how they did it and happy accidents along the way. They provide code and information and is just amazing actually. It’s worth a read even if you don’t want to build the thing yourself because of all the detail gone into that post.
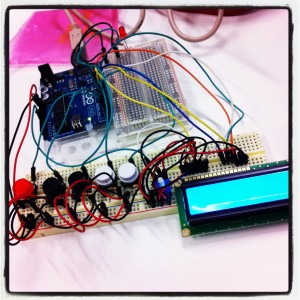
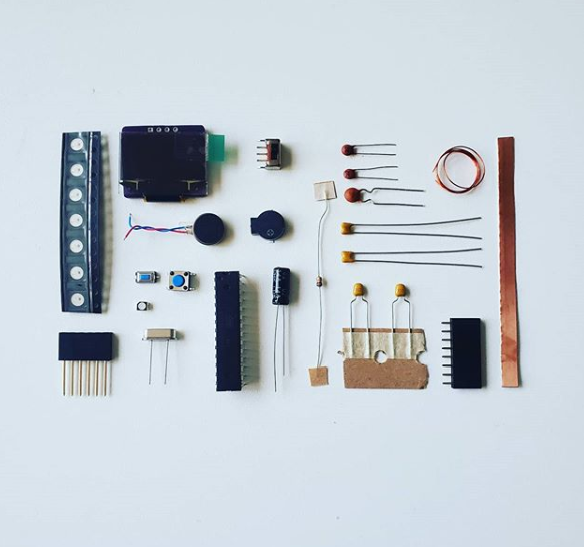
There is a post about making your own printer set up – which is very detailed and well written and has the component list too.
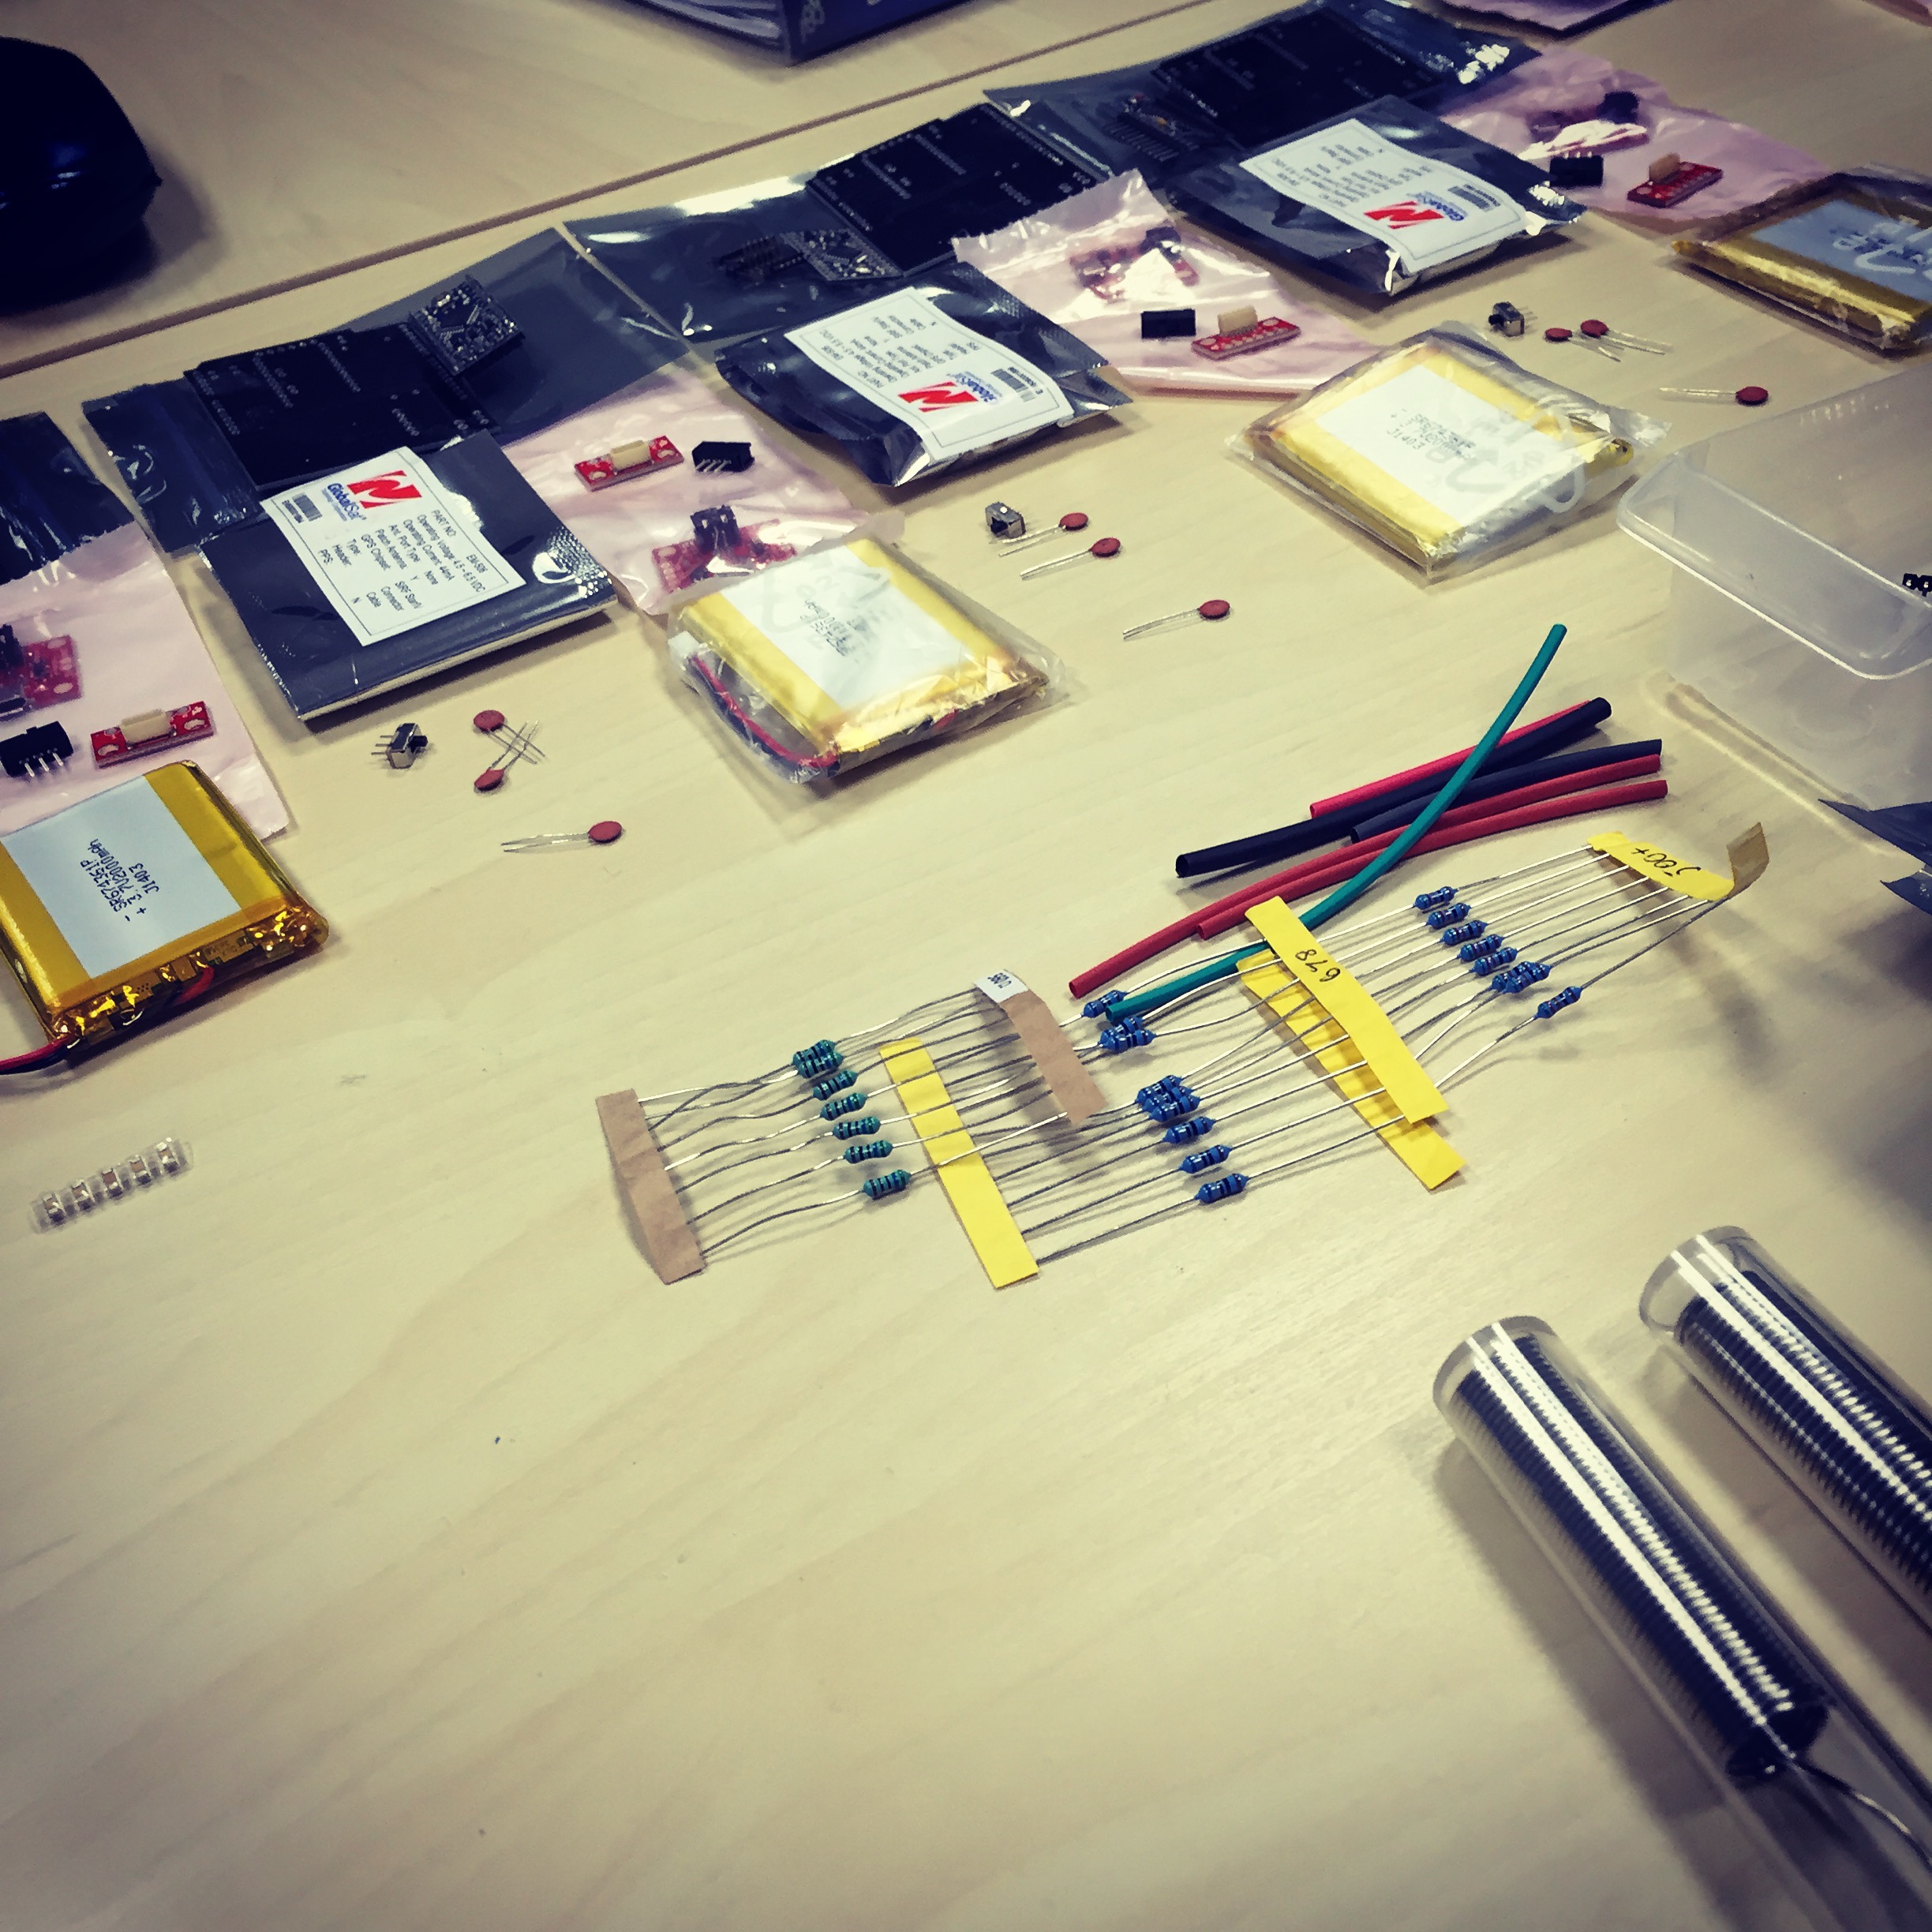
I’ve copied the list here if you are wanting to get started:
- Printer (including paper and connecting wires) (available from adafruit, sparkfun, proto-pic,cool components…)
- Arduino Uno R3
- Arduino ethernet shield (including MicroSD card slot)
- A small breadboard
- MicroSD card (FAT formatted; any size will do)
- Three LEDS
- Four 560 ohm resistors (green-blue-brown-gold)
- A push-button switch
- A bunch of breadboard and jumper wires — I’ve used jumper wires to keep the breadboard tidy, but you can use normal breadboard wires for everything if you like
- One three-pin header, and one two-pin header — I’ve used angled ones, but you don’t need to, and you can also substitute normal breadboard wires too
- 5V power adaptor (not pictured; also, the more current it can supply the better. I’ve been using 1.5-2.5amp power supplies)
Note the list on their site also has links to product pages so you can get buying right away.
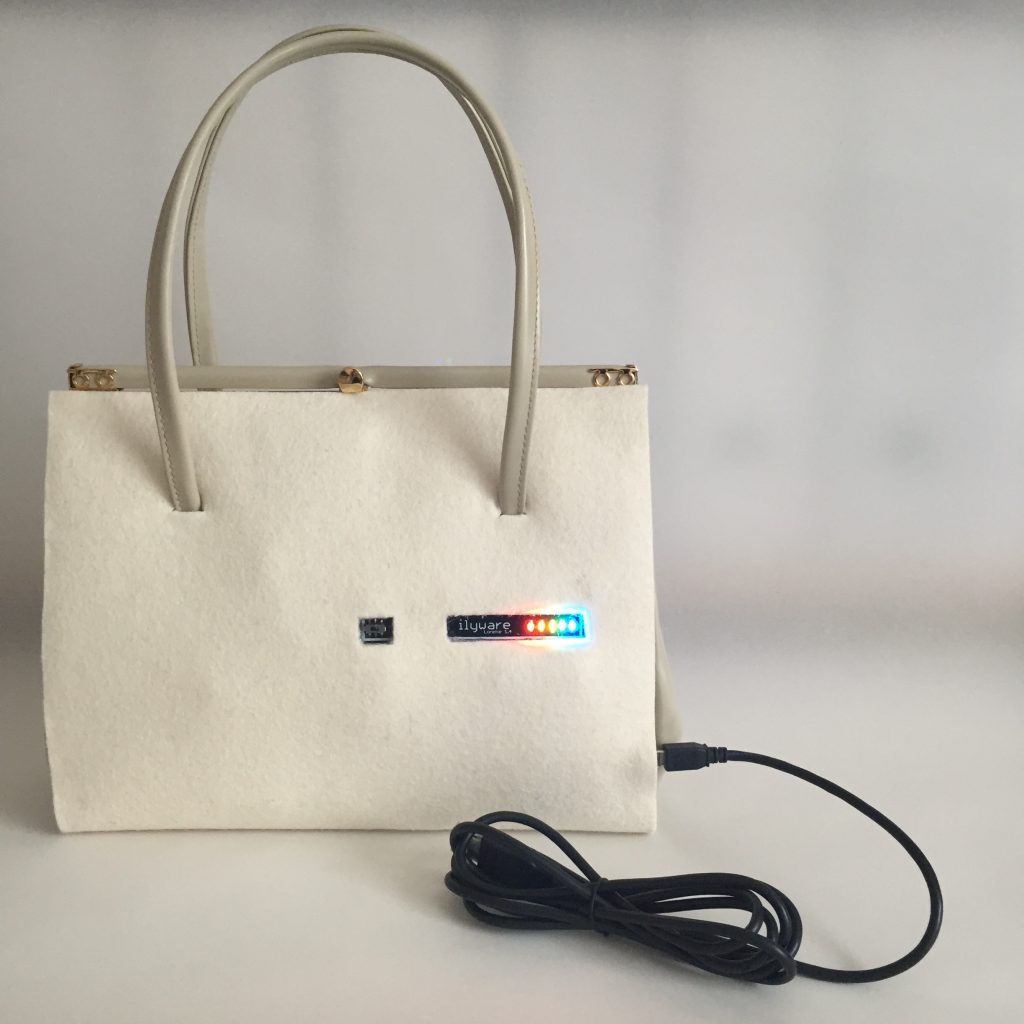
This is such an awesome write up and I’ll post photos once I’ve had a go!
CREDIT: This is all sourced from exciting.io I wanted to put it in my blog because I don’t want to lose this valuable resource. I can’t wait to build it! Awesome work!