There are only a few steps involved in running a sketch on an Arduino board, and this post will take you through it step-by-step, making it quick and easy!
You’ll need an Arduino board, a USB cable and Arduino software on your computer to follow along. Oh – and about 5 minutes of time.
What this post covers
- How to upload code to an Arduino board (uploading a sketch)
What you need
- Arduino board
- Arduino software installed on your computer (I won’t be going through that here, but you need to go to https://www.arduino.cc/en/Main/Software to get the correct software for your computer and install it, it’s free)
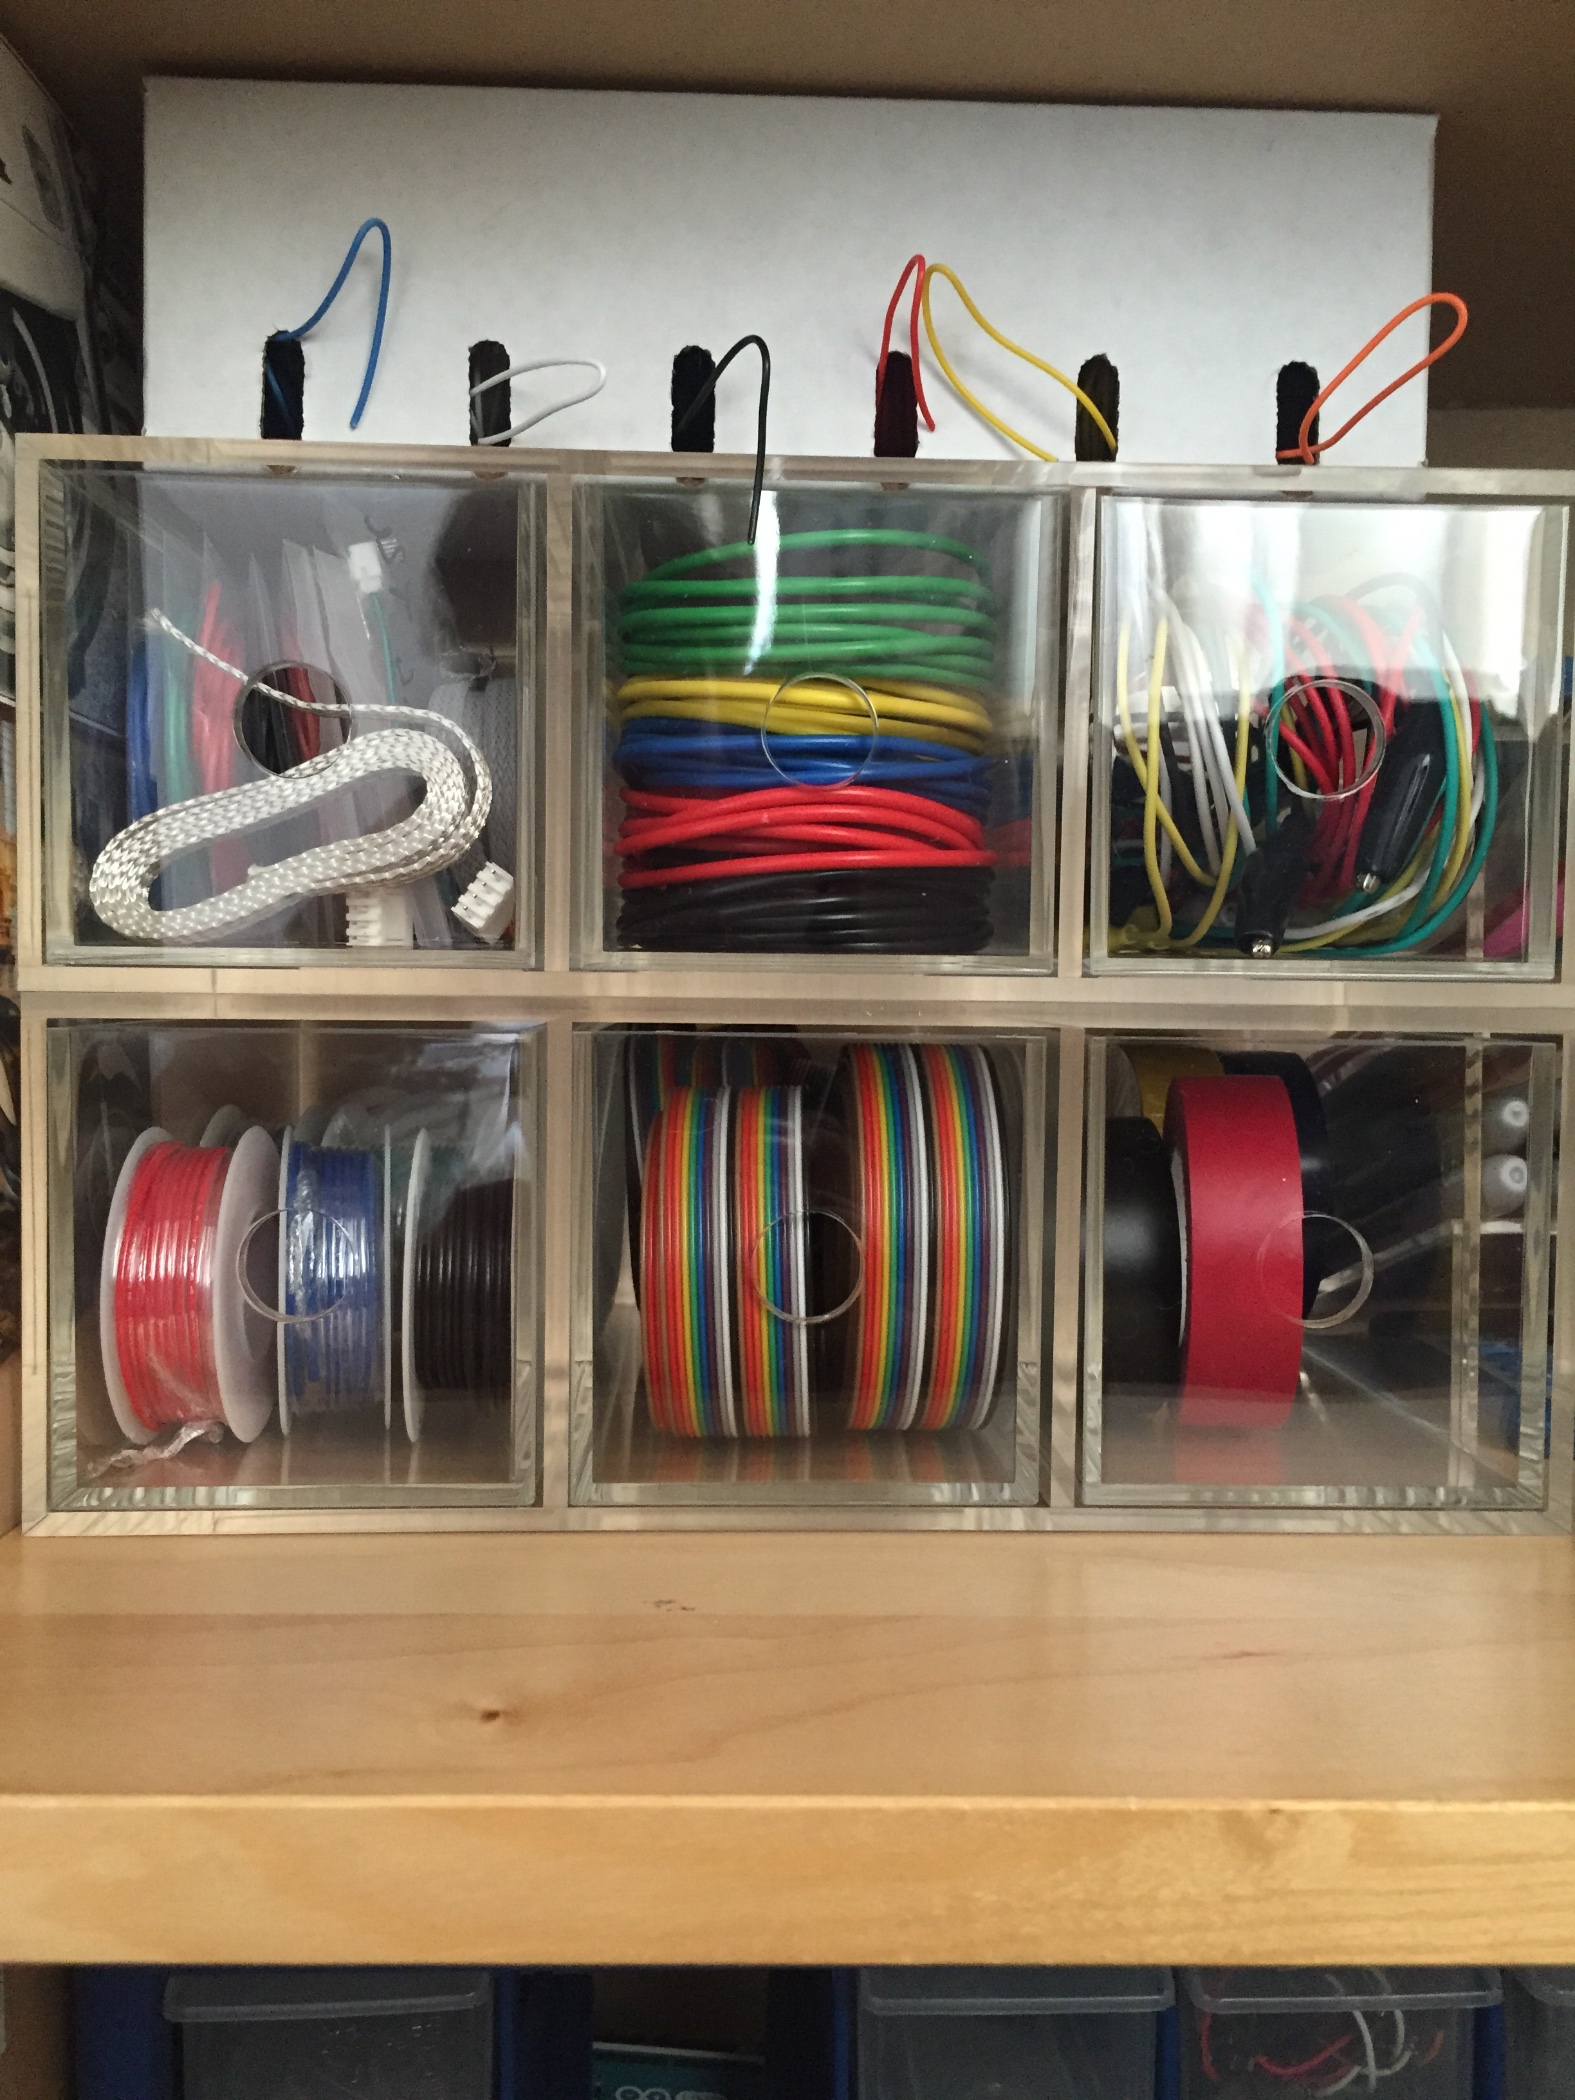
- USB cable to connect your board to your computer
- about 3 minutes
Also, using a Lilypad Main board or Lilypad USB have slightly different details and they are covered in a different post.
How to get your code up and working on your board
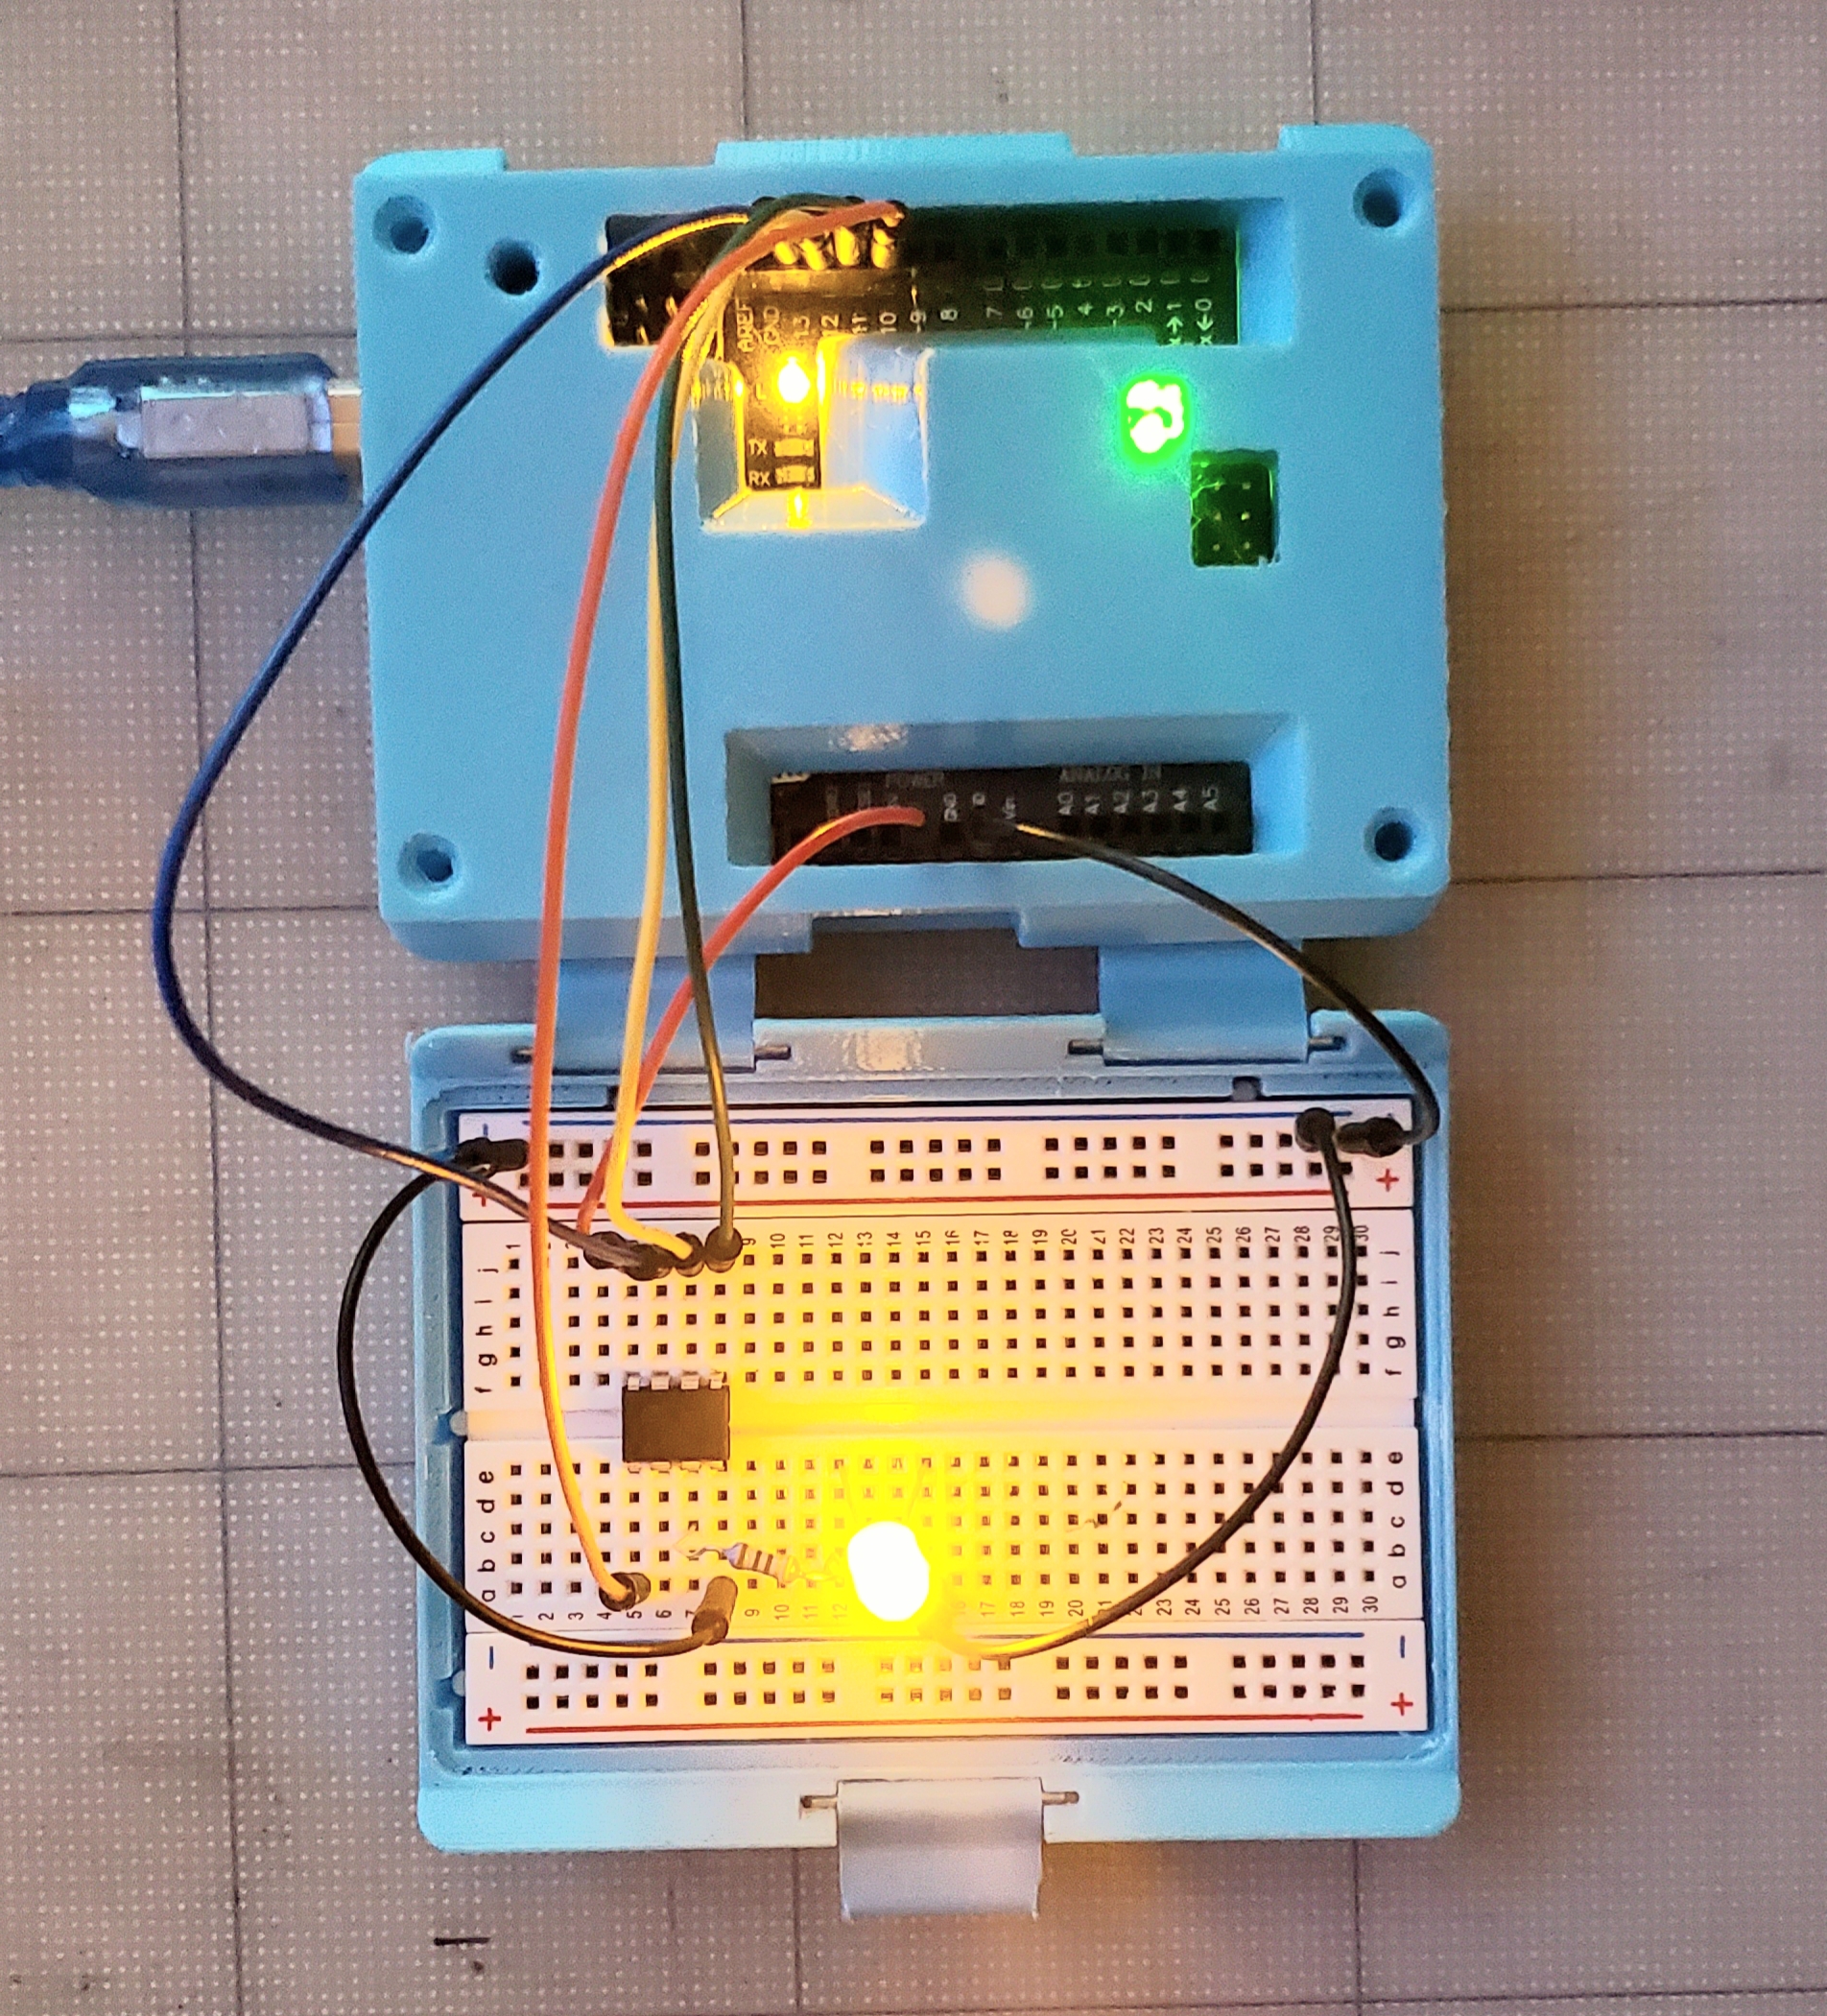
Once a sketch has been loaded or written you need to upload it to your board. Grab your Arduino and your USB cable, plug both ends of the cable in – one to your computer and one to the Arduino.
Give your computer a moment to find the device and then in the Arduino Program we need to check we have the right board and port selected.
Tools > Board > Arduino Uno
Selecting the correct board
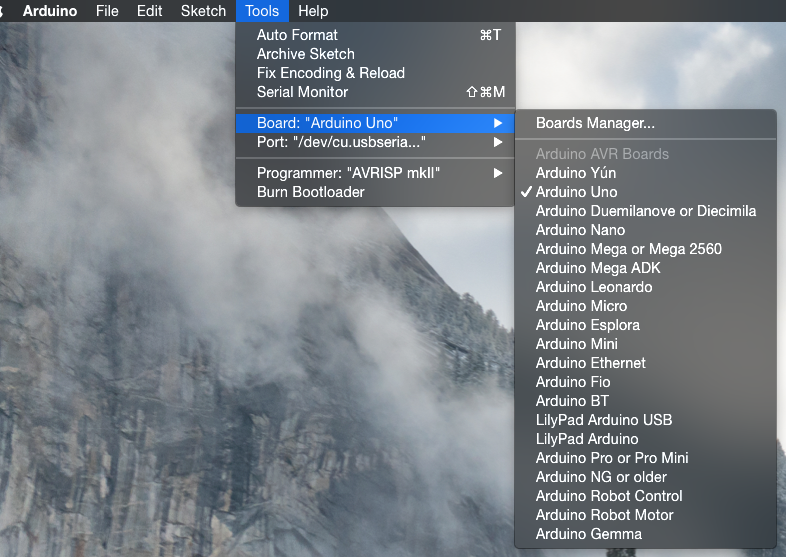
selecting the correct board to upload your code to
Port Selection
We then also need to select the correct port for our device. On a mac it is typically a mix of letters and numbers as shown below as cu.usbserial-A702U4NY
Yours will be similar. If in doubt : try one – if it is incorrect you will get an error message that the device can not be found.
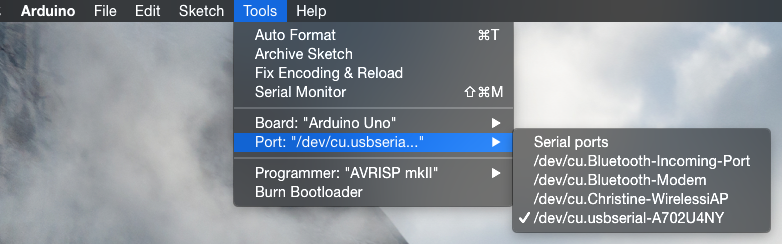
tools menu for port selection
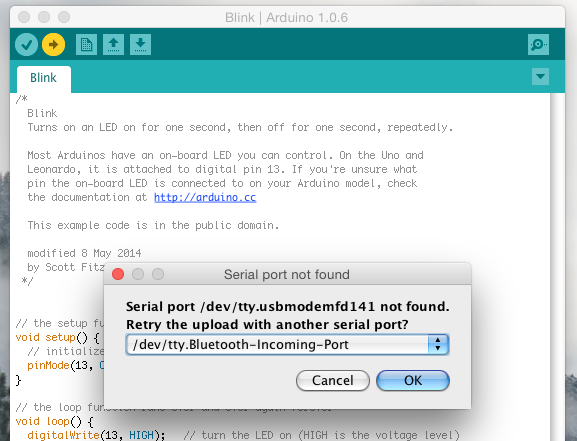
error in port selection: Serial port not found
Confirmation
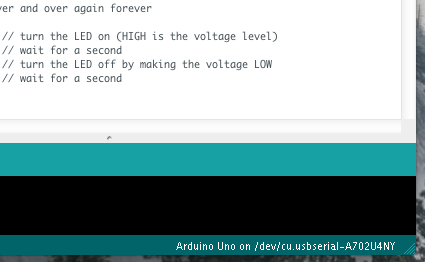
the lower bottom right hand side of the programming window will show you which port you have chosen and what board
Uploading your sketch
All that is left to do is to upload your code to the Arduino.
You can do it by navigating to the menu;
File > Upload
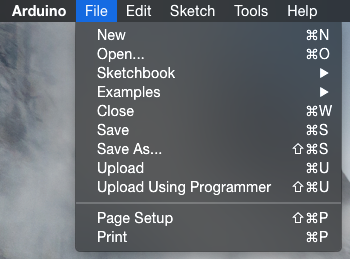
navigating to the File menu
or by using the right facing arrow icon on the application window
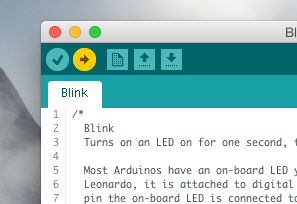
using the right facing arrow when uploading a sketch
The sketch will compile and upload to the board if all is well.
When the code is uploading, you will see the RX/TX lights on your arduino board flickering, this happens as it’s transmitting data so that’s often another good indication that something is happening! So be sure to have a look at your board if you’re uncertain.
[su_box title=”Code not working?” box_color=”#2995b5″]
If there are errors it will list them in the bottom half of the window in red.
- Some common errors is just making sure the correct board / port is selected, sometimes disconnecting and reconnecting also solves initial issues.
You may have just forgotten to put “;” at the end of a line of code!
I’ve recently had a friend who couldn’t get the code to behave on a Windows system – if it compiles sometimes and sometimes it doesn’t then I usually get a previous version of Arduino to make sure it is compatible. If you’re having errors and no real reason why, try using Arduino version 1.6.0
[/su_box]