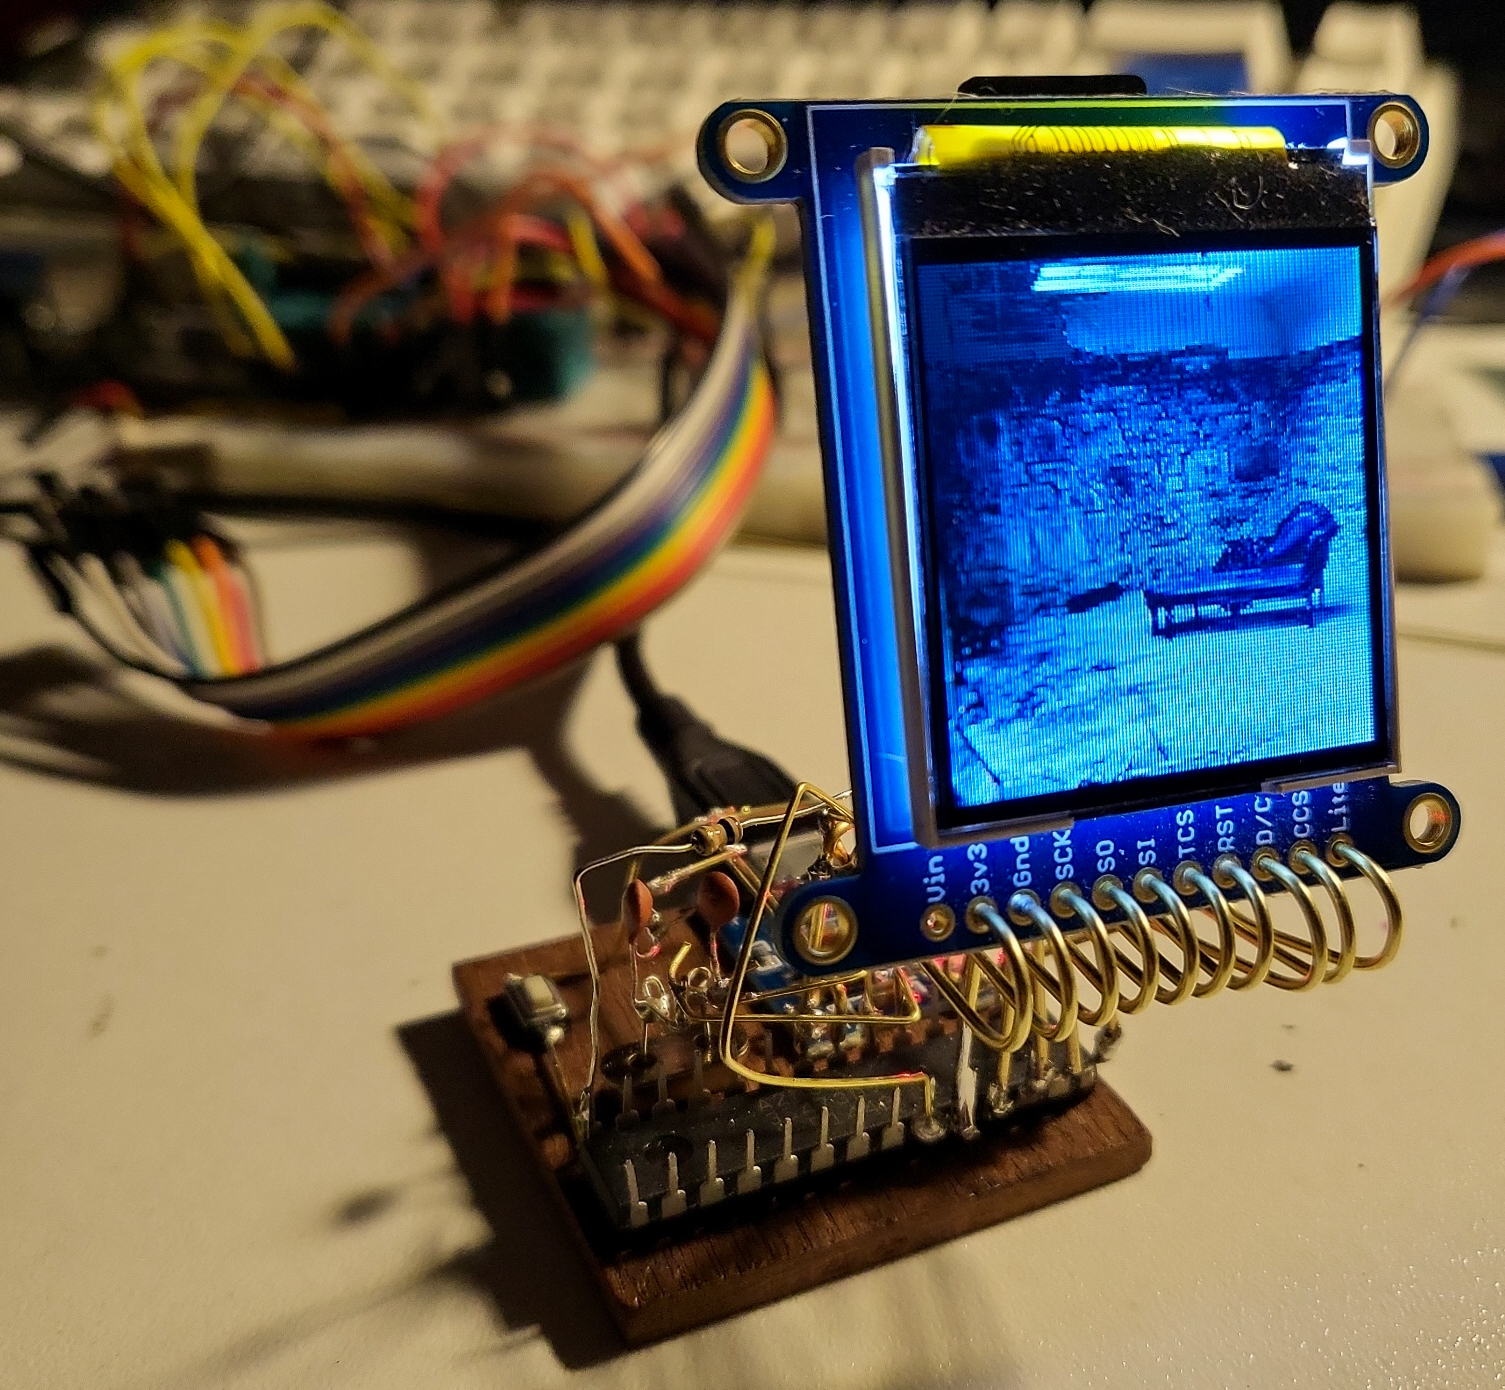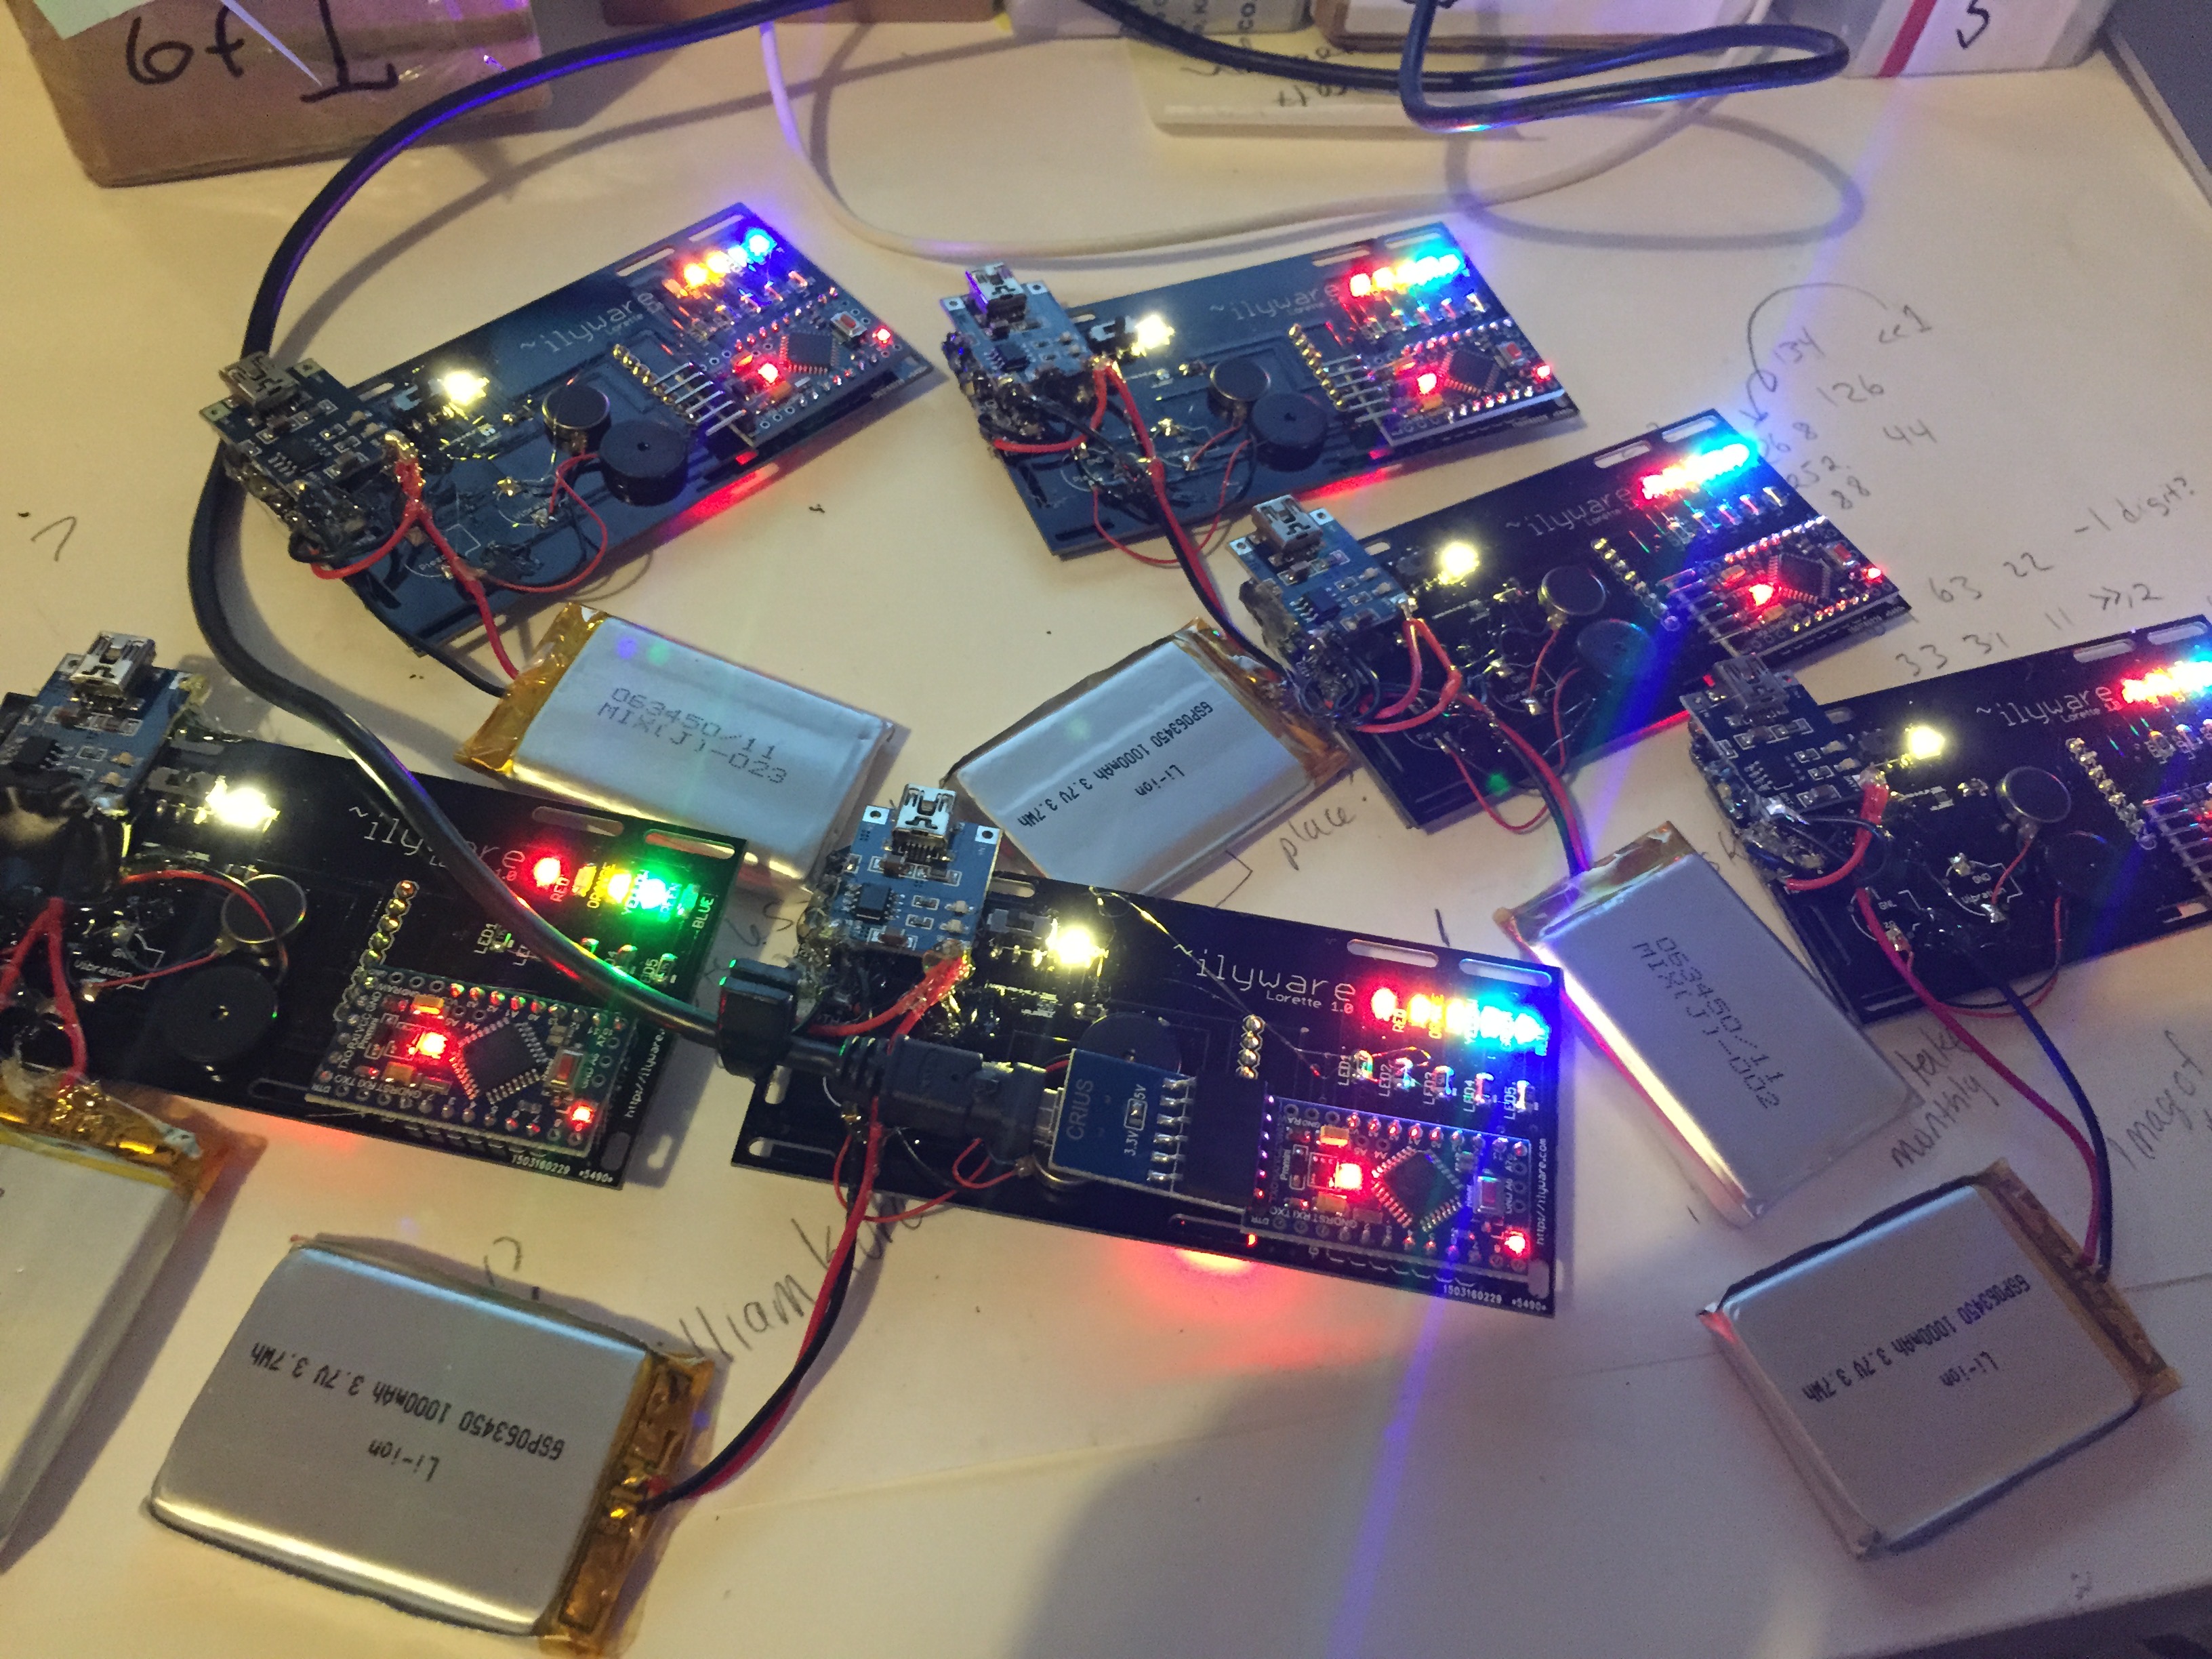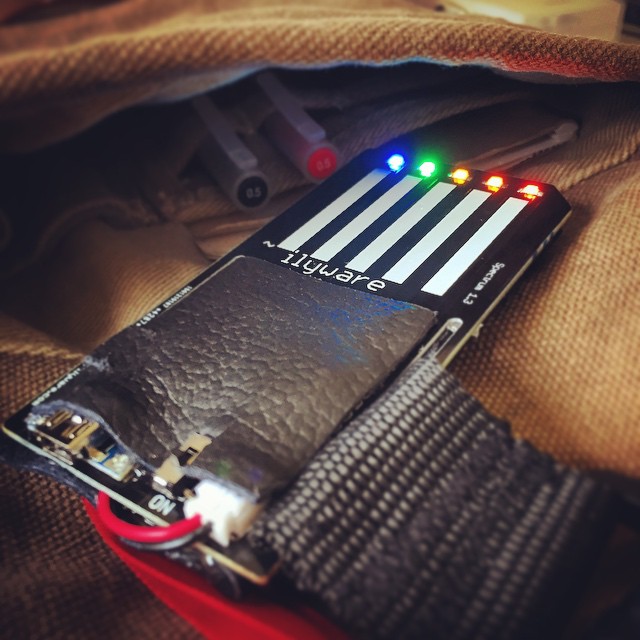
I posted images online of prototypes I had been working on, and Marcelo Souza commented about trying an OLED. I had thought about it before but the ones I had looked at (or even ordered to play around with) all were relatively expensive.
If I wanted to incorporate one it would cost. But the displays I were using, an LCD, takes a lot of space. Space in terms of size and the number of ports – so I decided to have a look at OLEDs!
This OLED was sold from Mike Rankin (Miker) through the Tindie shop. It’s so fantastic! On the site, he’s said: “I used to buy these little displays off ebay but the price kept climbing so I decided to create my own.” He has created brilliant tiny OLEDs at a great price!
OLED Versions
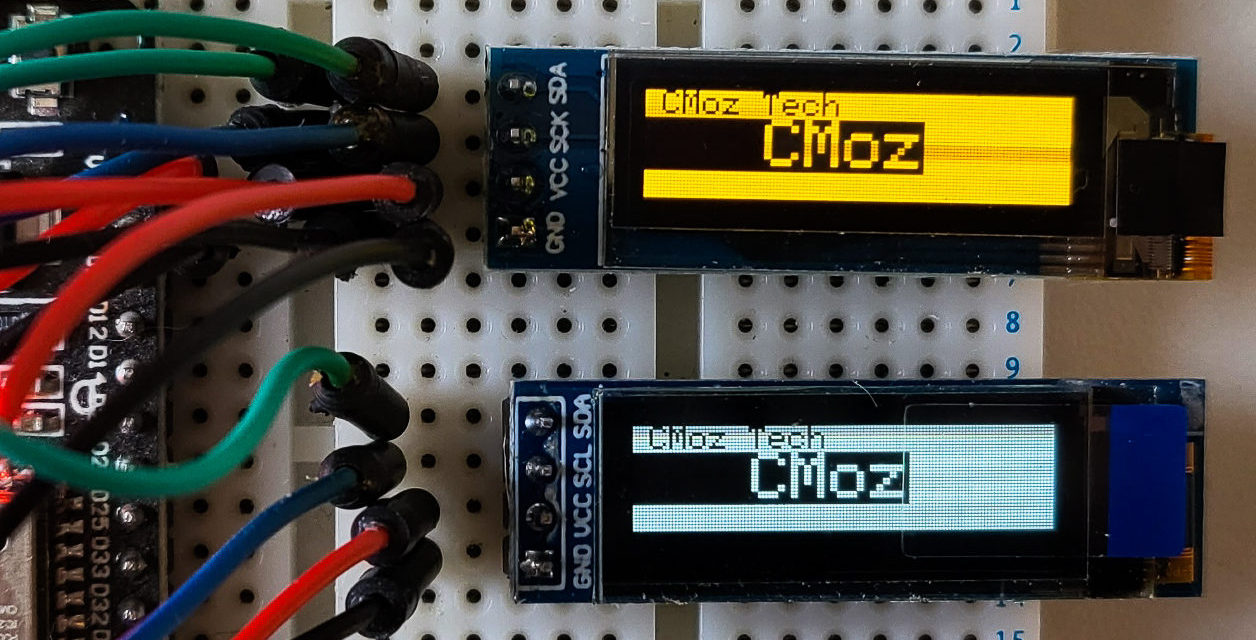
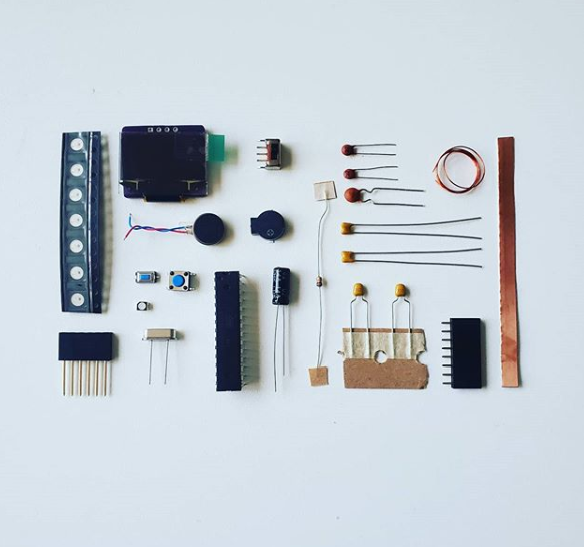
There are two versions. I bought them both because I want to try them in different projects. The main selling point for me aside from the price was there are only 2 wires I’d need to connect to my board. This was fantastic compared to the line to a 10K pot, and all the data lines connected. (dimensions are 26.7mm from right to left, 26mm from top to bottom and 5mm thick)
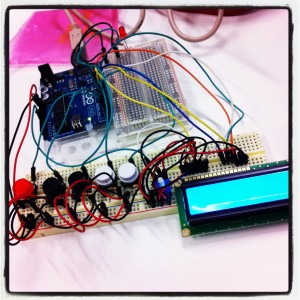
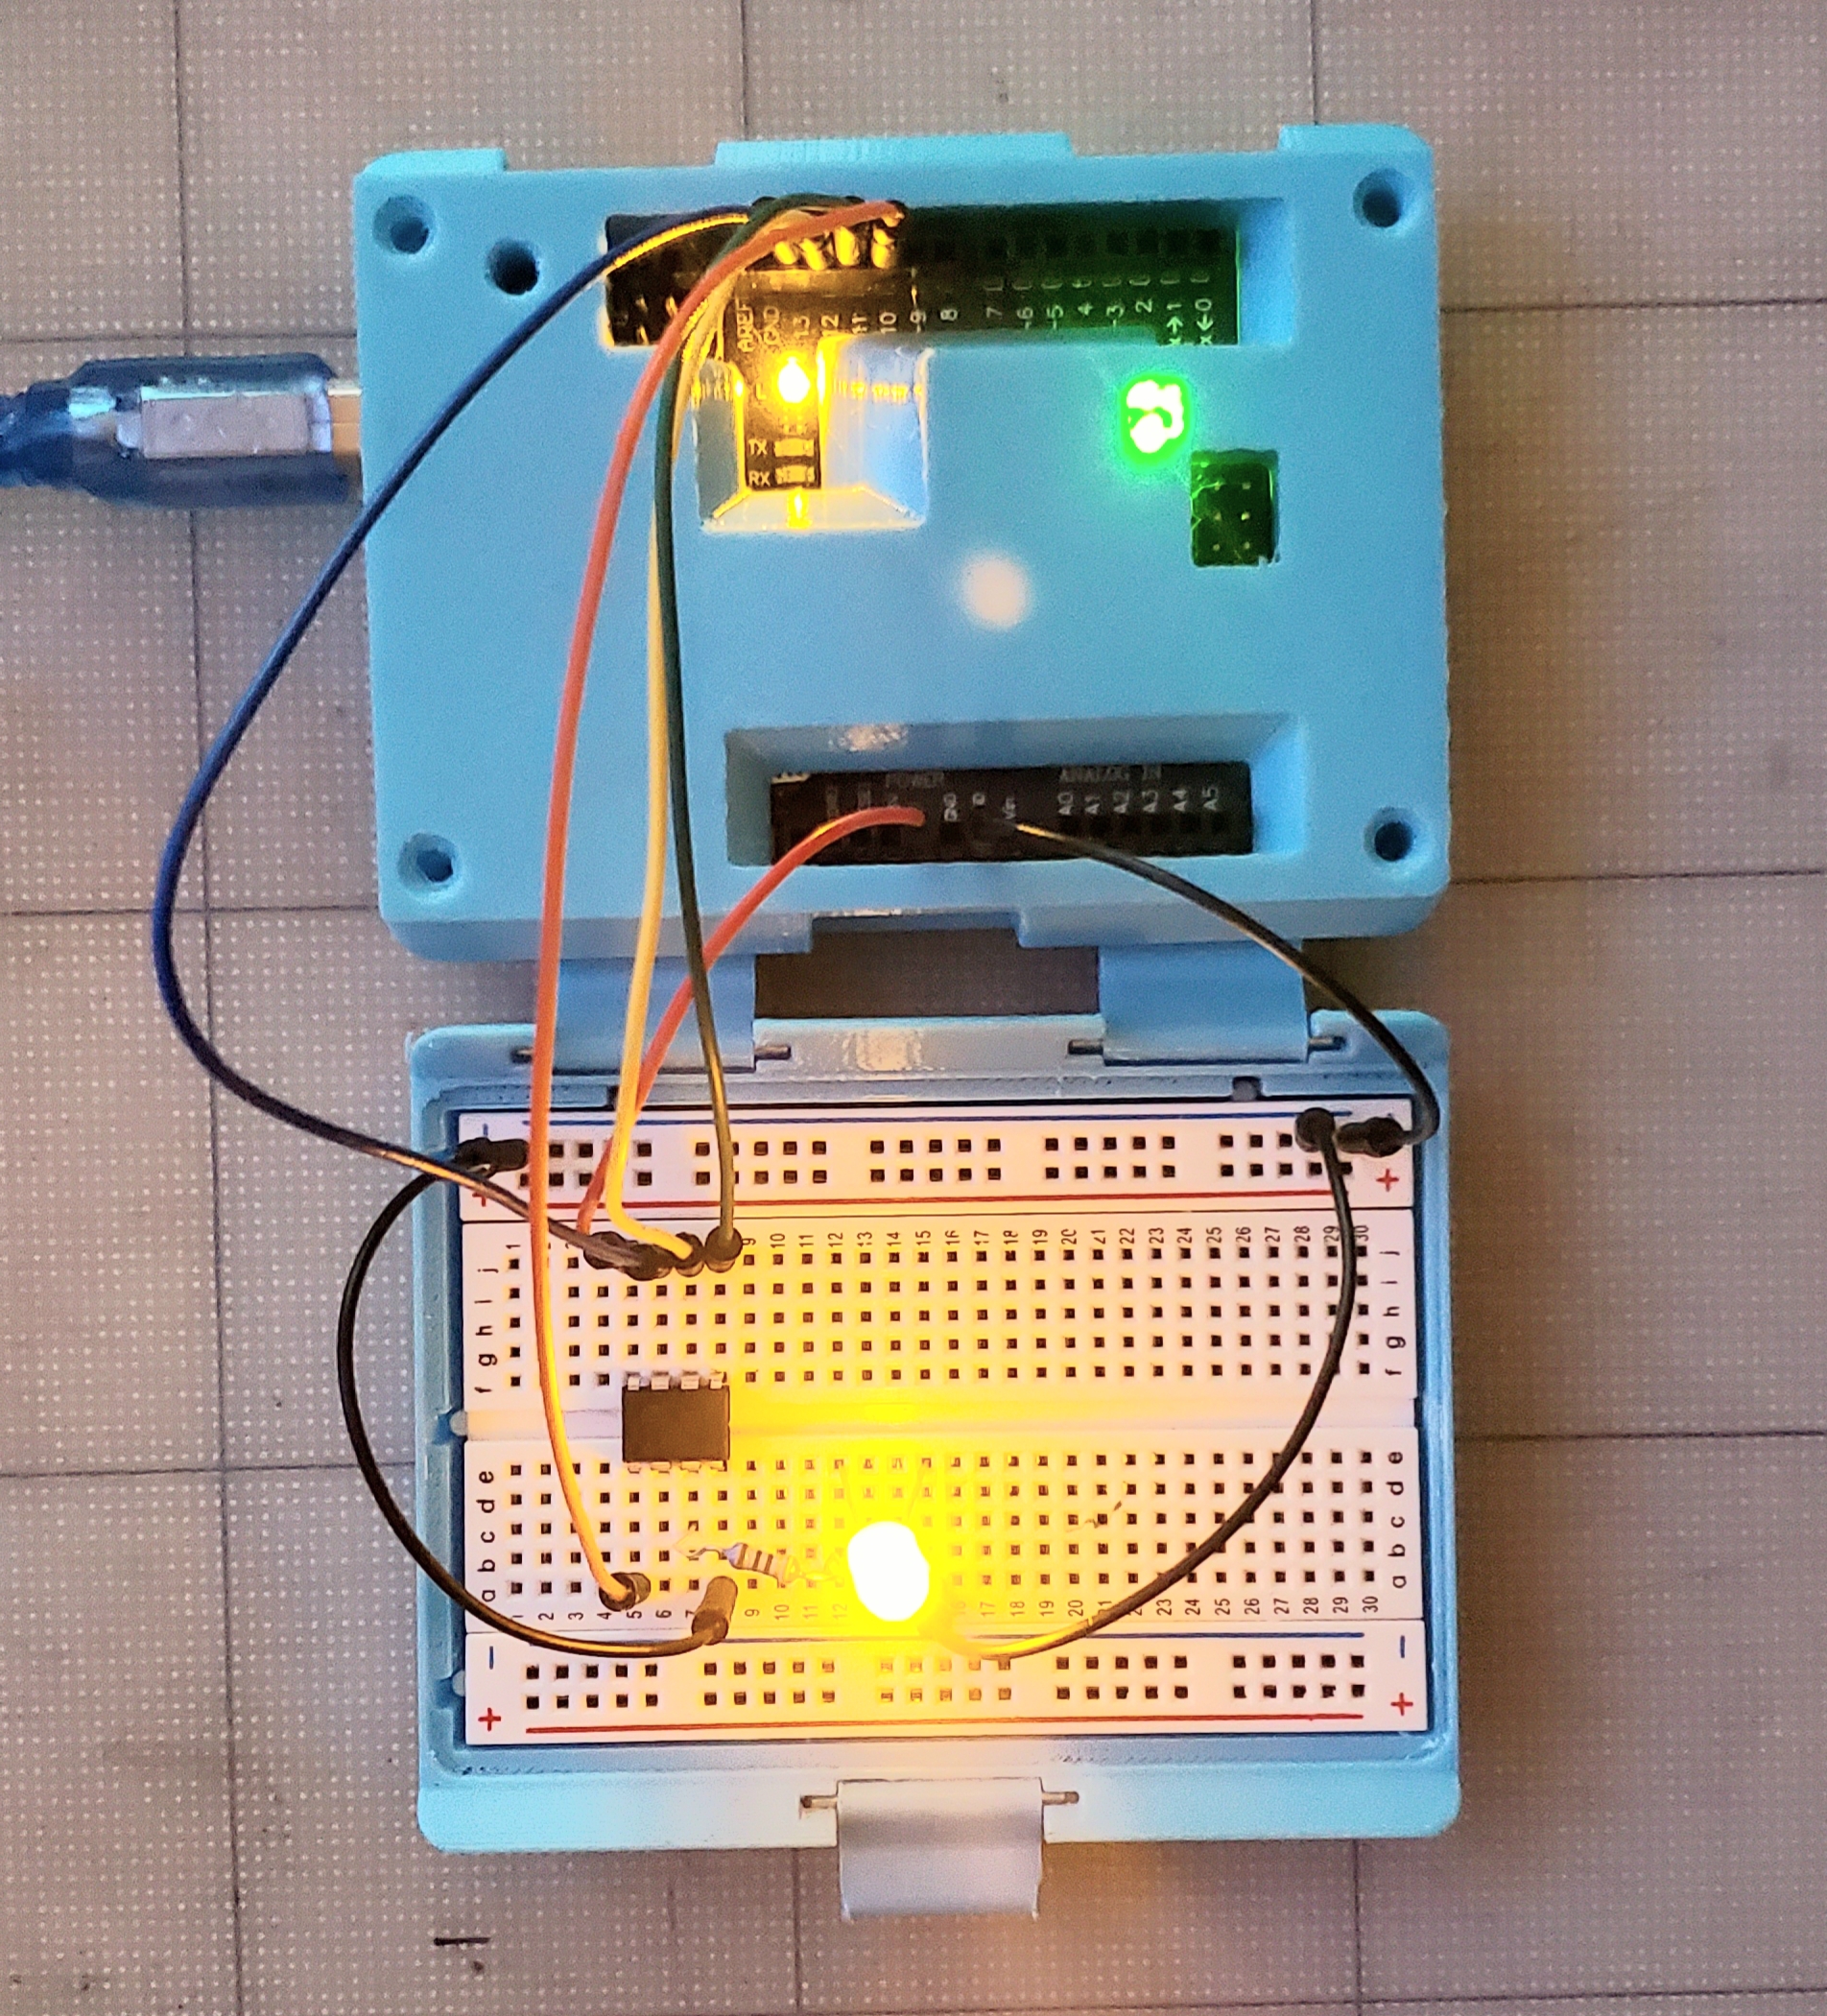
So, if you are newer to electronics or not too sure where to start here is where I went to get this OLED up and running:

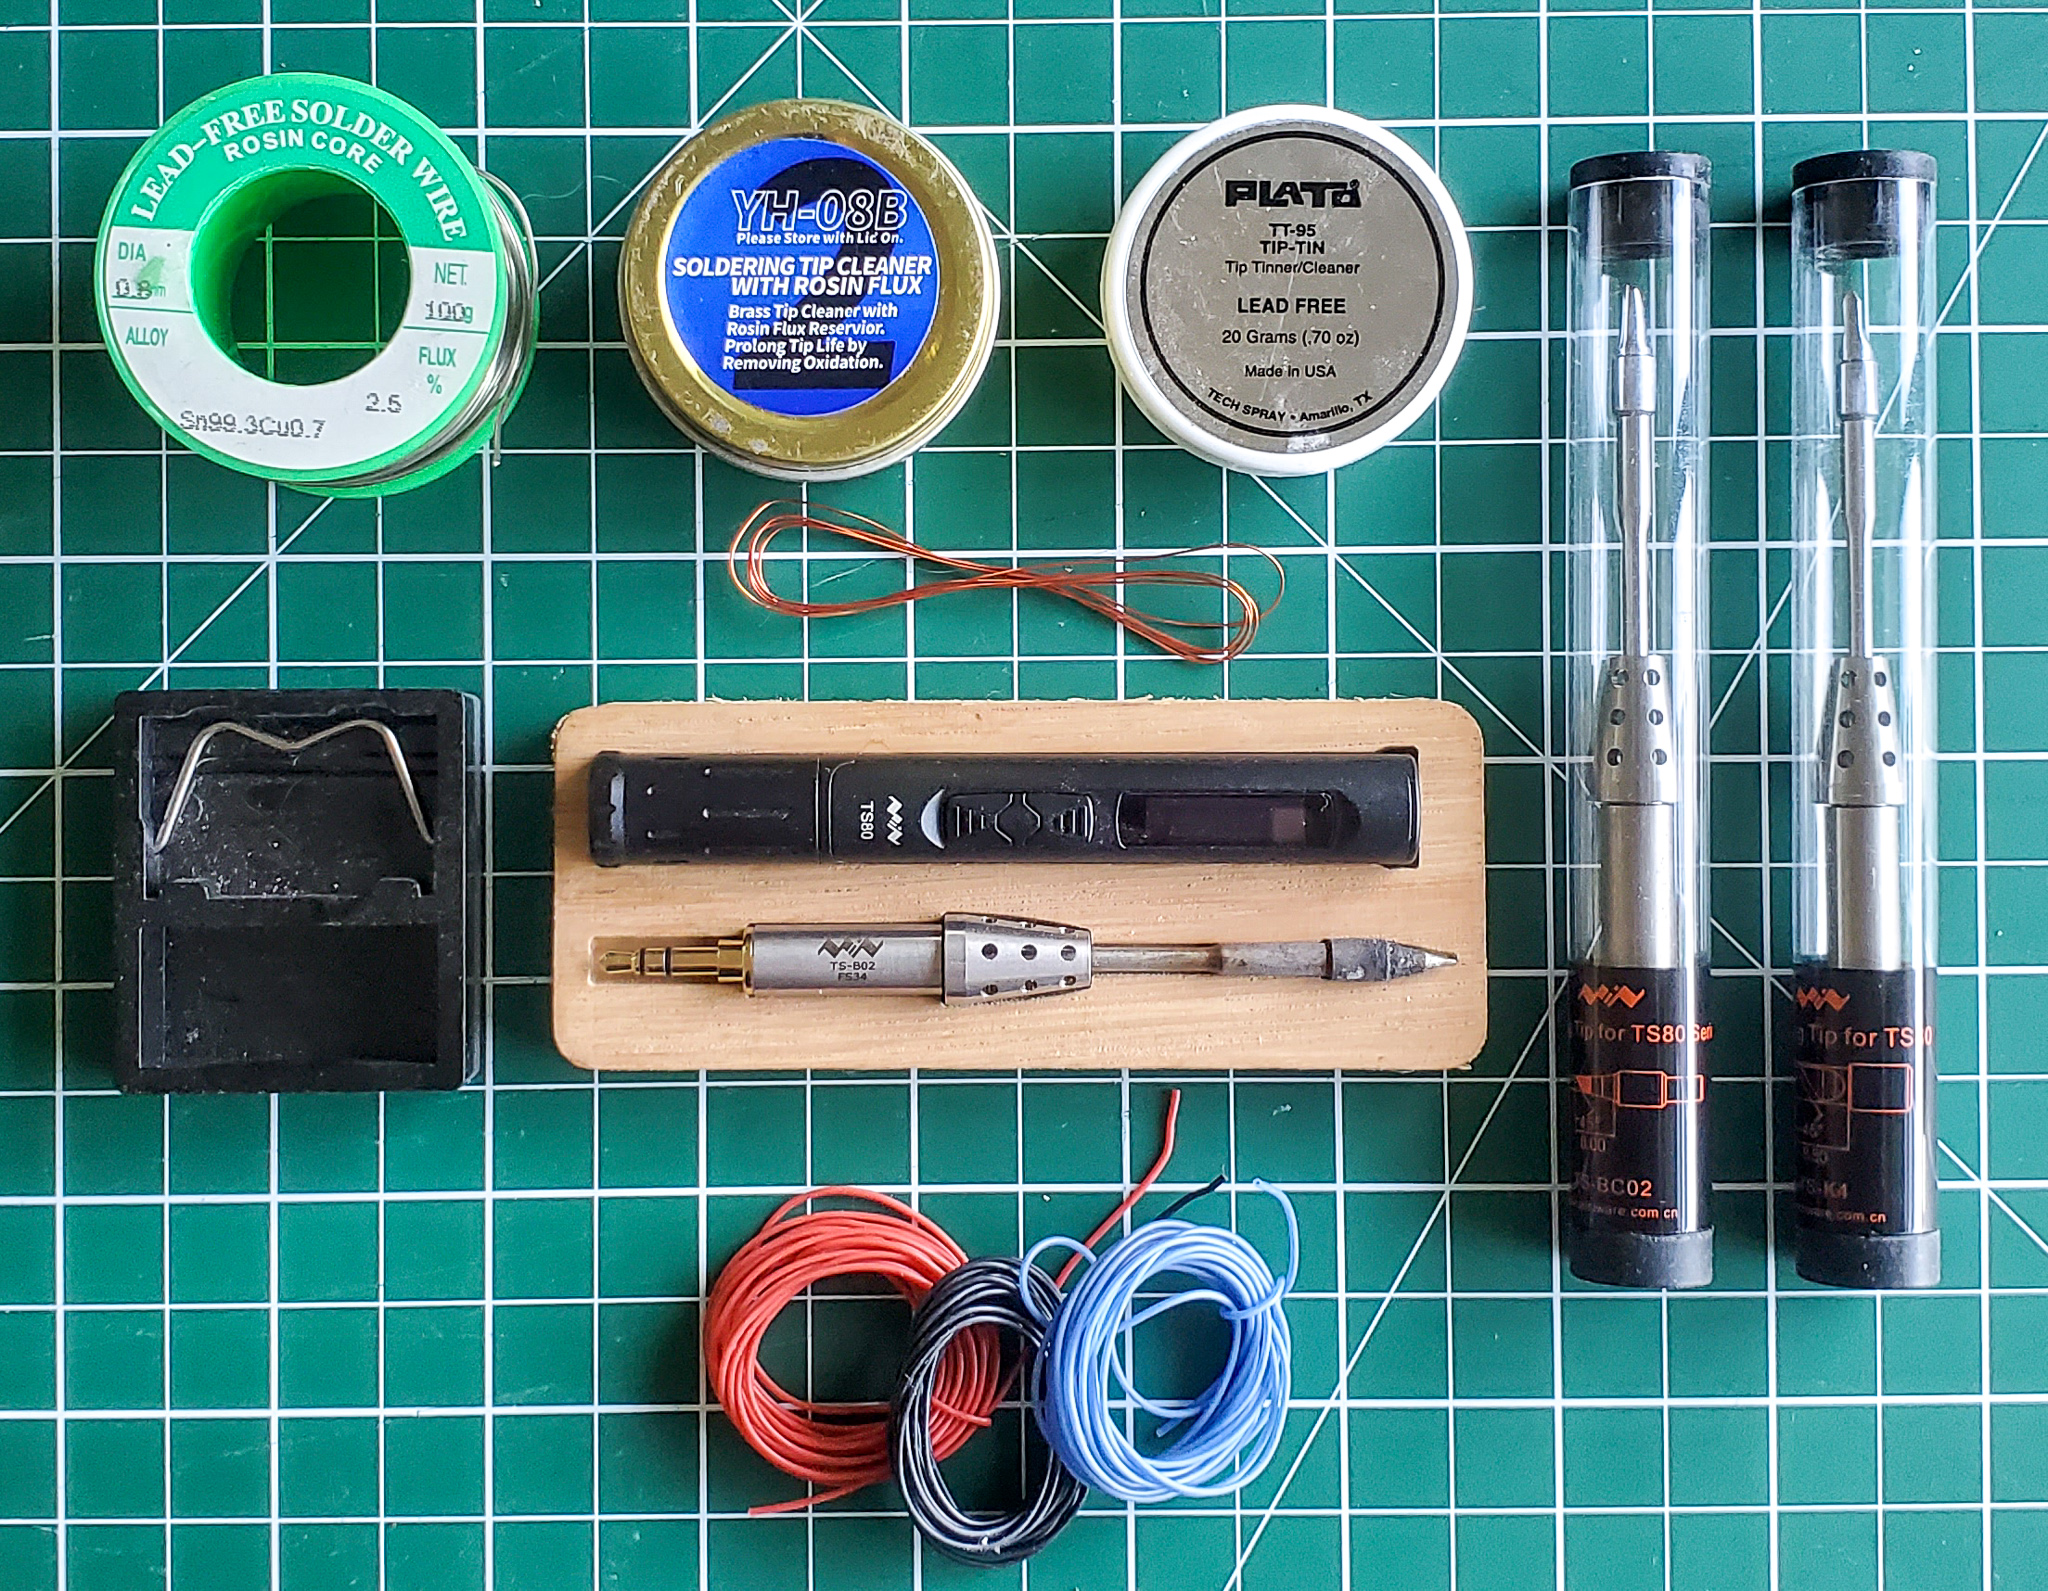
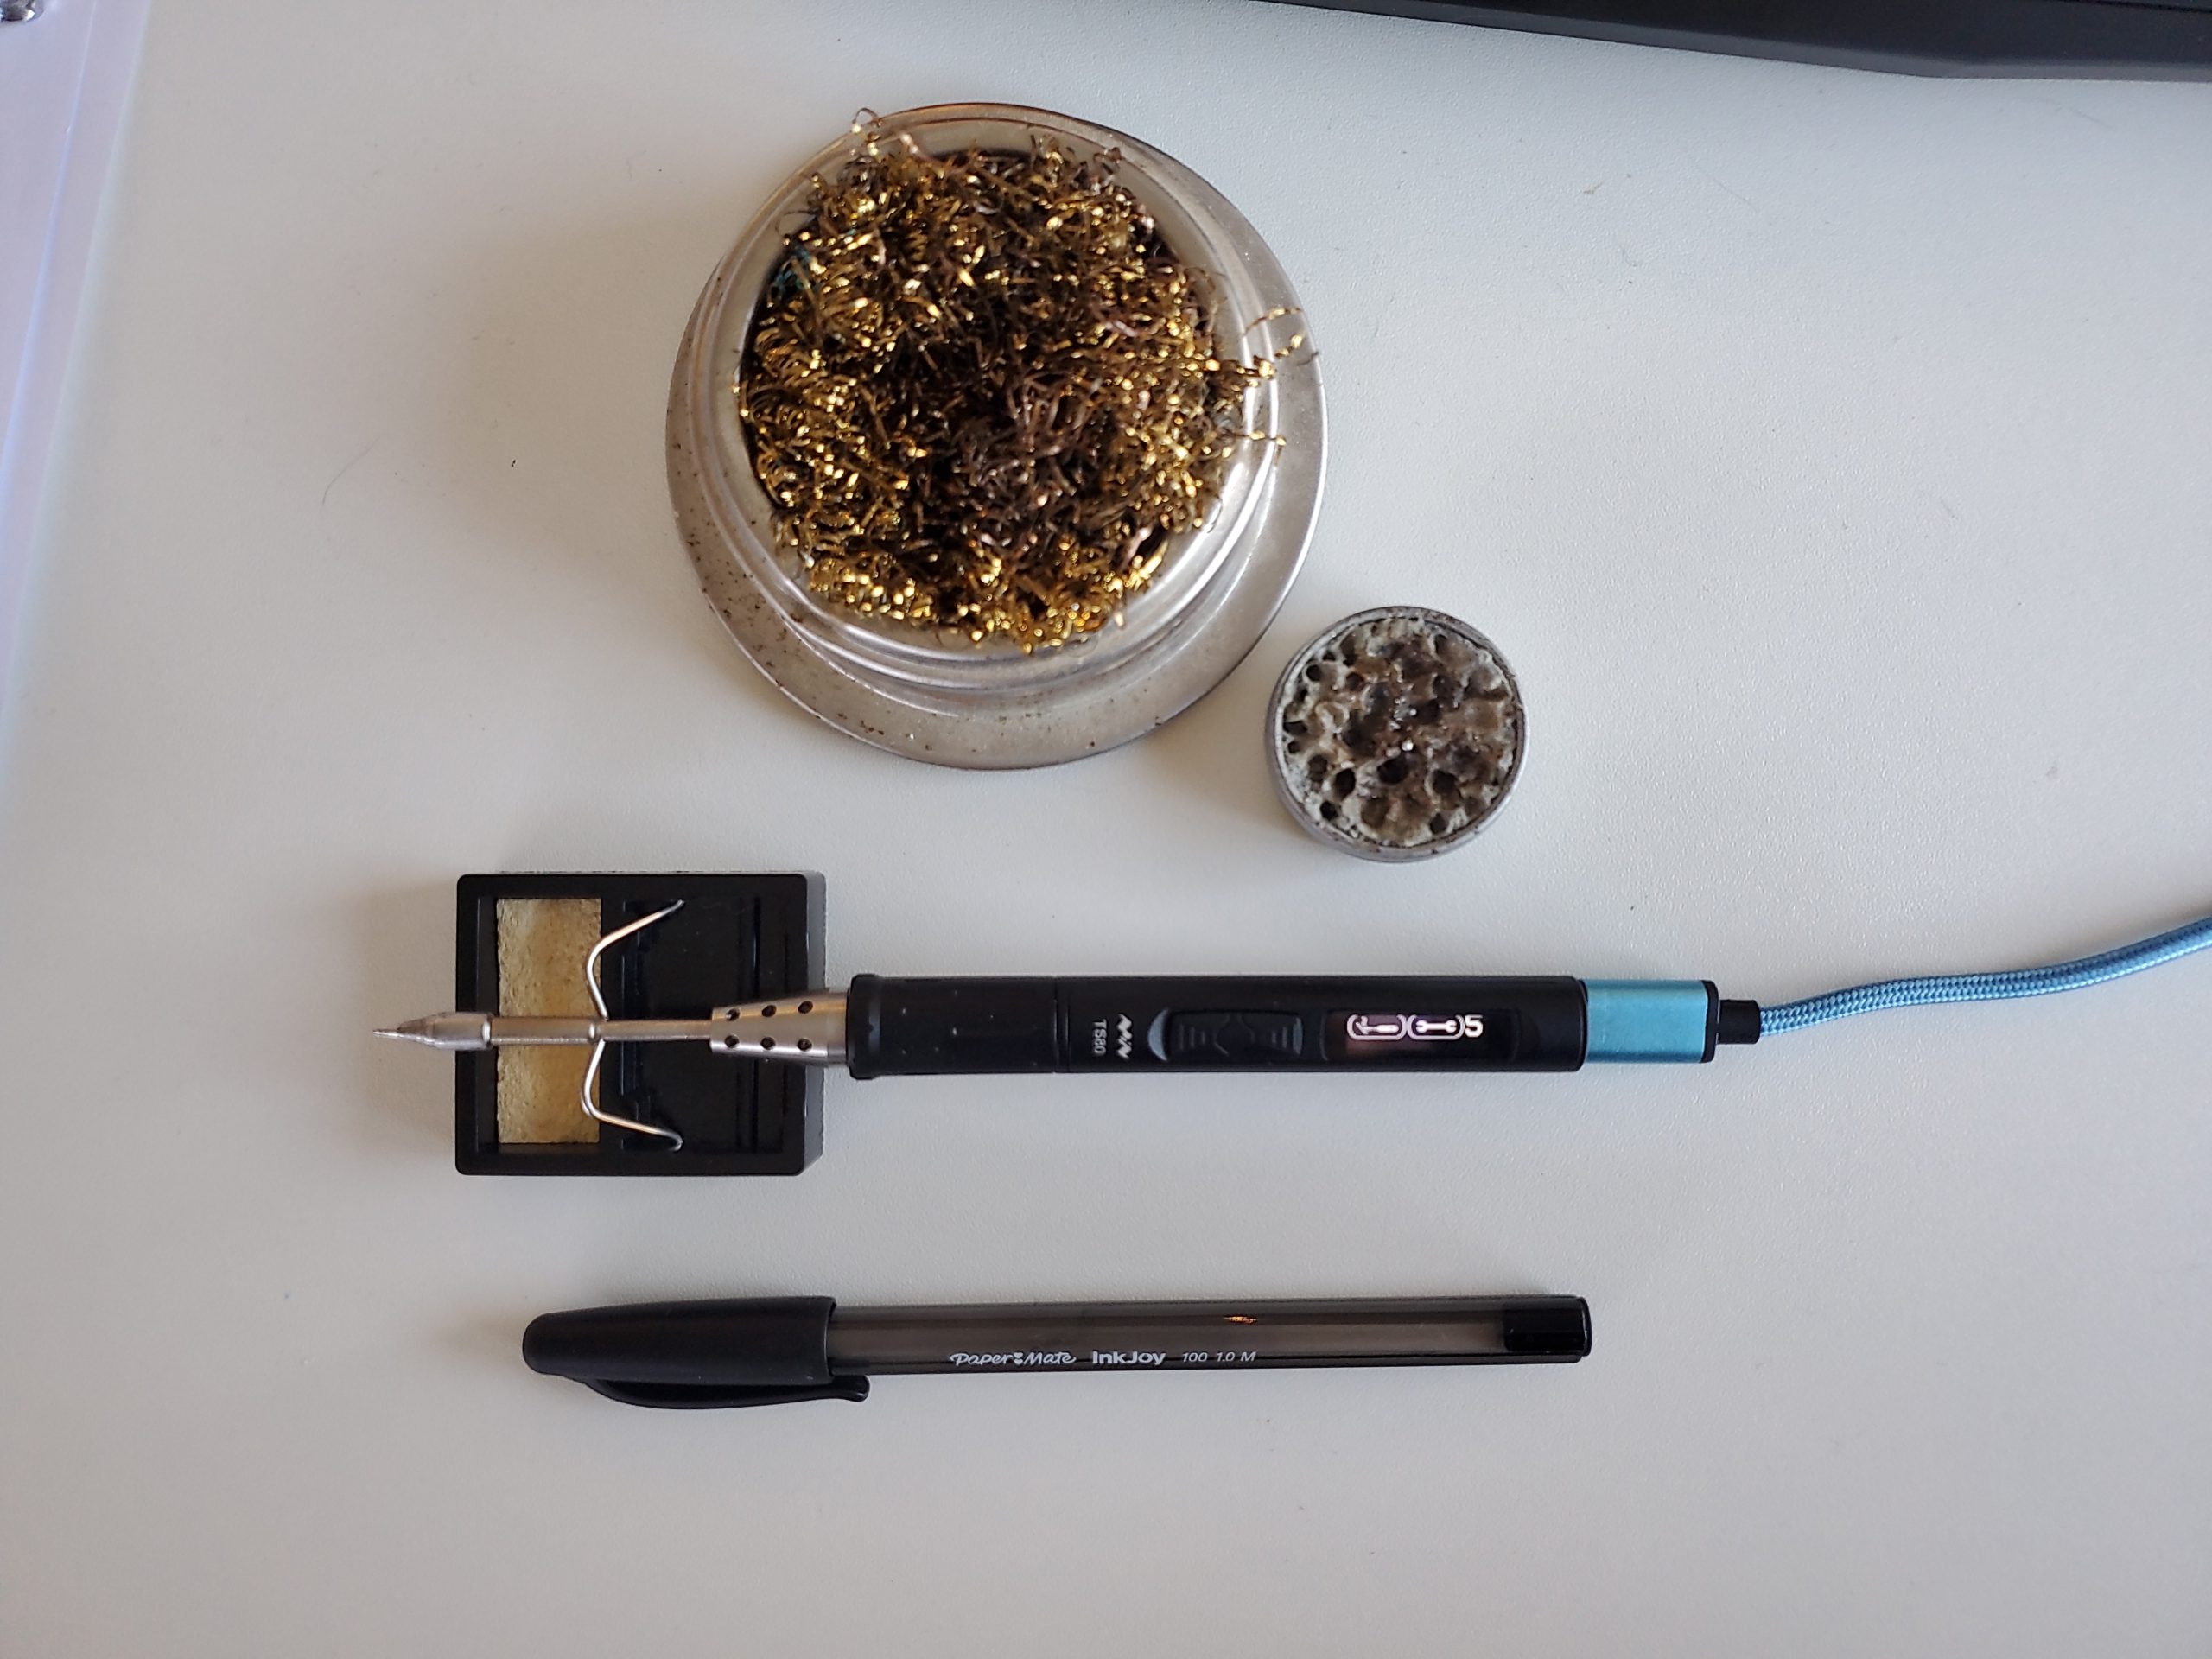
Soldering
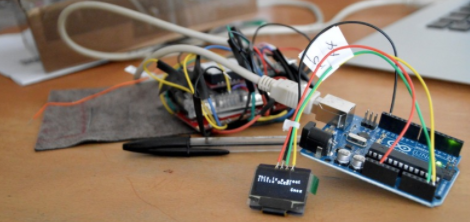
You’ll need to solder the pins (which are provided). I soldered to stranded wire because my project isn’t using a breadboard and I need flexibility.
Test Code
I downloaded the test code provided by Mike Rankin, from his site {I have put the zip here incase OLED_Test_Code }
I also headed over to Adafruit who are genius at tutorials and explaining how to do things, and why do them. Adafruit have some great information about the wiring up and hook up depending on your board. Wiring OLEDs. This is the important bit:
[su_box title=”Connect the pins to your Arduino” box_color=”#2fcce2″]
- GND goes to ground
- Vin goes to 5V
- Data to I2C SDA (on the Uno, this is A4 on the Mega it is 20 and on the Leonardo digital 2)
- Clk to I2C SCL (on the Uno, this is A5 on the Mega it is 21 and on the Leonardo digital 3)
- and RST to digital 4 (you can change this pin in the code, later)
[/su_box]
That details where to put the connections. For the Uno that I used to test it, the OLED is connected to A4 & A5.