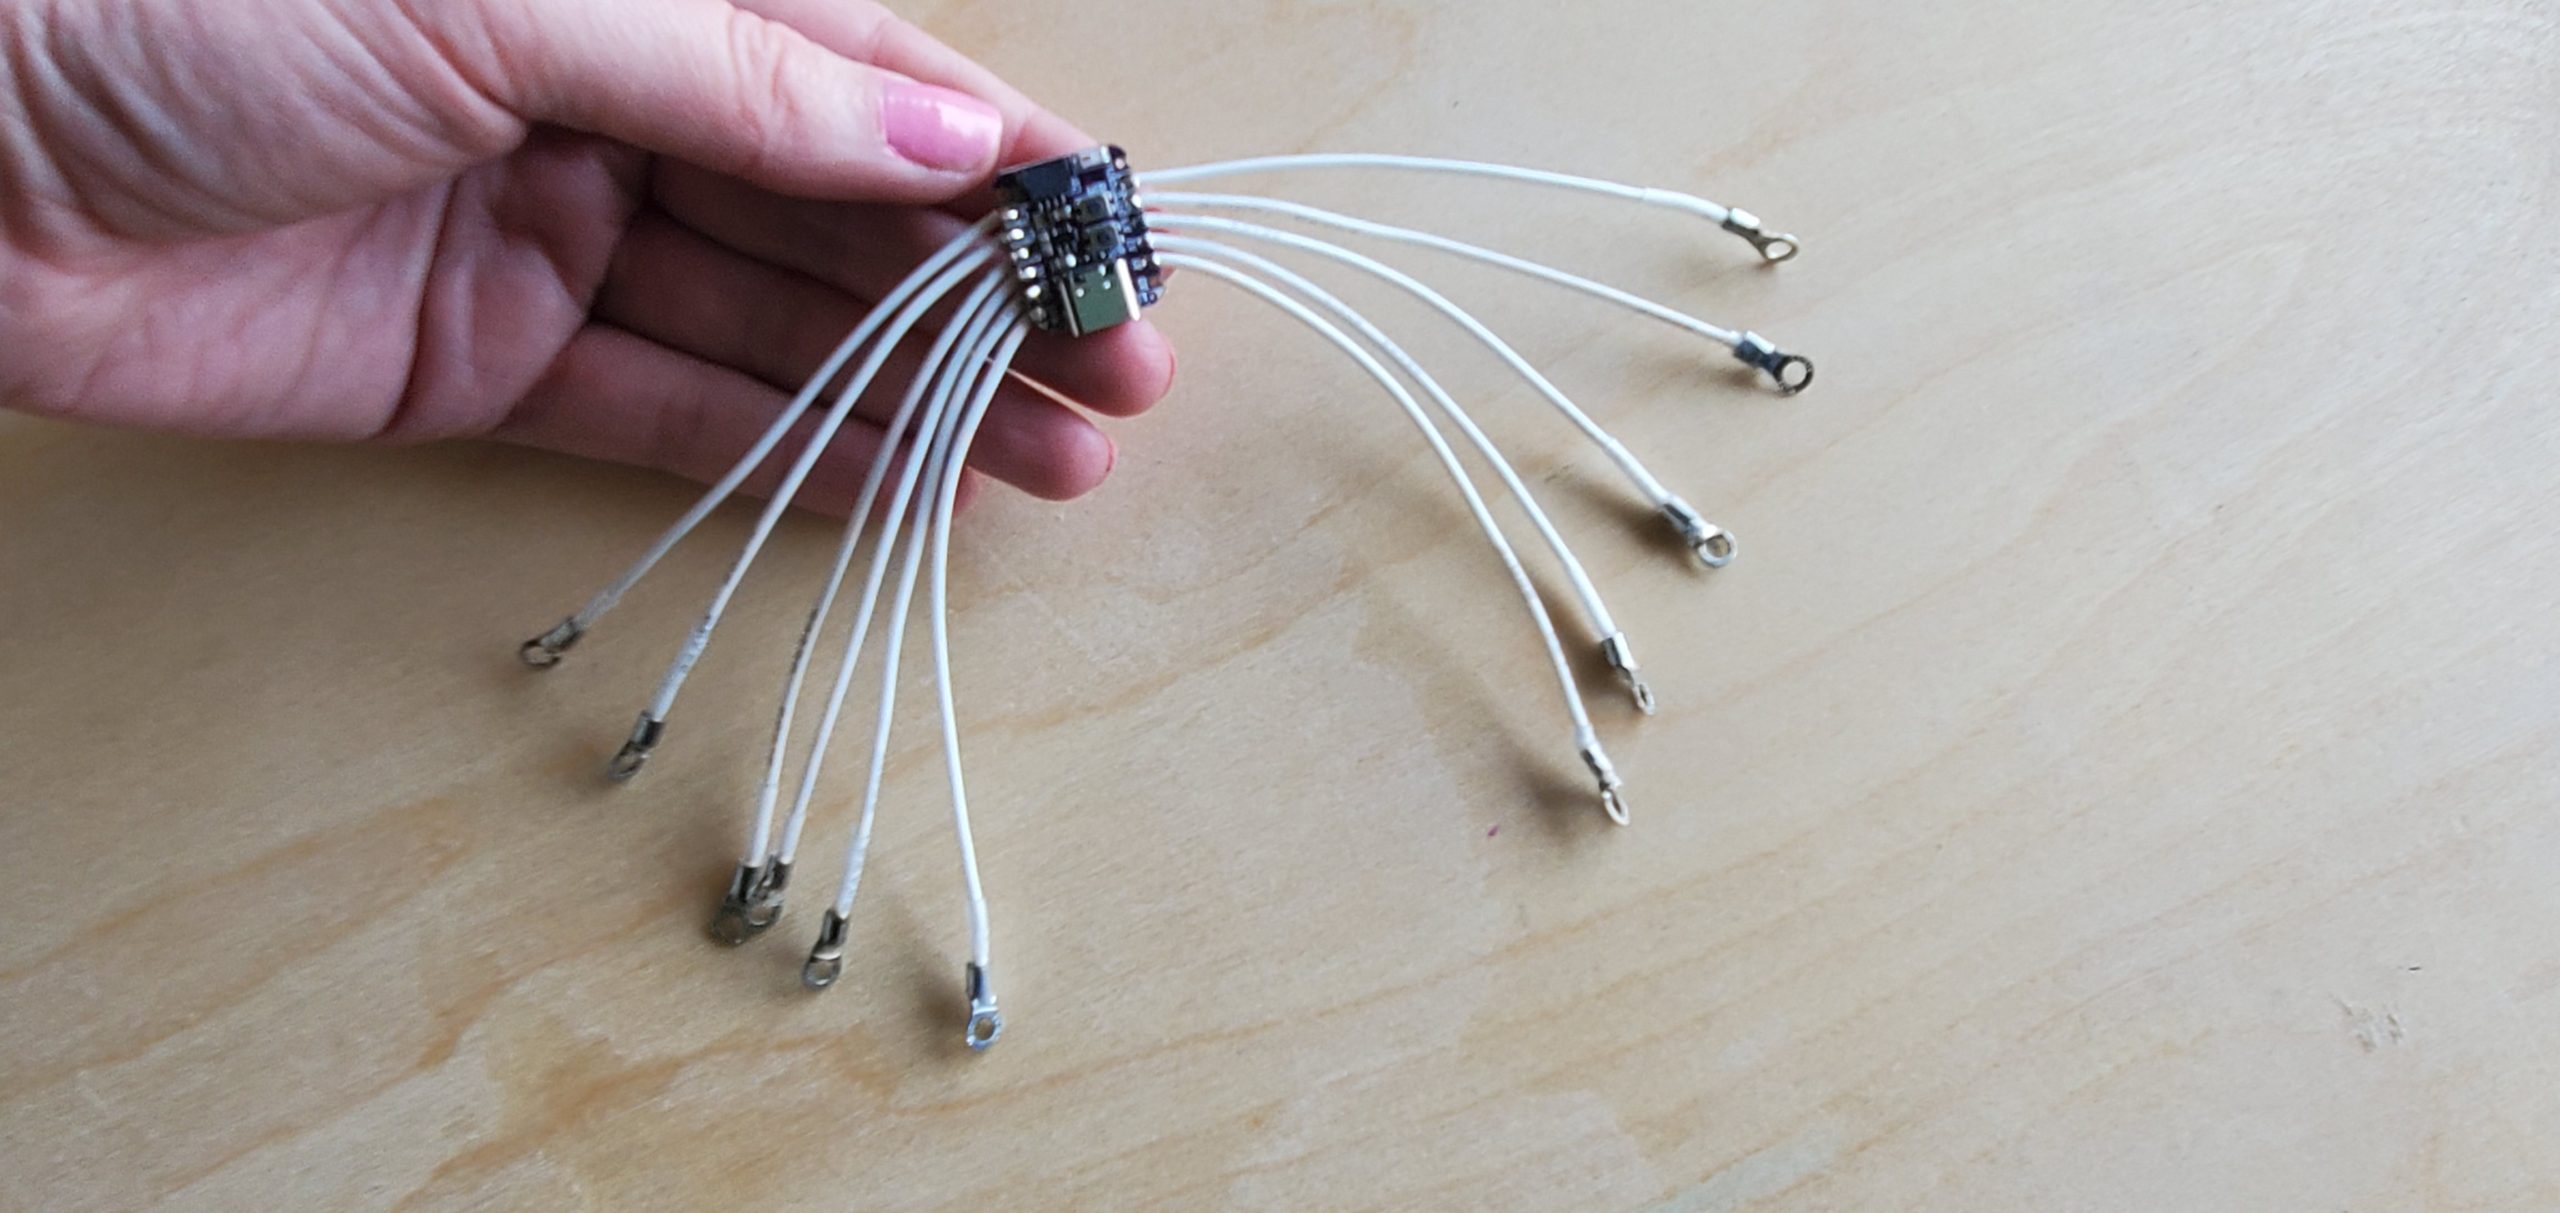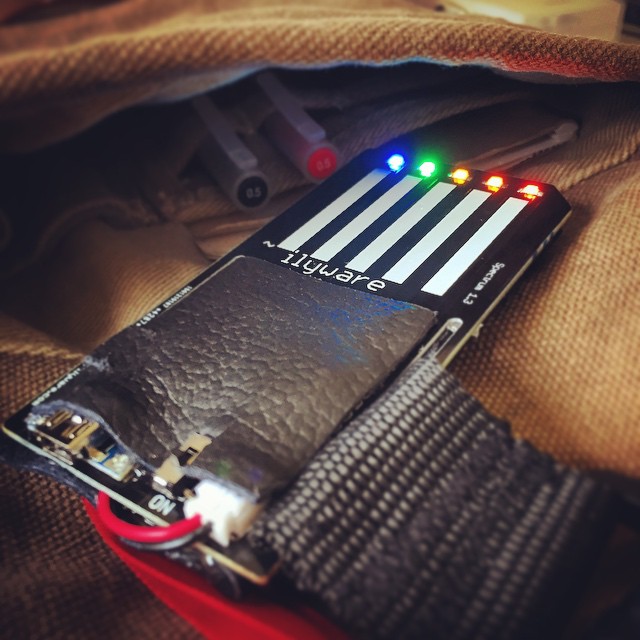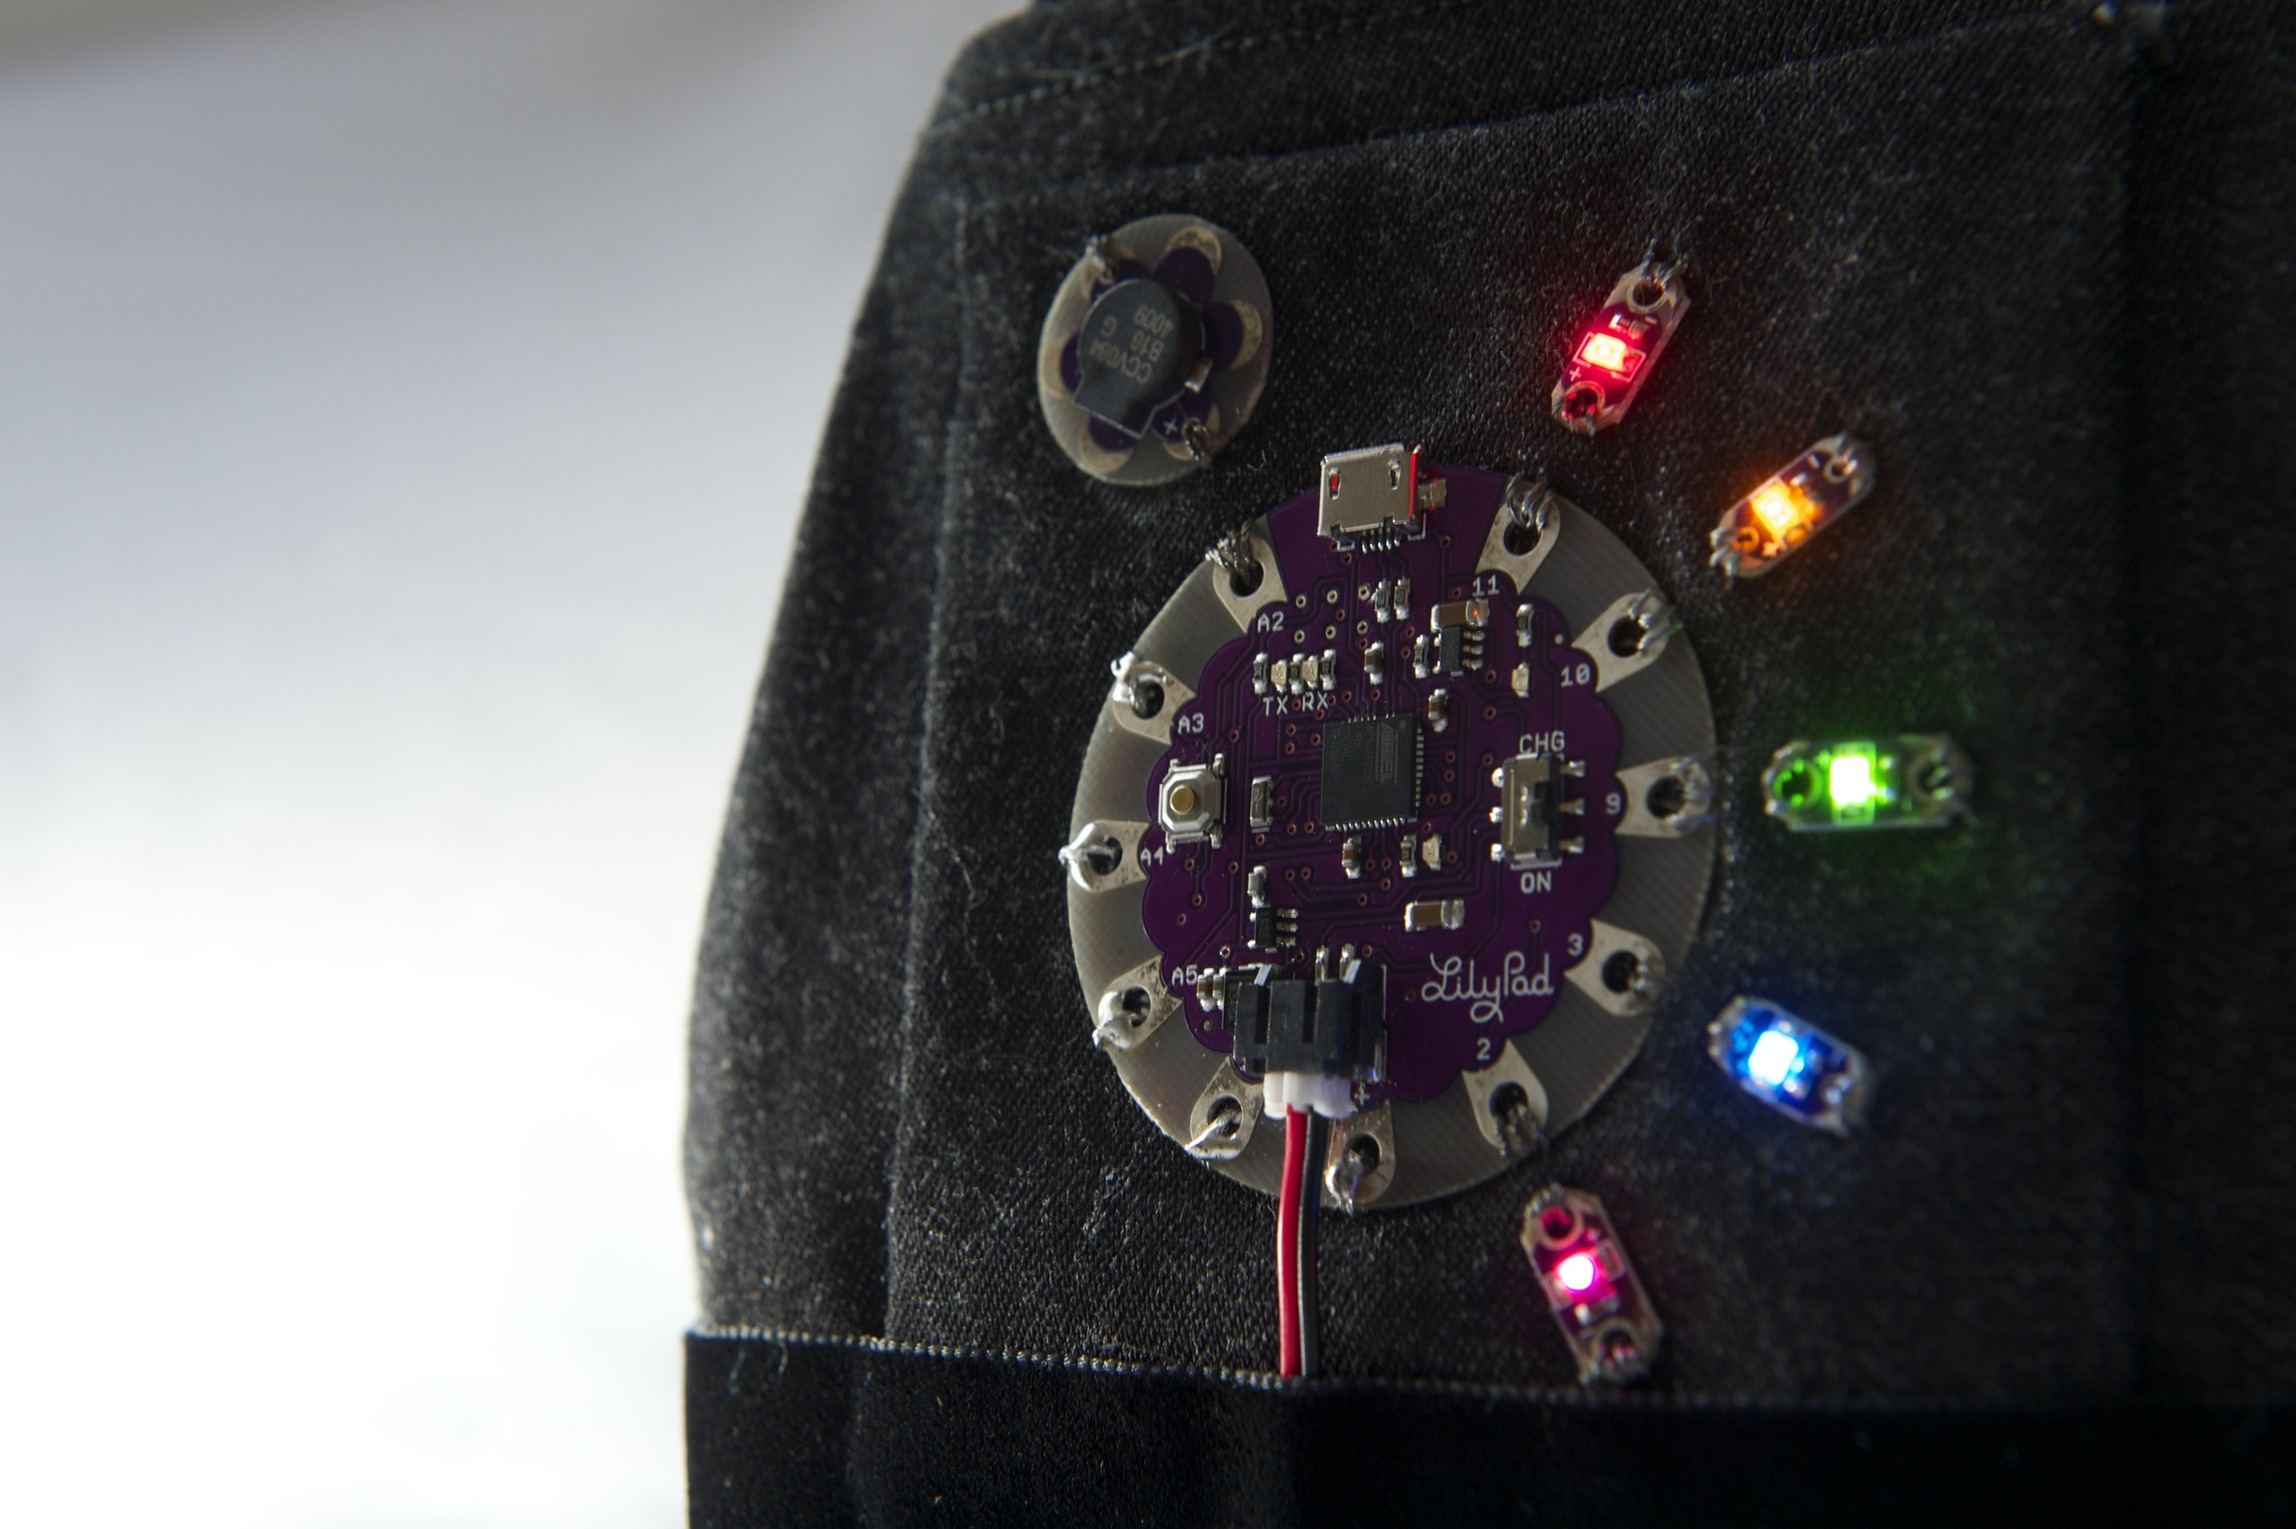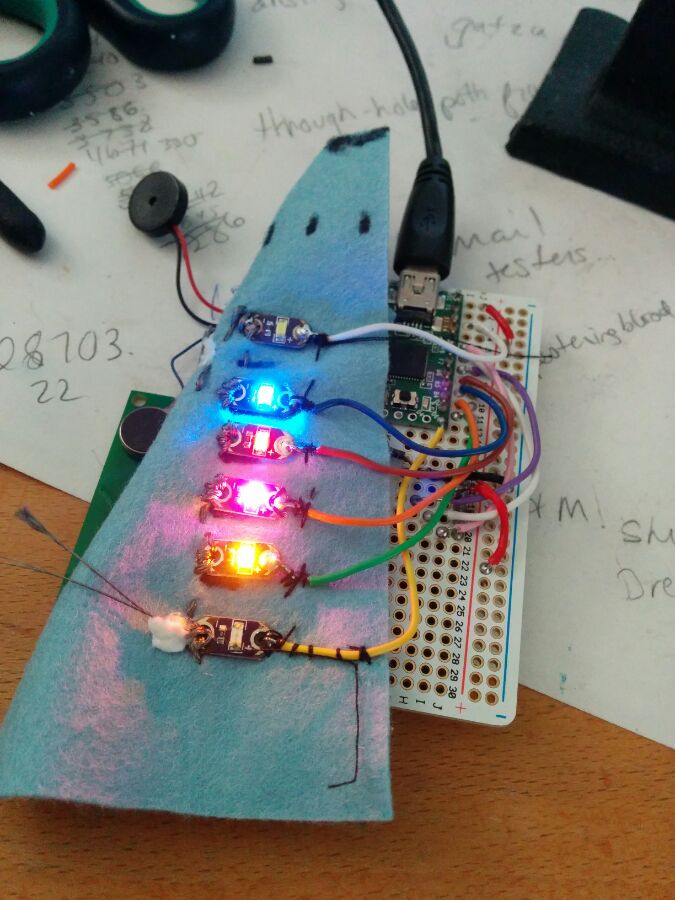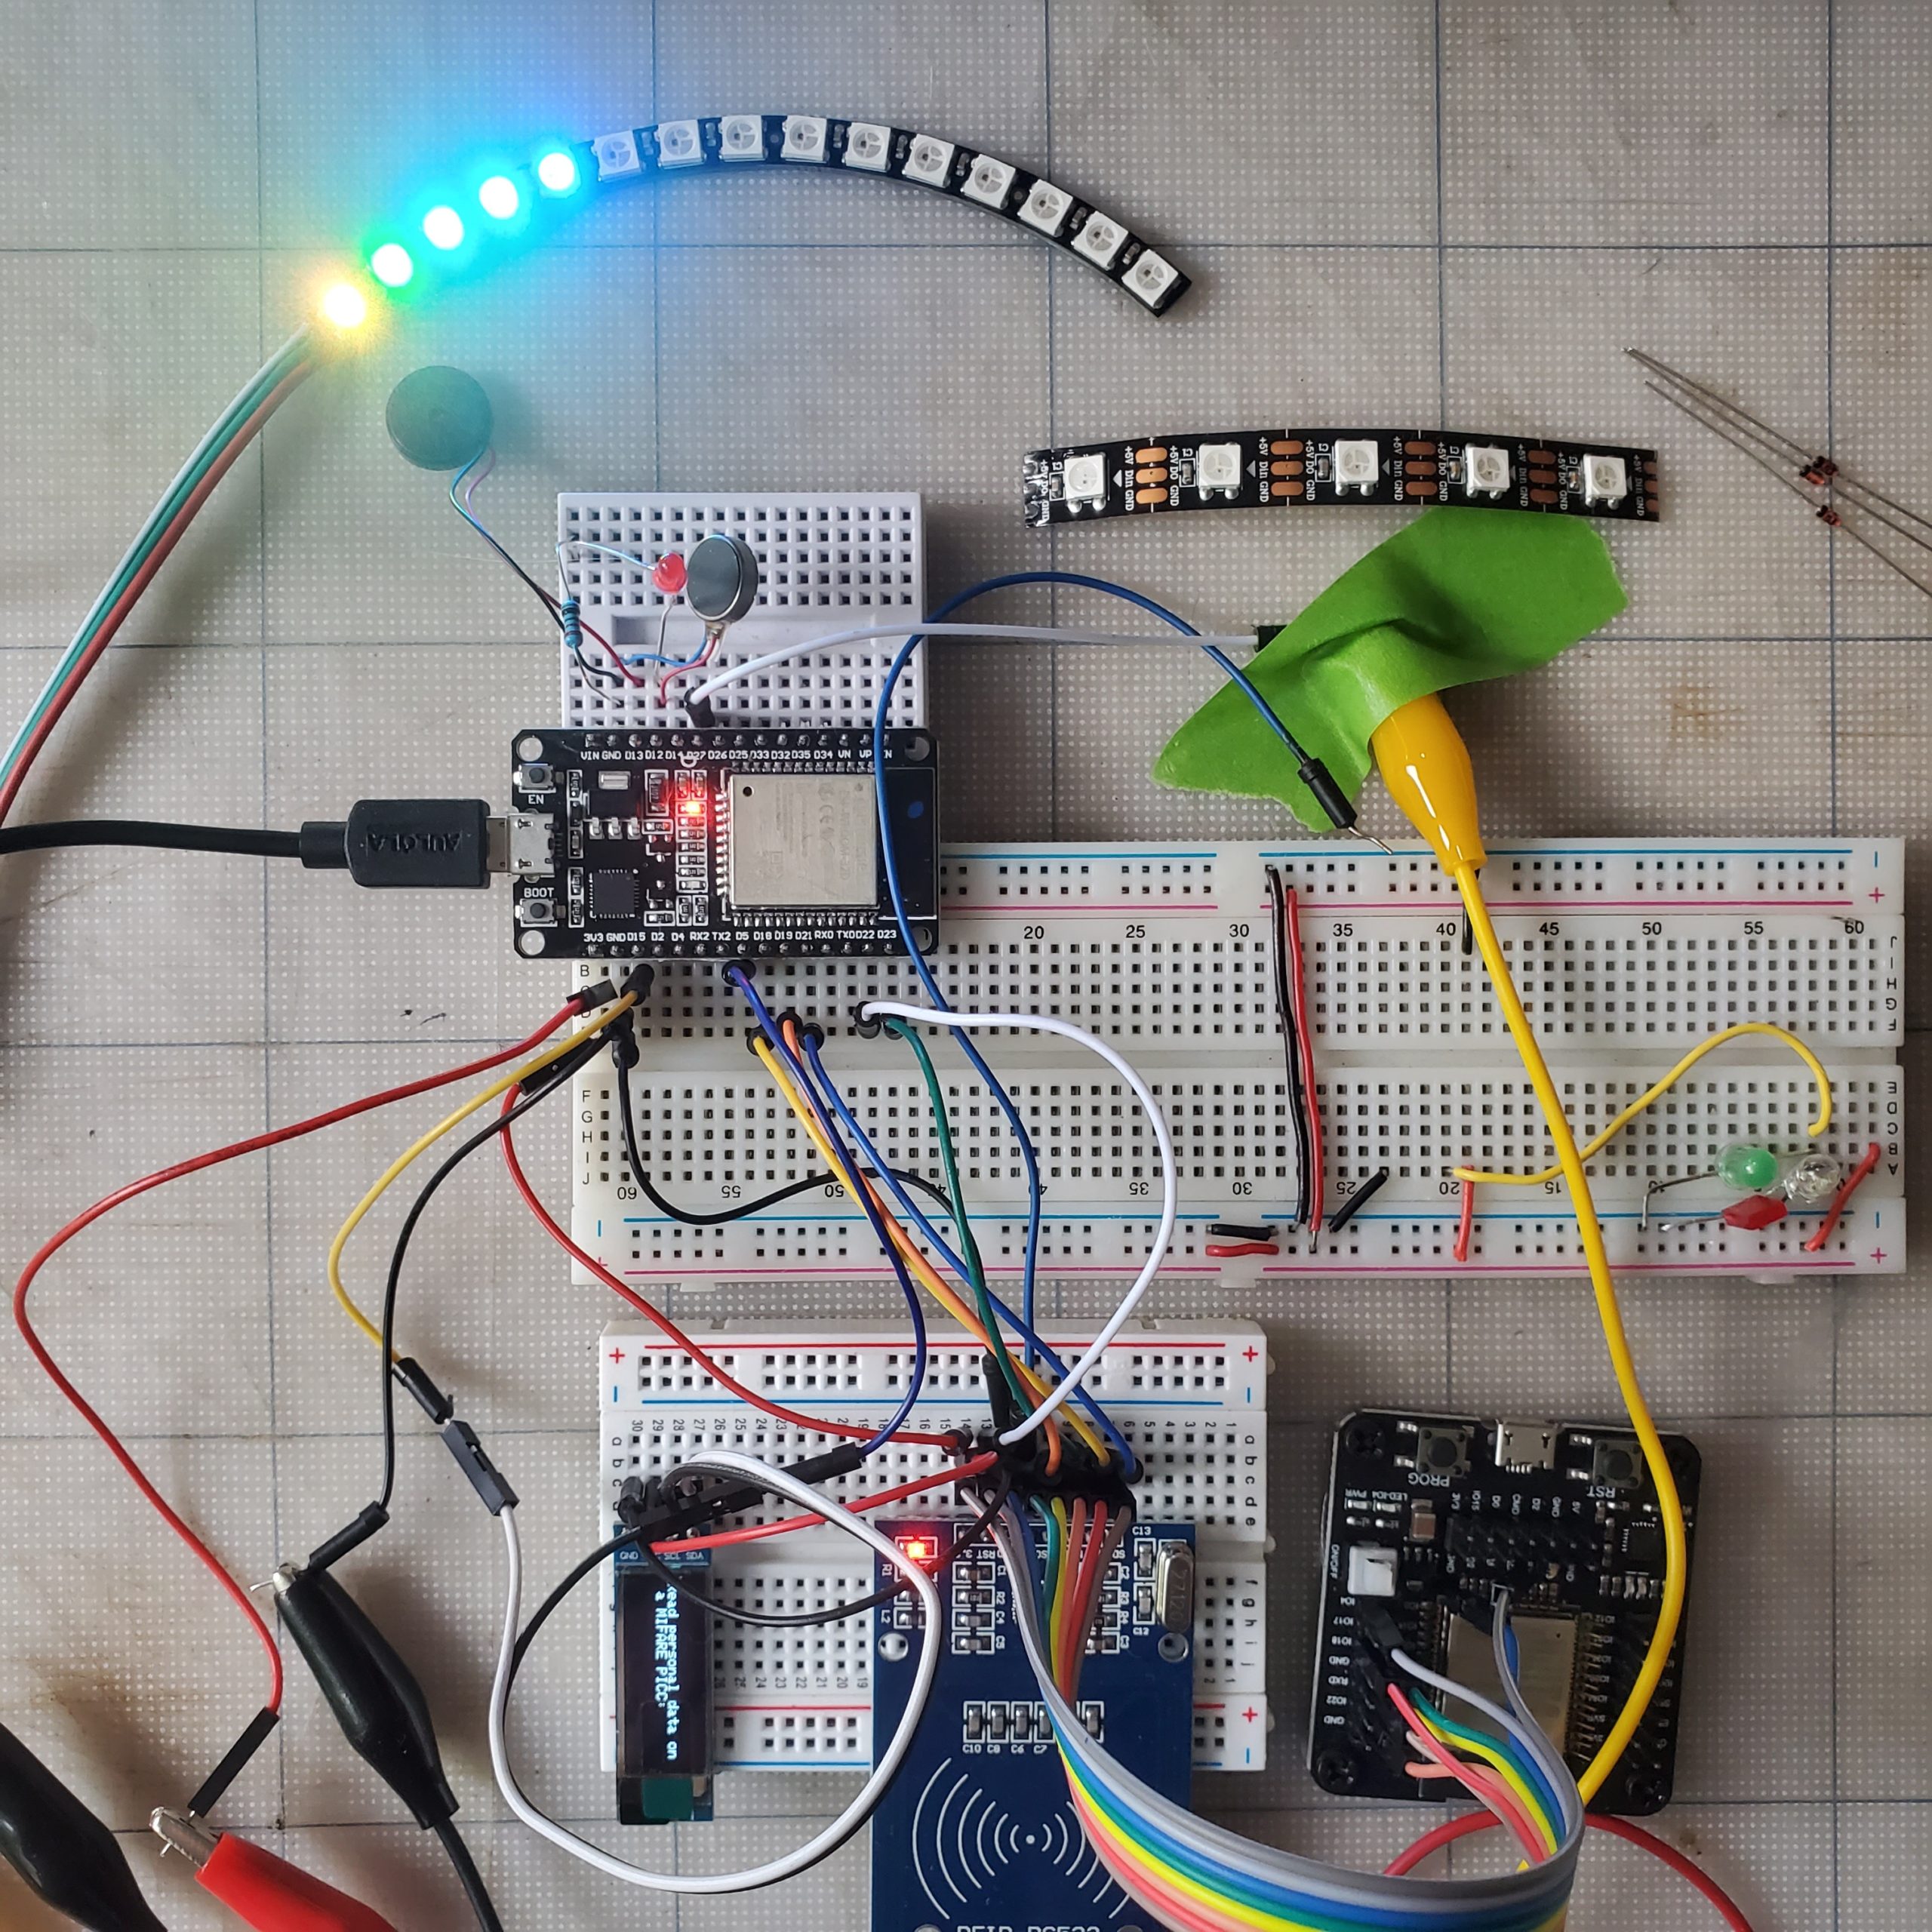
This is an information post mostly for myself – I spent a lot of time trying to program my ESP32 using the OTA functionality of it and some of it is a bit clumsy. I created a board that I will be soldering the chip version of the ESP and this particular board I won’t have any pin outs for it.
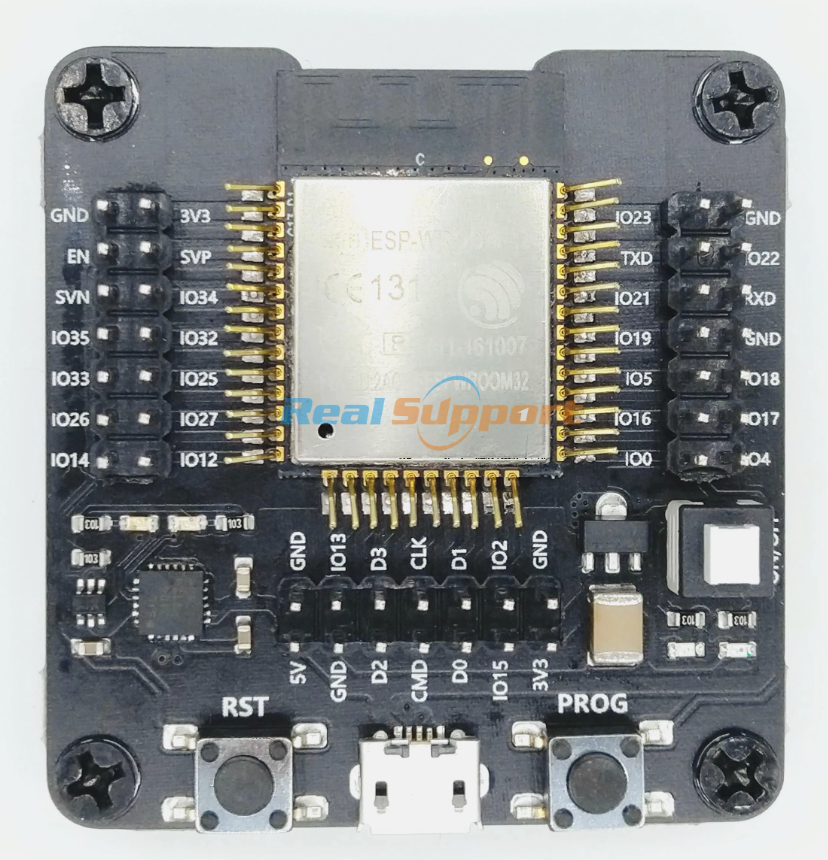
This is because it’s purpose built and has the components / sensors already broken out. The ESP needs to be initially programmed, which I can use a programmer for before I mount the chip.
Once the chip is mounted, I won’t be able to remove it easily to update or modify my code. So, I knew using OTA would be a necessity.
I searched for some tutorials to start to understand the principles of how it will work and came across these videos which seem to be the best BUT the code differs on them, and it differs to the code in the git hub too!
The code and videos
This is the repository for where the code is https://github.com/SensorsIot/ESP32-OTA
Super important!
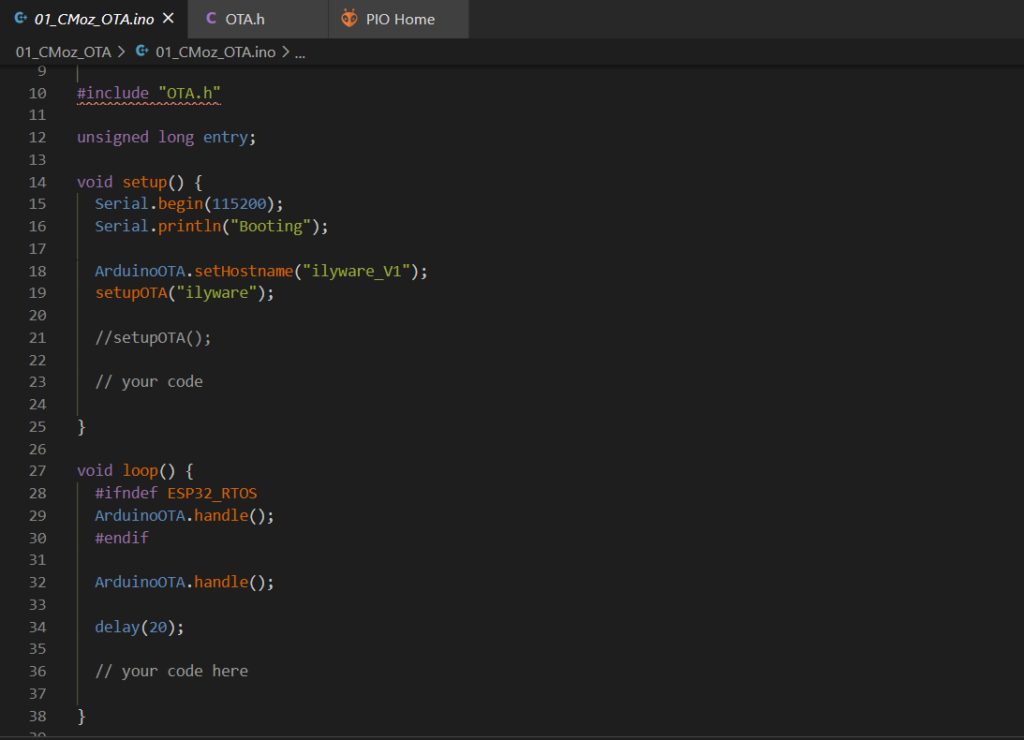
This needs to be uploaded with your actual code every time or it will lose the ability to be OTA and you will need to plug in your board.
Save this file. Great advice from the video but if you name the file with a ‘0’ in place of the ‘O’ it will come up top of your file list which is really handy.
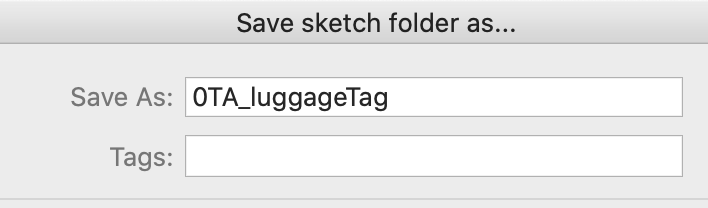
Then in Arduino, go to the sketch menu and ‘add file’ or I went to the little drop-down arrow in the Arduino window to create a new tab. You then can create a new file this way.
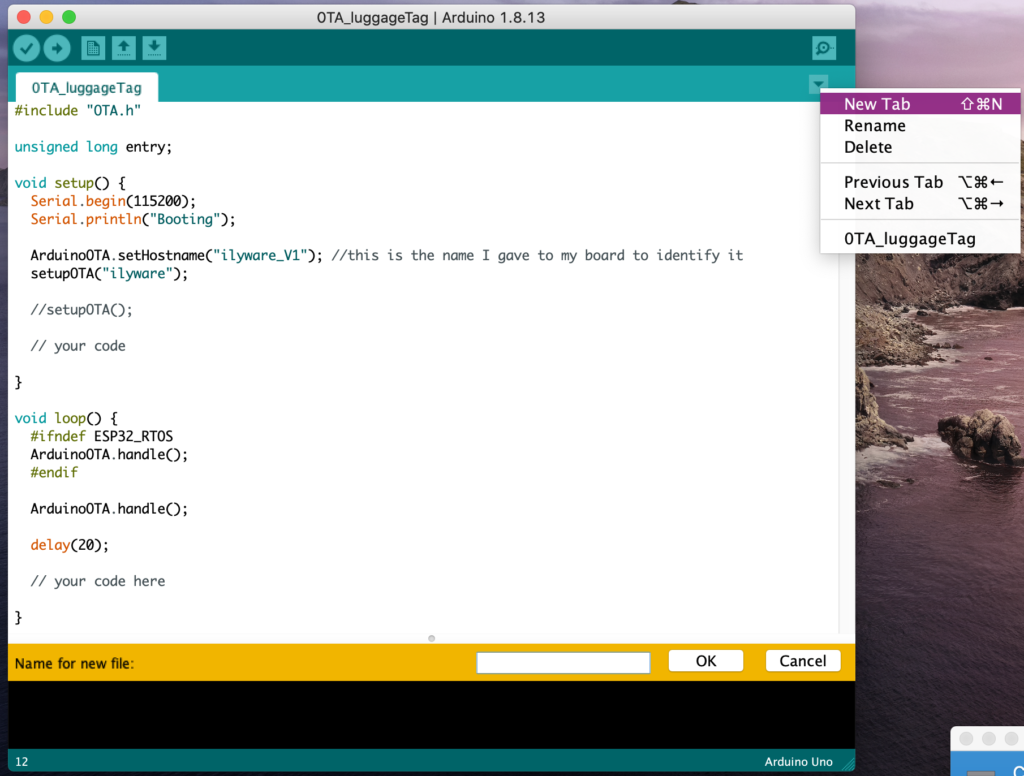
The new file name is OTA.h

Both files of code :
/*
 * USE THIS FOR ALL NEW BOARDS
 * TO ENABlE WIRELESS UPLOAD OF CODE
 * @CMoz
 * Working and uploaded code to ESP 32 board
 *
 * edited oct 2020
 */

#include "OTA.h"

unsigned long entry;

void setup() {
  Serial.begin(115200);
  Serial.println("Booting");

  ArduinoOTA.setHostname("ilyware_V1"); //my board name to recognise it
  setupOTA("ilyware");

  //setupOTA();

  // your code

}

void loop() {
  #ifndef ESP32_RTOS
  ArduinoOTA.handle();
  #endif

  ArduinoOTA.handle();

  delay(20);

  // your code here

}
#ifdef ESP32
#include <WiFi.h>
#include <ESPmDNS.h>
#else
#include <ESP8266WiFi.h>
#include <ESP8266mDNS.h>
#endif
#include <WiFiUdp.h>
#include <ArduinoOTA.h>
#include <credentials.h>
const char* ssid = "your SSID"; // change these
const char* password = "your PASSWORD"; //change these or use the credentials.h file
#if defined(ESP32_RTOS) && defined(ESP32)
void taskOne( void * parameter )
{
ArduinoOTA.handle();
delay(3500);
}
#endif
void setupOTA(const char* nameprefix) {
const int maxlen = 40;
char fullhostname[maxlen];
uint8_t mac[6];
WiFi.macAddress(mac);
snprintf(fullhostname, maxlen, "%s-%02x%02x%02x", nameprefix, mac[3], mac[4], mac[5]);
ArduinoOTA.setHostname(fullhostname);
WiFi.mode(WIFI_STA);
WiFi.begin(ssid, password);
while (WiFi.waitForConnectResult() != WL_CONNECTED) {
Serial.println("Connection Failed! Rebooting...");
delay(5000);
ESP.restart();
}
// Port defaults to 3232
// ArduinoOTA.setPort(3232);
// No authentication by default
// ArduinoOTA.setPassword("admin");
// Password can be set with it's md5 value as well
// MD5(admin) = 21232f297a57a5a743894a0e4a801fc3
// ArduinoOTA.setPasswordHash("21232f297a57a5a743894a0e4a801fc3");
ArduinoOTA.onStart([]() {
String type;
if (ArduinoOTA.getCommand() == U_FLASH)
type = "sketch";
else // U_SPIFFS
type = "filesystem";
// NOTE: if updating SPIFFS this would be the place to unmount SPIFFS using SPIFFS.end()
Serial.println("Start updating " + type);
});
ArduinoOTA.onEnd([]() {
Serial.println("\nEnd");
});
ArduinoOTA.onProgress([](unsigned int progress, unsigned int total) {
Serial.printf("Progress: %u%%\r", (progress / (total / 100)));
});
ArduinoOTA.onError([](ota_error_t error) {
Serial.printf("Error[%u]: ", error);
if (error == OTA_AUTH_ERROR) Serial.println("Auth Failed");
else if (error == OTA_BEGIN_ERROR) Serial.println("Begin Failed");
else if (error == OTA_CONNECT_ERROR) Serial.println("Connect Failed");
else if (error == OTA_RECEIVE_ERROR) Serial.println("Receive Failed");
else if (error == OTA_END_ERROR) Serial.println("End Failed");
});
ArduinoOTA.begin();
Serial.println("OTA Initialized");
Serial.print("IP address: ");
Serial.println(WiFi.localIP());
#if defined(ESP32_RTOS) && defined(ESP32)
xTaskCreate(
ota_handle, /* Task function. */
"OTA_HANDLE", /* String with name of task. */
10000, /* Stack size in bytes. */
NULL, /* Parameter passed as input of the task */
1, /* Priority of the task. */
NULL); /* Task handle. */
#endif
}Also check that you have the correct libraries installed.
Wait – Do you have the Library for OTA installed?
You’ll need to have the OTA library installed to get this examples folder with sketches. For a quick tutorial on how to add an item to the library, here is a quick guide to installing Libraries with Arduino to get you up and running. [Beta Arduino 2.0.0 guide]
If you know how to then just go ahead and add the library.
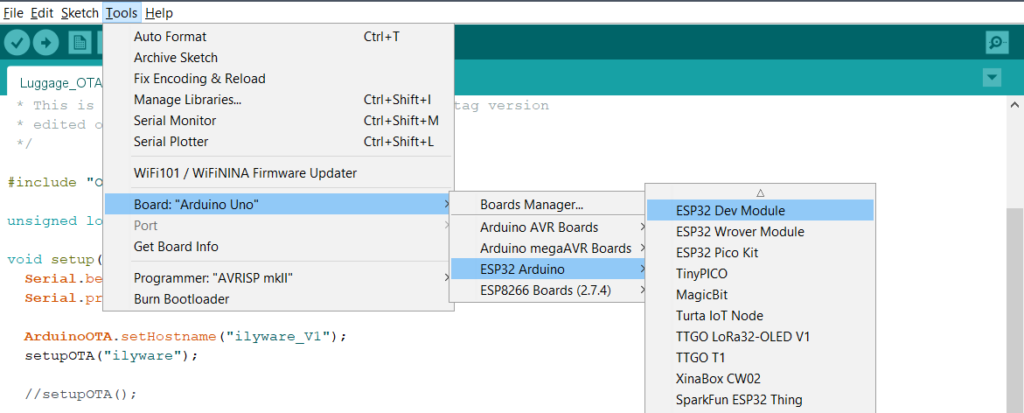
Upload your code to your board, make sure you have the correct board and port selected.
Hope that helps! It’s great to be able to upload once you’re project has been put in a case or mounted somewhere!