The library manager you will use a lot when you’re making fun projects with Arduino. Libraries provide your sketches with extra functionality.
NOTE: If you’ve got the older stable version of Arduino you may be looking for that guide. A quick guide to installing Libraries with Arduino 1.8 to get you up and running.
What are Libraries? From the Arduino website, “Libraries are a collection of code that makes it easy for you to connect to a sensor, display, module, etc. For example, the built-in LiquidCrystal library makes it easy to talk to character LCD displays. There are hundreds of additional libraries available on the Internet for download.”.
They can be written by anyone, and you can create your own and share it. When I last checked there were over 4000 libraries!
I’ll jump right in so you’ve got the basic steps on adding libraries to your code.
Accessing the Library Manager, to add libraries
The Library manager in the new version of Arduino, is very easy to access. It is the 3rd icon down on the left menu. This is where you can access the Libraries.
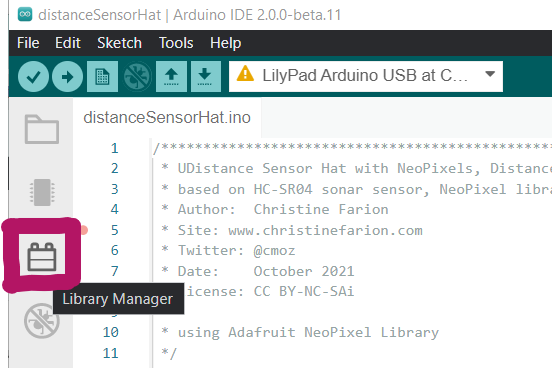
That will open up that side menu area, super quick!
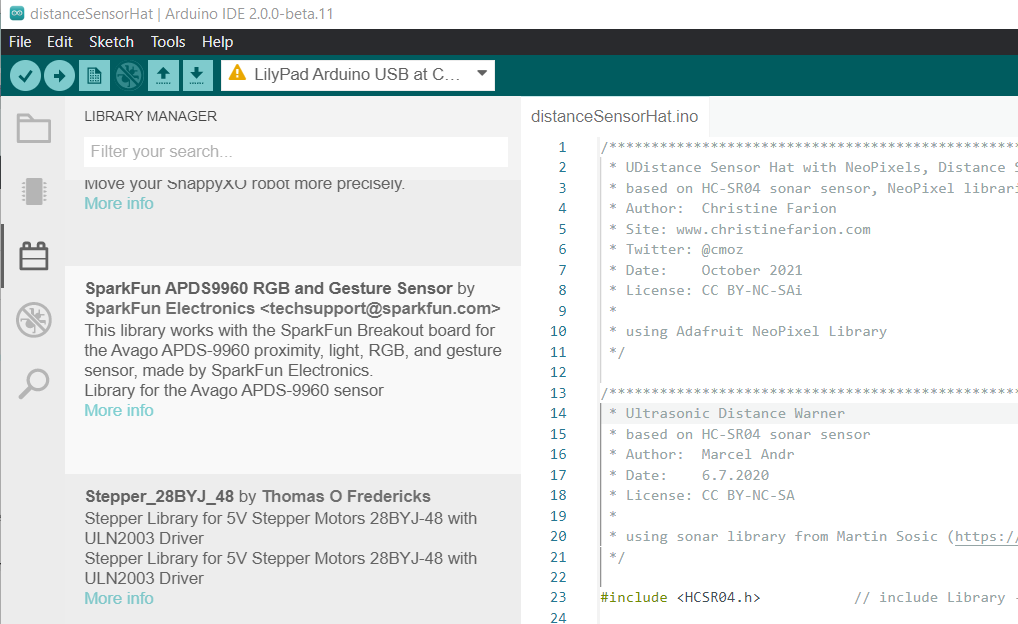
You might know which library you want to install. Type in the name or part of the component you want to add a library for.
This will show you what libraries are available.
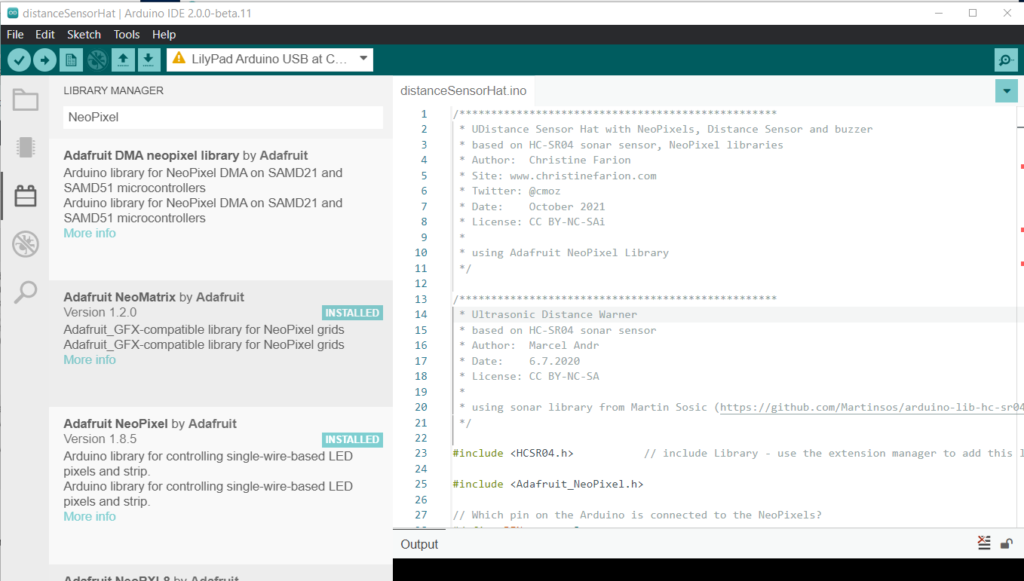
Once you have installed the library – and it might take a little time to download, then it will say ‘installed’ on that item. You can also select a different version.
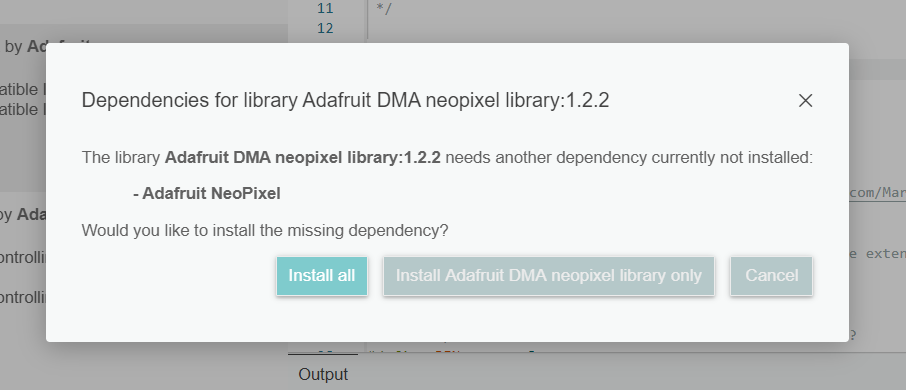
Also, if the library you want to install has other items that it depends on, you will get a little warning screen and the option to install those as well.
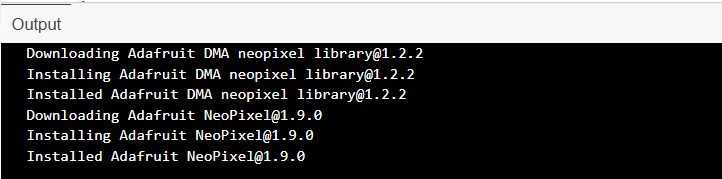
The output window will show you the state of the download and if it was successful.
You’ve downloaded a library .zip file? An alternative way to add libraries.
Sometimes you might follow a tutorial and then they provide a download link to a library. You can still add this library to the libraries folder. Once the .zip file has been downloaded onto your computer, go to the menu
SKETCH > INCLUDE LIBRARY > ADD .ZIP LIBRARY

Now go to the folder where you downloaded that file and select it.
Example sketches
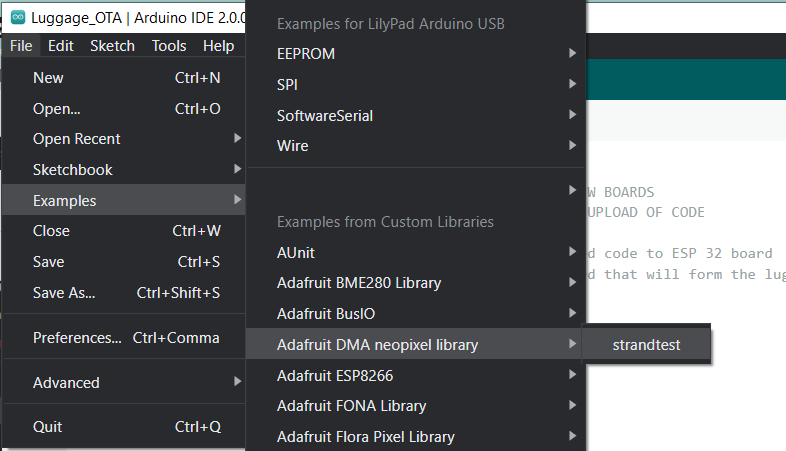
When it installs the library, it will typically install some example code files as well. These will be available through the file menu once you’ve clicked on install for the file you want.
Using the libraries installed…
To use the library, insert an #include statement at the top of your sketch for each header (.h) file in the library’s folder.
#include <Adafruit_NeoPixel.h>That’s it! Have fun! 😀