Chain Reaction was an idea for a project by Mil Stricevic at The Glasgow School of Art. Over the course of the week we provided tutorials and ran the week-long teaching Arduino event for the Product Design students.
The Writeup
Previously, this would be a week-long event that happens in studio. With no access during the Covid restrictions, we all had to improvise and adapt how this was going to be taught. We then created a version that would be taught and exhibited online.
Their Challenge
…using motors / servos or some movement component with their Arduino, and then ‘connect’ to their teammates to create a chain reaction. It would also have to use a sensor of some sort to activate that motor.
Learning Curve
The first time we delivered this session was a bit of a learning curve. Our documentation was done using a Notion page that the students could access. This created a great way to have a ‘live’ document that we could update. If they had questions or found great resources we could just alter or add to the Notion.
Resources were created online for the students to follow as well as introductory sessions. Once they knew the tasks, they all worked in breakout rooms on Zoom.
SCHEDULE: Monday and Tuesday were the tutorial workshop days. Wednesday was the planning day. Thursday was for building, prototyping, making and breaking. Friday was to record the videos to sync them all up and send for the presentation in the afternoon.
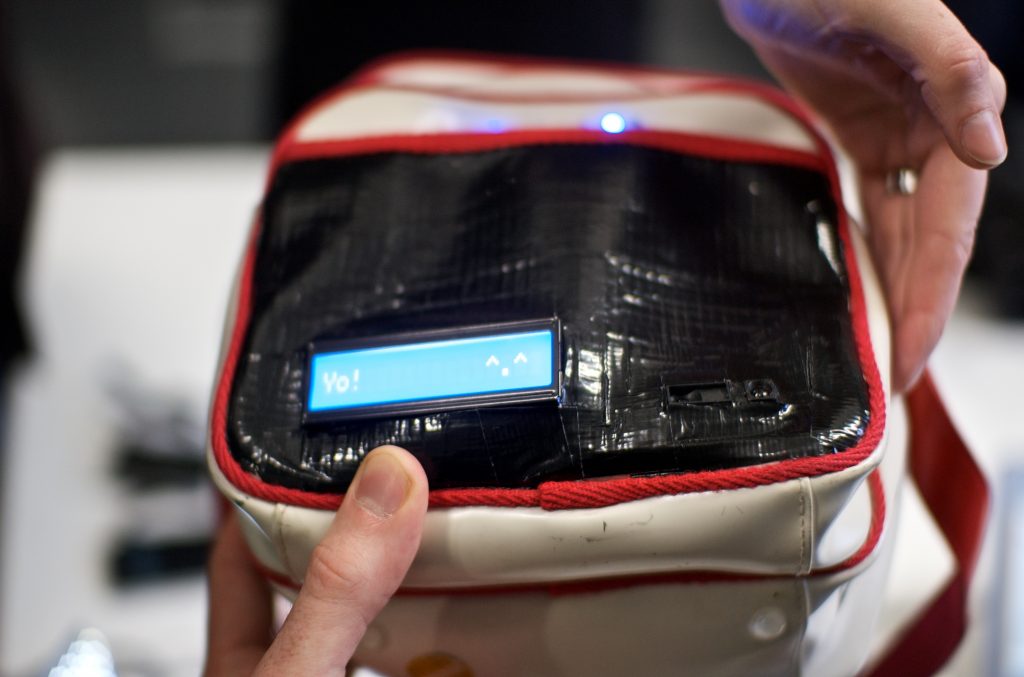
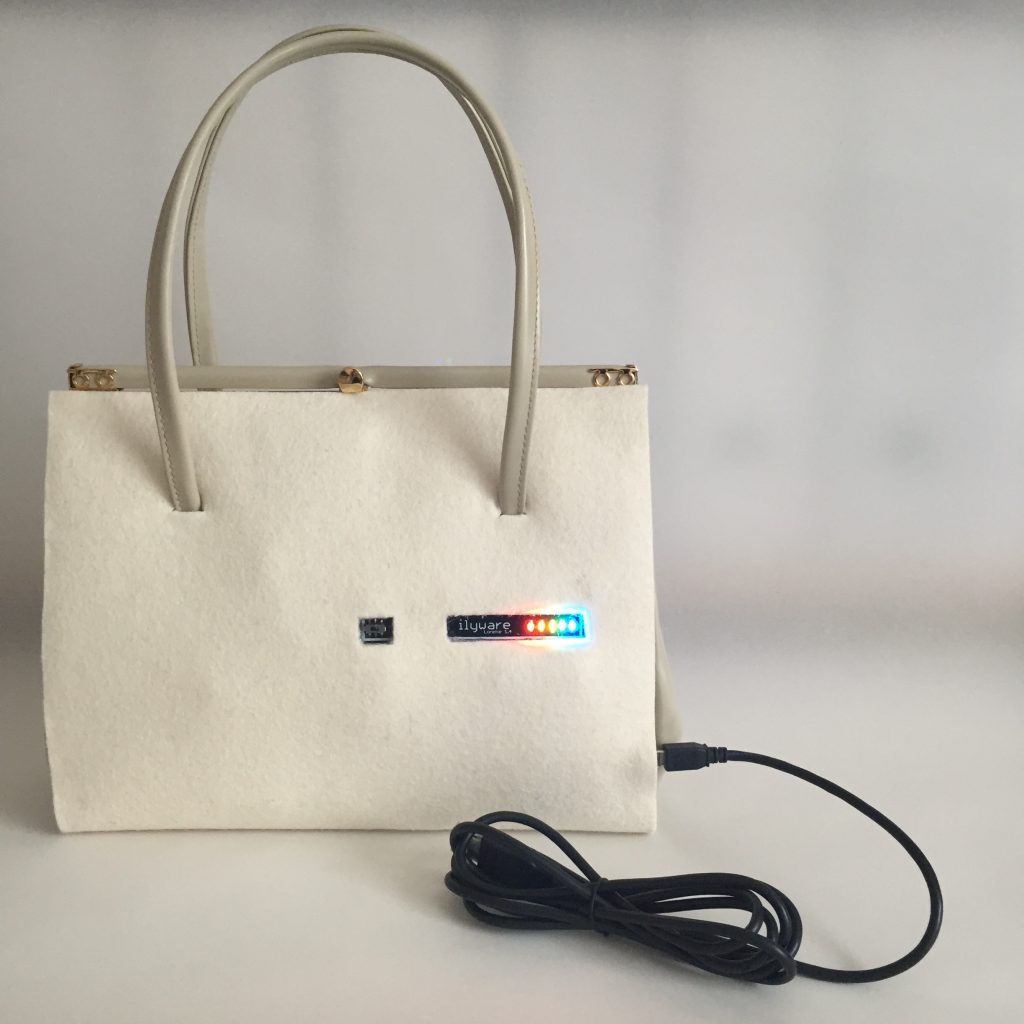
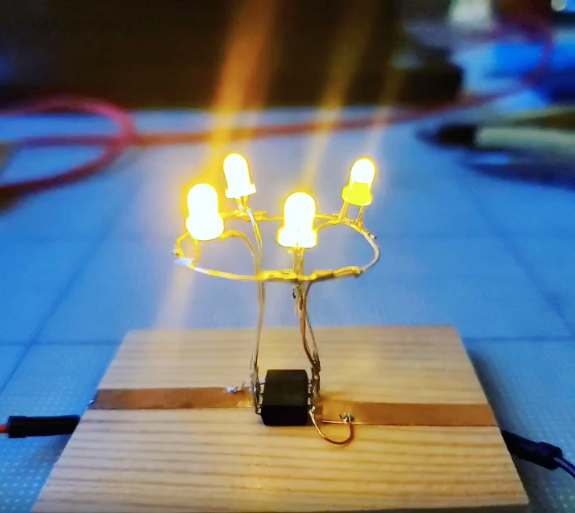
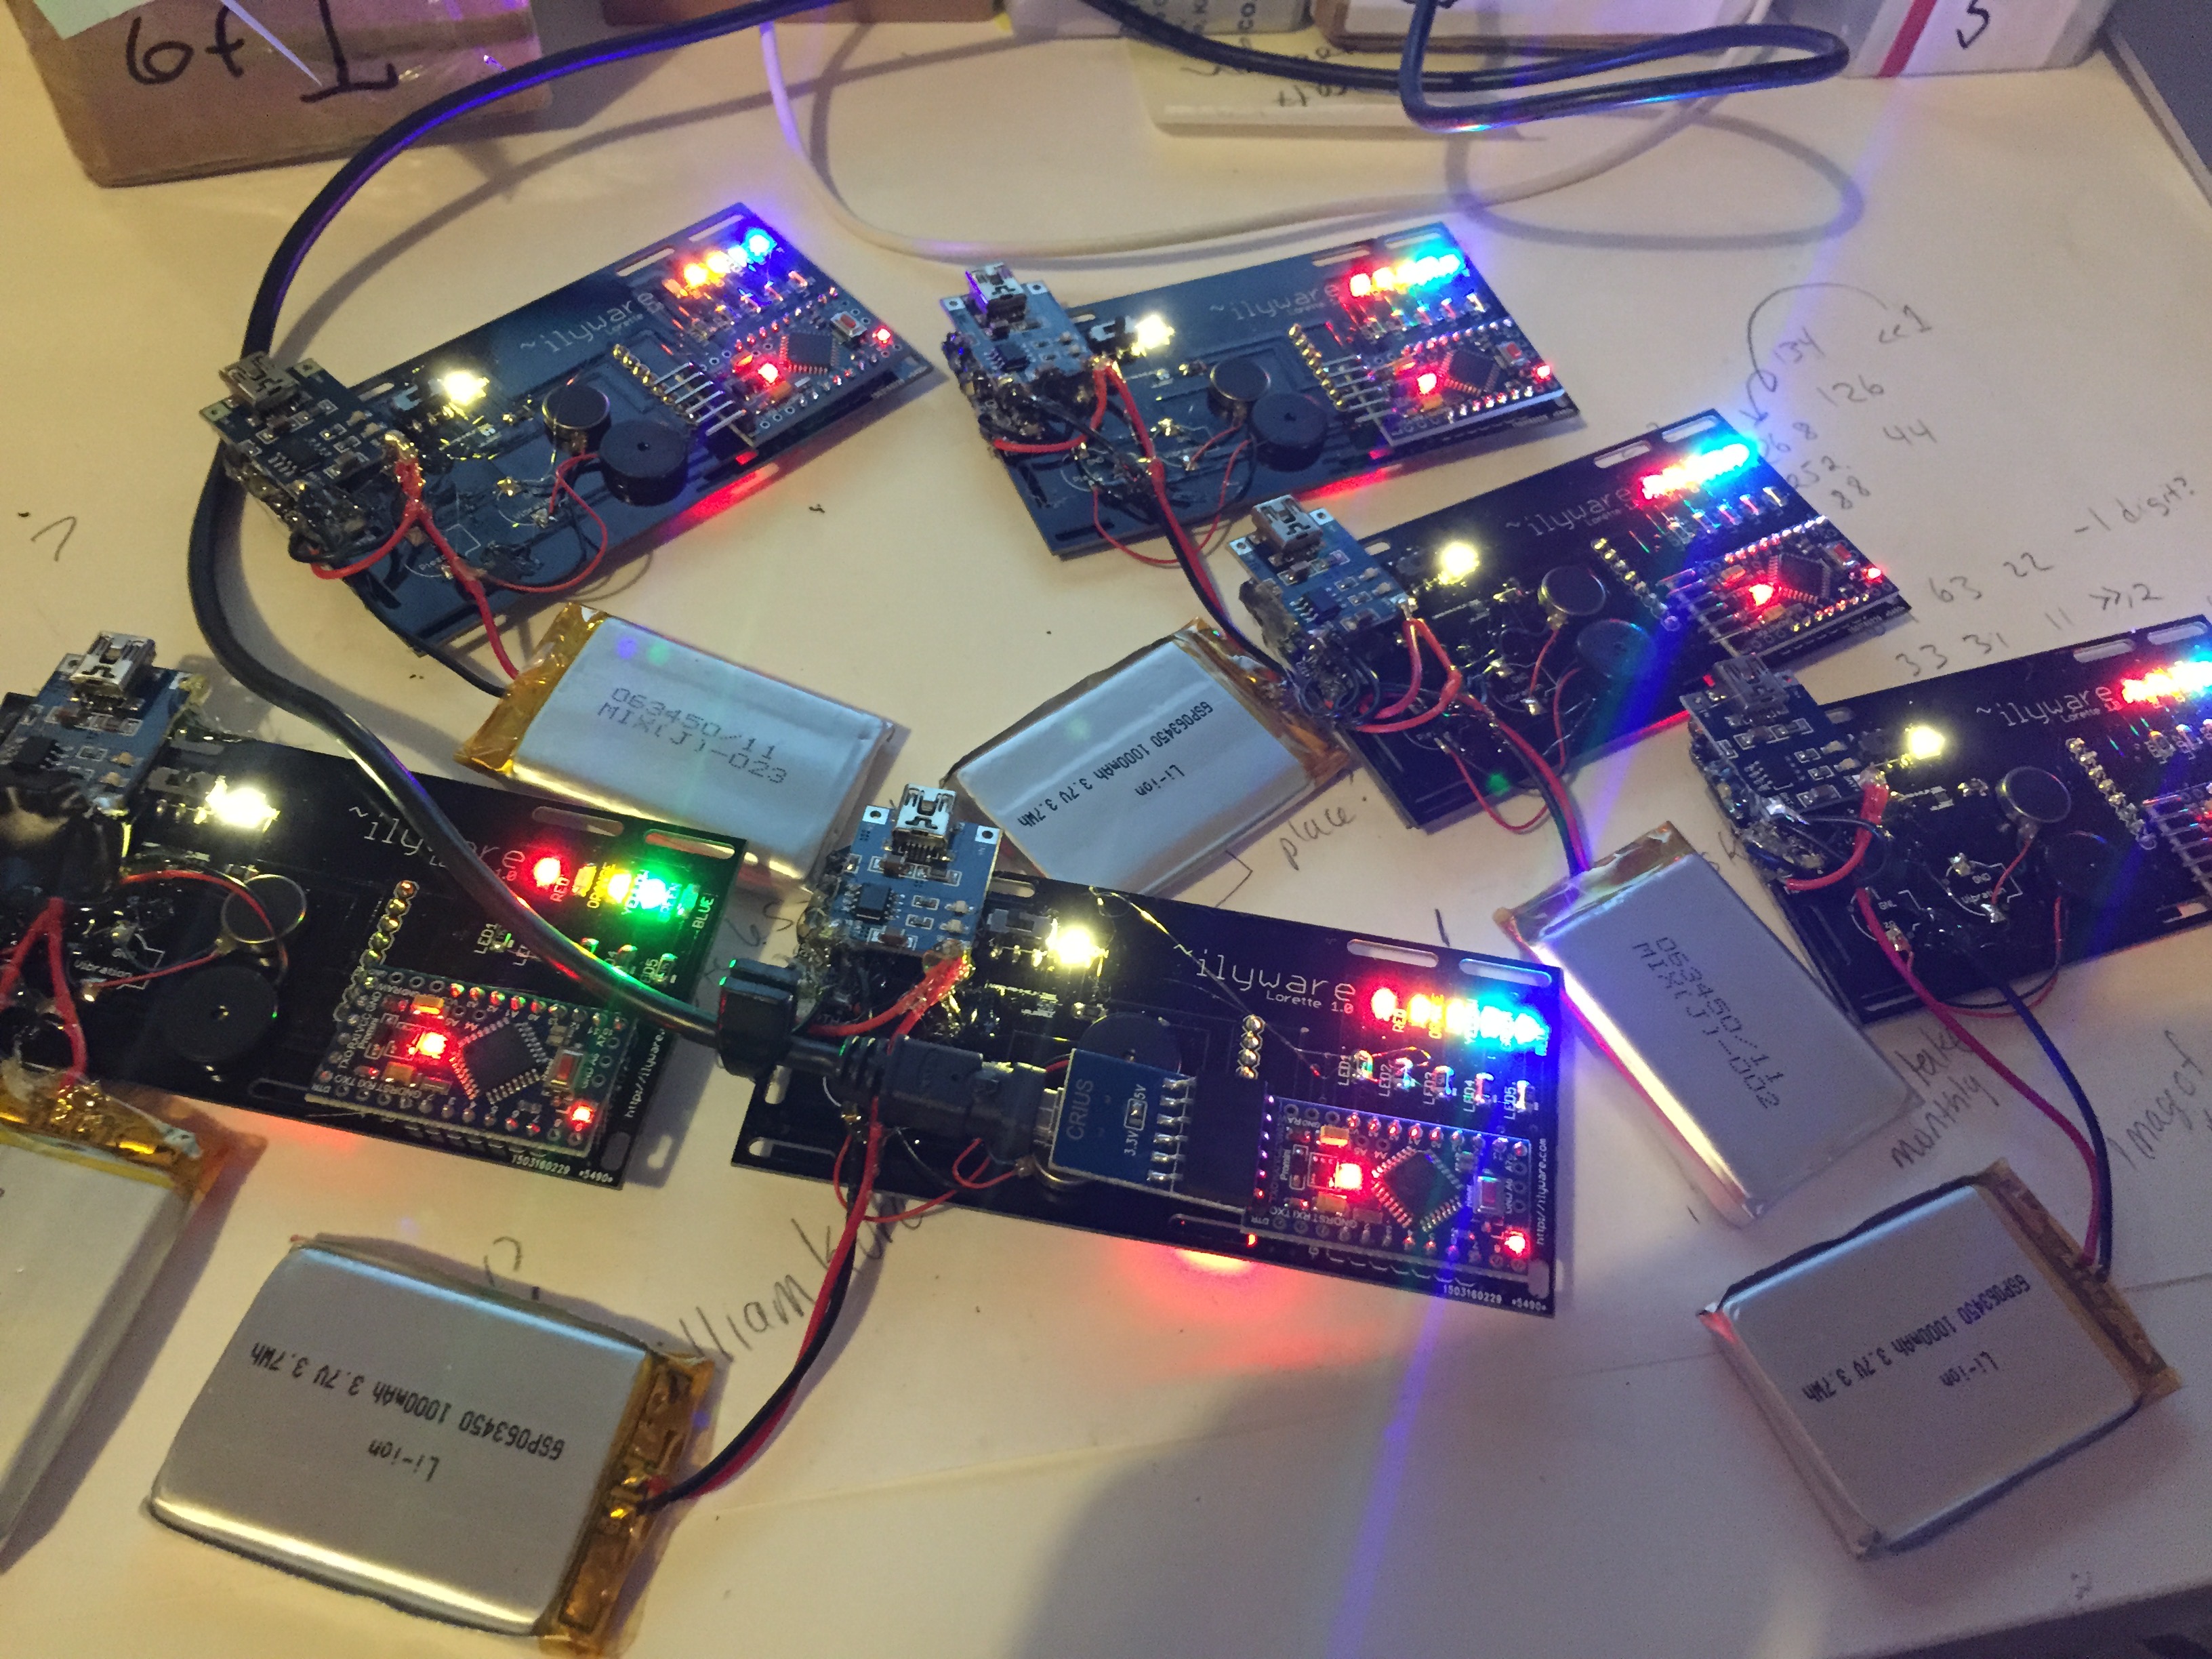
The first time we ran it we think it was pretty successful! The students were very creative! Below is the result of this first attempt.
This prepared us for a second attempt at this activity with another group of students.
Results & Changes
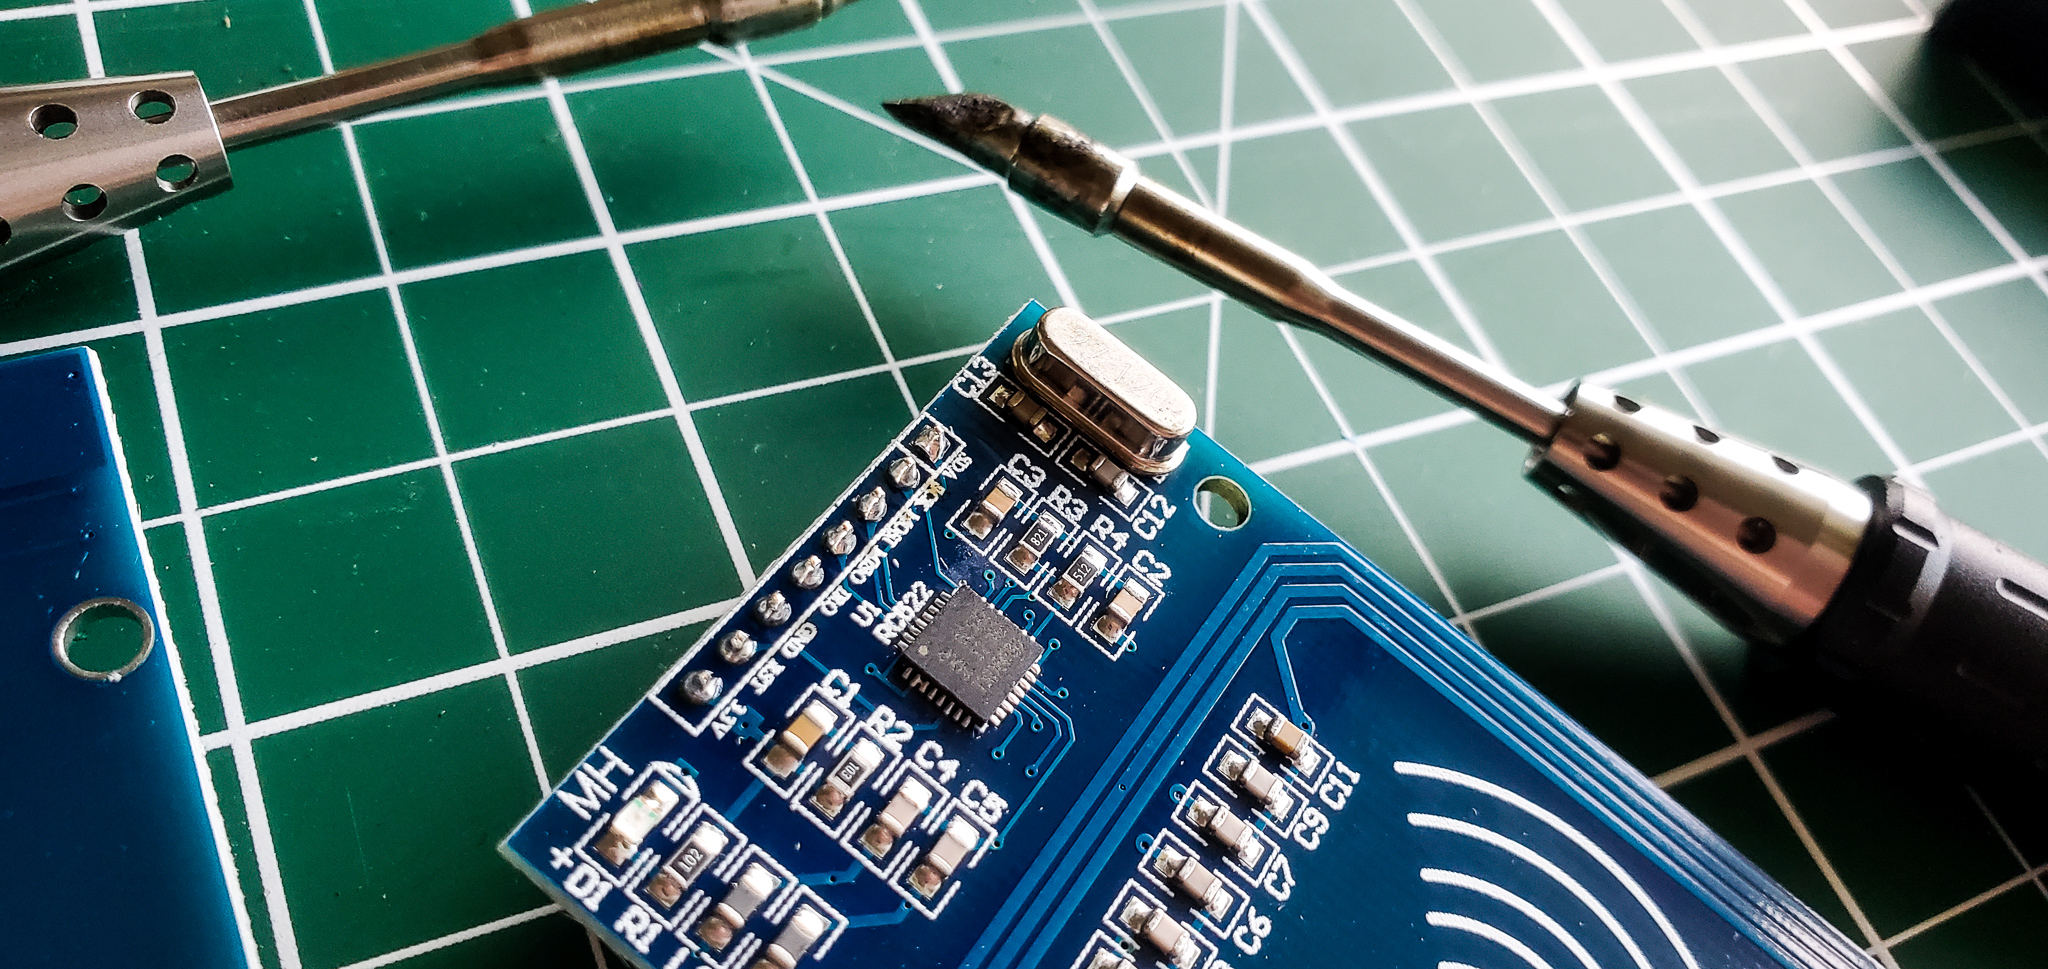
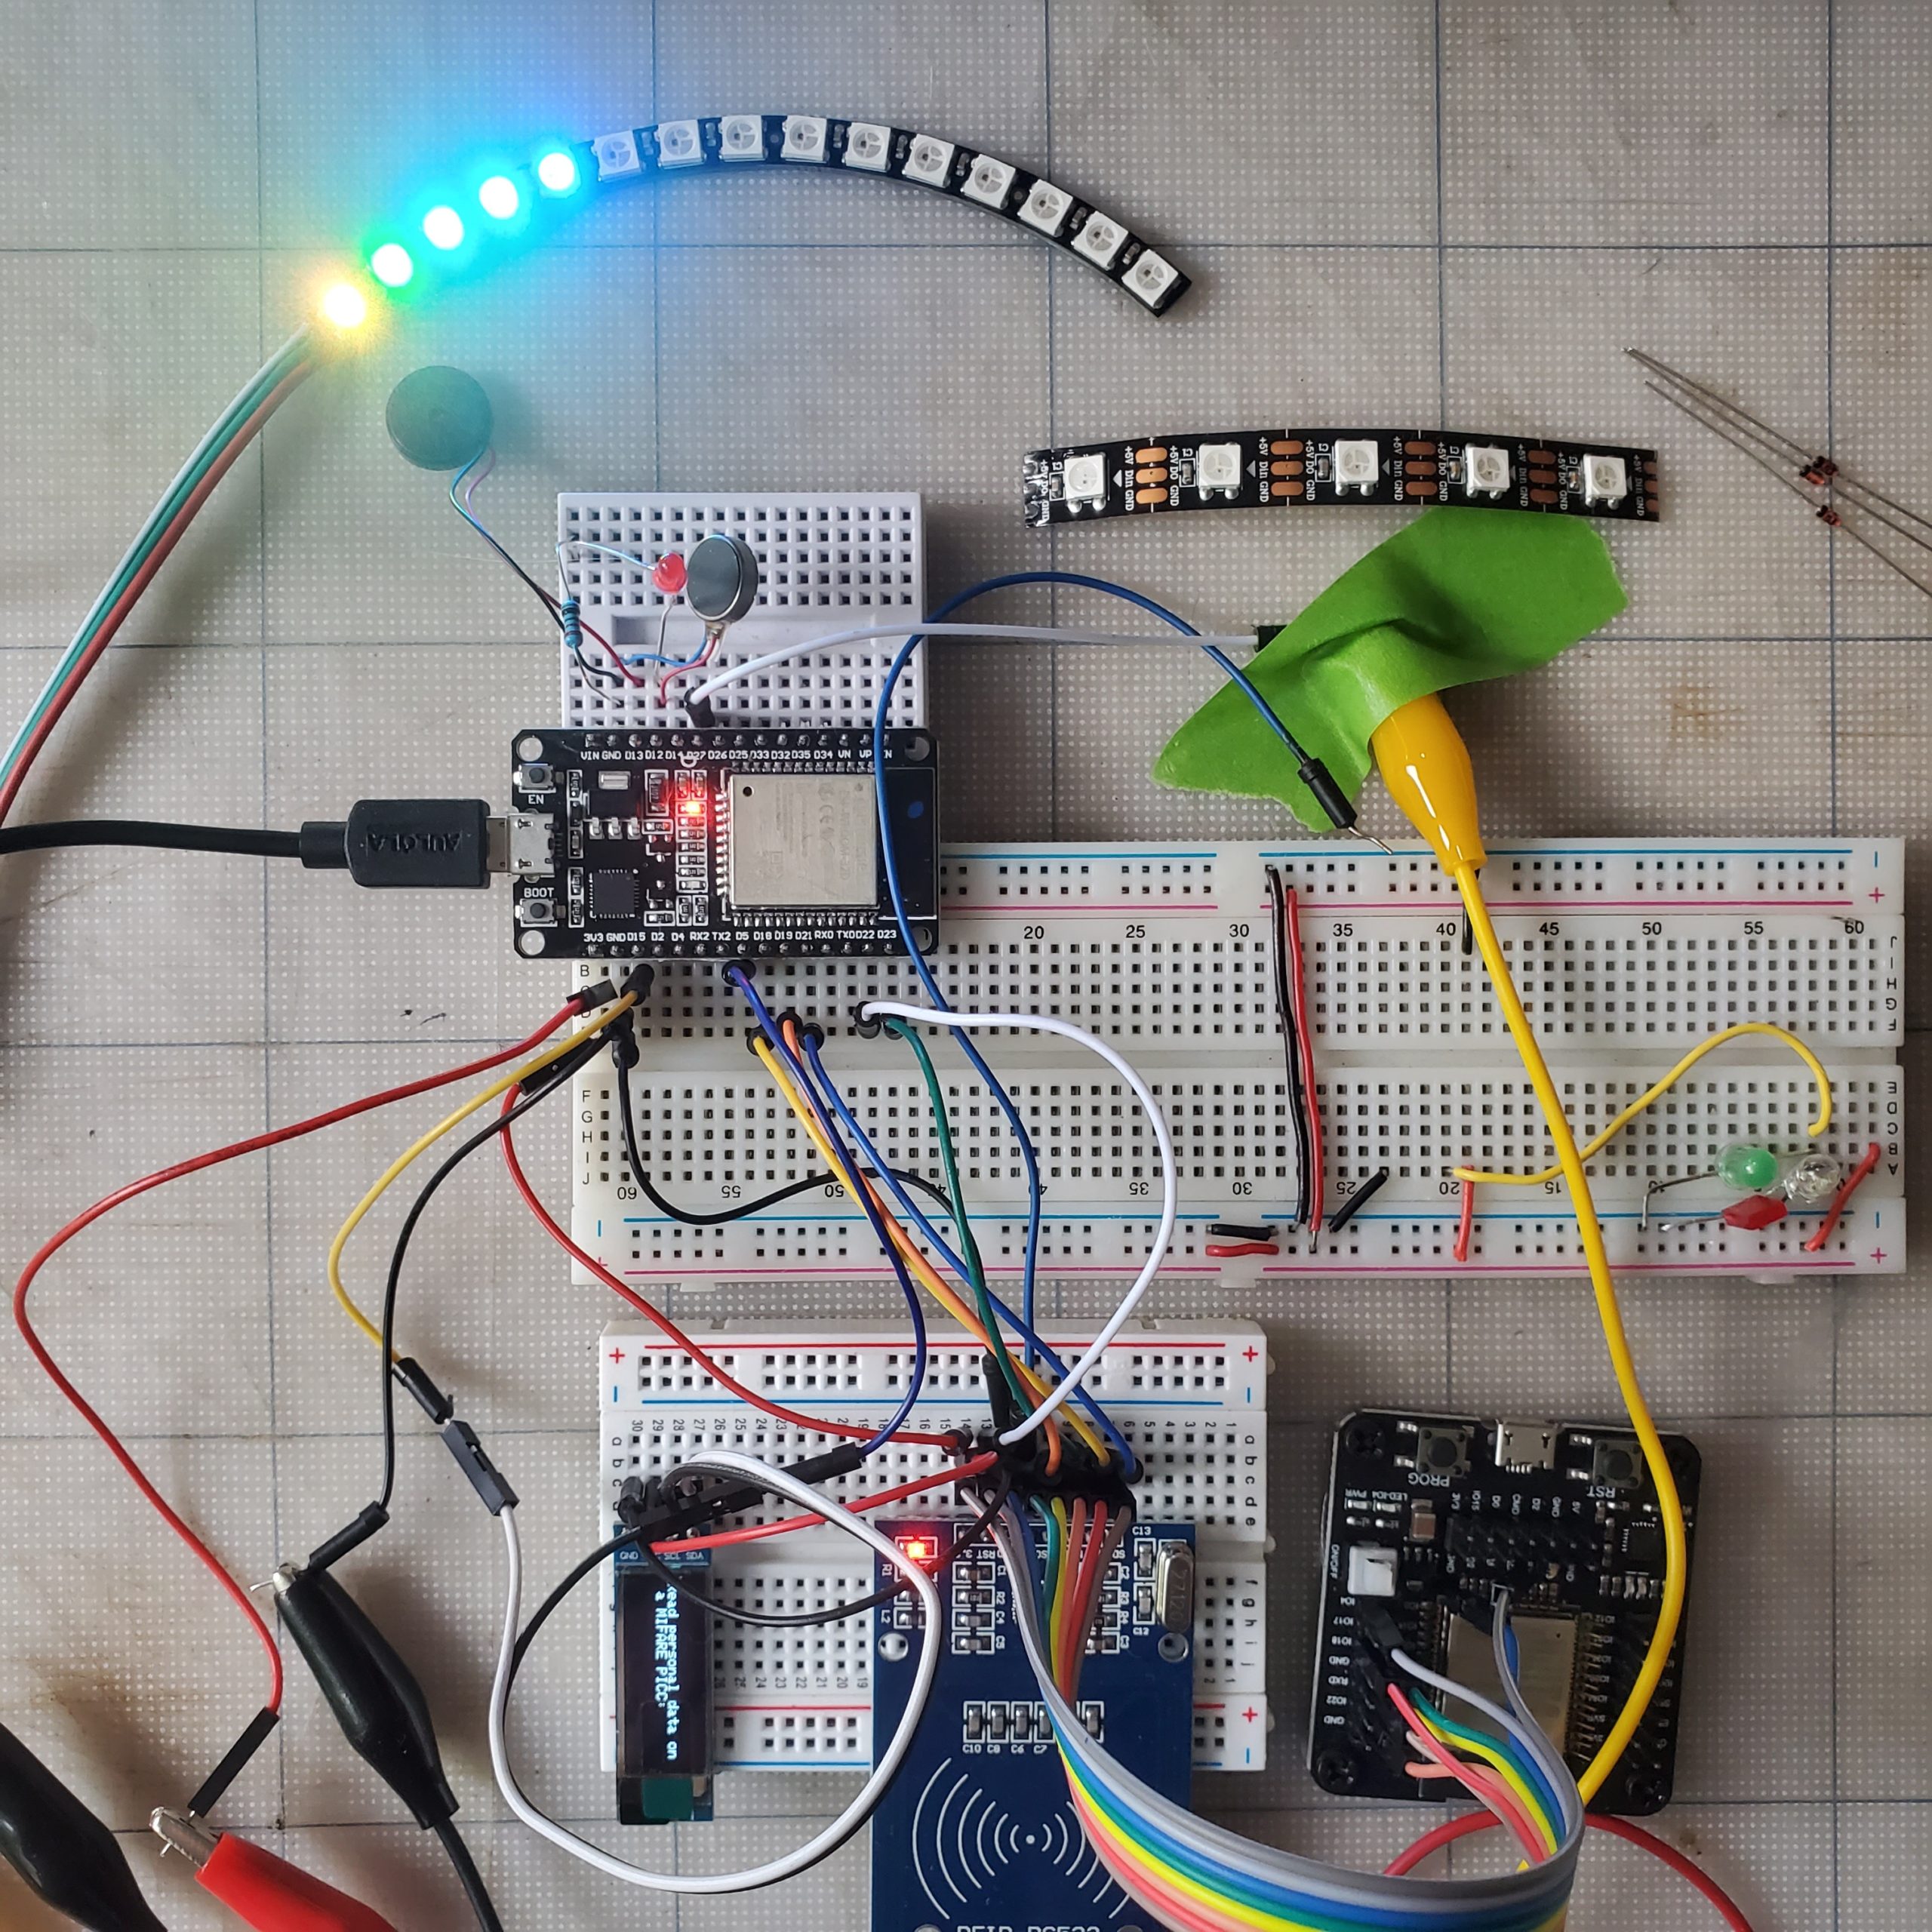
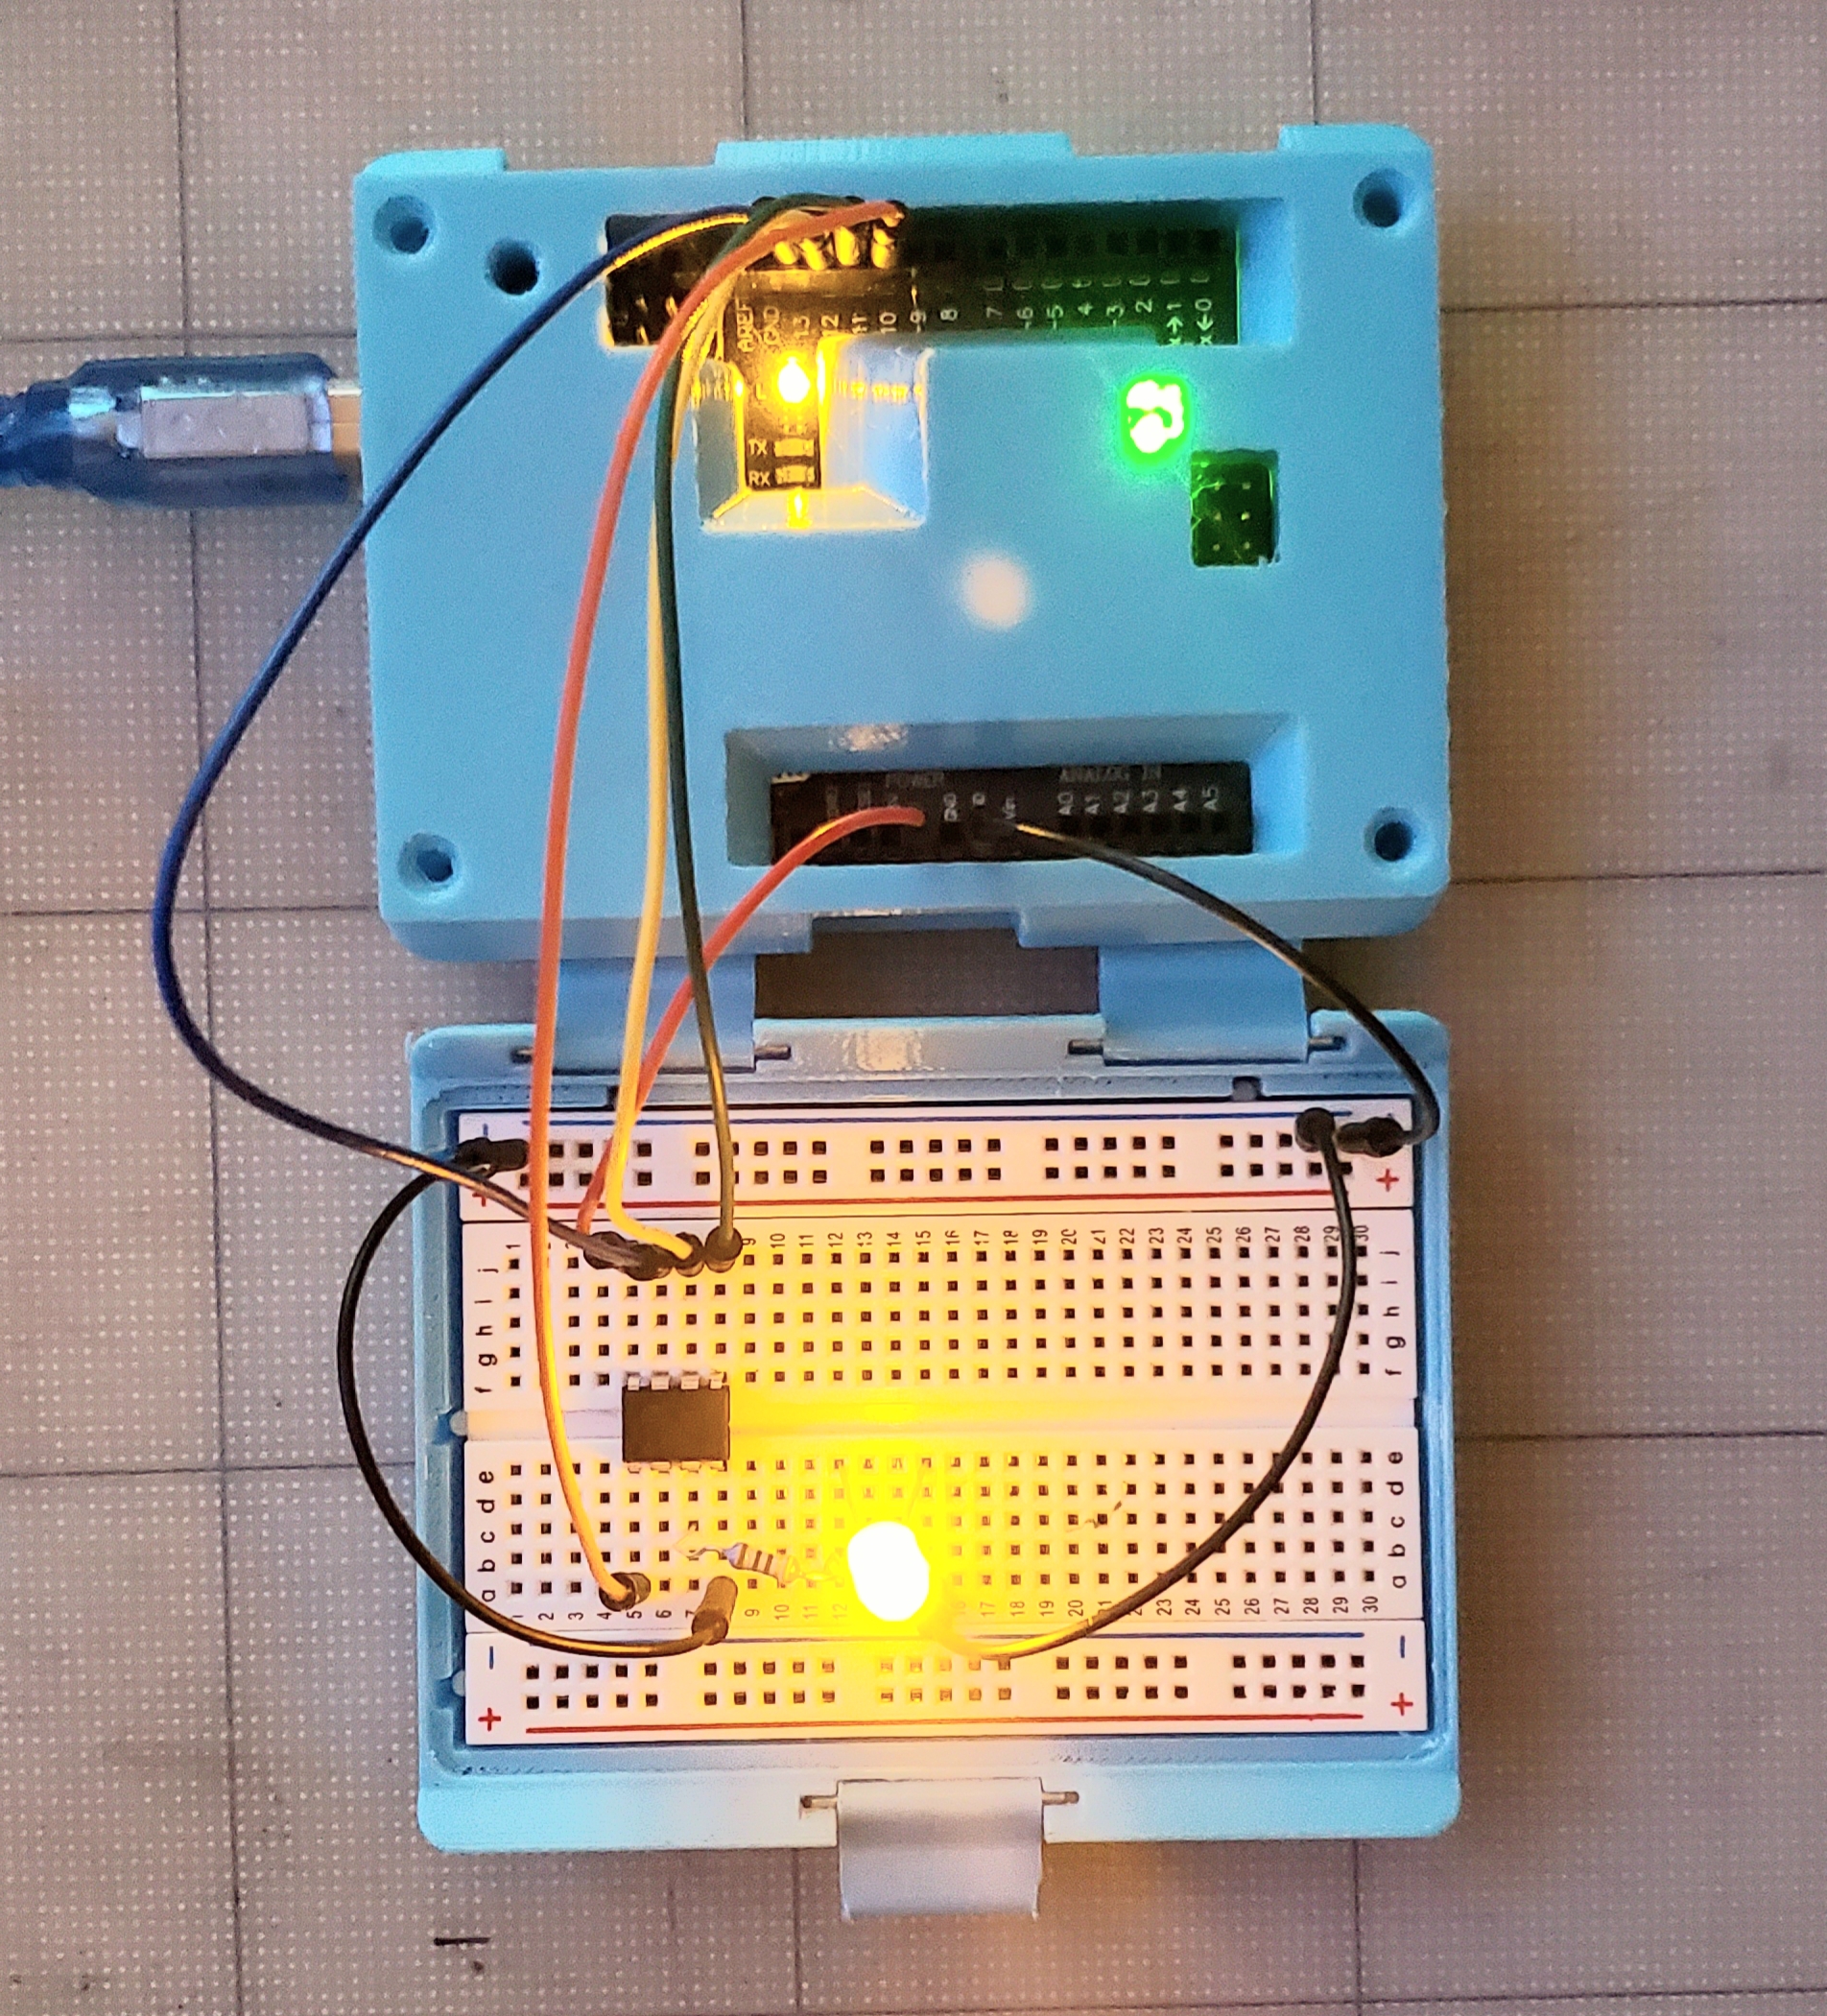
We had learnt that having a way to very clearly show the tiny elements of the Arduino board, or the correct connections were going to be very important. This was one aspect that made the first time difficult.
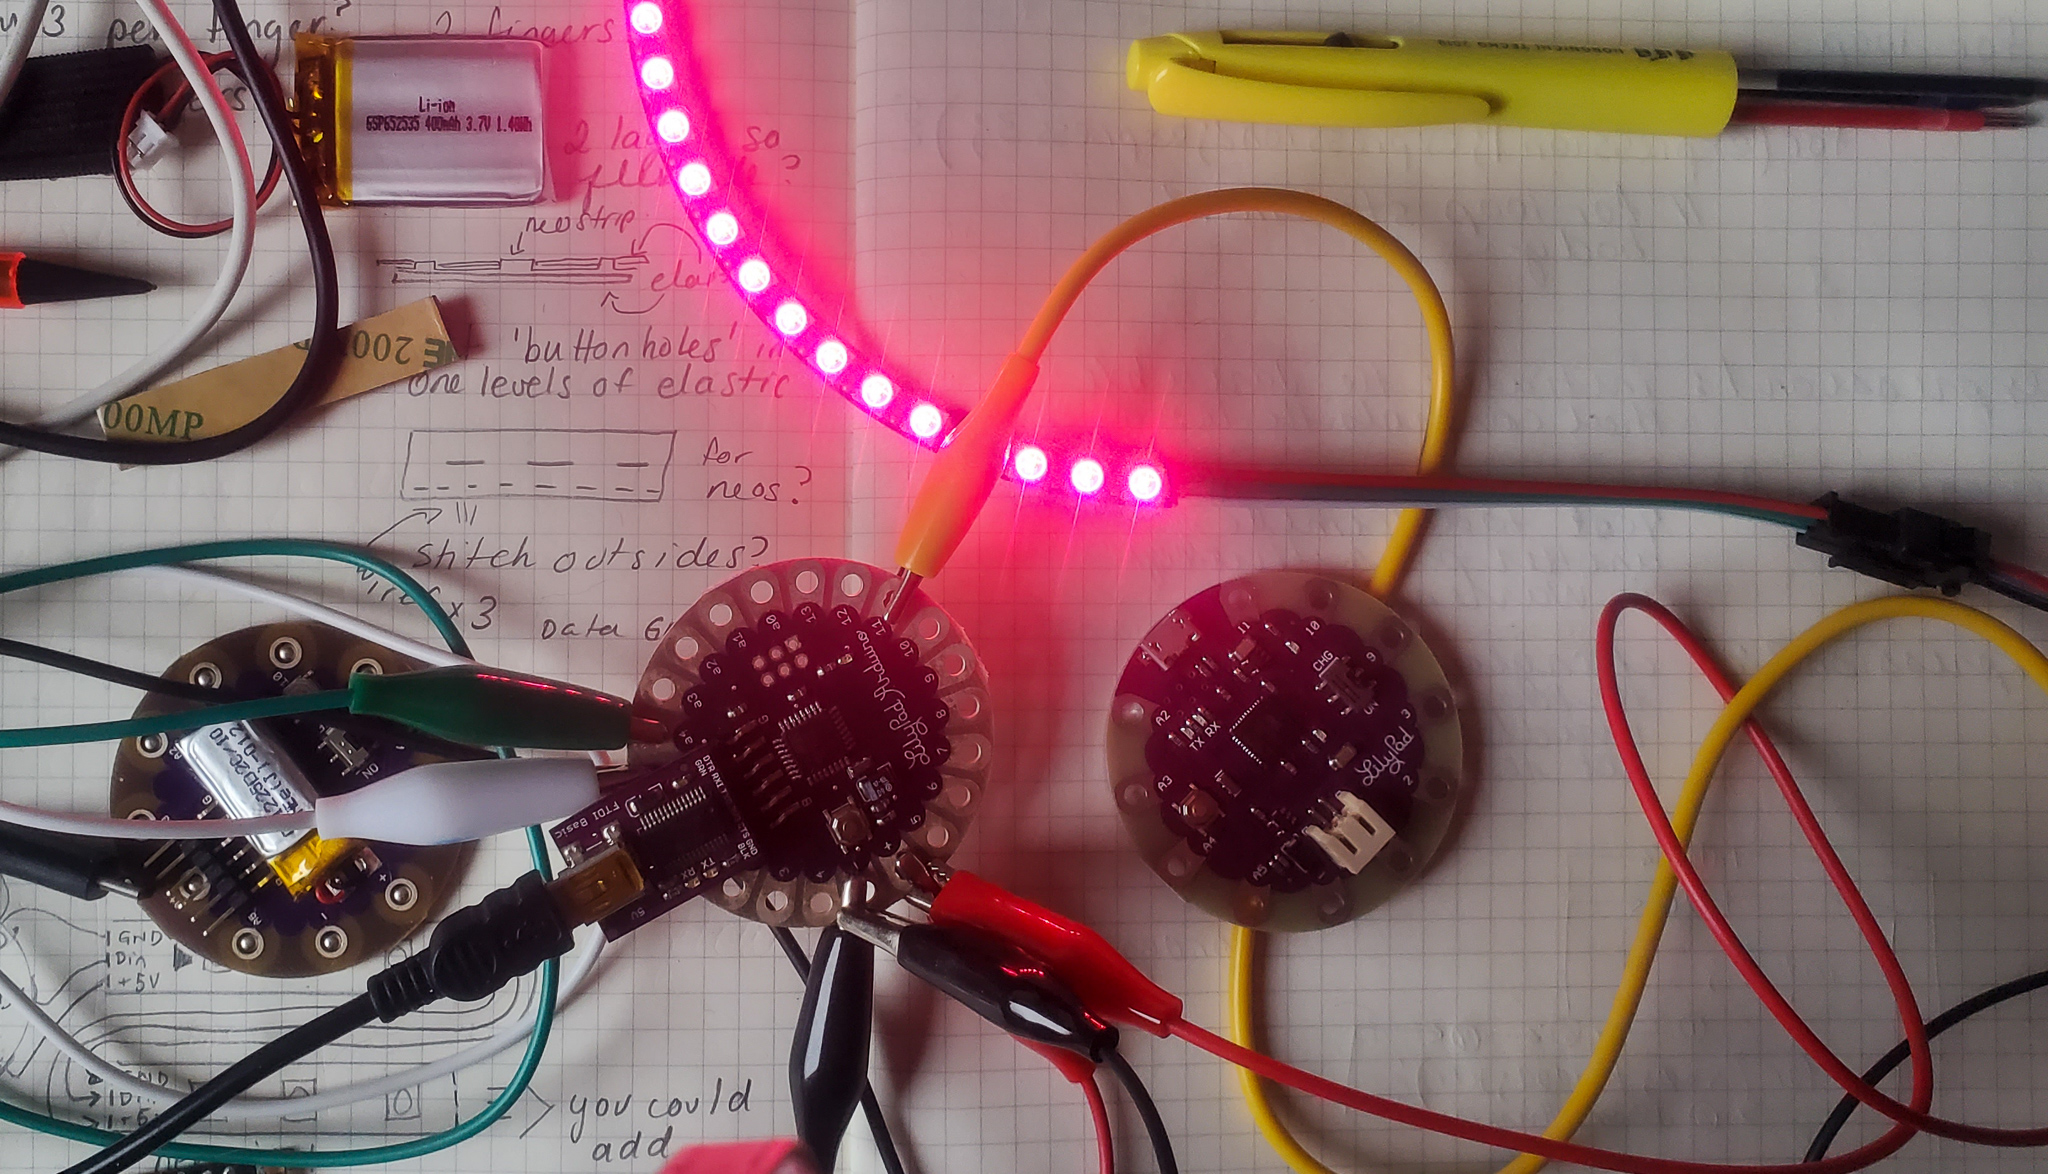
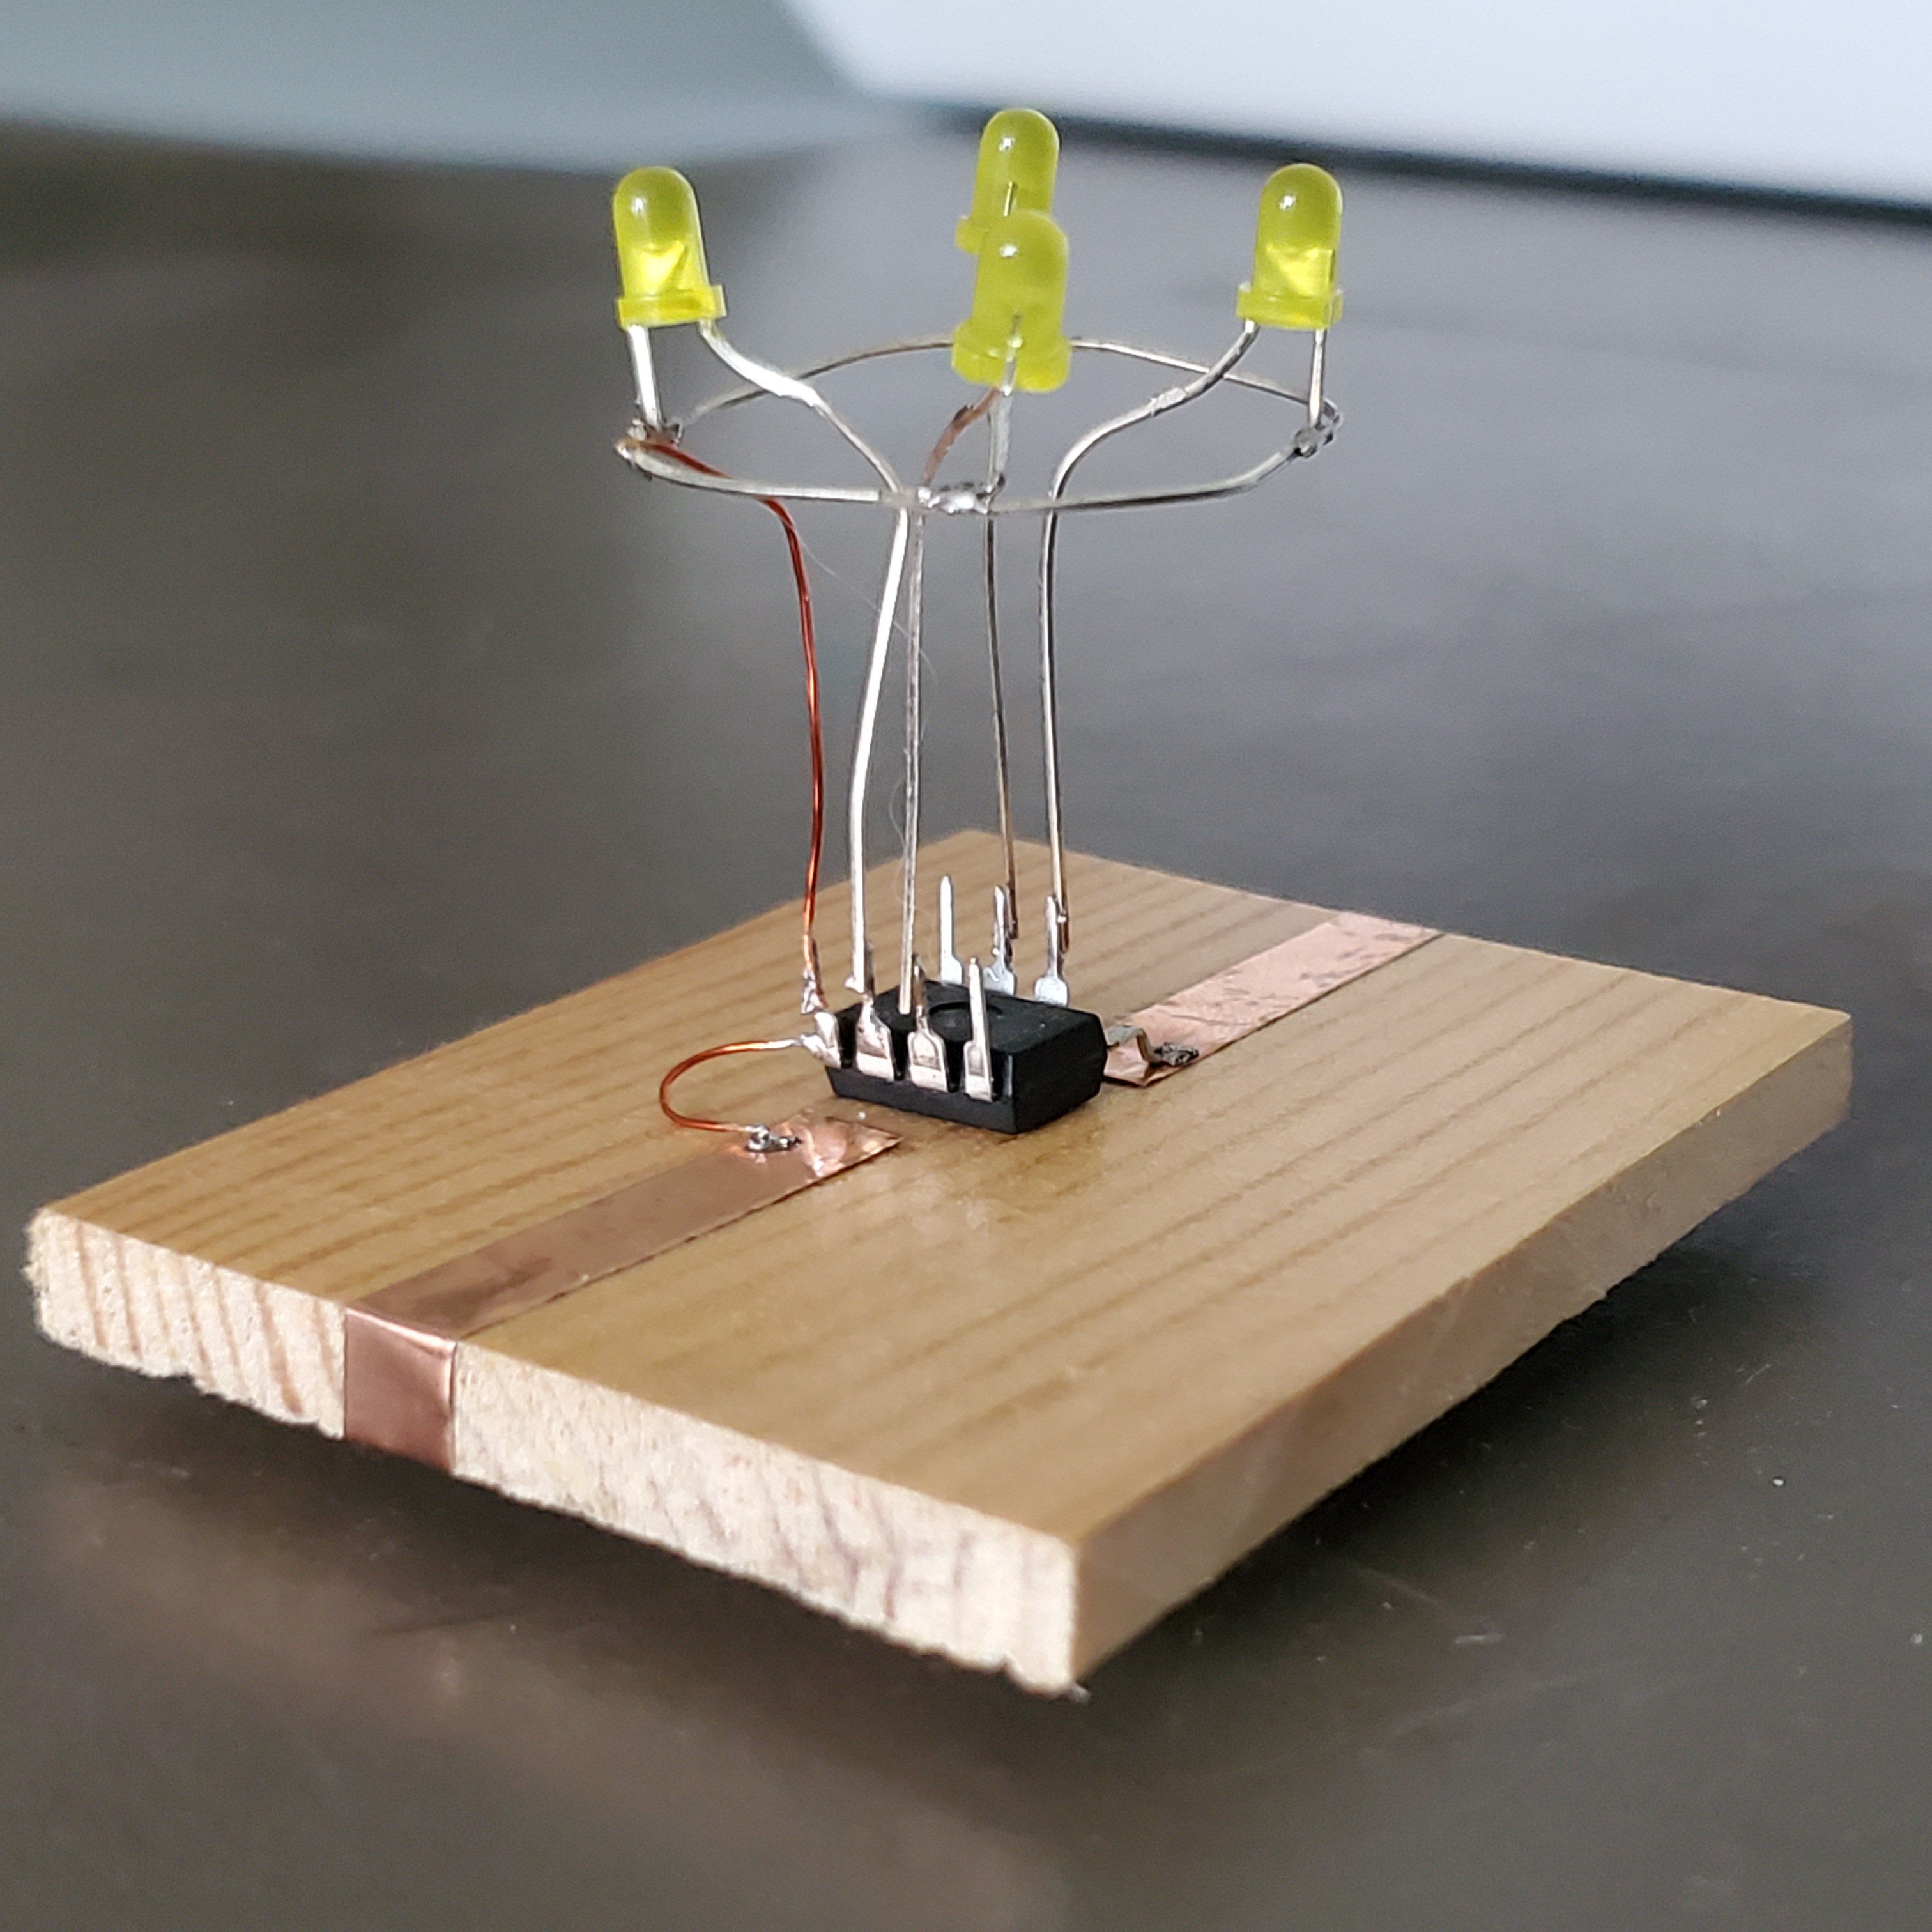
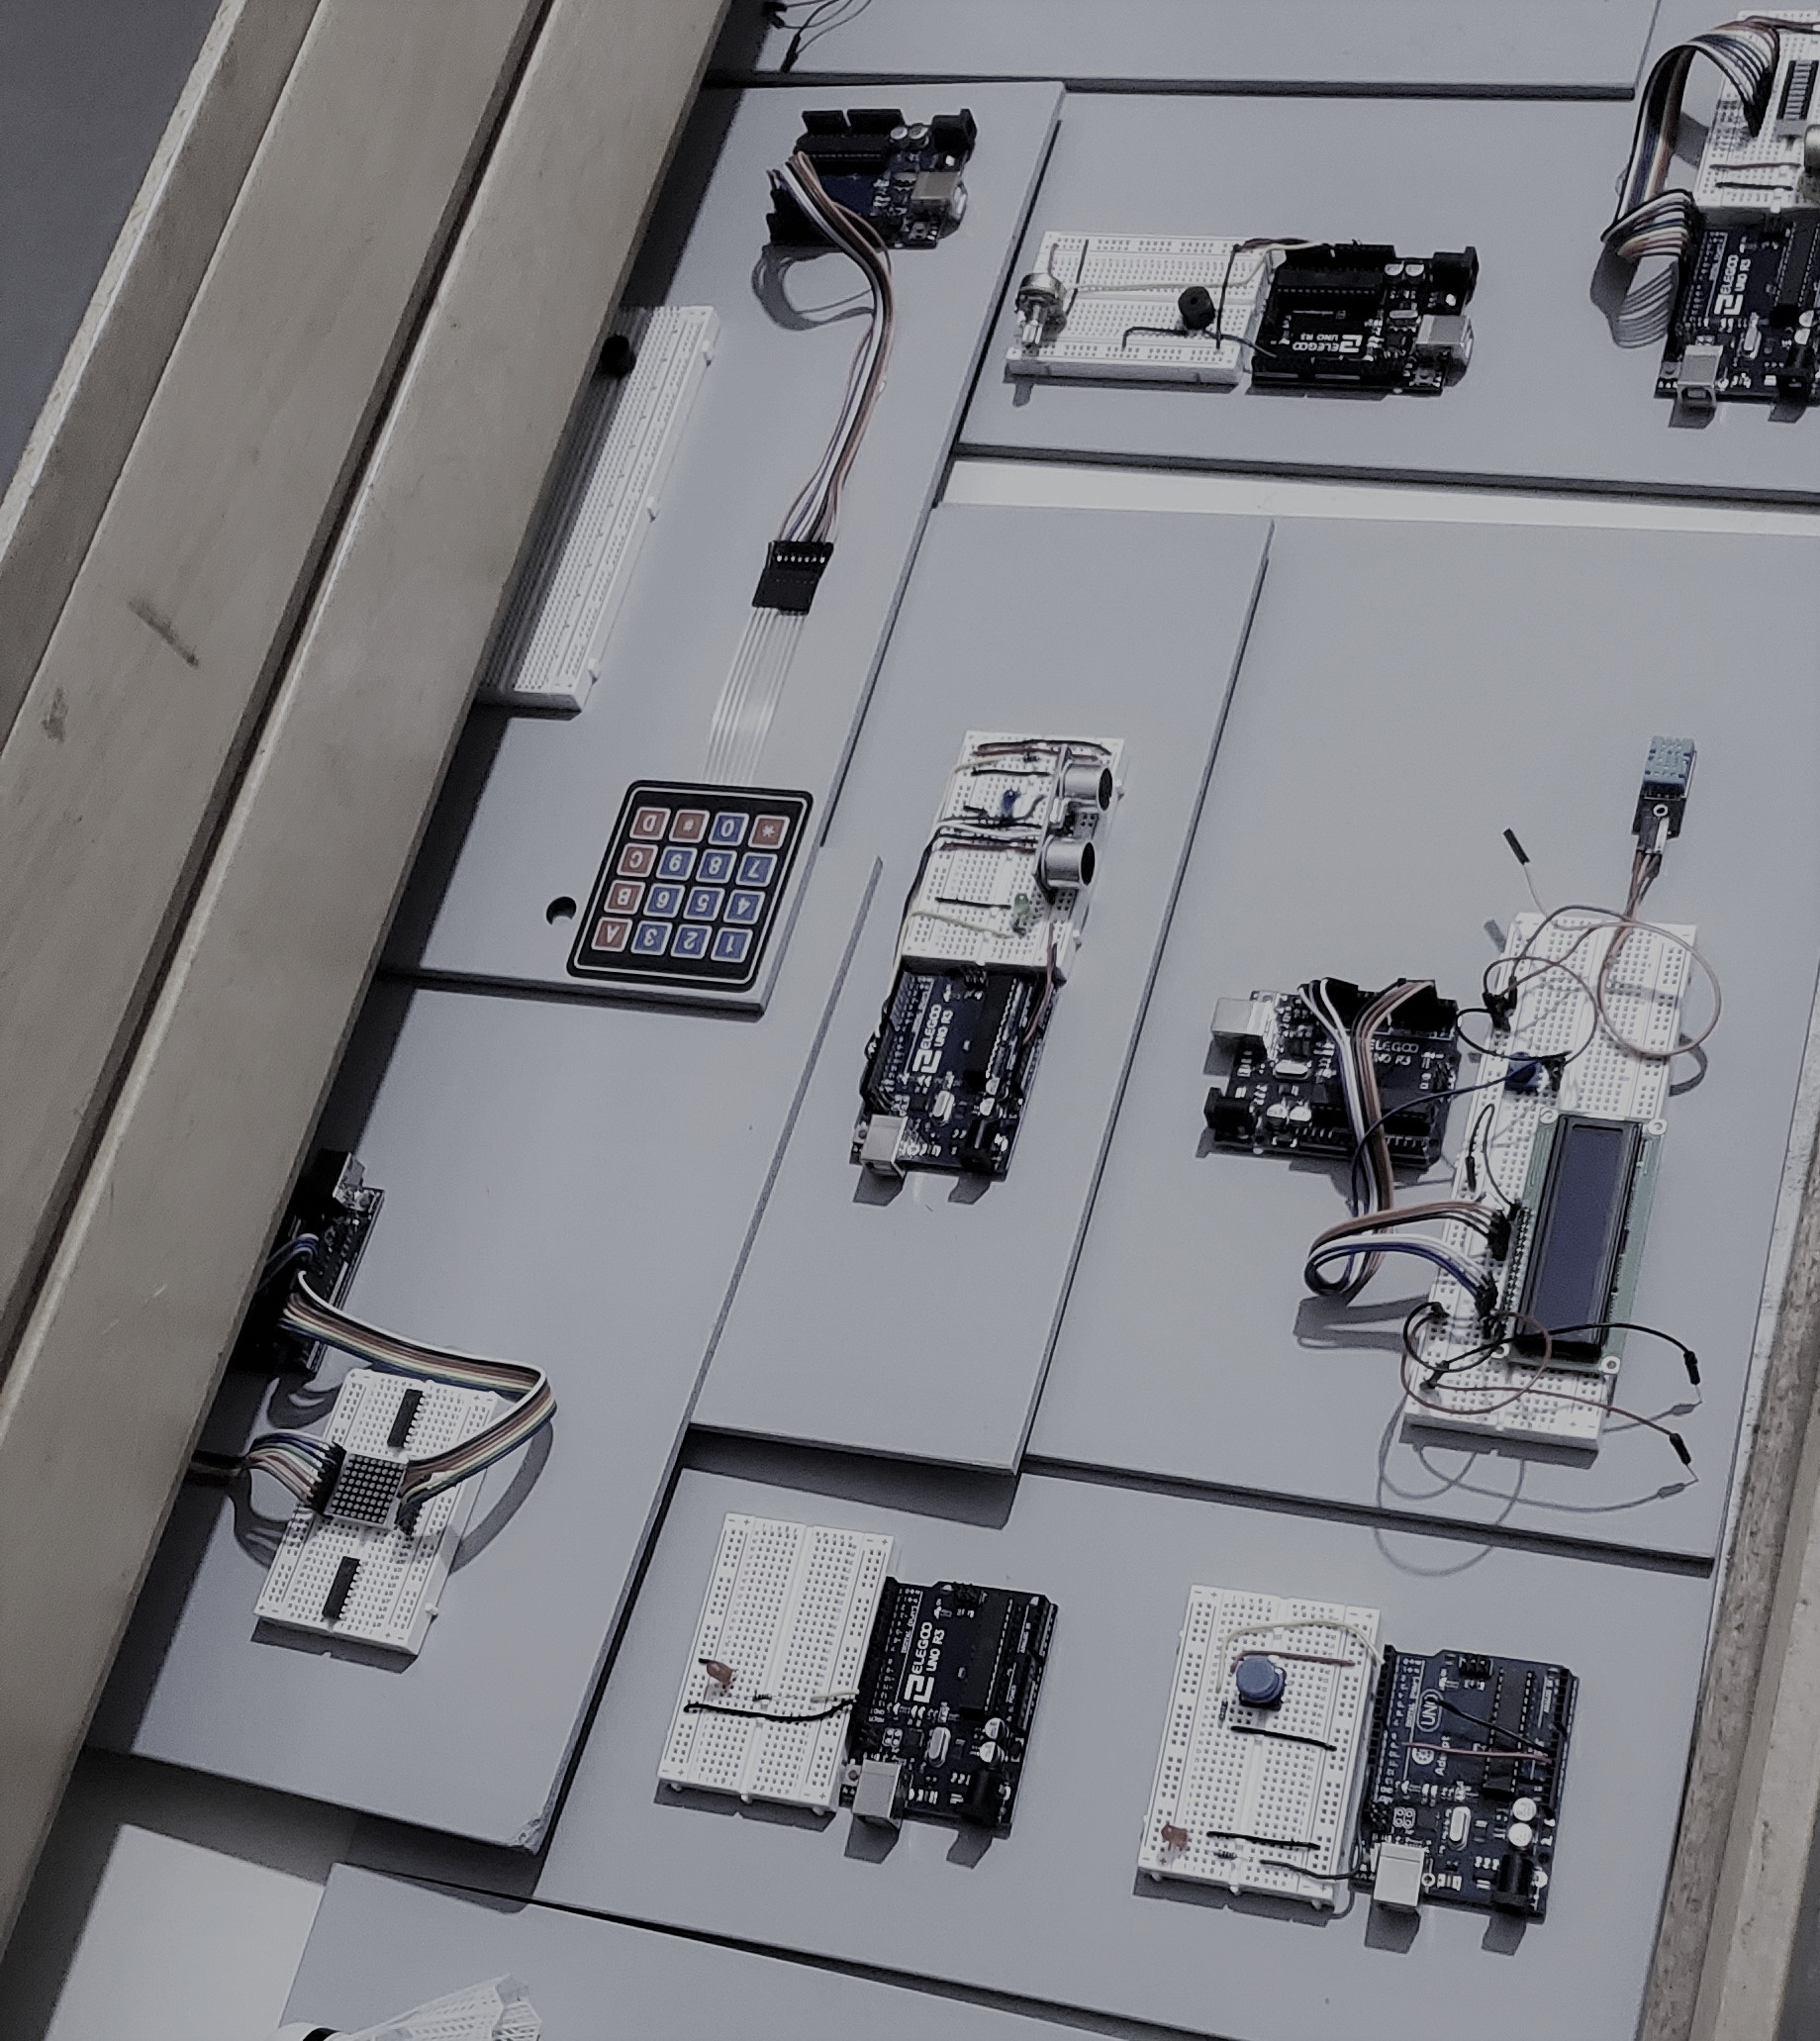
We use technology such as the Elmo visualiser. We also had wooden boards that we prepared ahead of time with circuits. This was important as it helped us to have the premade circuits and working code accessible to the students. Also, it was great for any questions about the circuits. We were able to show on the prepared boards exactly how the connections worked.

After the first session we delivered, the second one was also a success as we were able to build on it. By adding some changes to the teaching, we were able to be a bit more seamless with our delivery. One of the frustrations the first time round was that we couldn’t show some of the components or their connections ‘live’ as clearly as we would have liked.
Overall
This has been a great learning experience for us, and them. These new challenges are a way for us to expand our delivery model and it allowed for the students to also be able to continue their learning out of hours.
Here is the video from our second session:
Take away…
- Provide good resources to allow asynchronous learning (students liked being able to access videos and links to tutorials so they could do this in their own time after the session)
- Include those resource on an easily accessible platform
- Update the resources as the dynamics / class changes / has questions (It’s important to improve the resources as you deliver the material. You can’t include everything the first time. Be dynamic.)
- Make sure the students have the software on their computers before the session. Also, be consistent with it, some had it from the App store, some used the web version, and some had a lite version. Be sure they all download the same version.
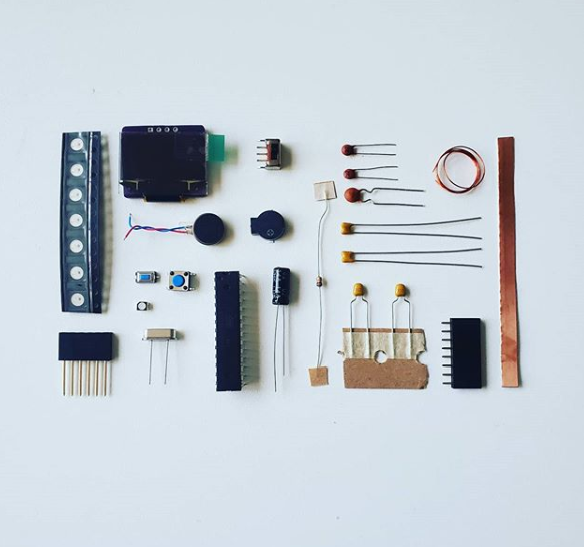
- Make sure they all have a basic Arduino kit before the session
- Get a ‘viewer’ to be able to show the Arduino components clearly and with a great zoom level
- Students with a newer mac laptop will likely need an adaptor to use the Arduino board, make sure they get that too
- Have fun!
Resources:
NOTION TO SUPPORT From 10am we will have a quick look together at using our Notion documents to support you and your project this week.
ARDUINO BASICS We will chat about Arduino, how to get started and how to get involved in learning and adapting the tutorials, examples and code. We will look at the basics of the circuits that you will be building.
DEMO We will show you the sample circuits that you will be building.
Inspiration
Planning, consider:
Working towards a larger, class-wide ‘chain reaction’ event, you will spend the last 2 days working in teams of 5 and 6 to design and build a single link each (receive = input > convert = output), in which each element will respond to what came before in order to generate an output of some kind, which will in turn activate the next link in the chain… and so on… and on…
In essence you should consider each moment as a ‘switch’… think of the very many ways you can ‘turn something on’, and the very many possibilities that ‘something’ might be. Some might have a physical input whereas others might involve a sensor of some sort… in every case you are asked to use the potential of both analogue/mechanical and digital/electronic within each ‘switch’ moment, so that your link uses a combination of both to great effect.
The chain reaction will have ‘links’ – or moments – using both digital and analog sources, and you are asked to share your ideas and work collaboratively in order to avoid repetition and make the most of what each in/output has to offer by way of inspiration.
Might there be an underlying theme to the whole event, and might you use it to generate concepts for each moment that not only respond to what came before, but build a sense of narrative?
Perhaps something unfolds/emerges over the course of the whole event?