To use the ESP32 board we need to do a few steps first.
- First make sure you have an Espressif ESP32 board (have a look around, they can cost around £8 – £15)
- Arduino already installed on your computer.
- The right USB cable to connect your board to your computer
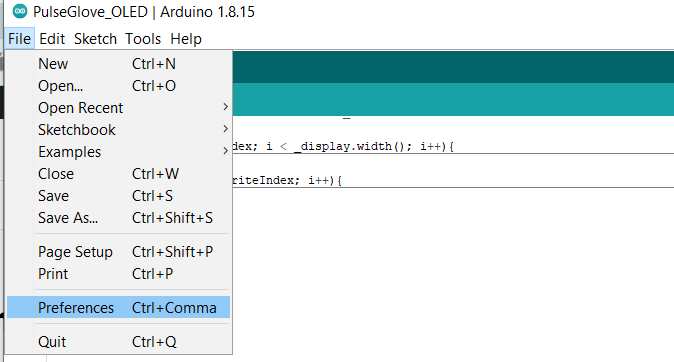
Open Arduino – and head to your Preferences.
This will open your preferences window. If you’ve followed tutorials here before, you might already have added a new boards manager URL.
In my boards manager shown below – I have Adafruit boards.
How to add additional boards?
Leave any boards URLs that you already have there, just add a comma and then add the new URL to the additional boards. For the ESP32 it is: https://dl.espressif.com/dl/package_esp32_index.json
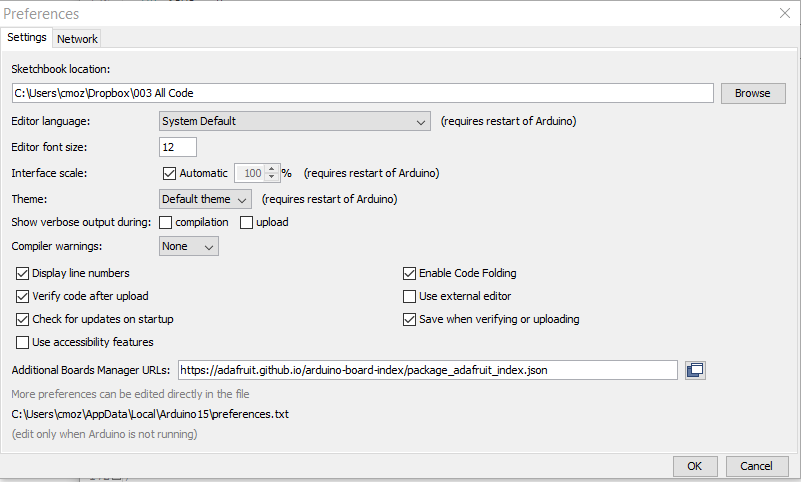

Click OK once you’ve added it.
Adding the Espressif ESP32 series of boards
Once you’ve done that, we need to go to the Boards Manager.
Tools > Boards > Boards Manager

Search for ESP 32
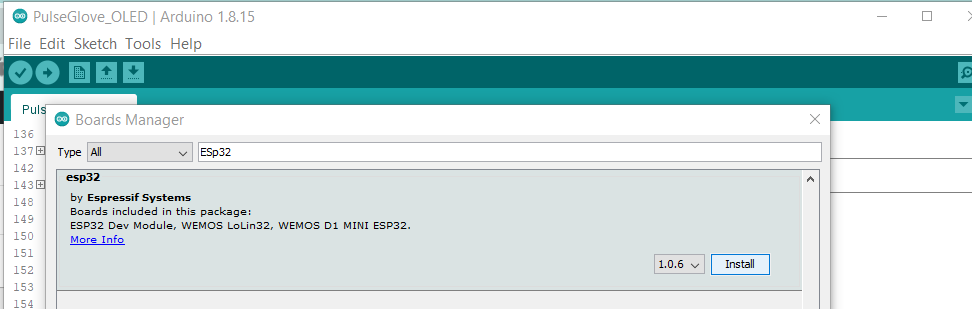
Click on the Install button to add these boards to Arduino.
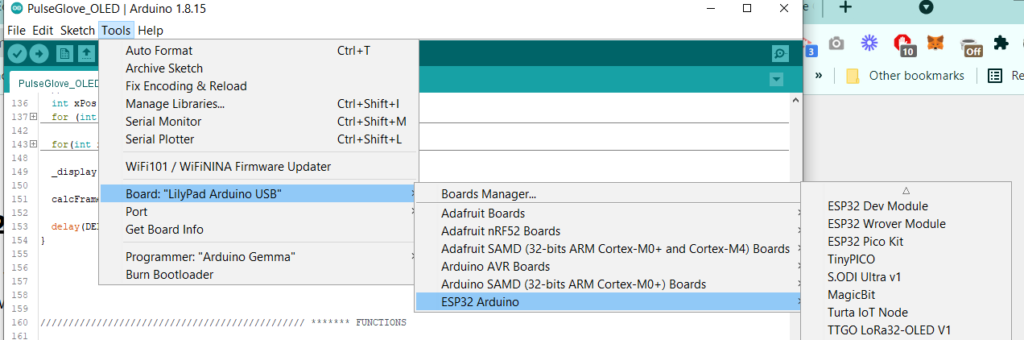
Check for the ESP32 board
Again, go to the Tools menu. Here now when you go to boards, you should see the newly installed Espressif boards!
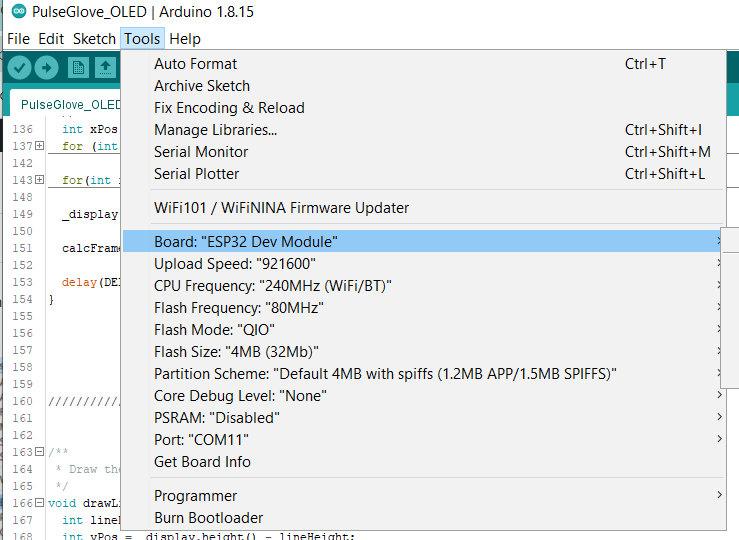
Check your board and Arduino connections are working.
Plug in your ESP32 to your computer.
Choose your board, mostly I use the Dev board as the option for a standard board.
Let’s upload an example code to check it’s working
upload a sample blink sketch
#define LED_BUILTIN 2
void setup() {
pinMode (LED_BUILTIN, OUTPUT);
}
void loop() {
digitalWrite(LED_BUILTIN, HIGH);
delay(2000);
digitalWrite(LED_BUILTIN, LOW);
delay(2000);
}
IMPORTANT if the upload fails or times out – HOLD down the boot button on your ESP32 board when you see “connecting…..” until the code starts to upload. Then release the Boot button.

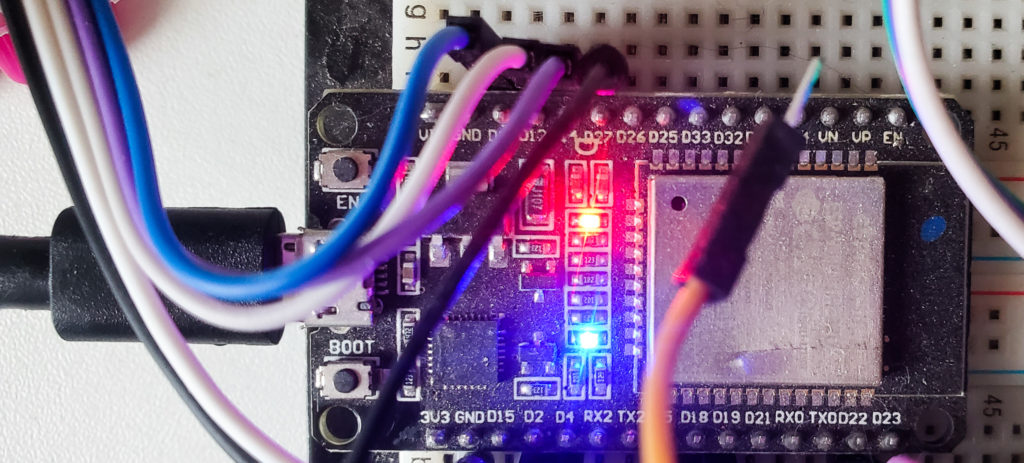
You should now have a blinking LED on your ESP32 board. Now you can get on with your fun projects!
Check out my post on how to enable Over the Air (OTA) programming for these boards. That way you can install them in cases or locations and then update them through their wifi capabilities. Awesome.
More information about the different boards : https://www.mouser.co.uk/new/espressif/espressif-esp32-s2-kits/