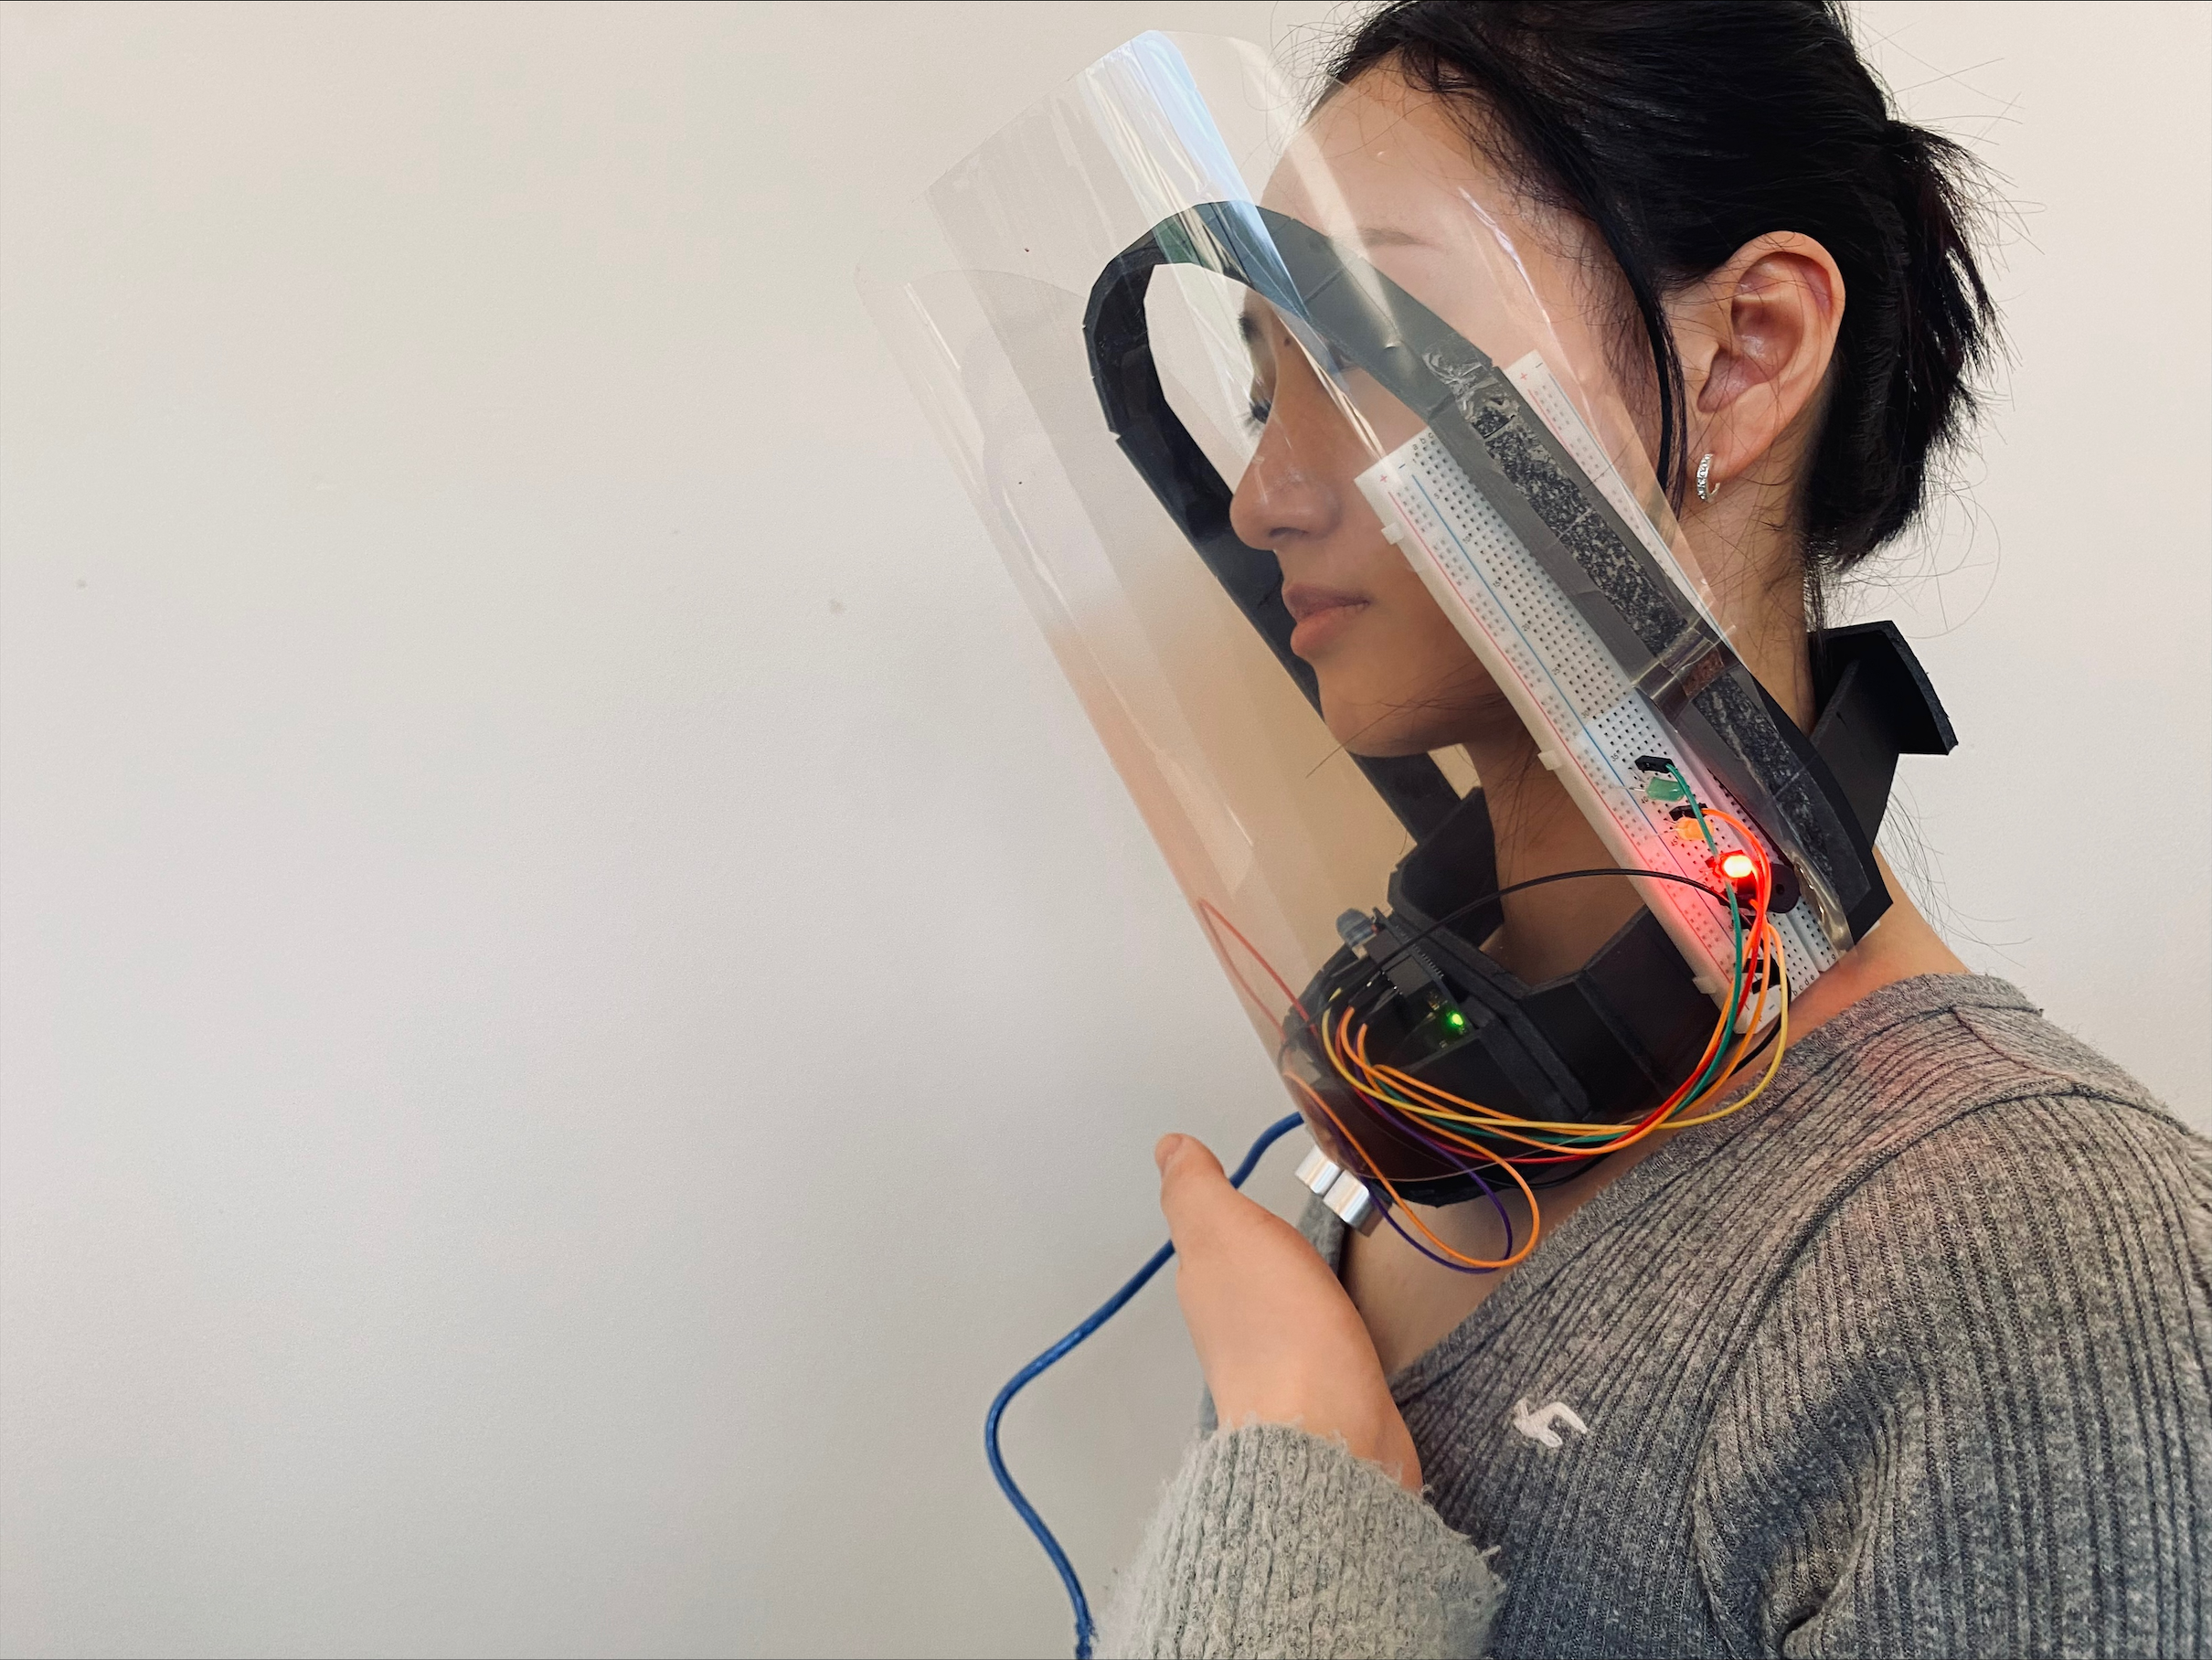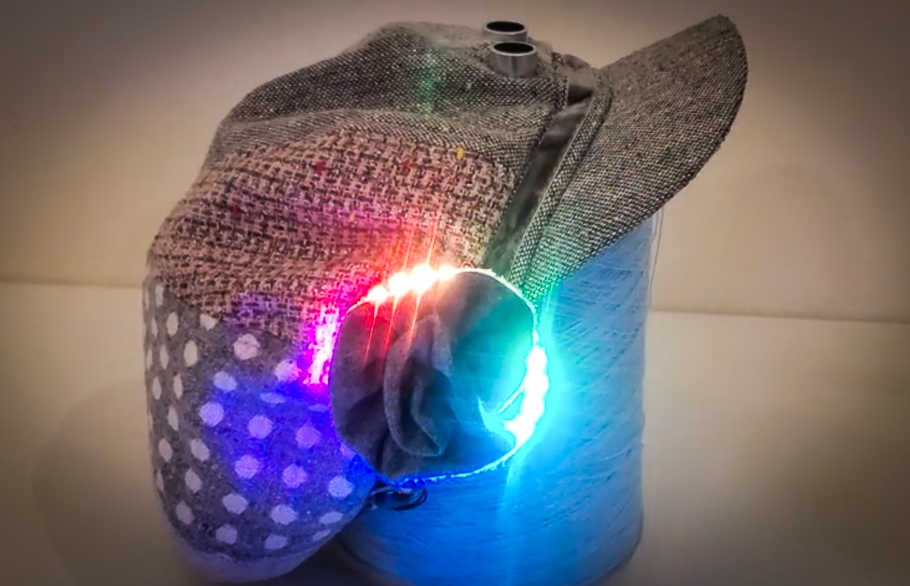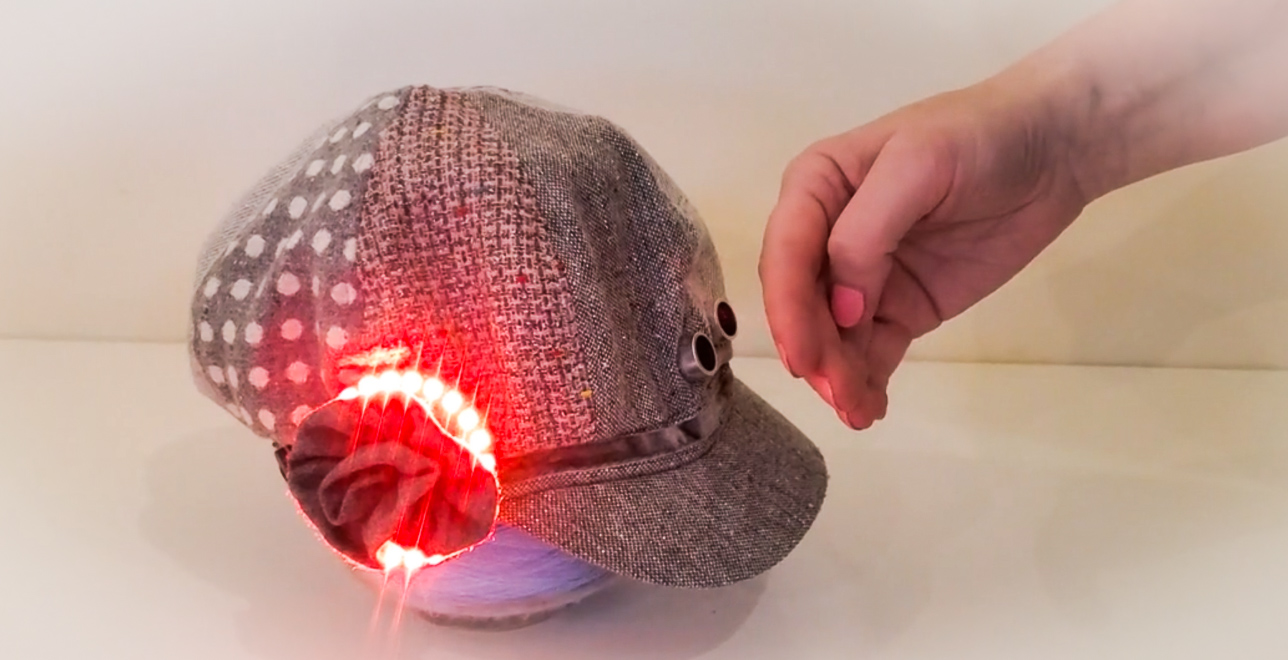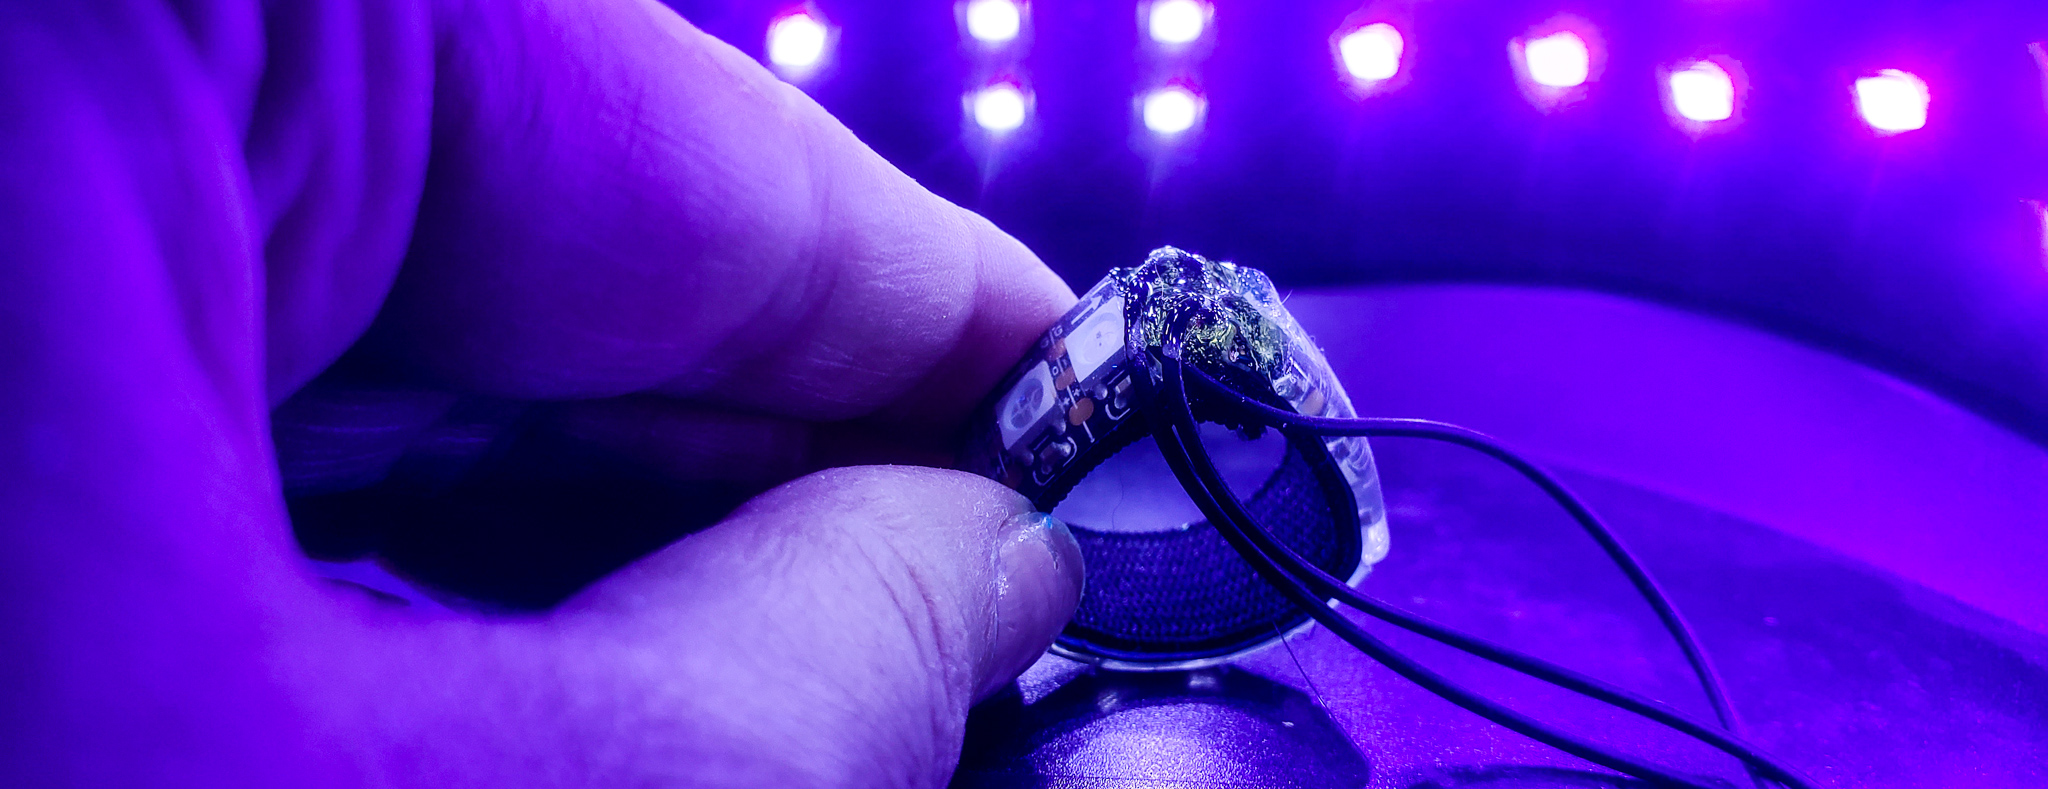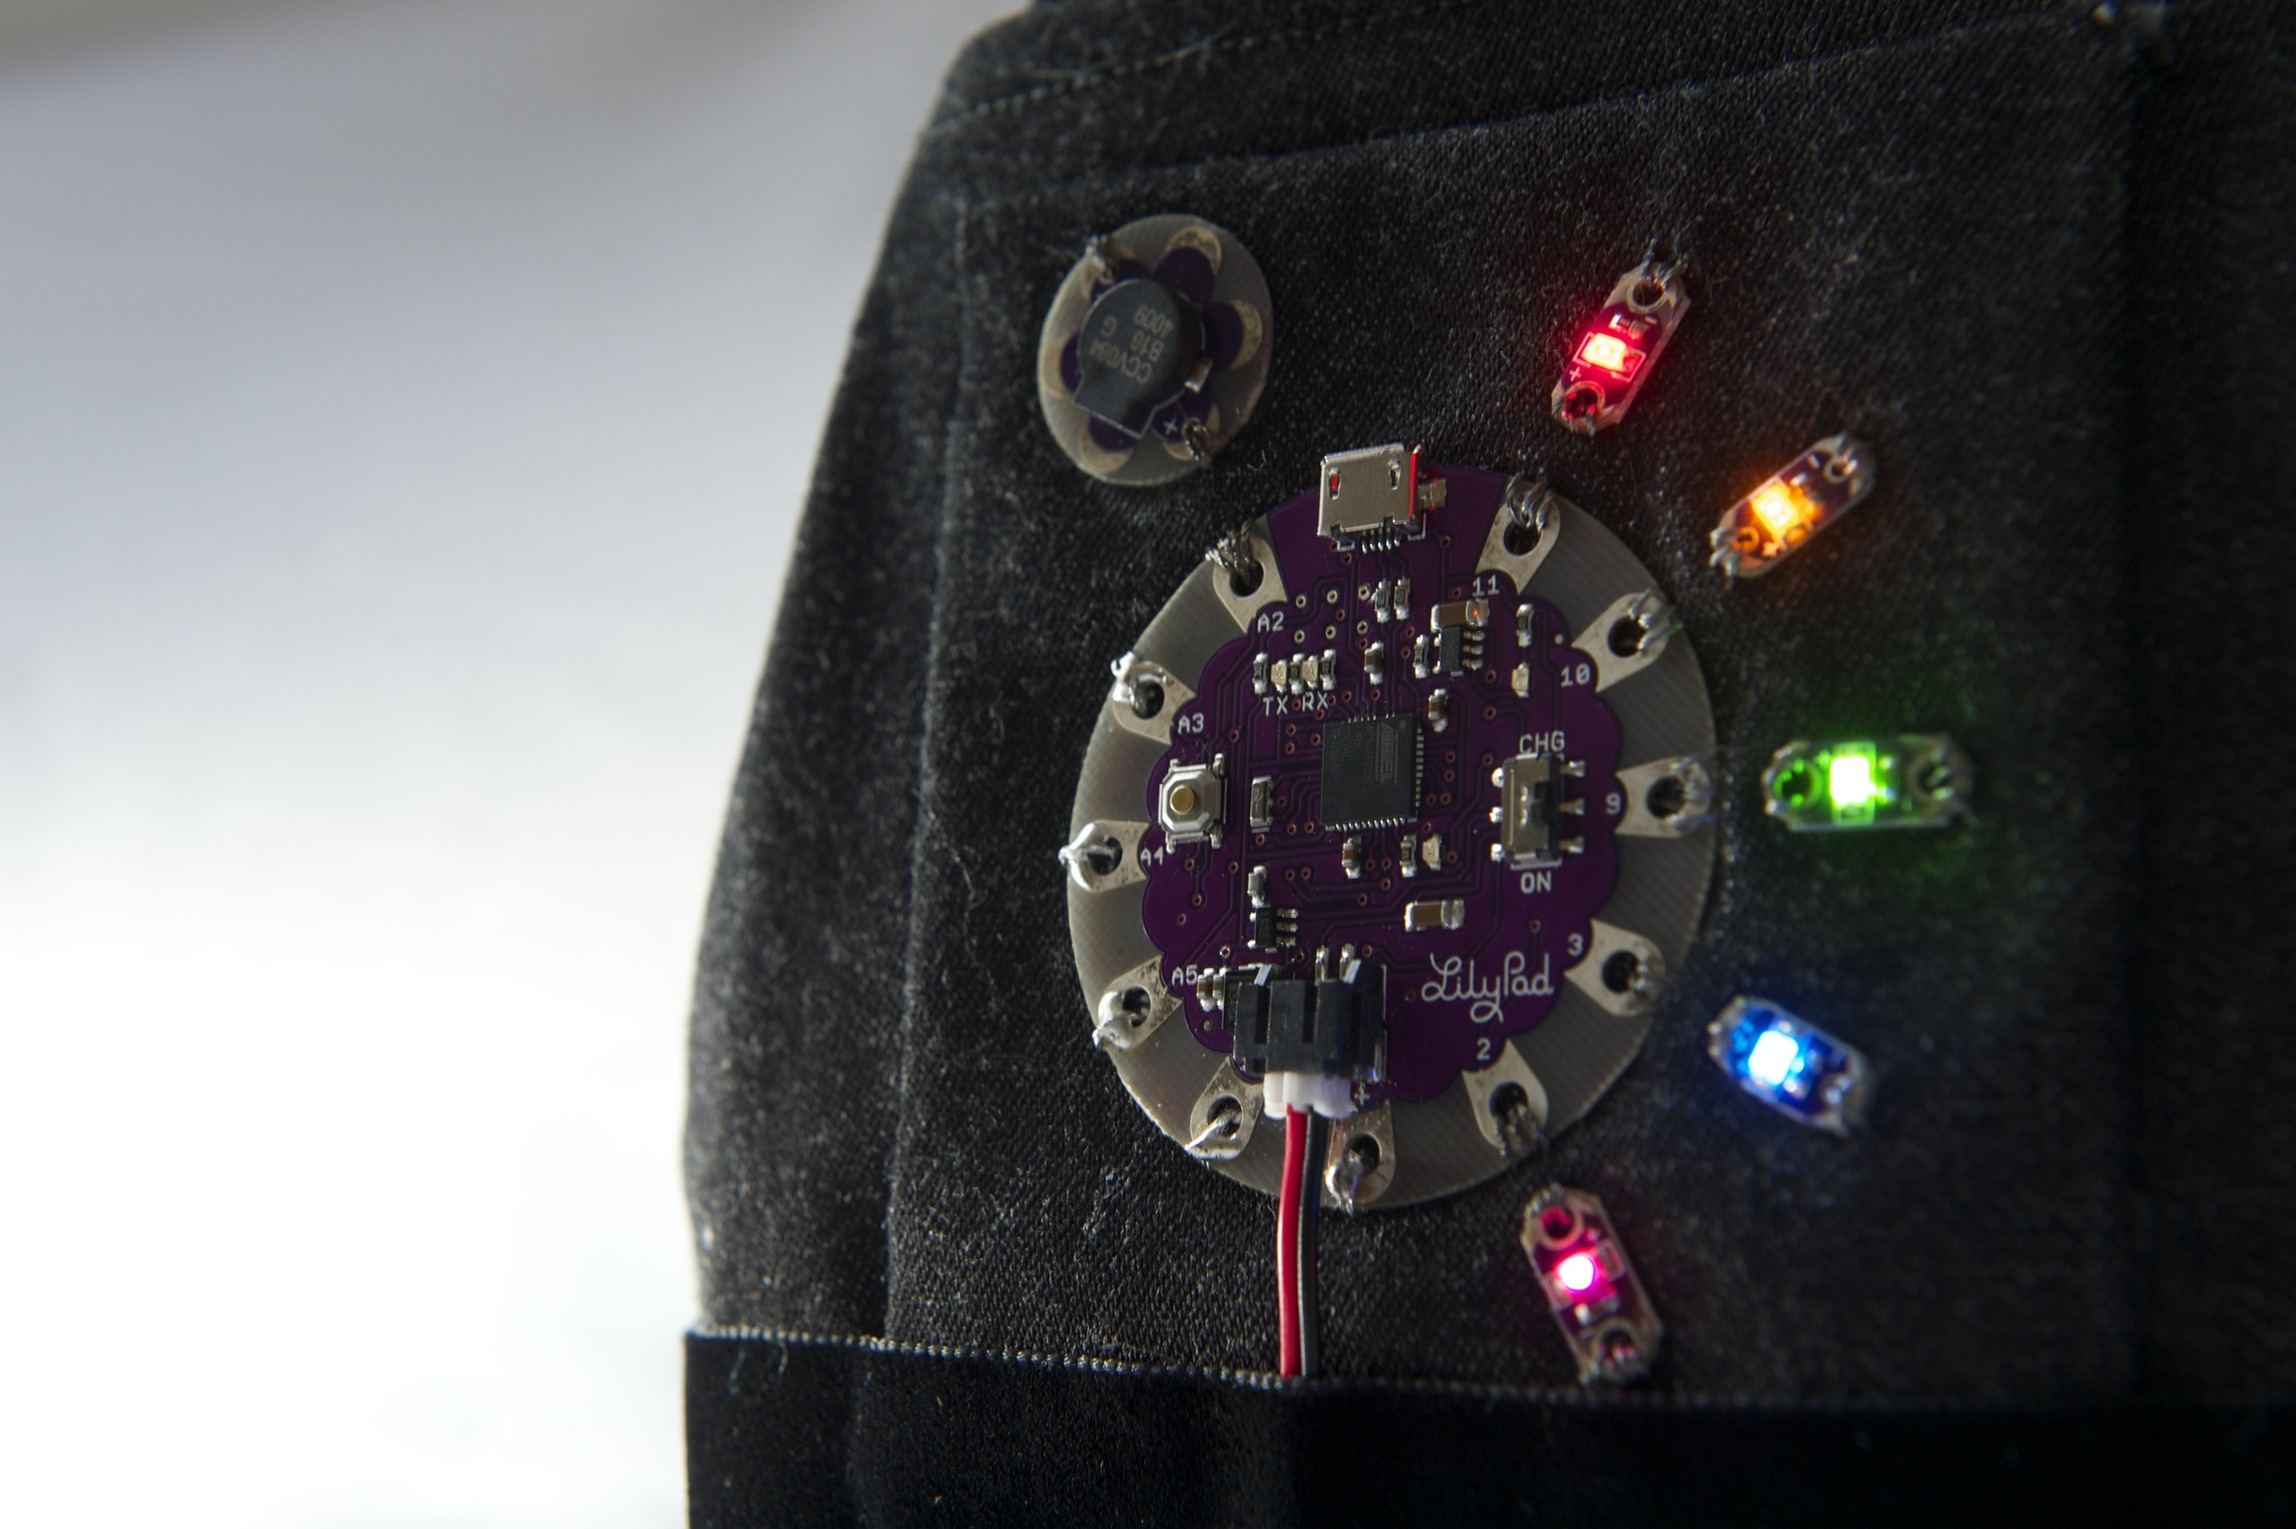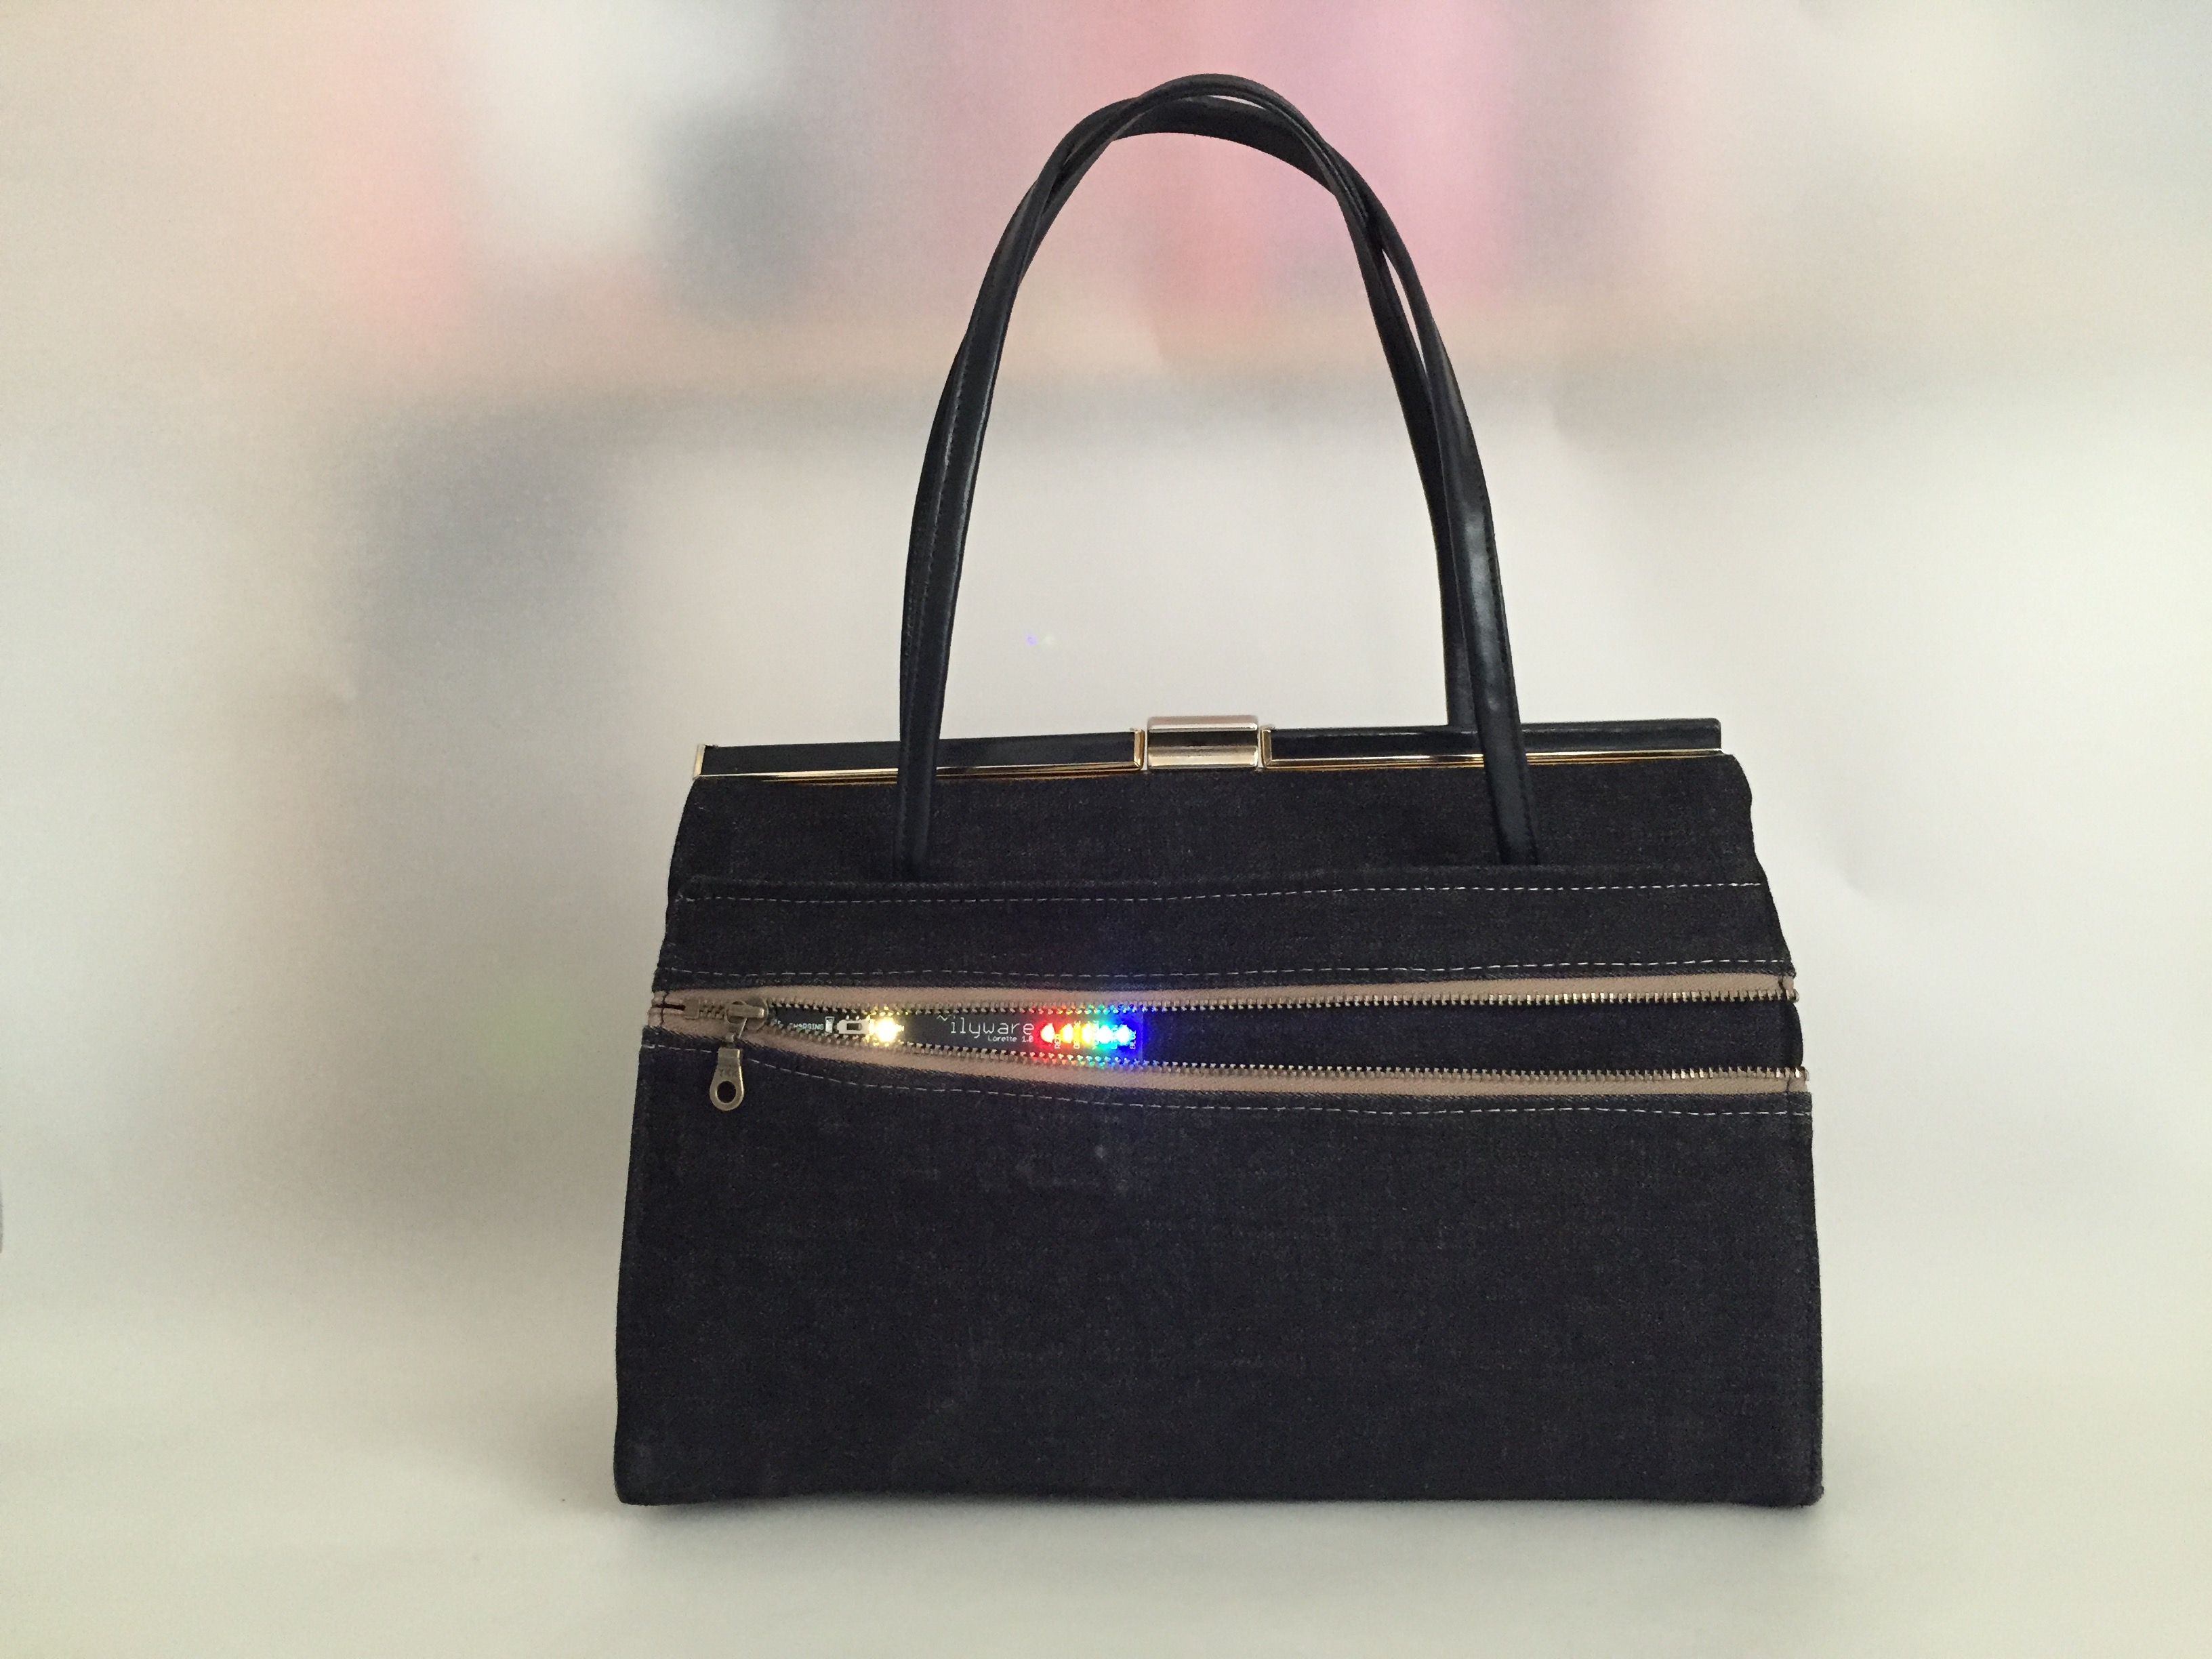
I recently created a wearable project and the Gemma M0 board was on the inside of the wearable. However, I needed the ability to reset the board. The problem was that the reset was only accessible when I opened the wearable piece up and accessed the Gemma board. This wasn’t a great solution.
If you have a similar problem and are confused as to how you can create a reset – there is a relatively simple solution.
Solved!

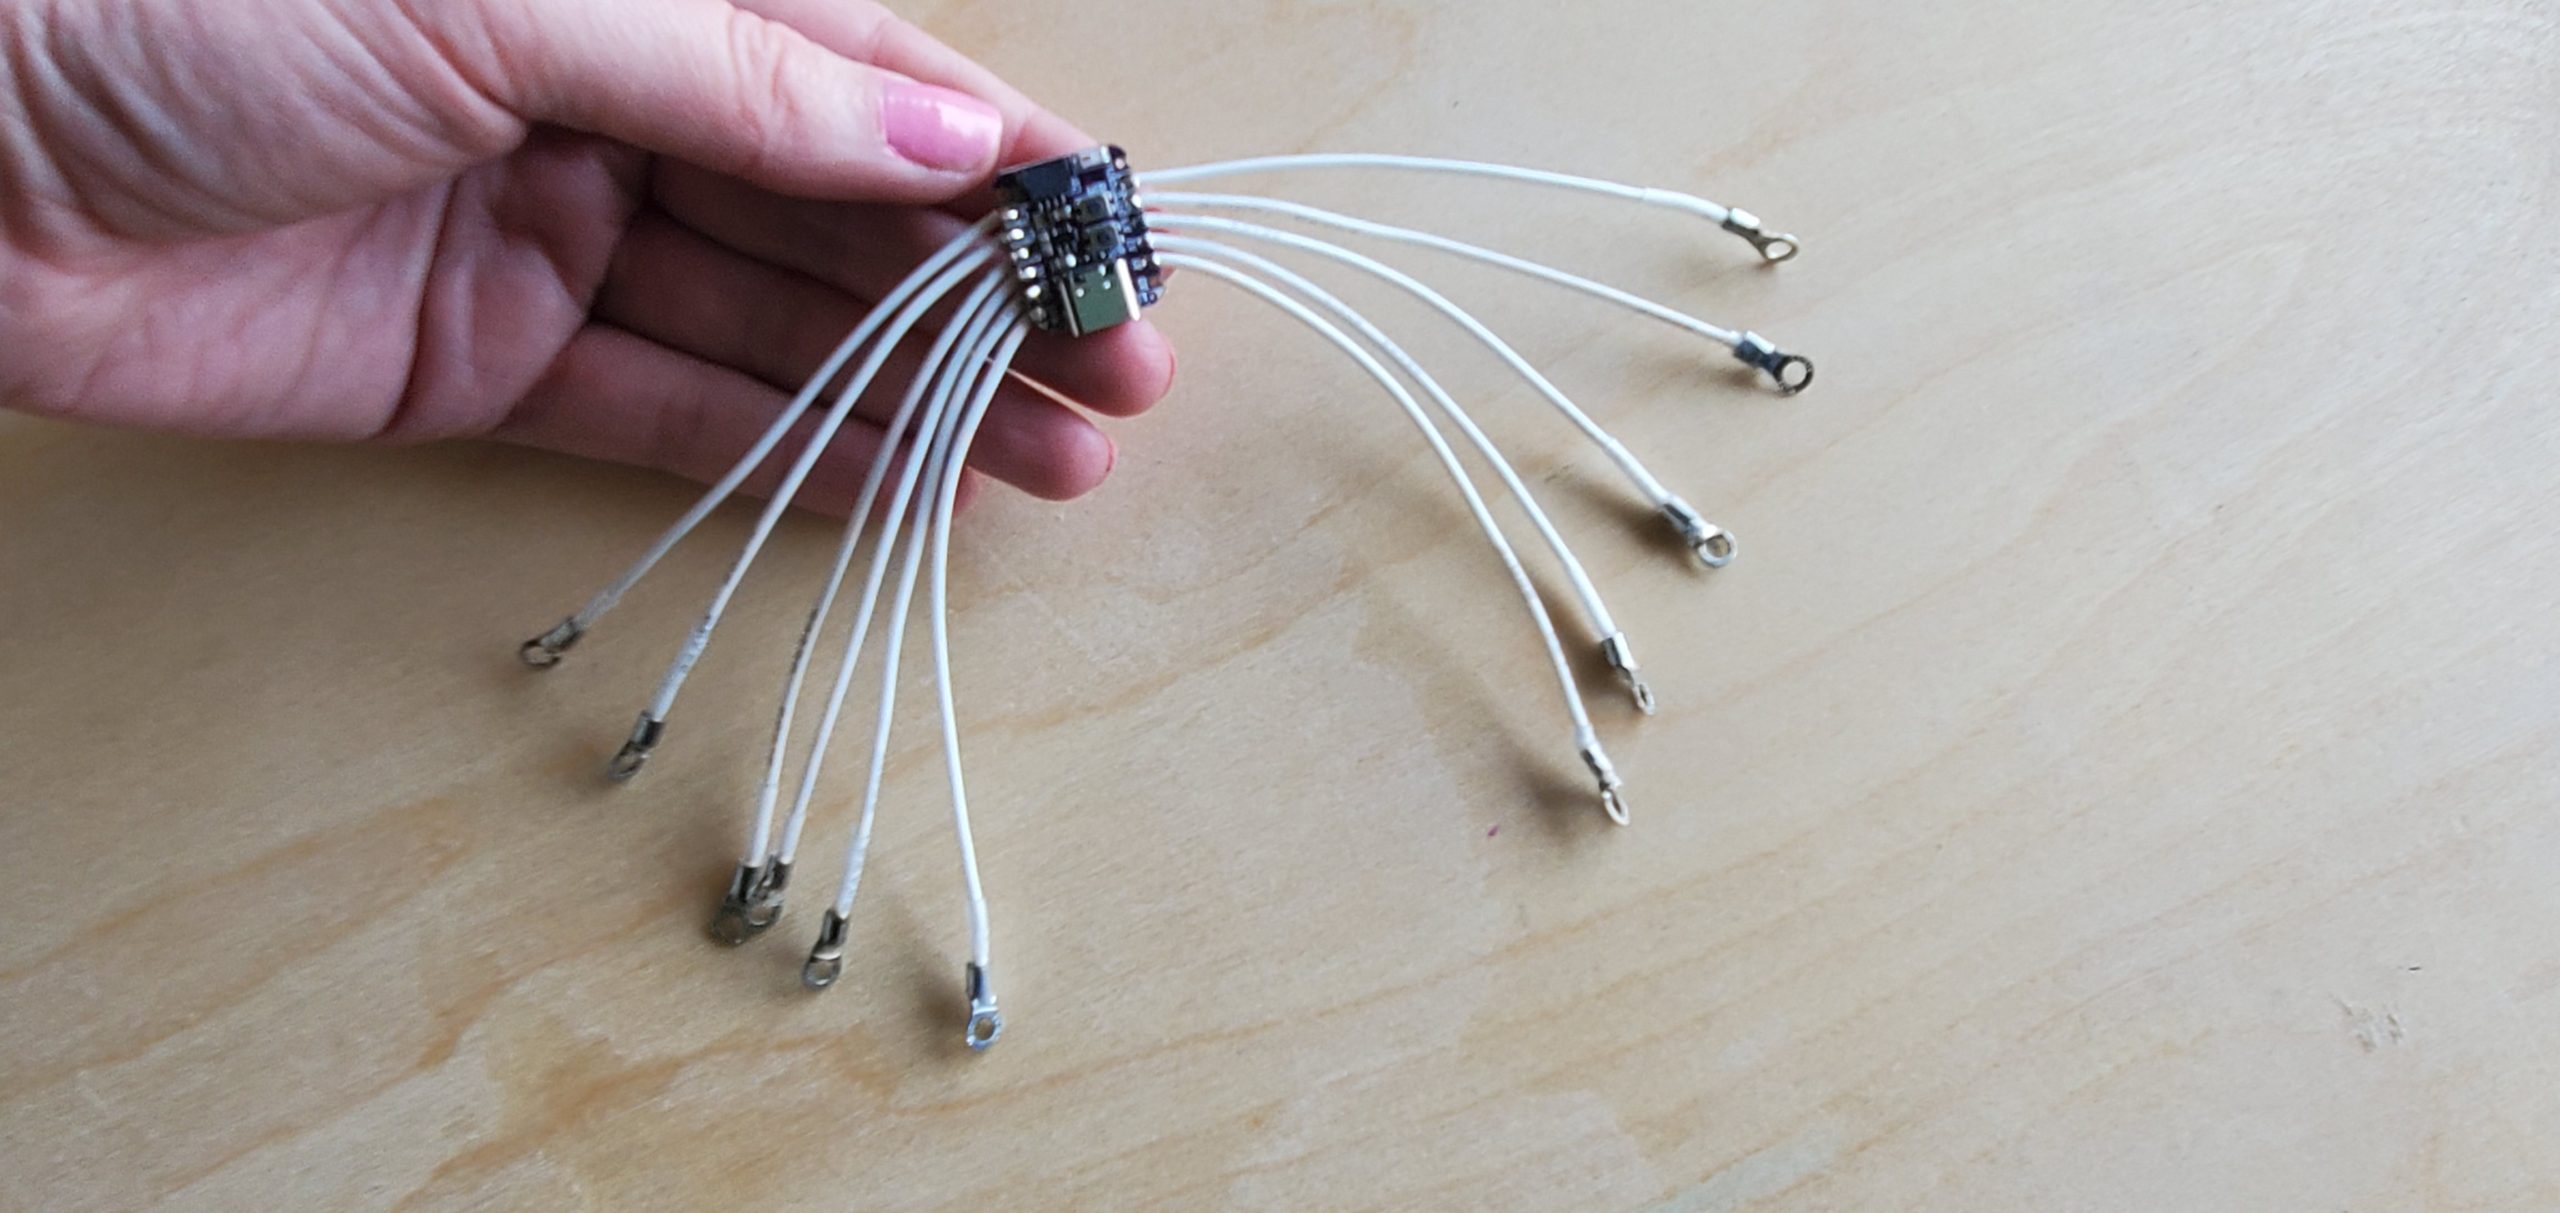
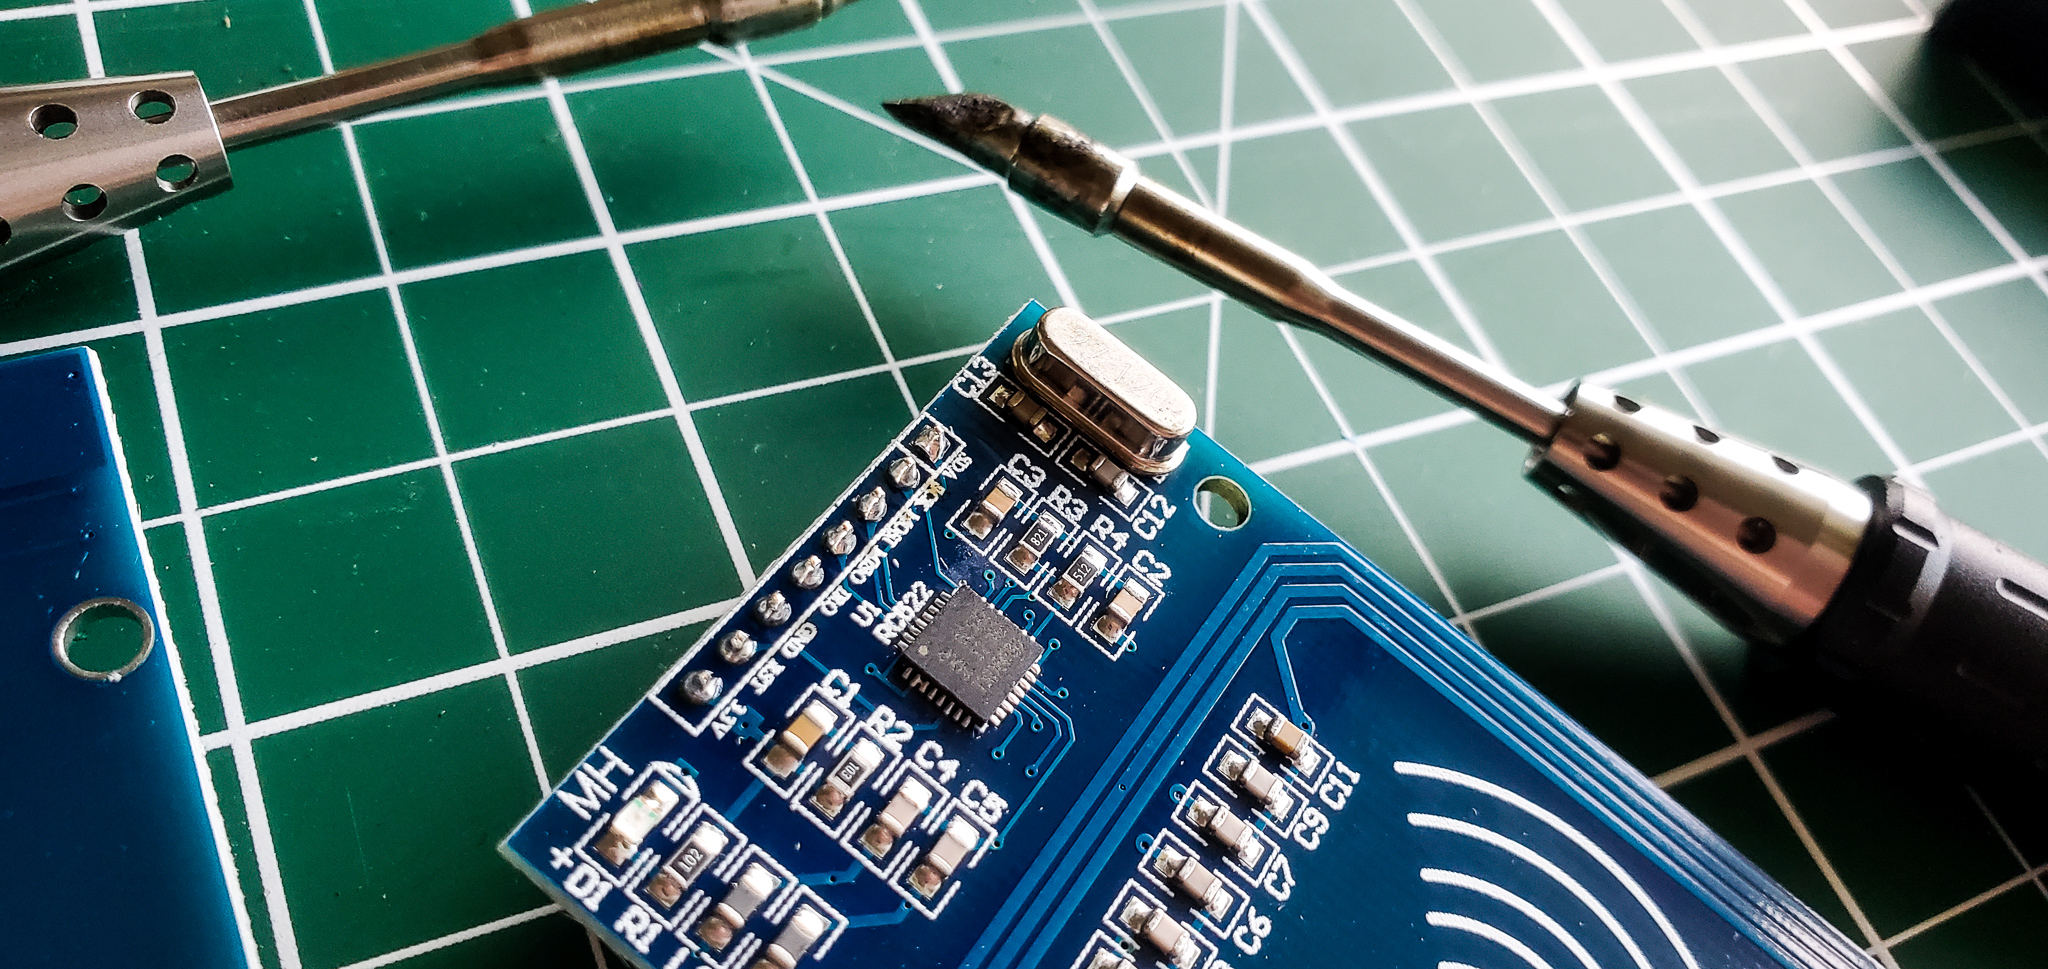
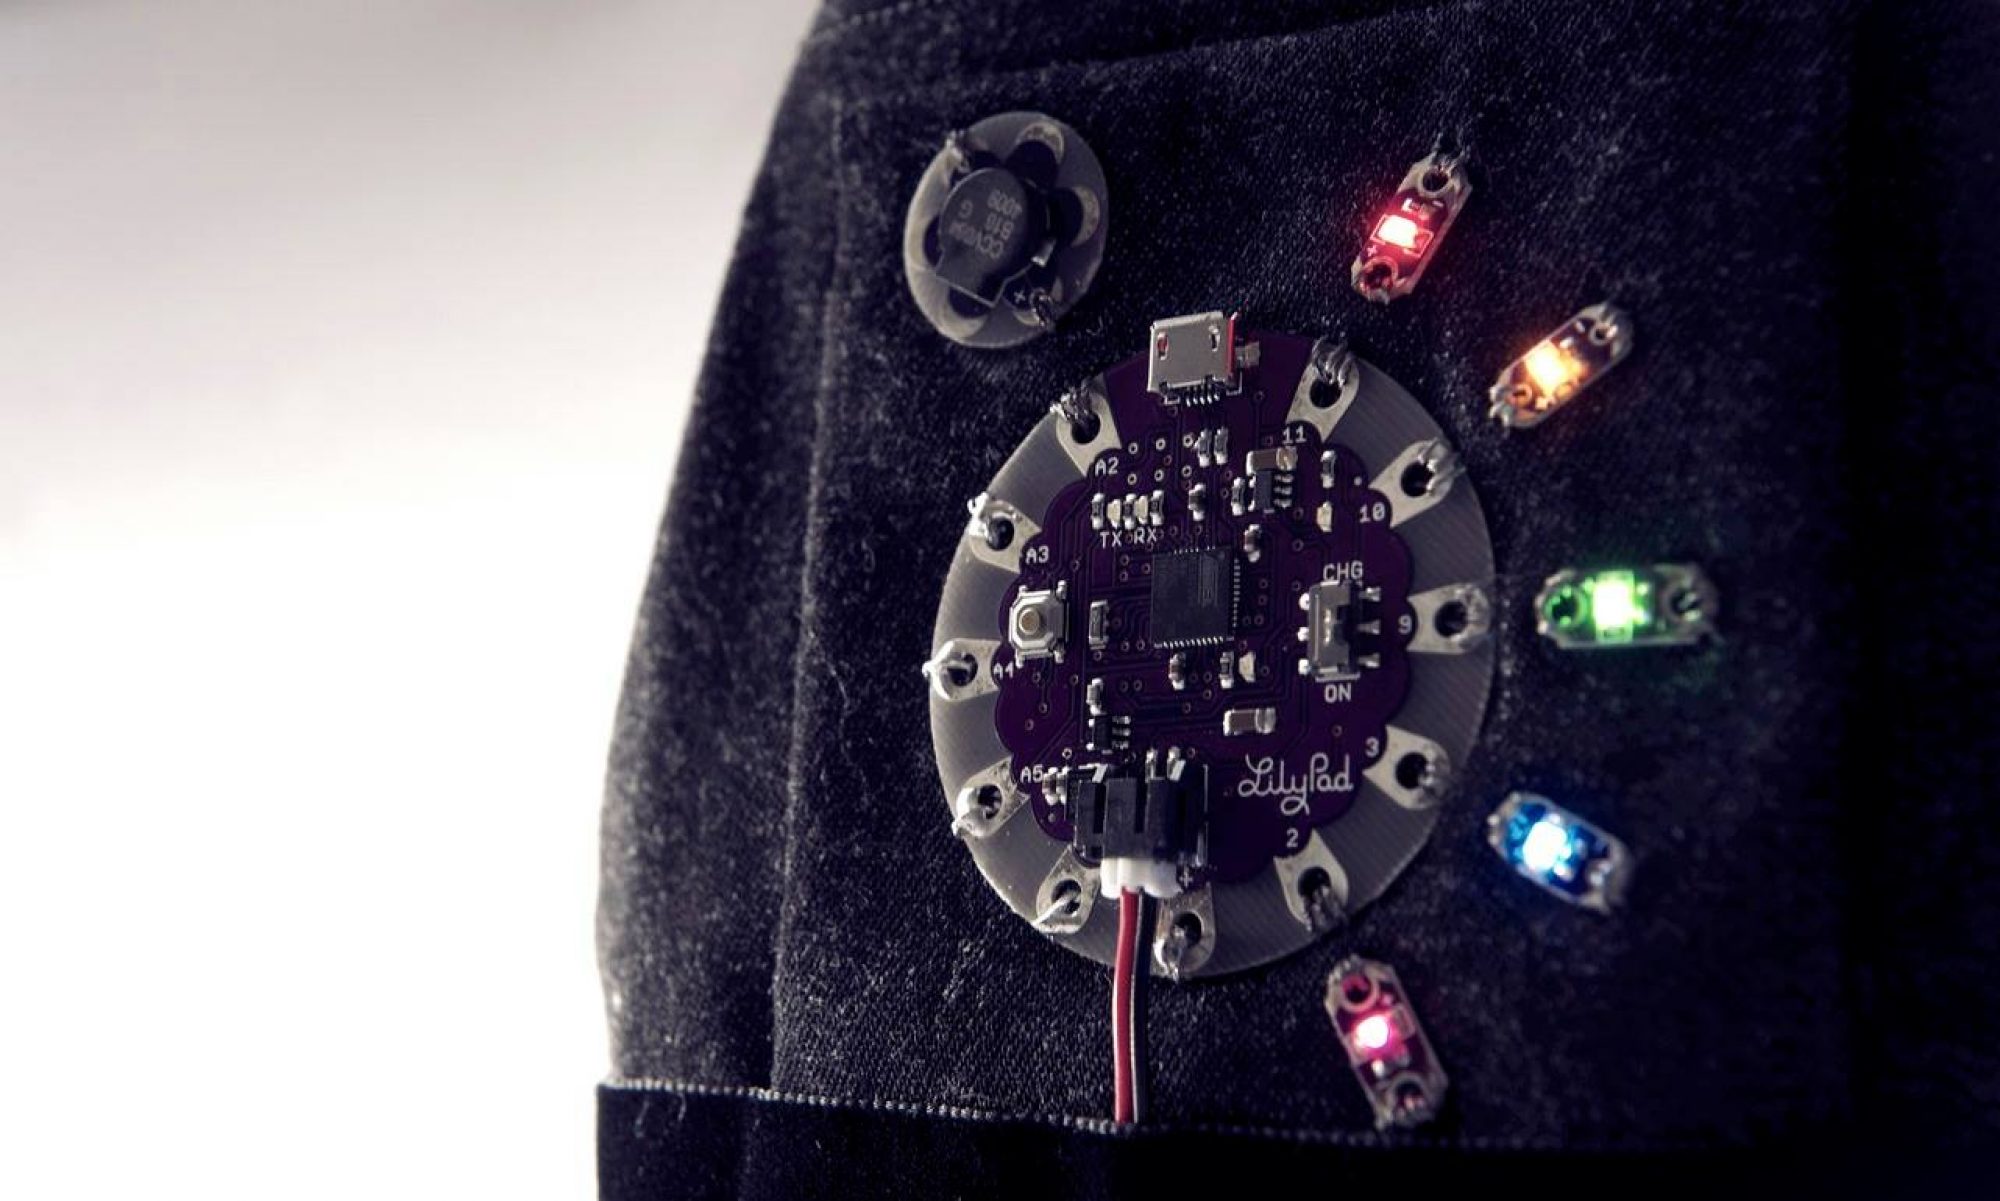
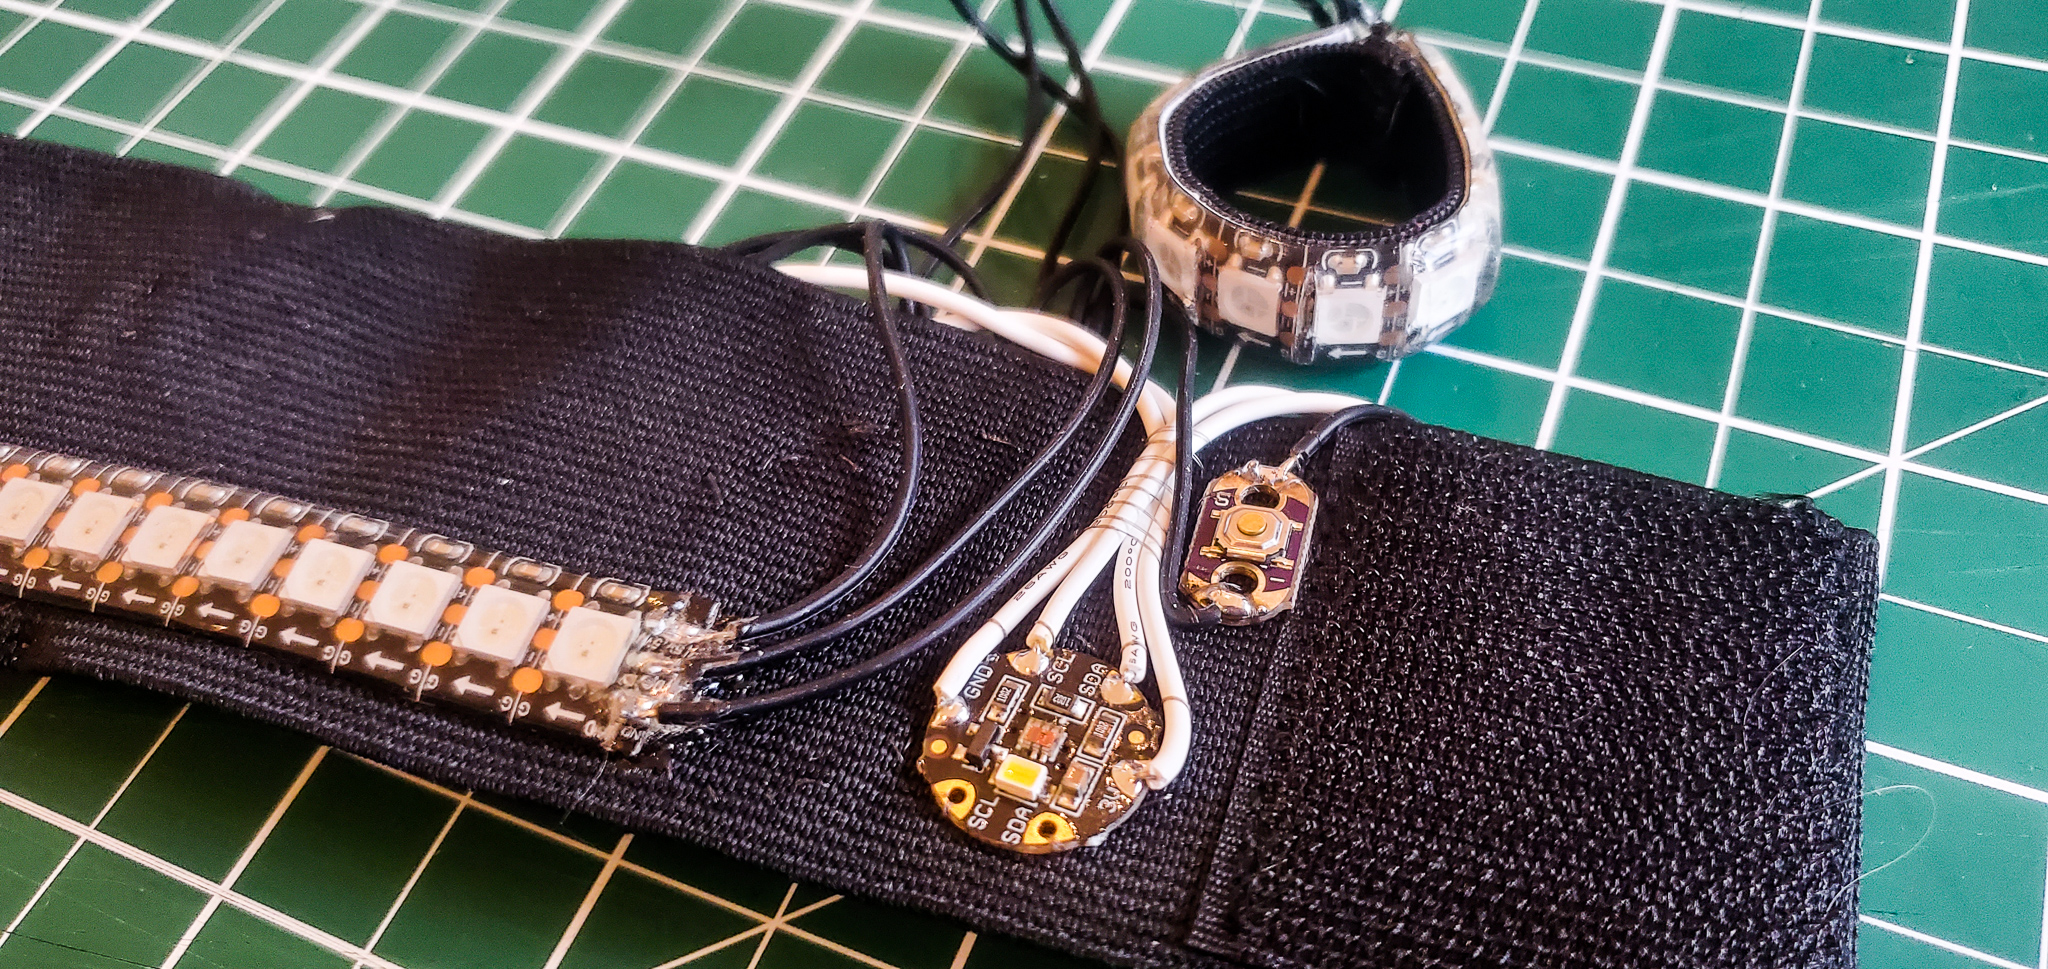
On the back of the Gemma M0 board there are 3 little solder patches.
You can use the 3rd circle solder patch which links to the reset button.
Put solder on this, and then add a button that links one side to this patch, and the other side to ground (GND).
Now you can have a reset button wherever you like!
What are these solder pads on the Gemma M0 for?
The solder pads have been broken out in case you need to use them, which we do! Starting from the pad closest to the edge there is:
- SWDIO
- SWCLK
- Reset
In ‘normal’ usage most people won’t need them – but hey, I’m very glad I found them as it made adding my own reset button easy to do!

What’s Next? Get Sewing!
Now you need to choose a button that you’d like to use to reset your device. I’ve chosen a little pre-made wearable button – but you could make your own with snaps or conductive fabric. I’ve sewn this in place on the front of my wearable and now it works to reset my project!
For a guide on using the Gemma – I’ve used the Gemma M0 in this project…
Do you have any tips and tricks to share? Have you done this? What projects are you working on?