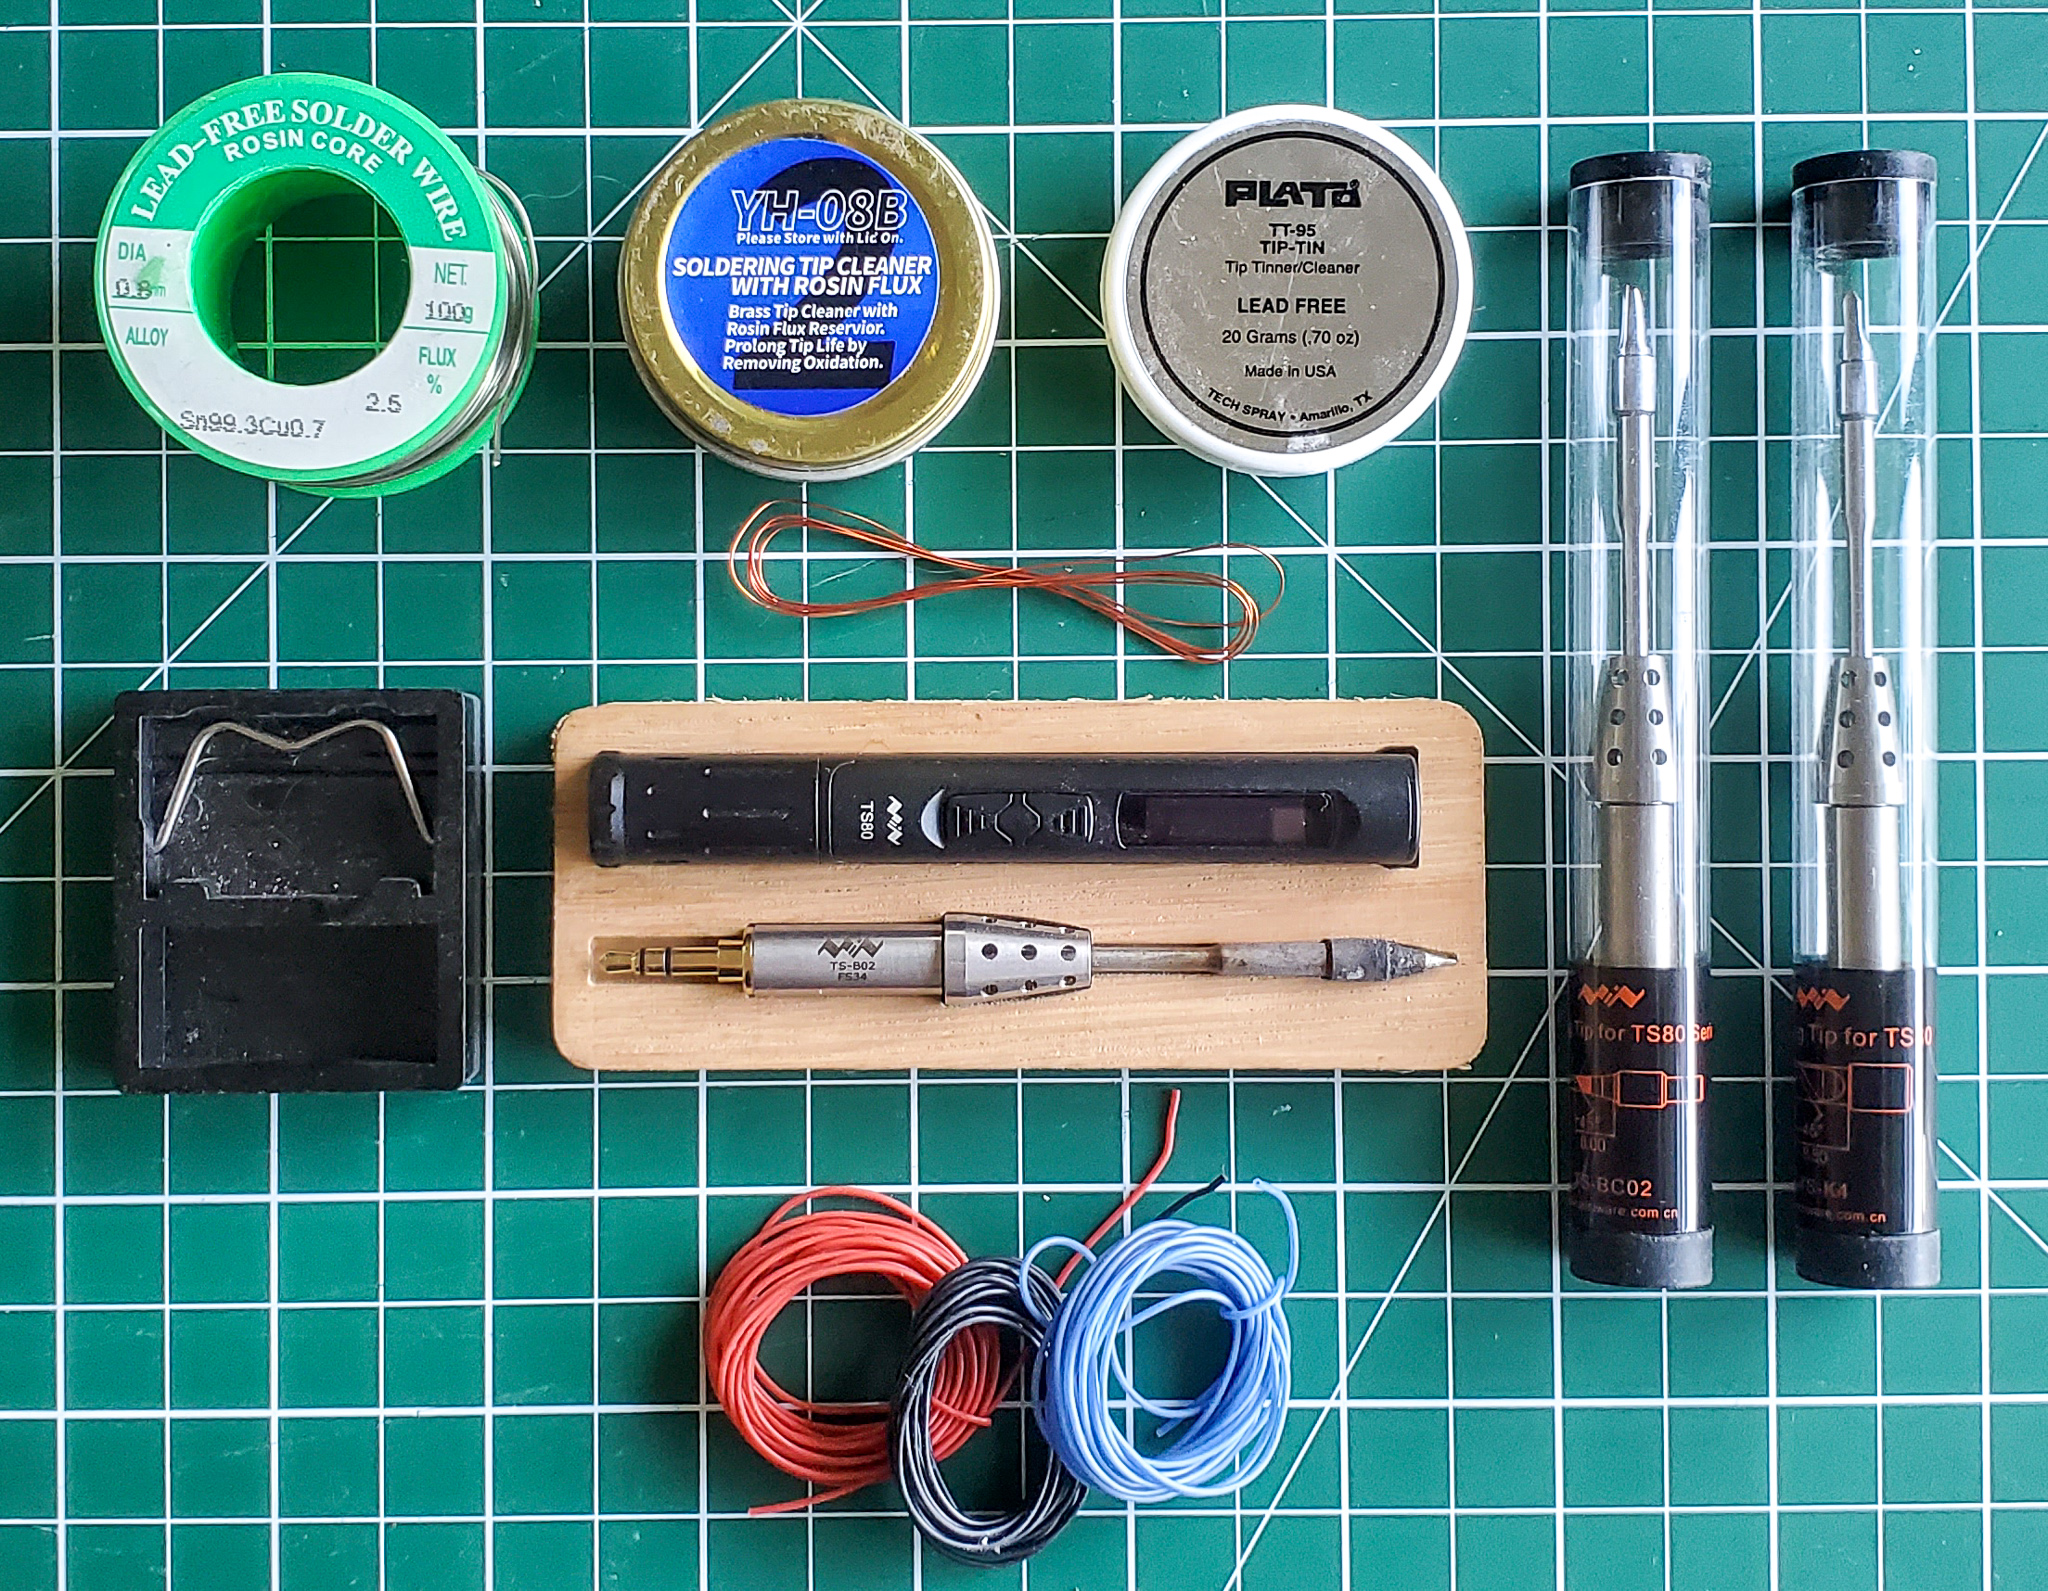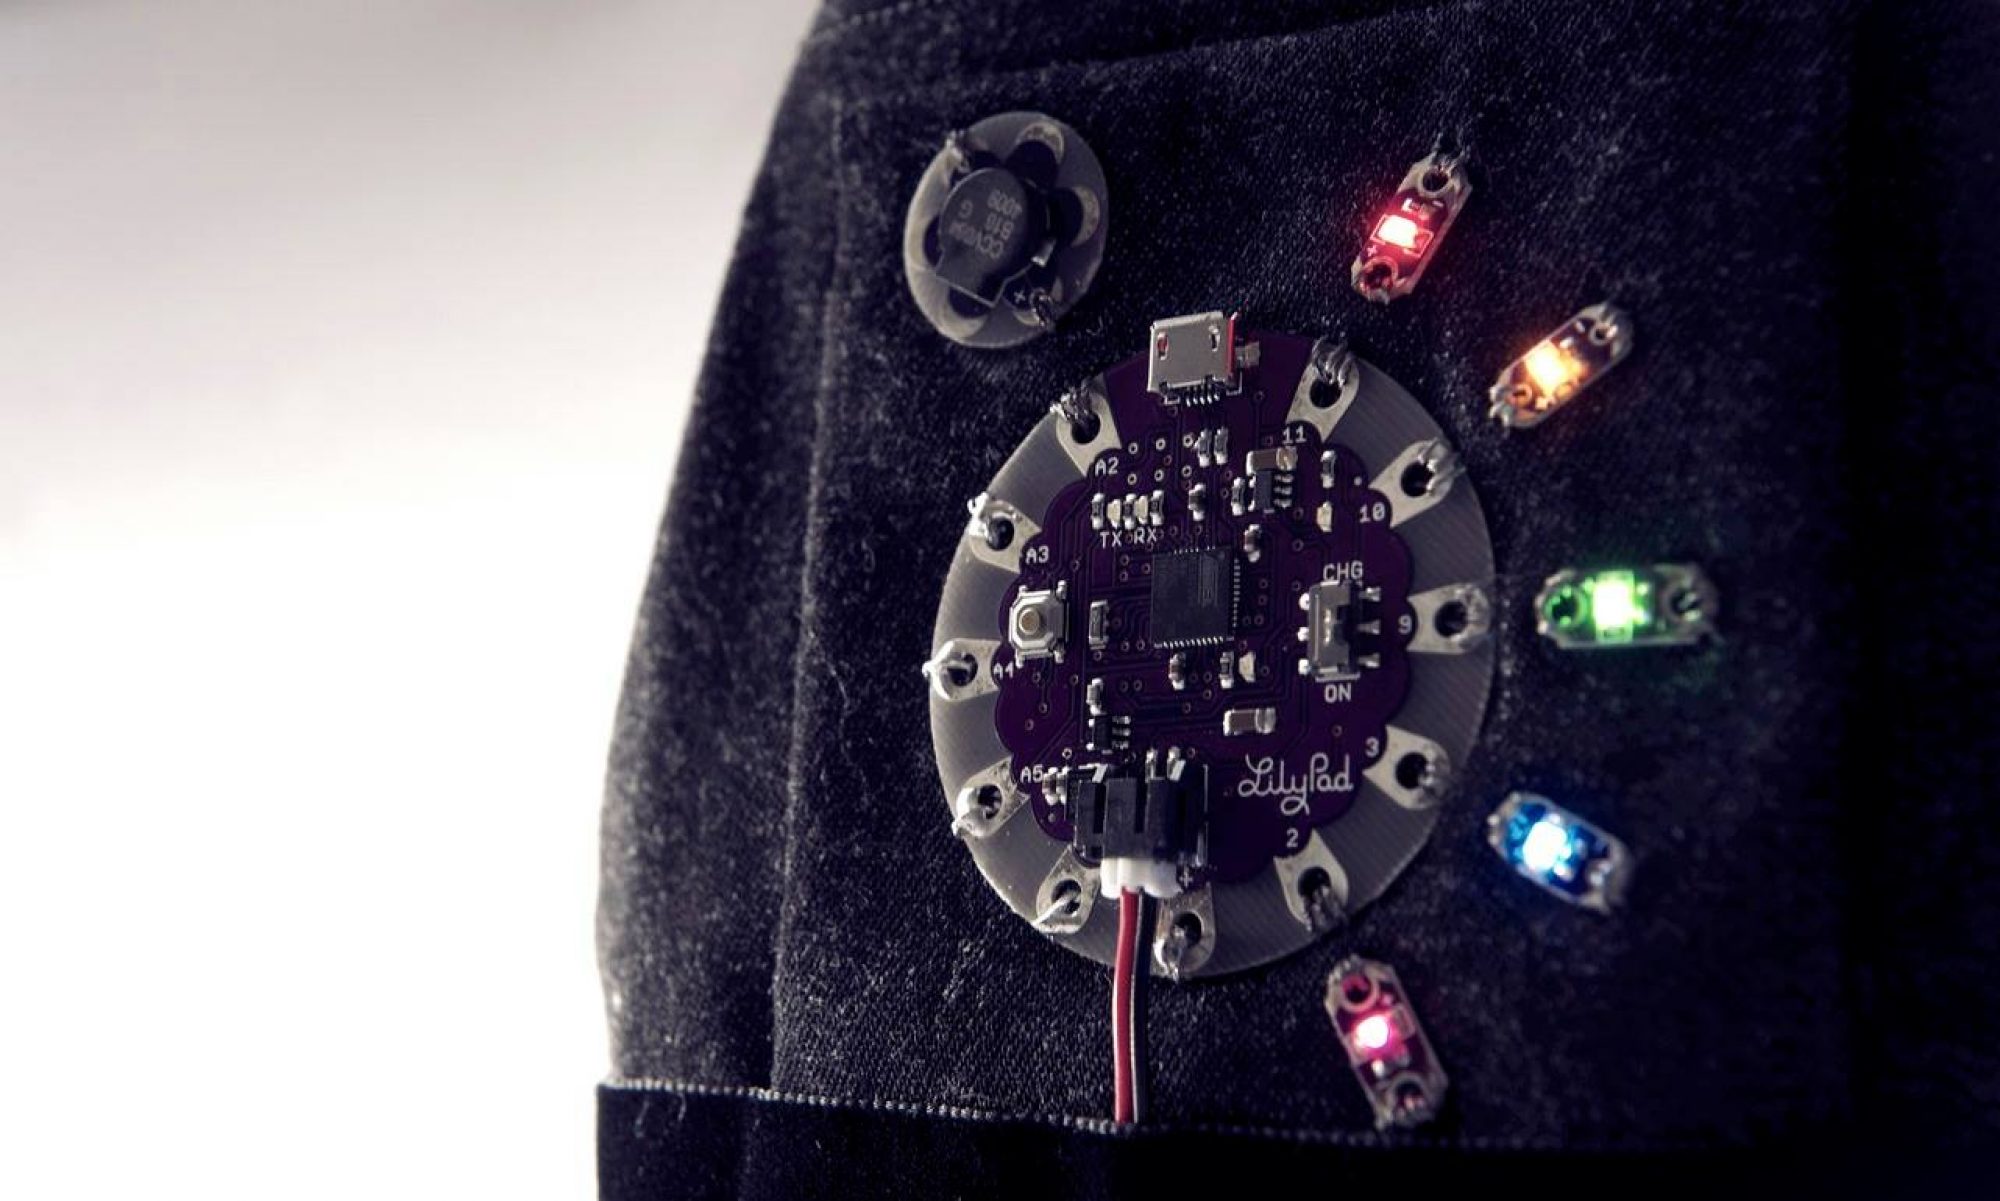
Nail resin can keep your connections strong! Making wearable projects are super fun and challenging. This is a super quick post to document that typically I use nail varnish to cover my sewing knots. This is a good solution but for some of my joins with thin (very thin!) wire, I get nervous that they will break after some use.
What’s the solution?
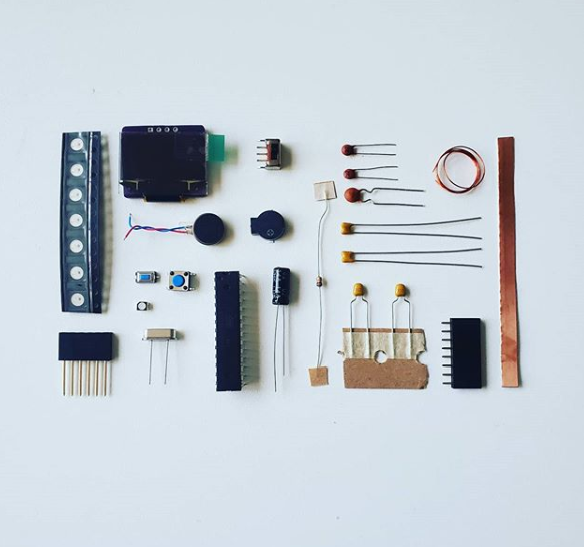
There is a good solution that is easy to do and you’ll need a few items for it.
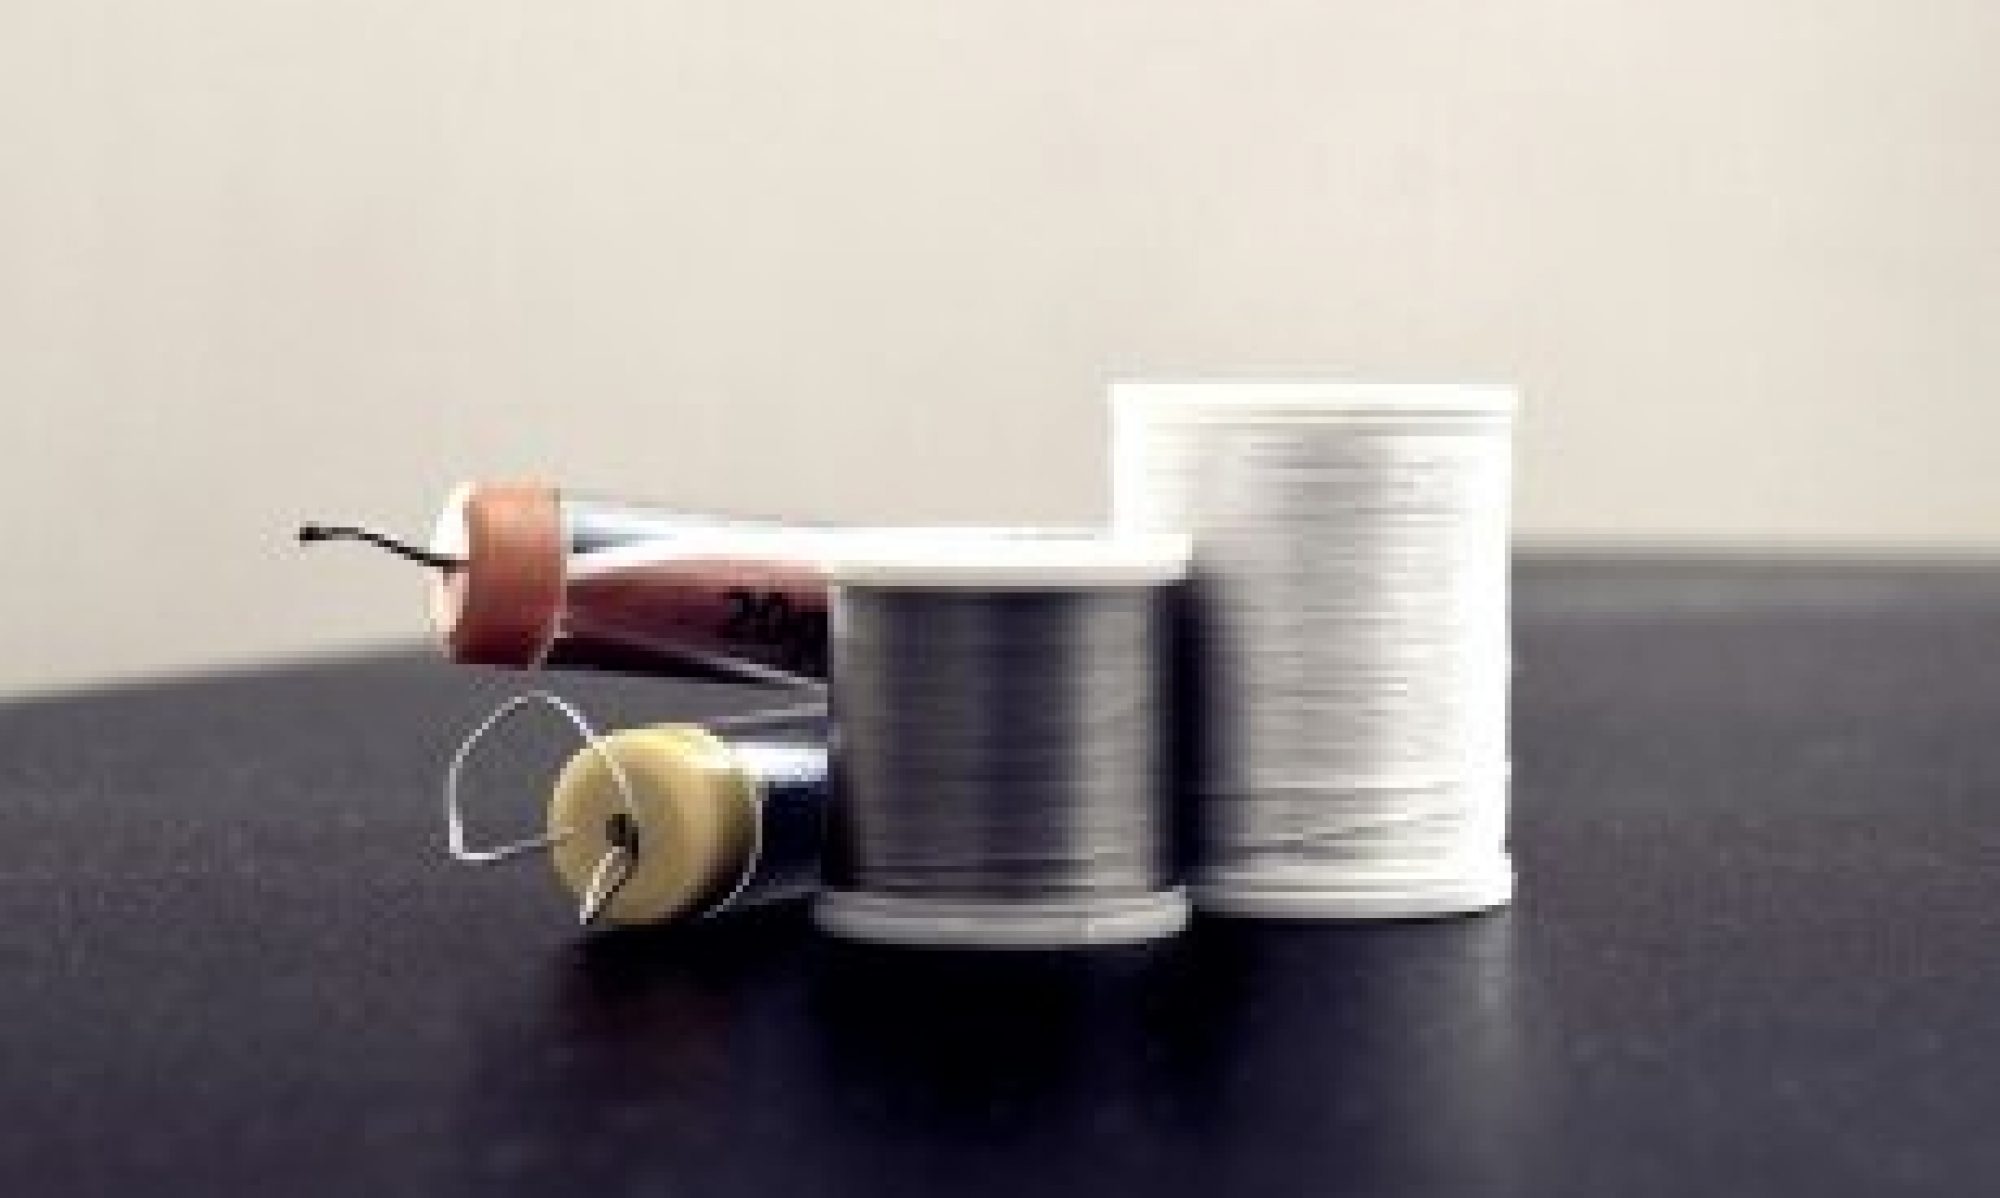
- Resin
- Small paint brush or similar
- UV curing lamp
- Alcohol swab / pad
- optional: UV top coat gloss

How to use UV nail resin for my circuit?
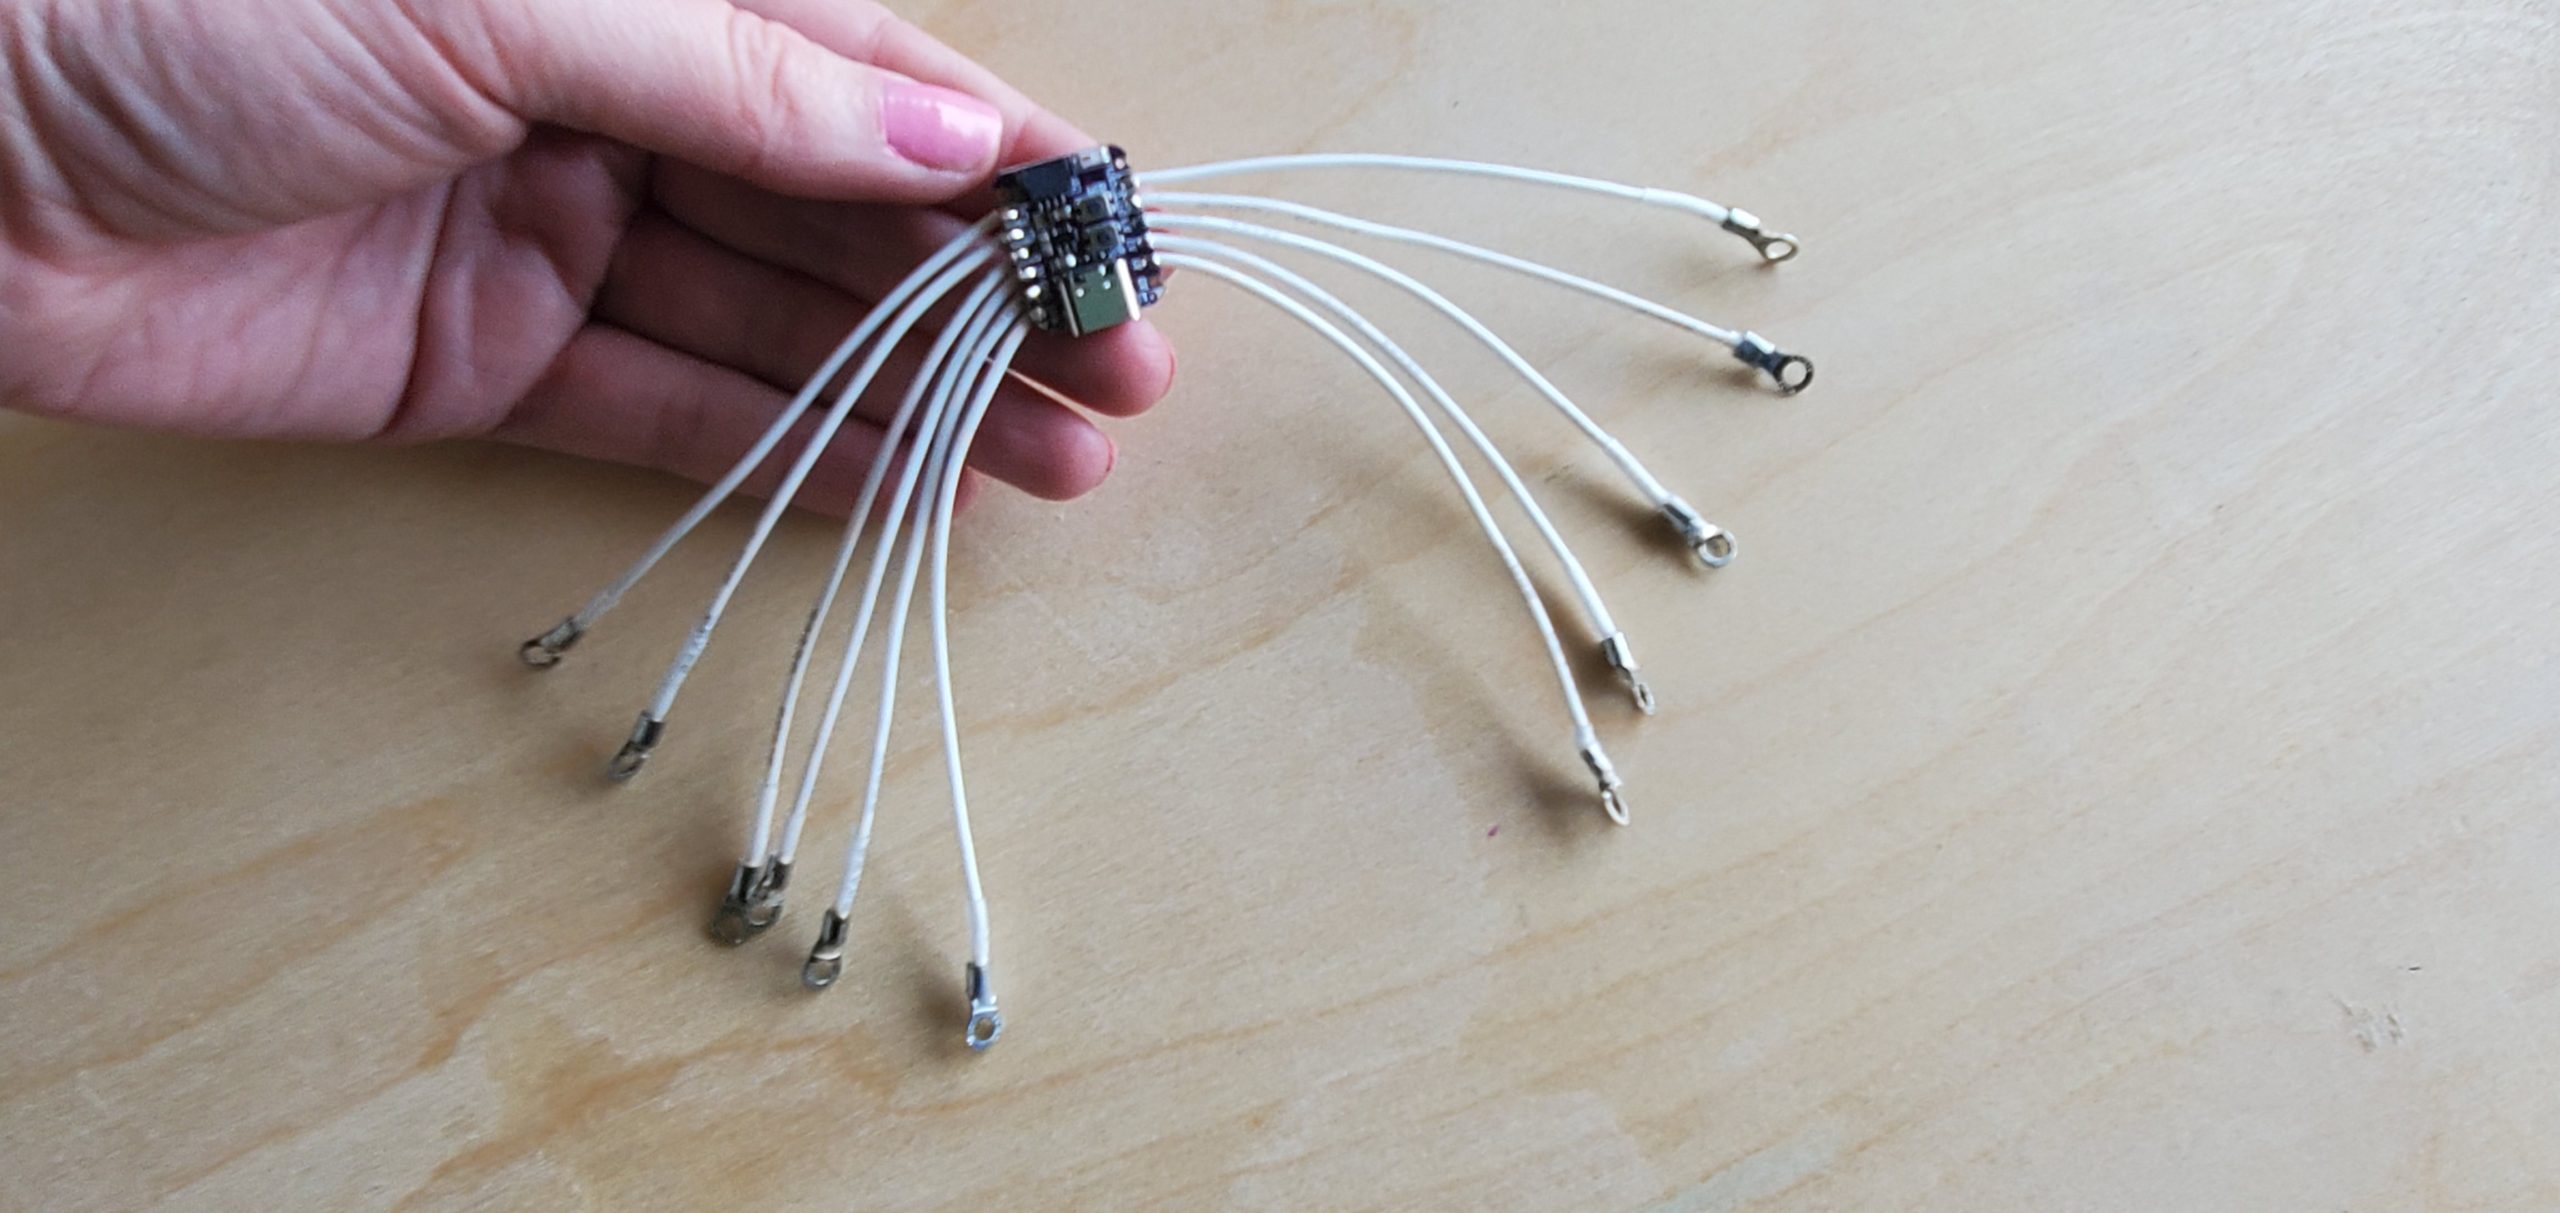
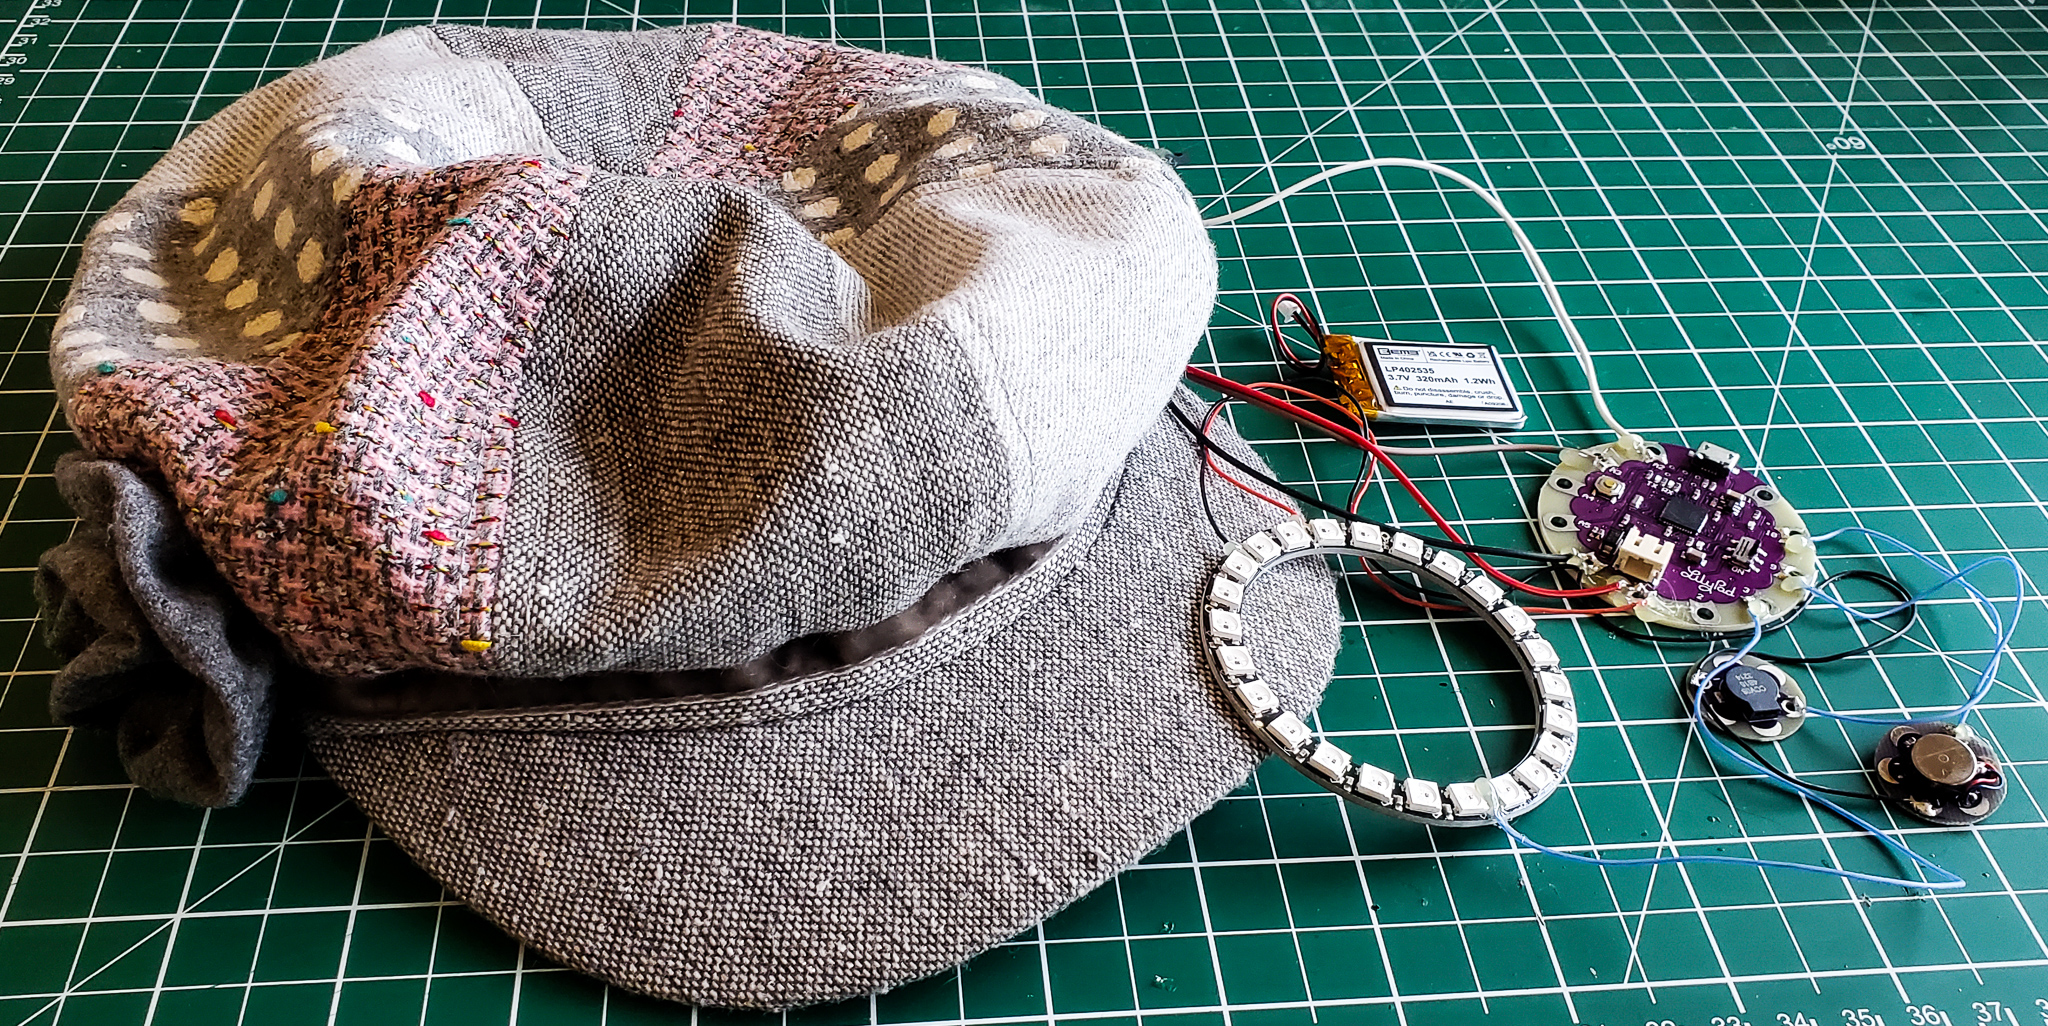
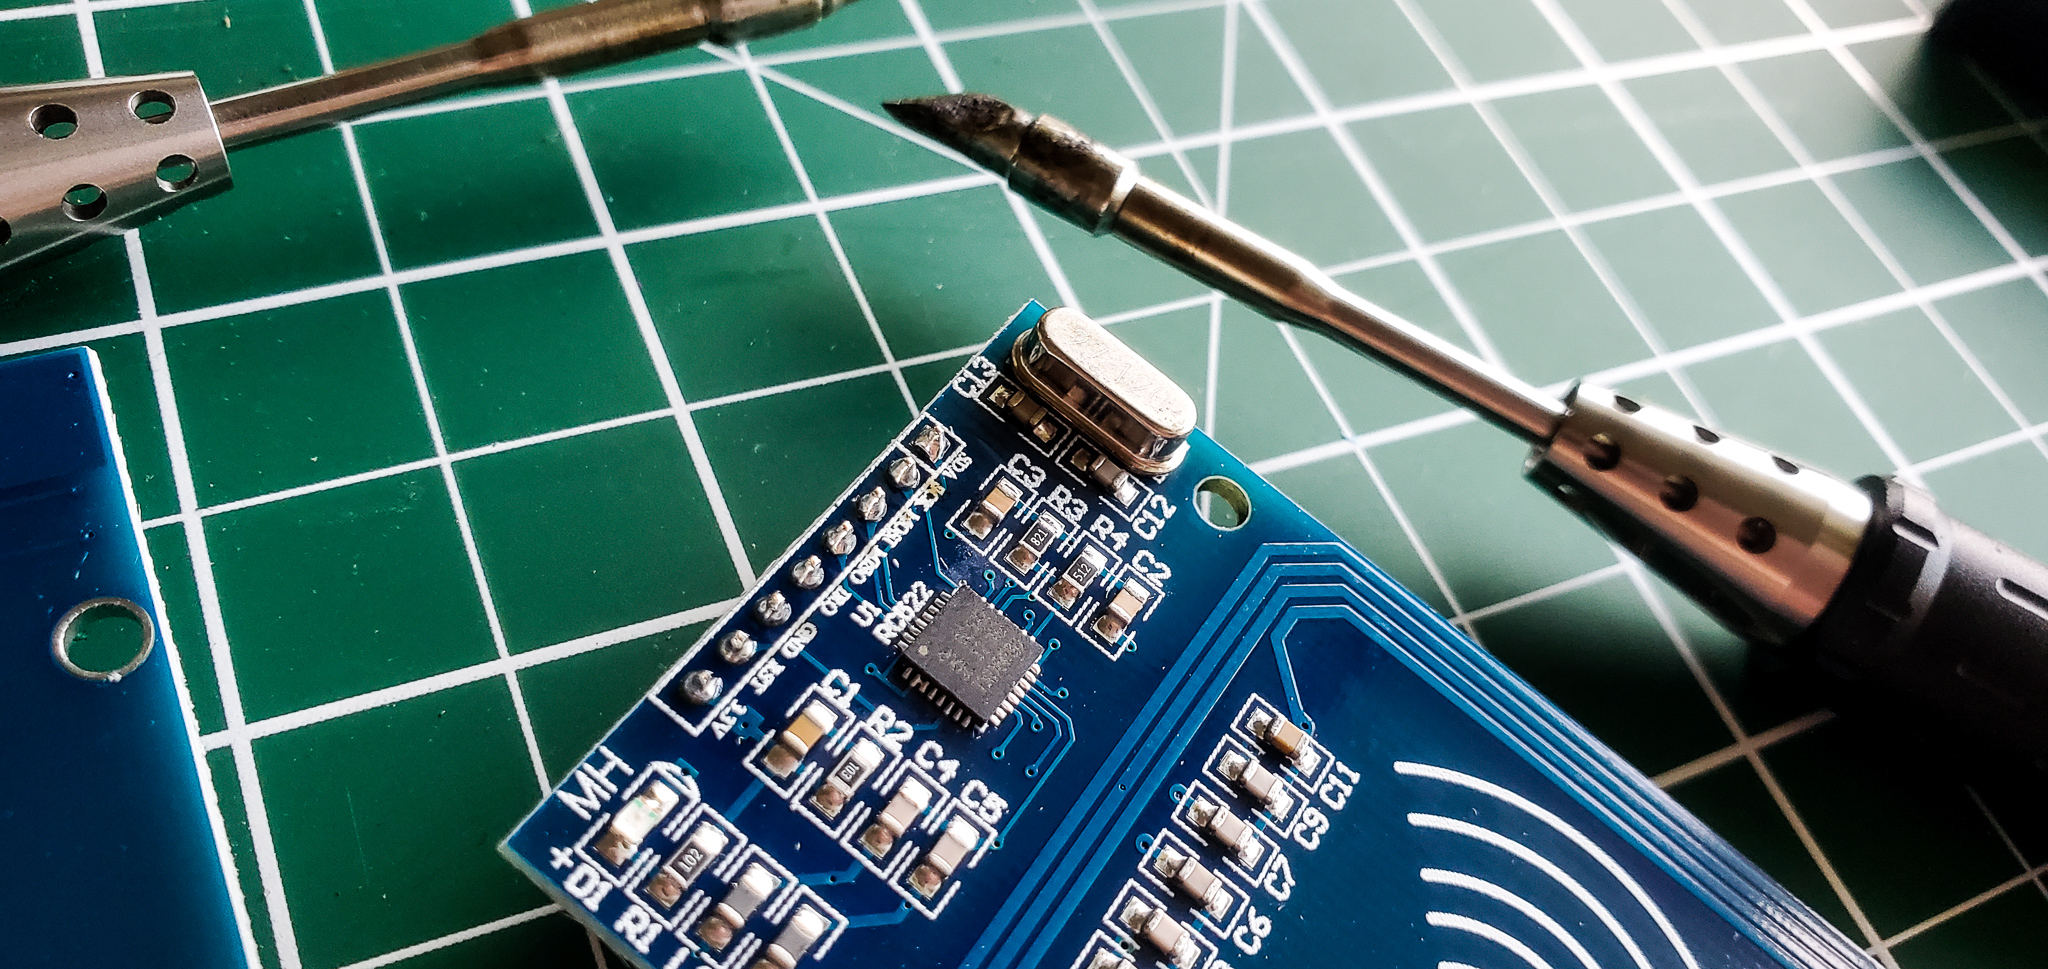
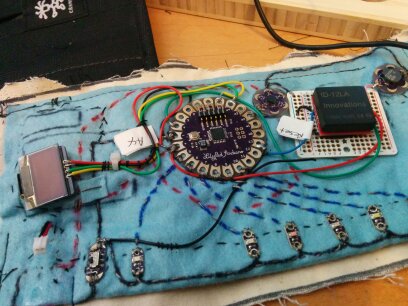
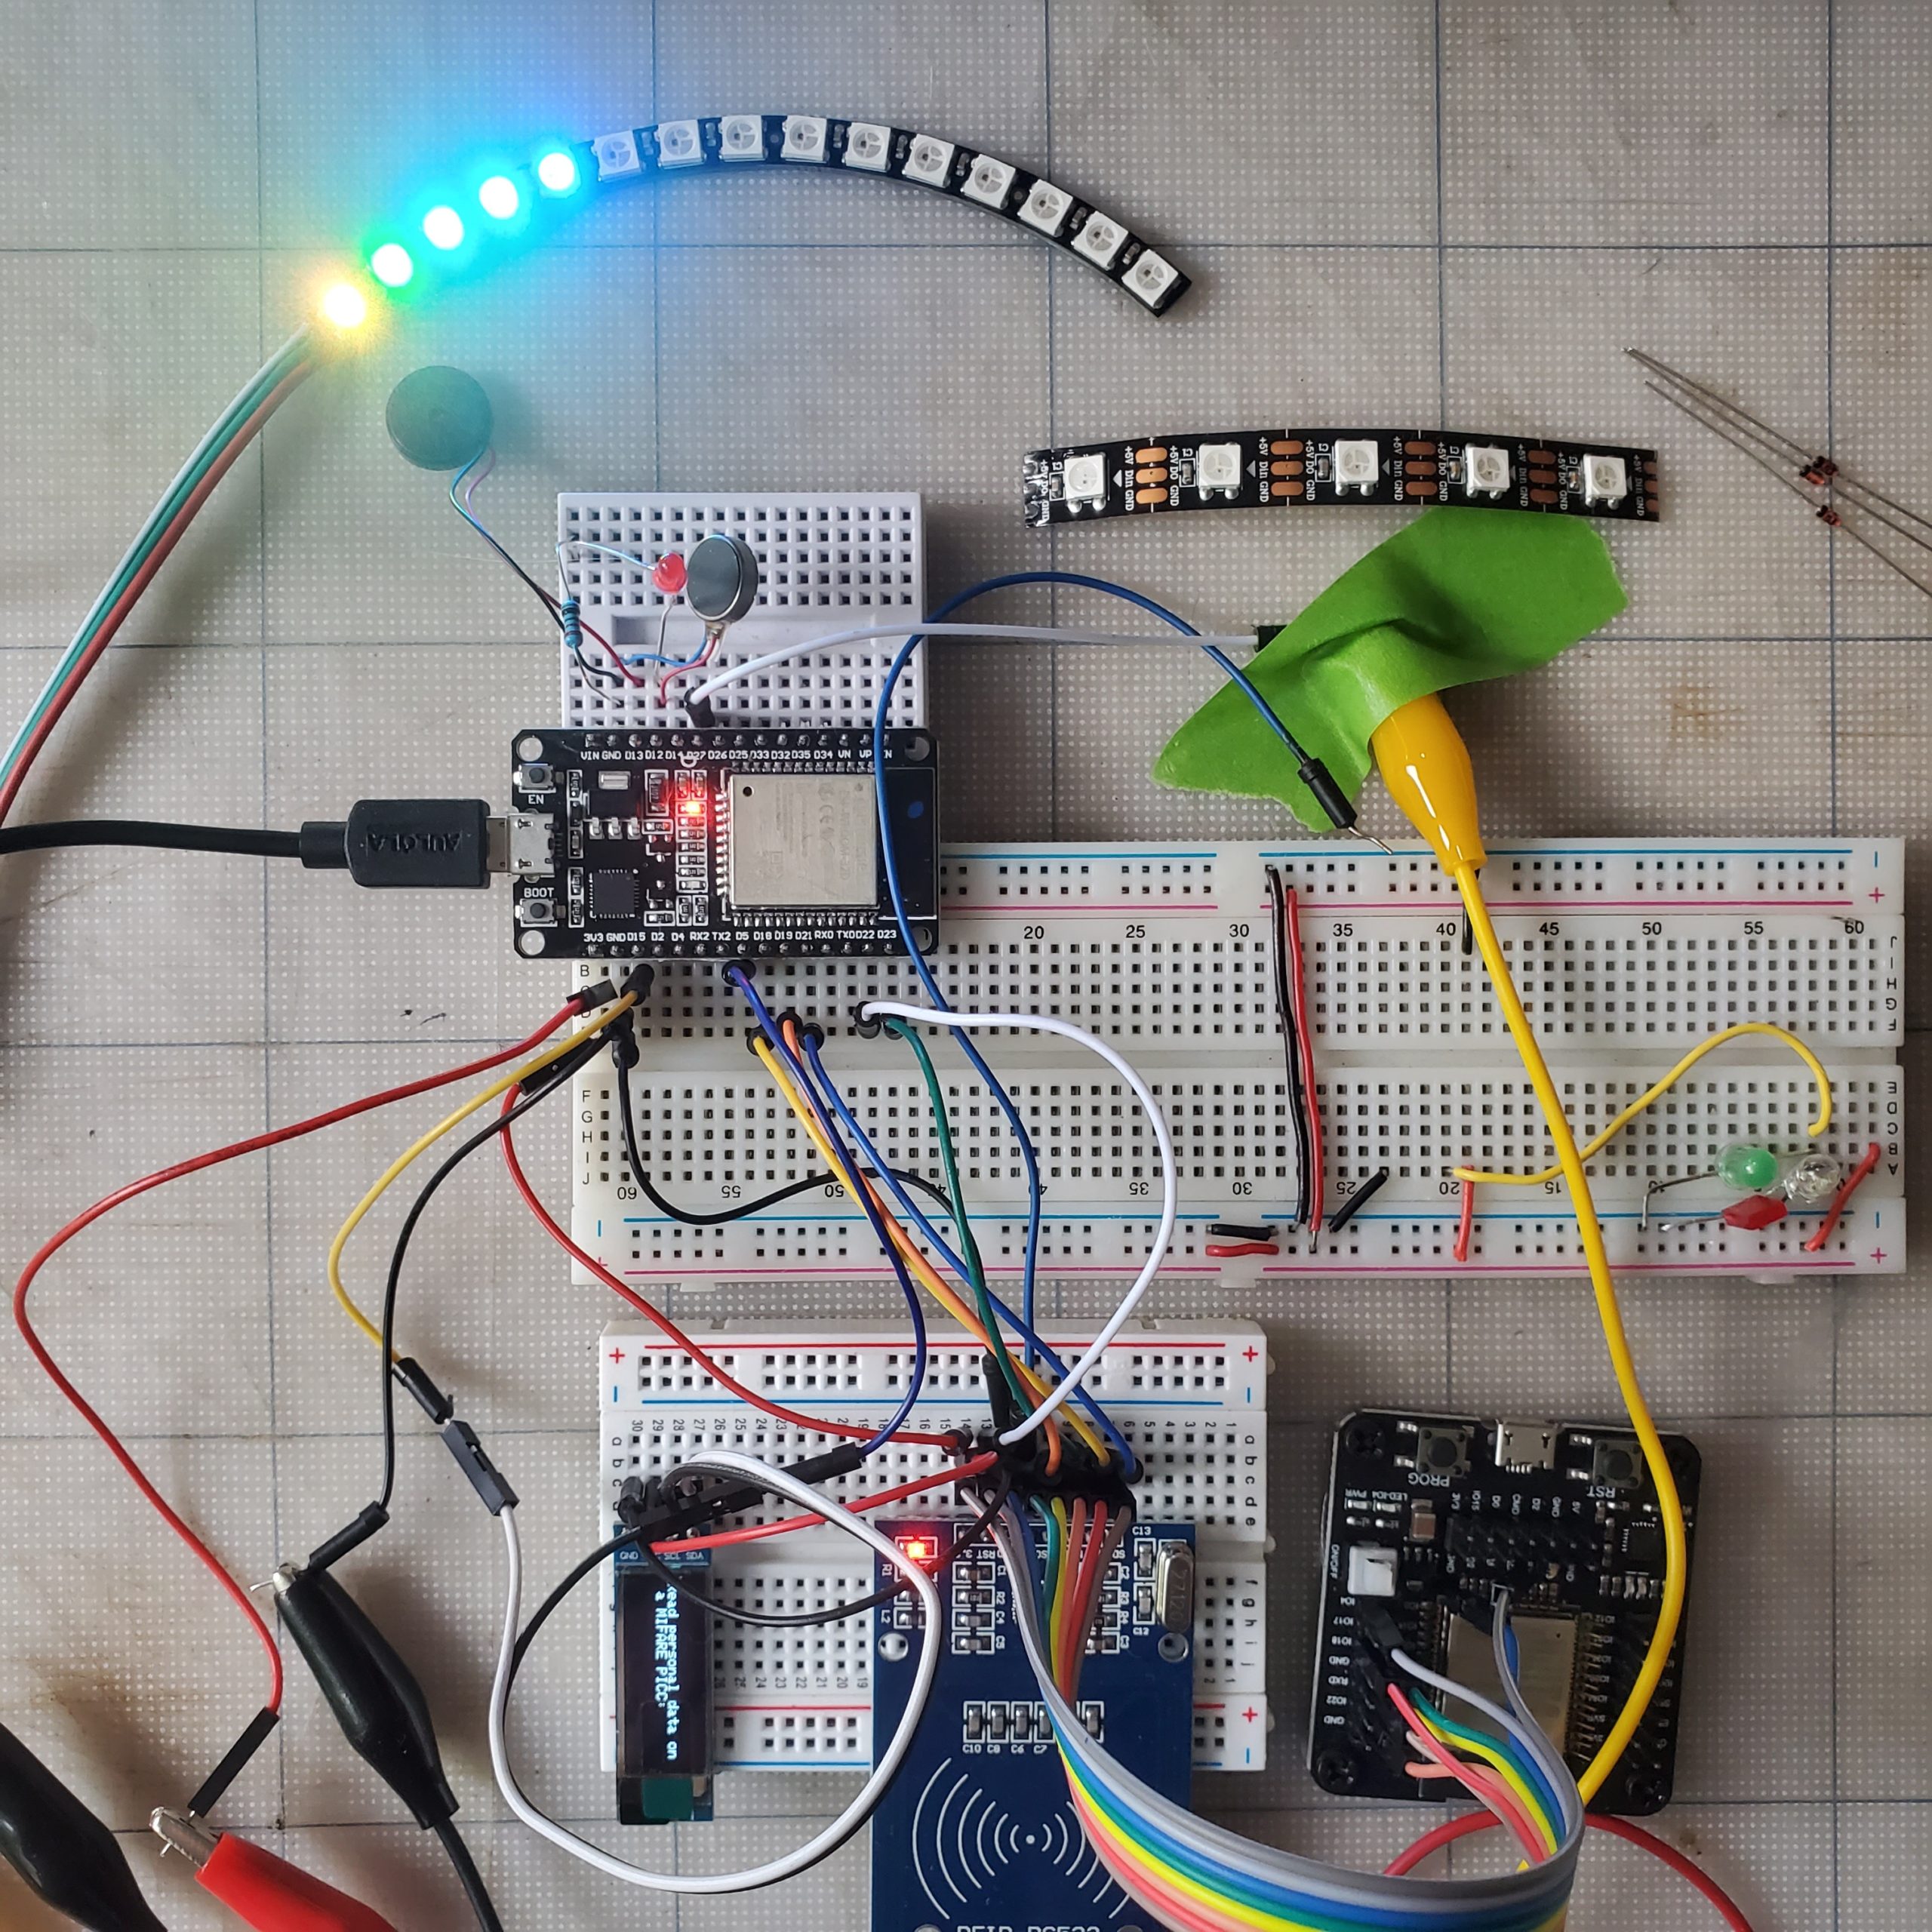
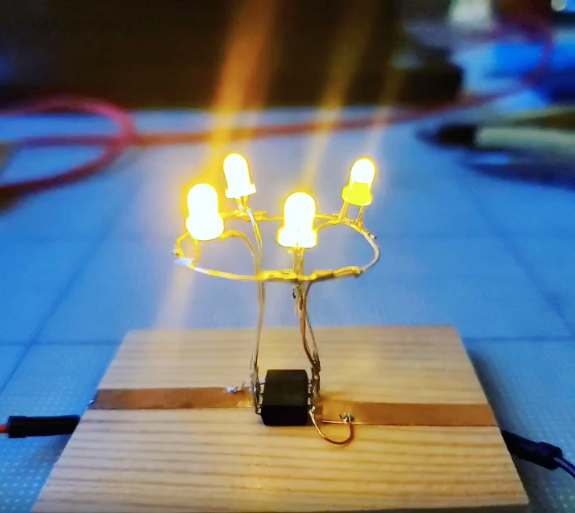
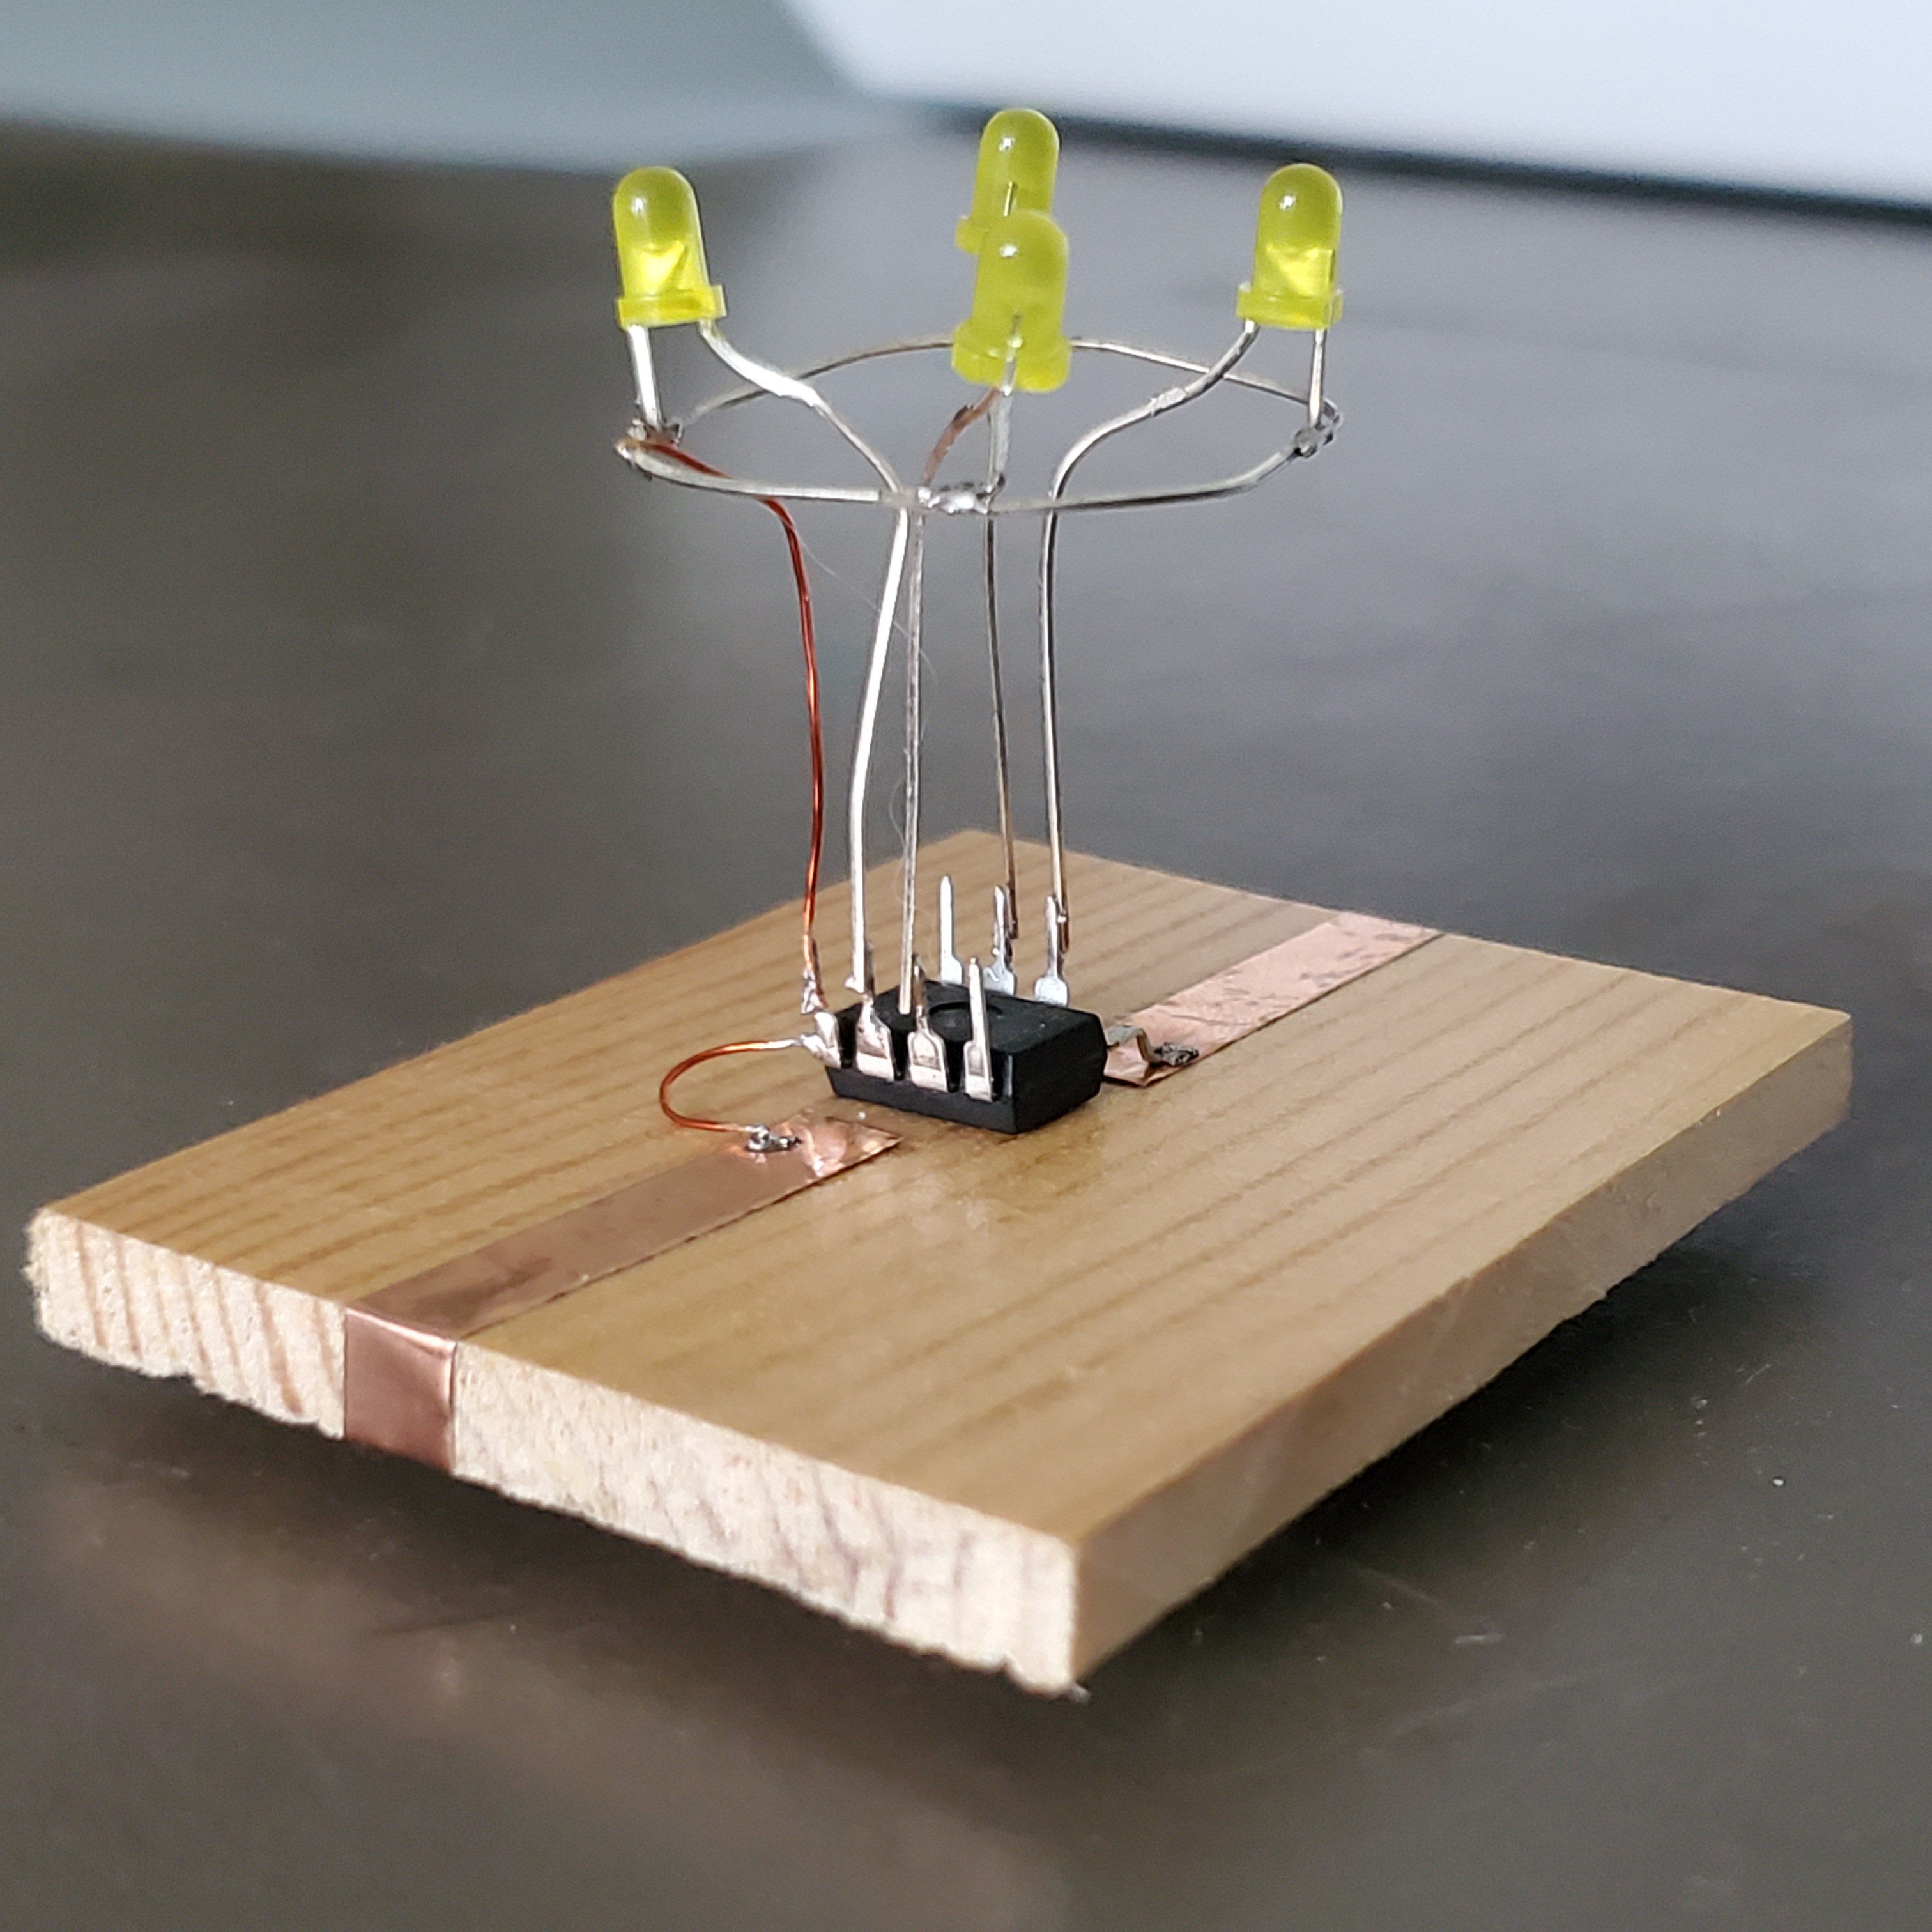
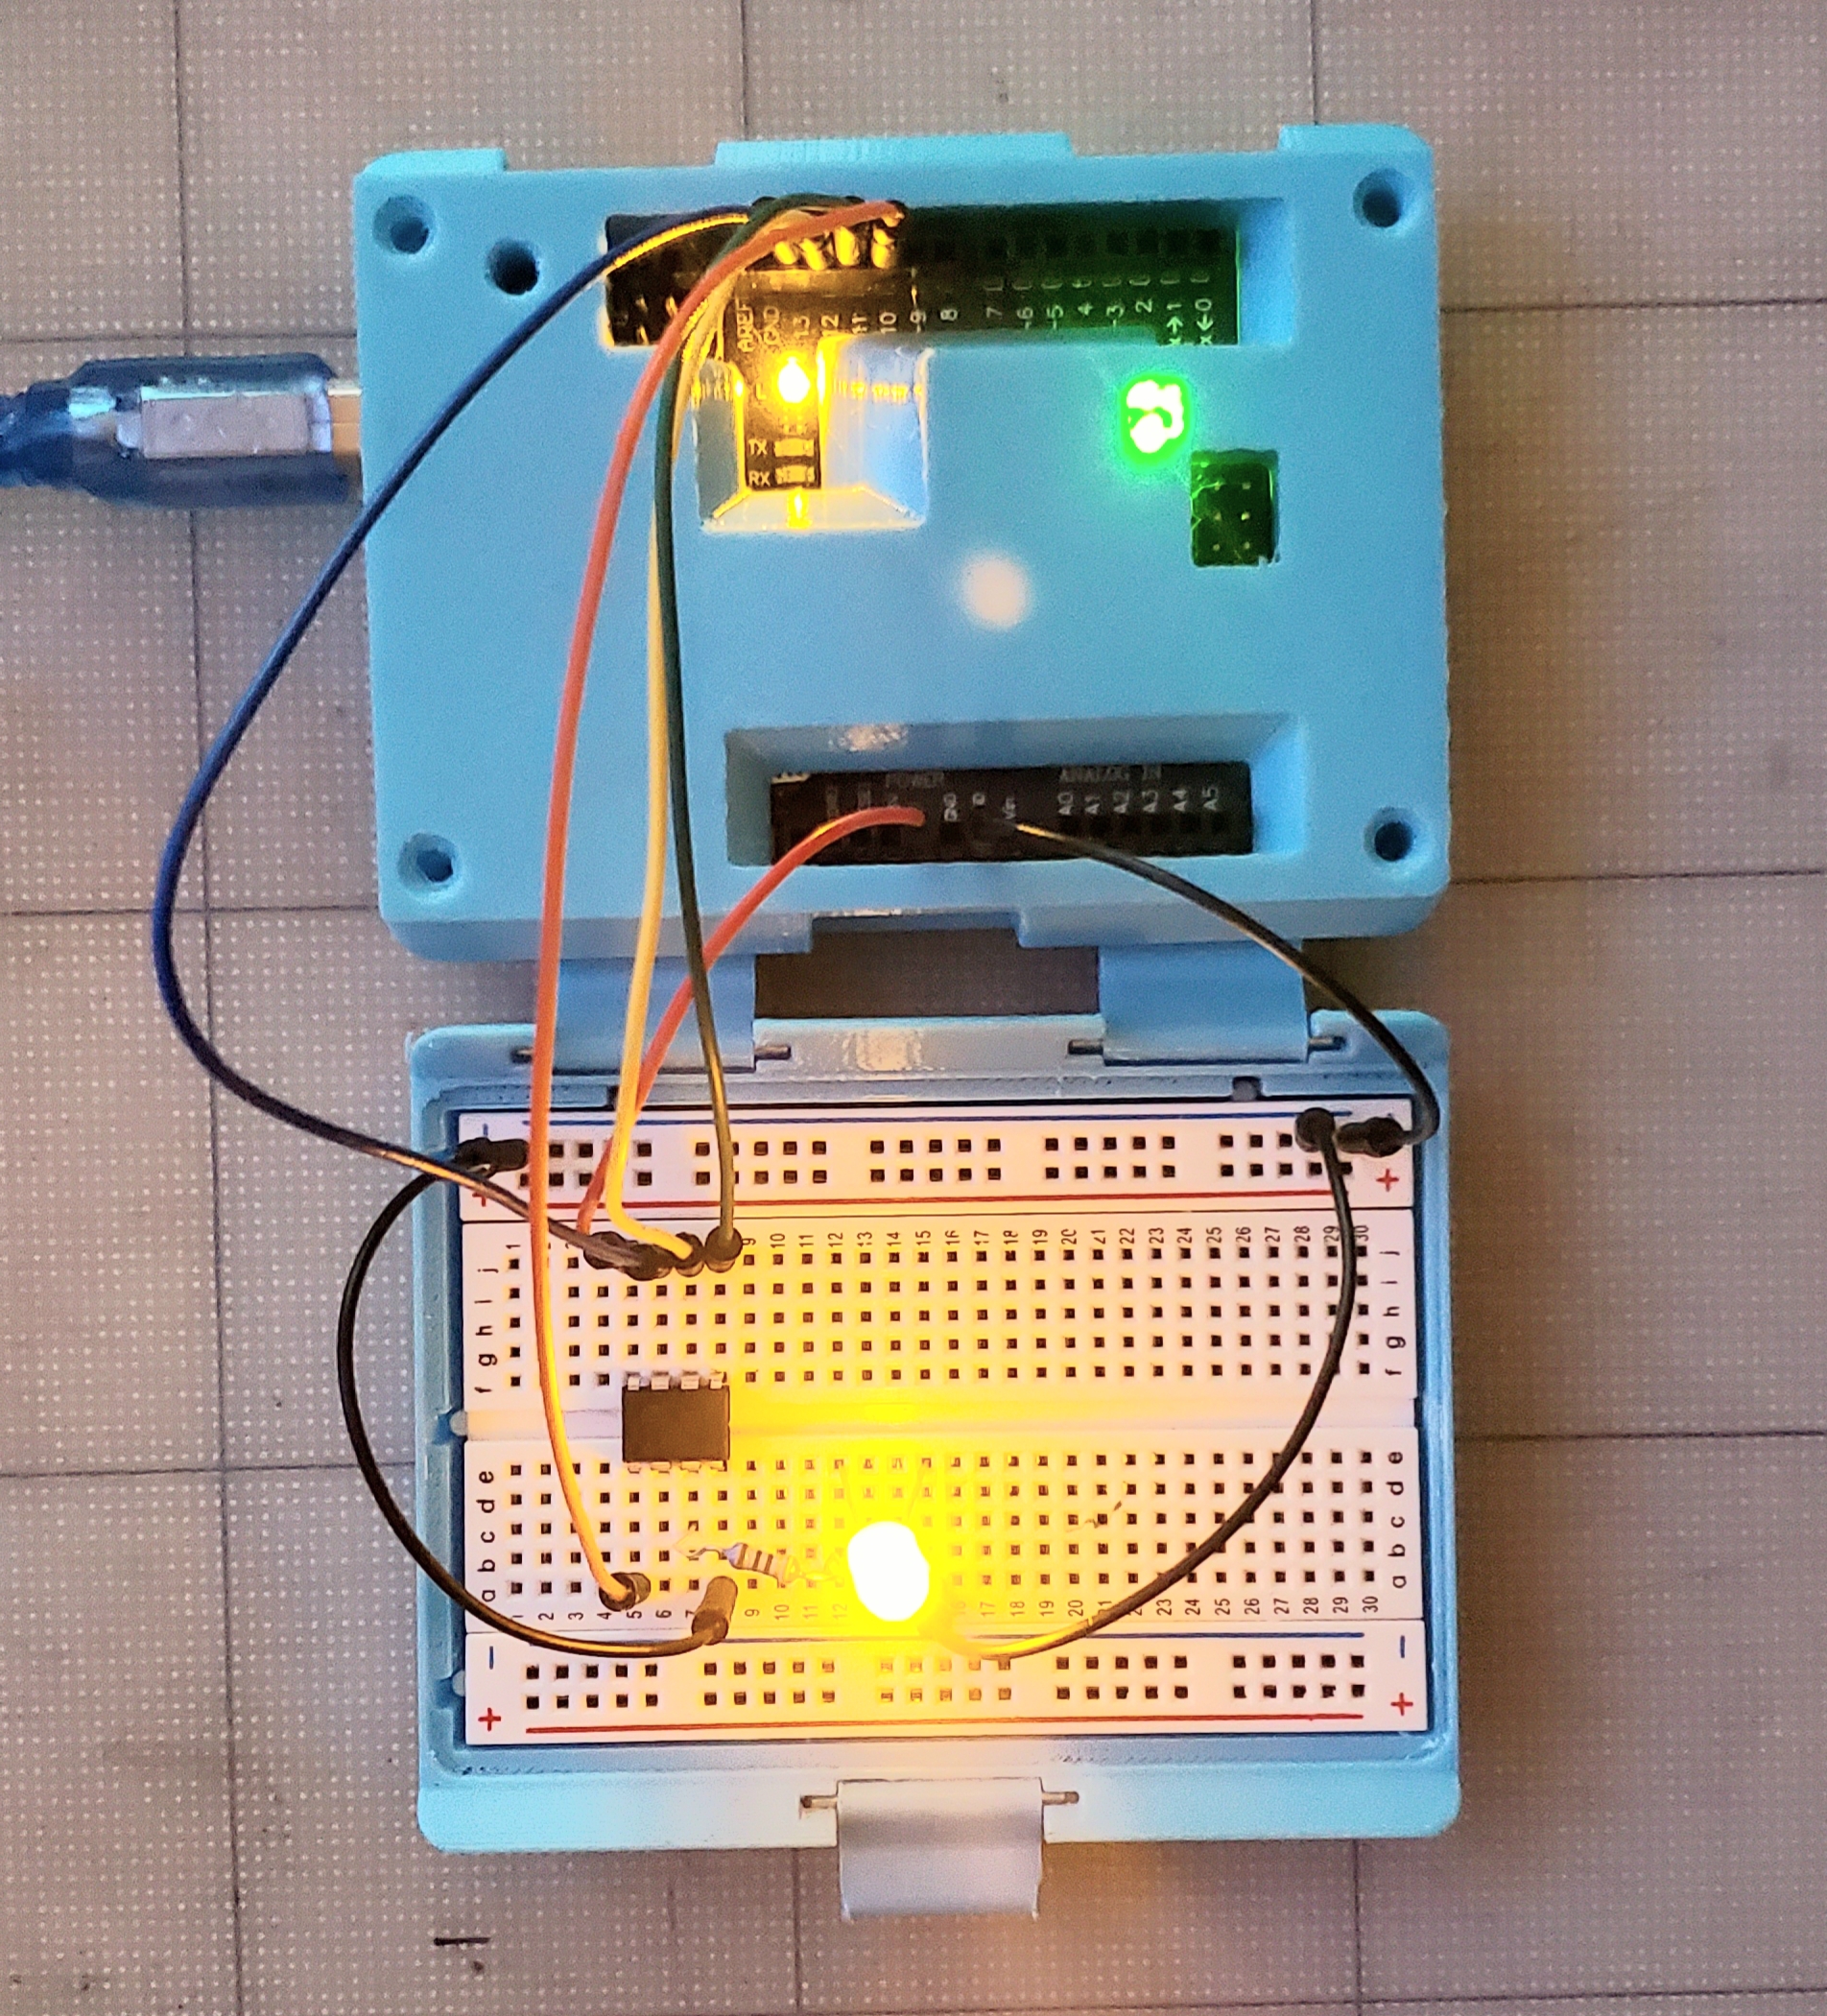
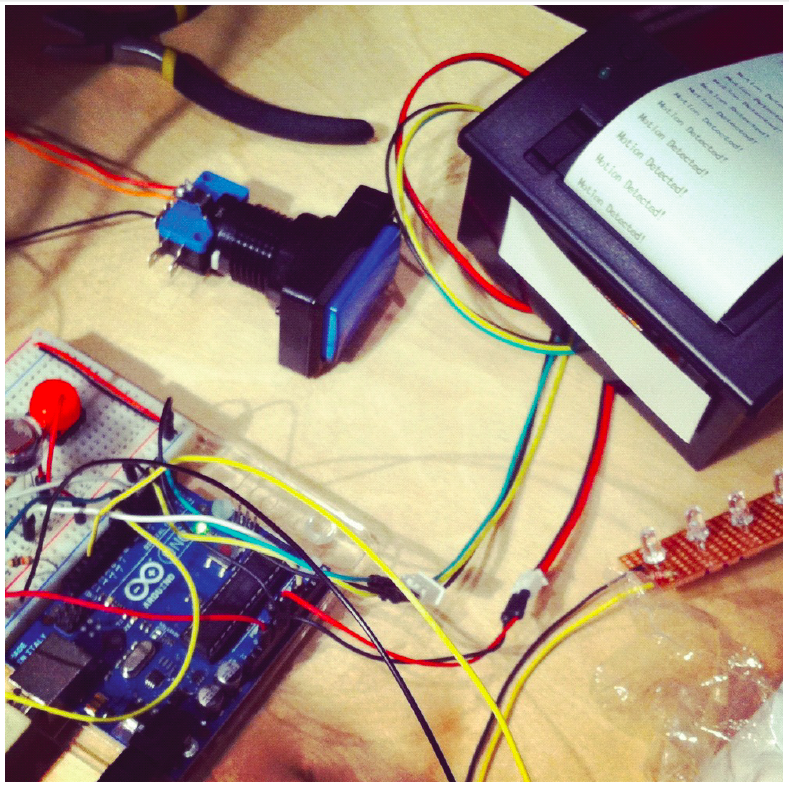
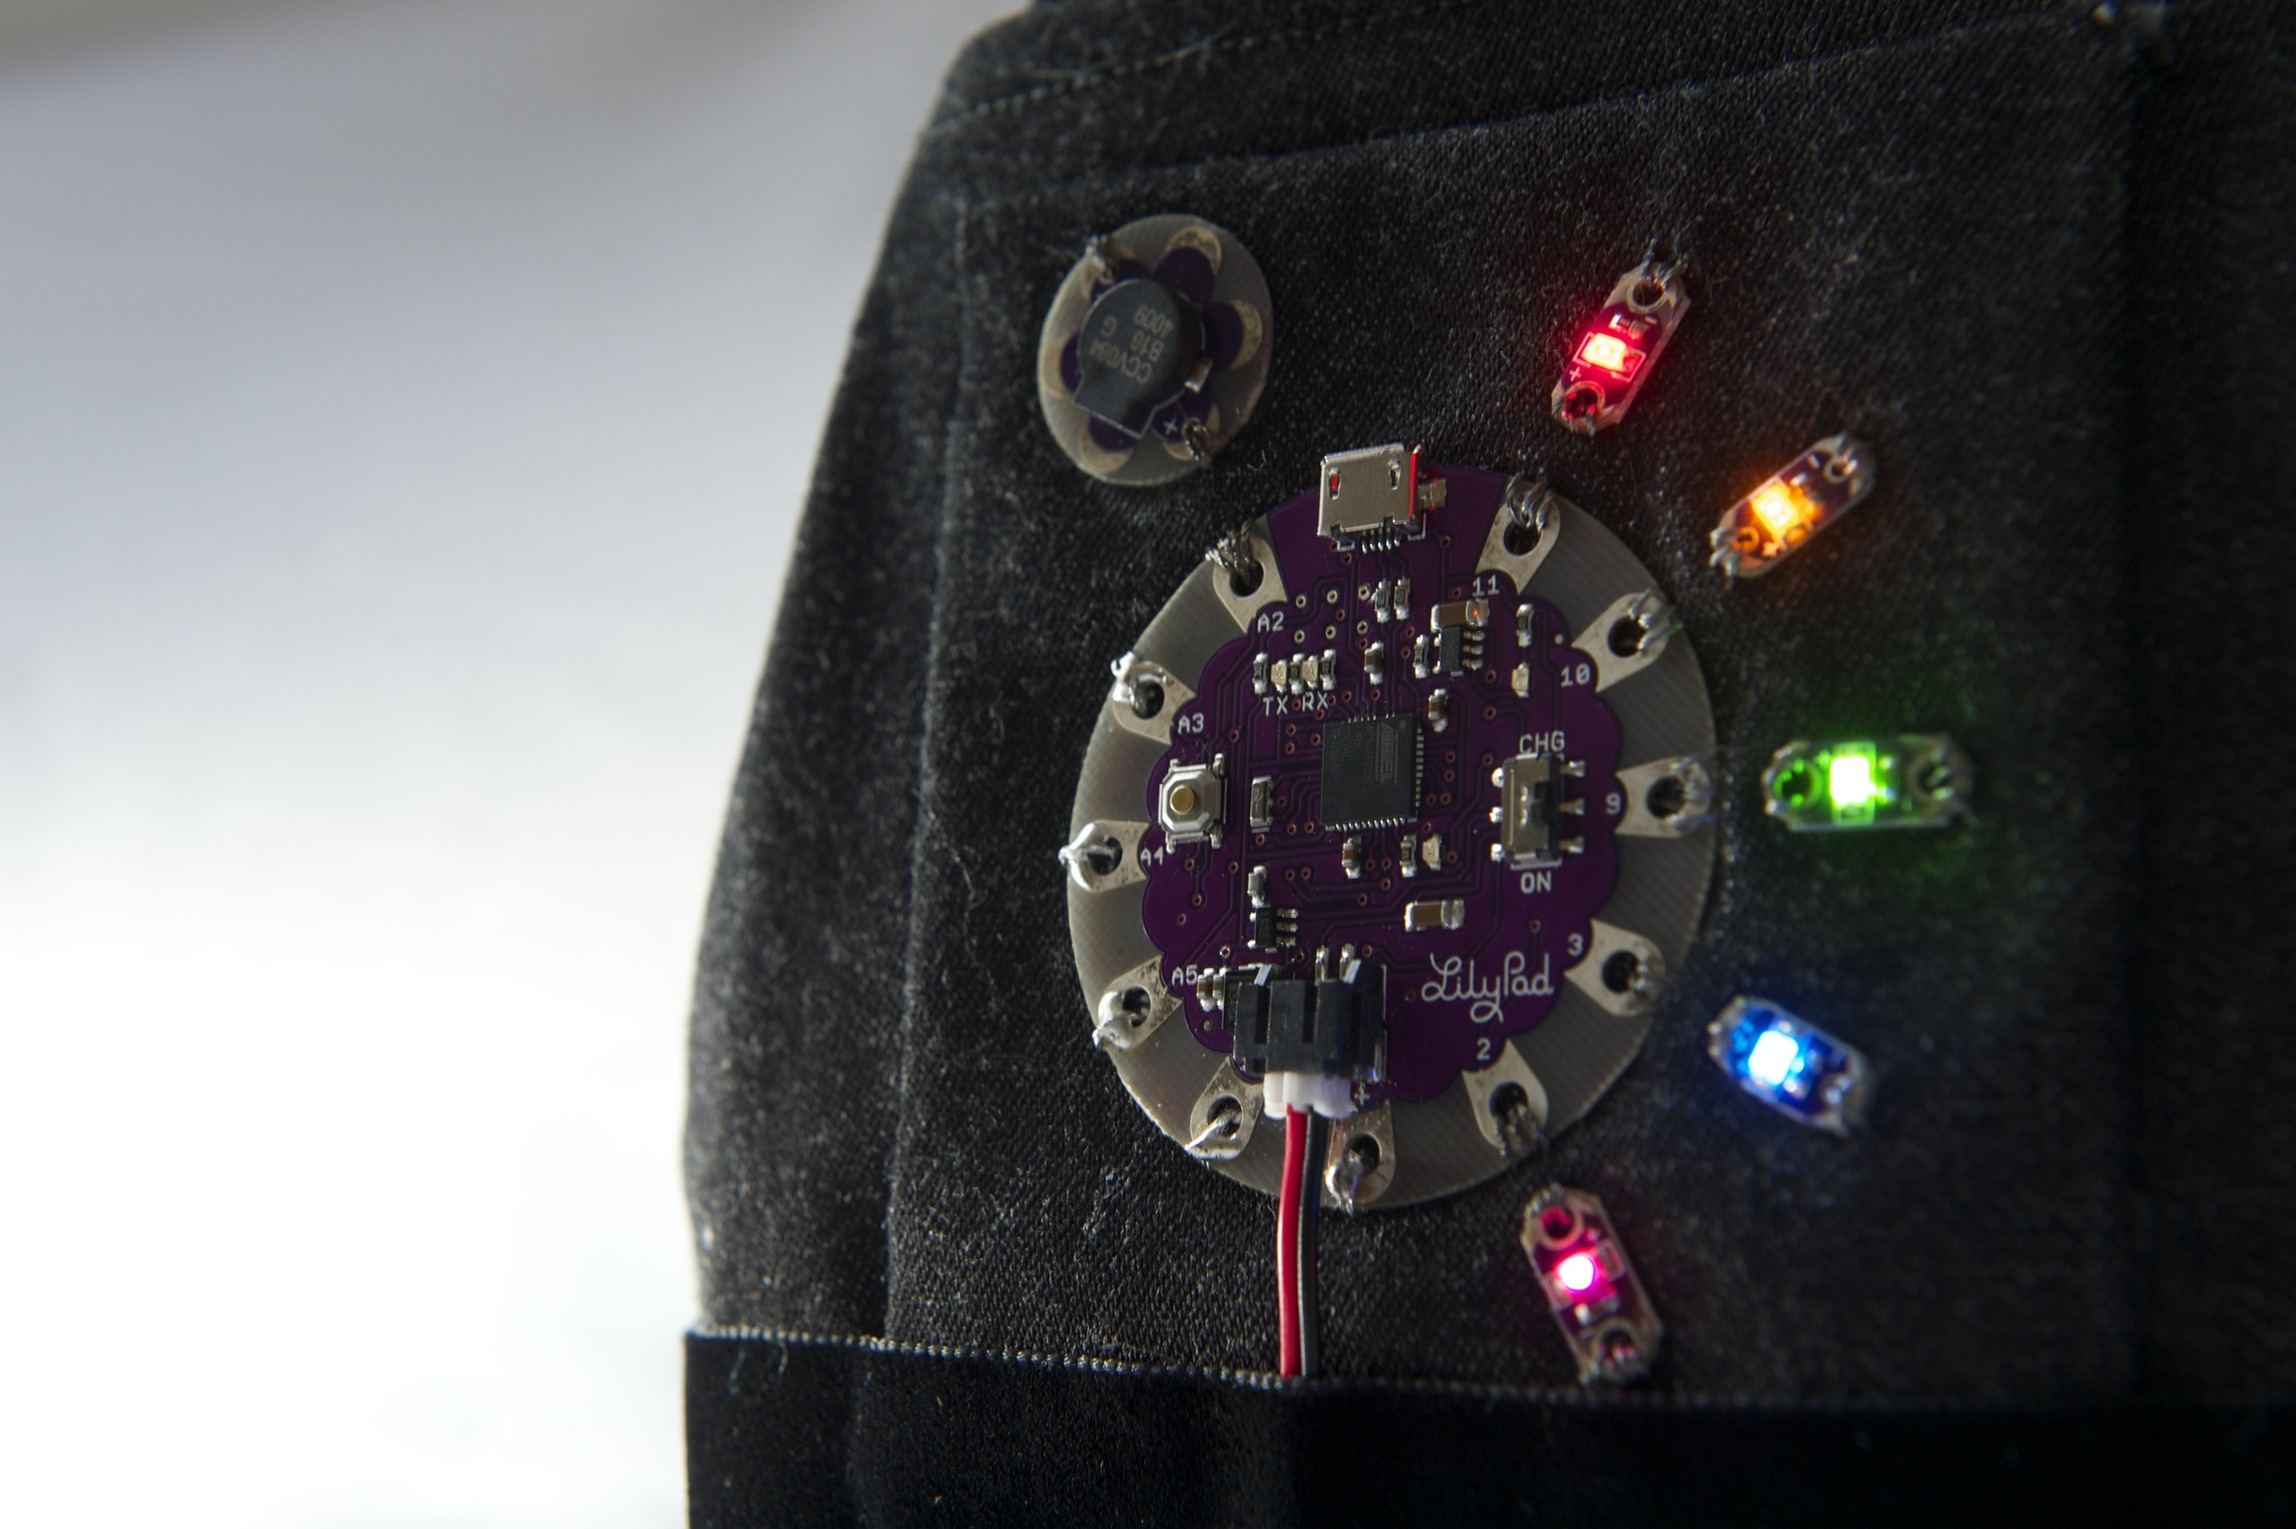
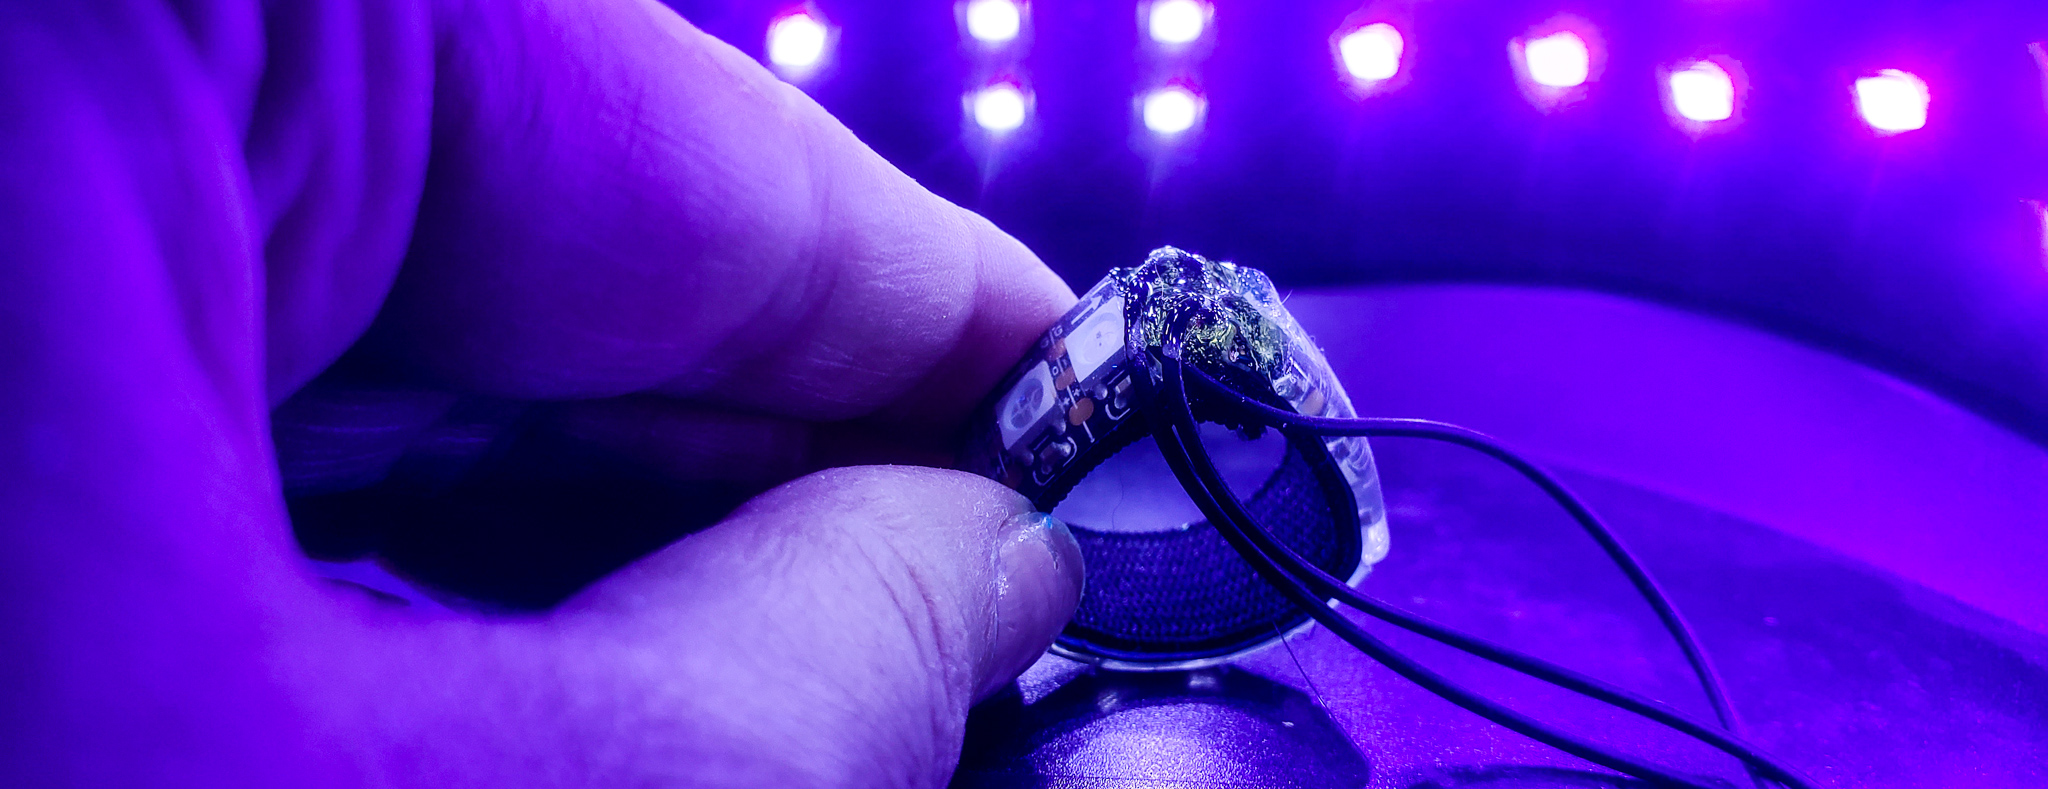
All you need to do is apply the resin to the circuit area that you want to strengthen. So – I have some small solder joins for example. I’m worried that it could be a place of stress in the circuit and I don’t want it to break.
I use NYK1 nail gel builder gel, so I had some of this at home. But the description is to strengthen, fix, bio sculpture gel your nails in seconds under your UV or LED Lamp. So what you’re looking for is a pot of resin that cures with a UV lamp.

In built-up layers, brush thin amounts of the resin on the area you want to protect. Remember this will make the area very hard so it’s better to use for smaller areas.
Brush the resin on – then cure. Depending on the light you are using, I tend to cure for a few 60s rounds.
Finishing the circuit
If you have applied it on an area incorrectly, or it has unsmooth parts etc, you can use a small file and gently file it away. After I’m done with the resin build-up of cover, depending on my circuit but I covered it with a top coat of gloss UV varnish. You don’t need to do this but I find it adds protection and makes it look a little cleaner. Again, this will need to be cured under UV lights.

Last Step
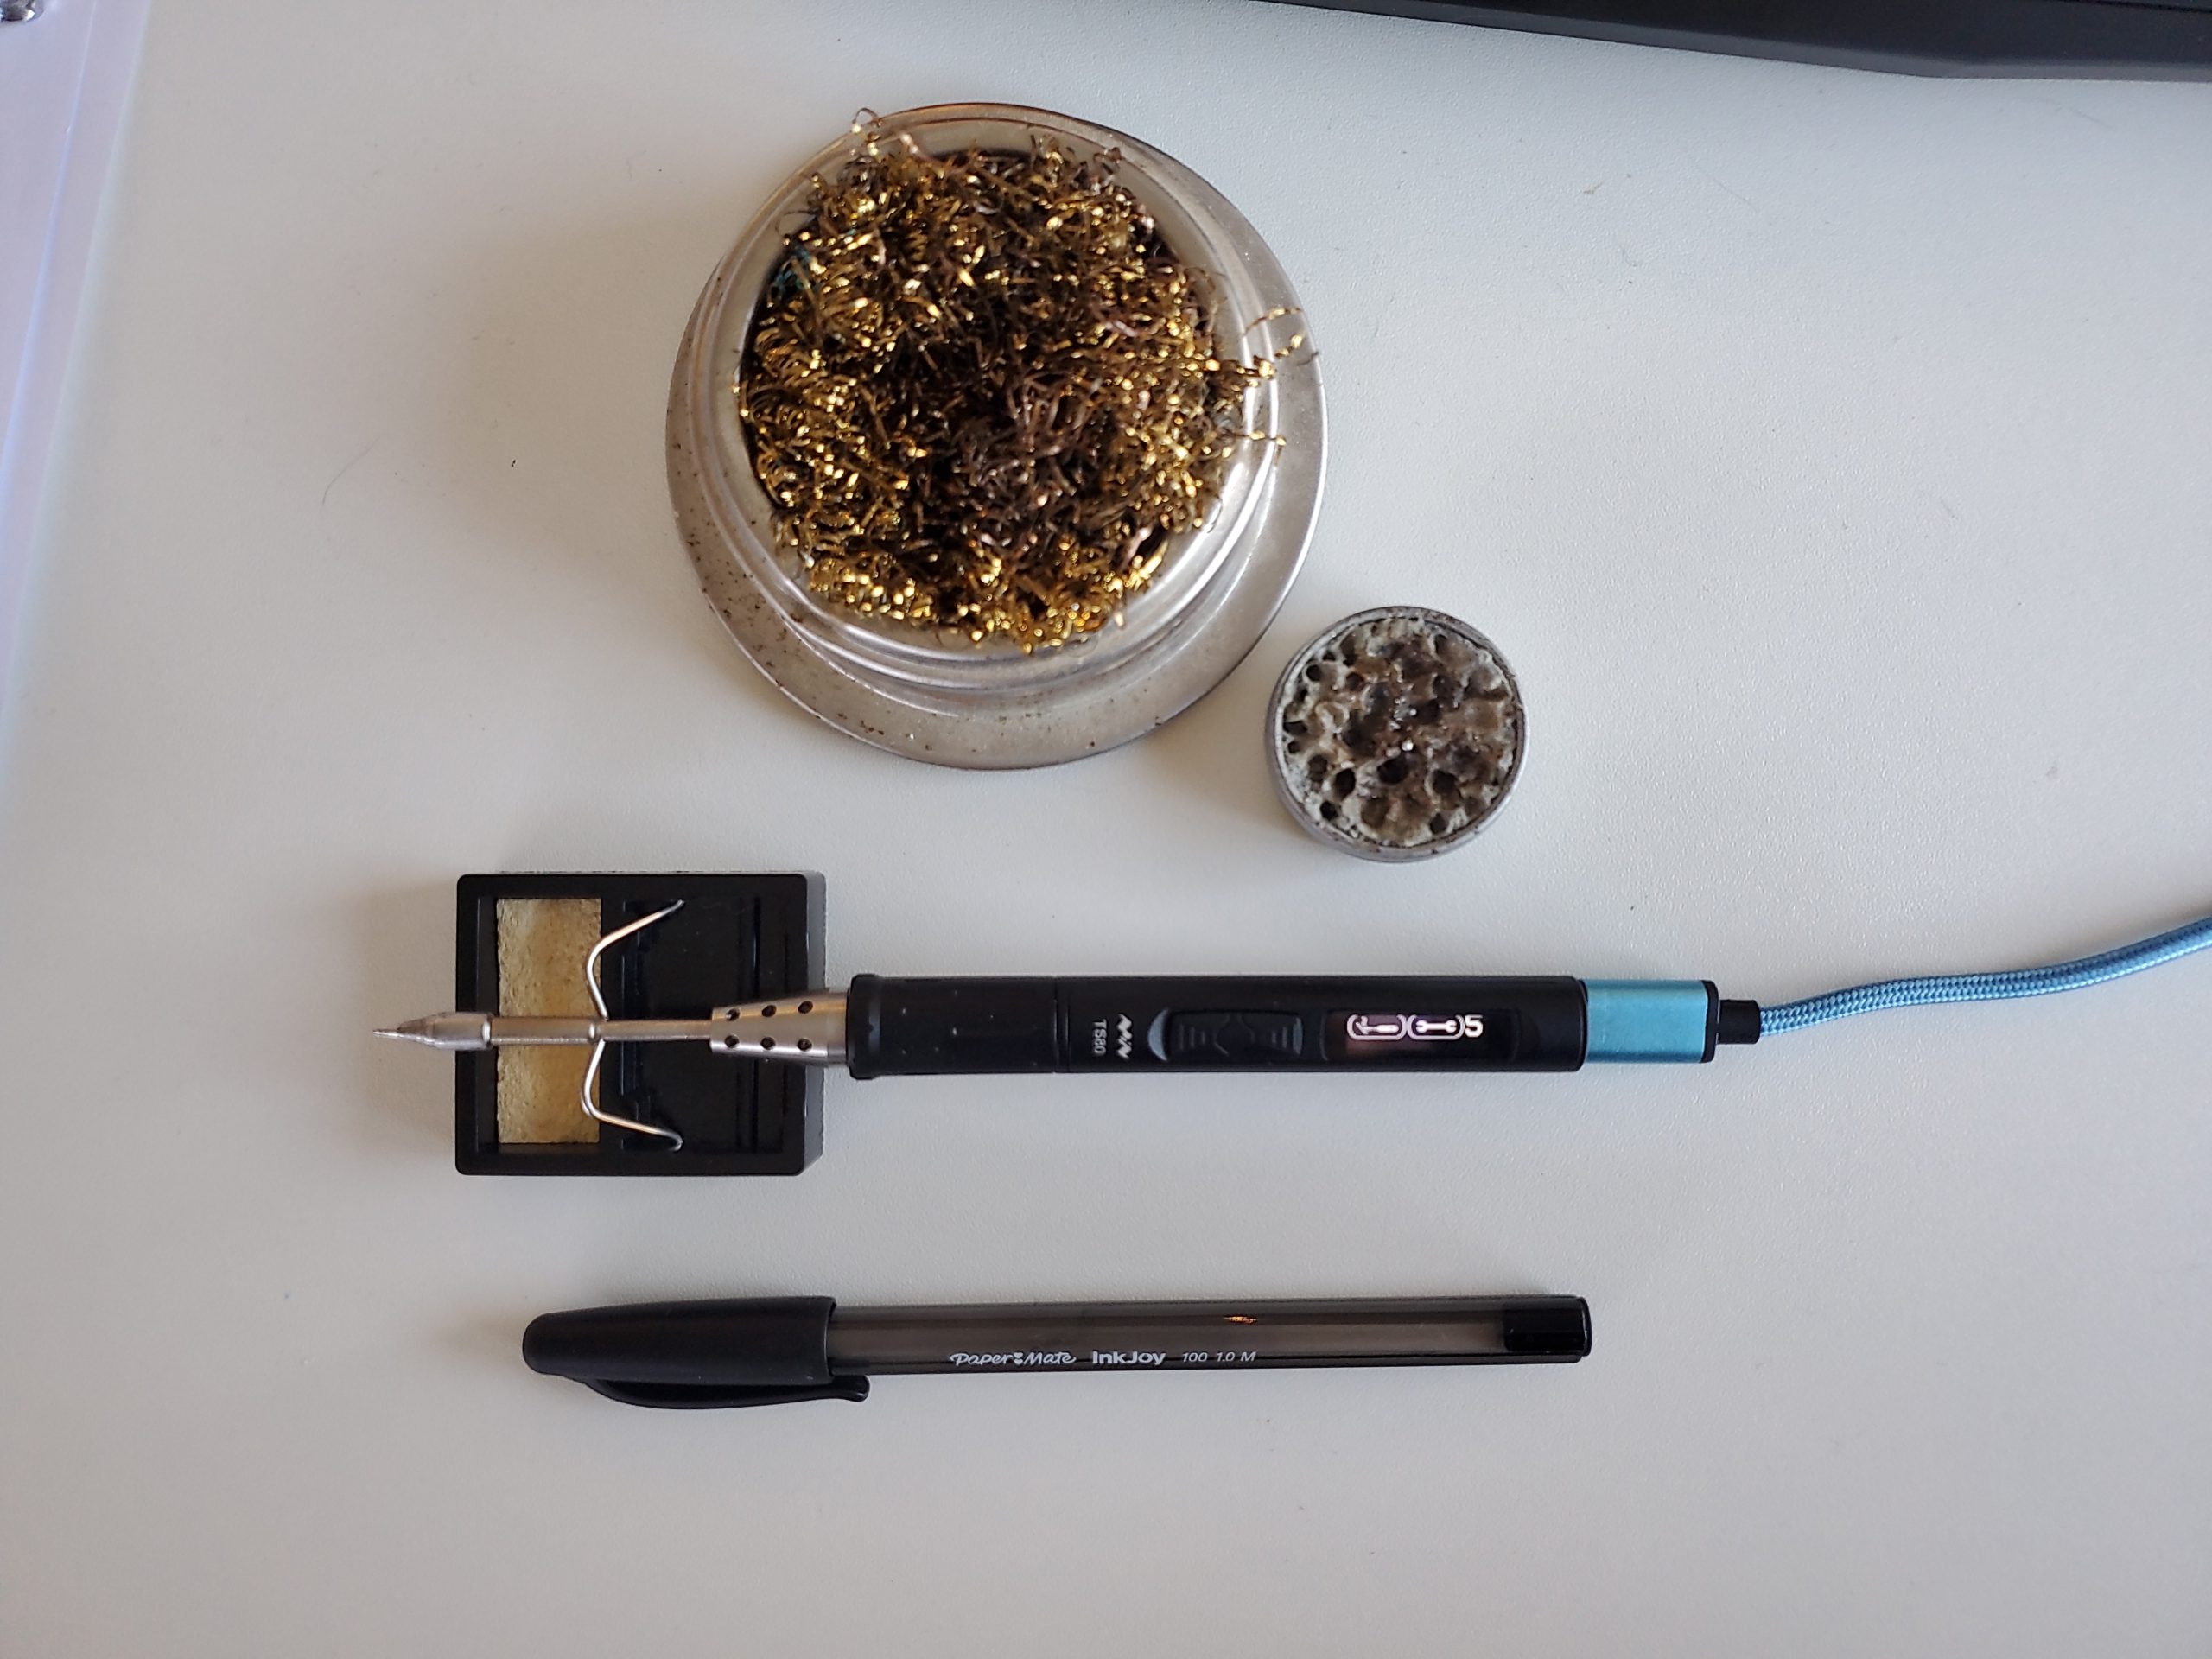
The last step is to use the Alcohol pad to wipe the surface of the nail resin. This will take of the slightly ‘sticky’ surface that can remain behind. Depending on the strength of your curing lamp you may not need to do this.

Enjoy!!
Links to what I used for the nail resin protection:
- NYK1 nail builder resin
- I also used a top coat but this is optional
- UV curing lamp This item doesn’t look to be for sale anymore, but I’m linking to it so you can see the general specs I’m using for the lamp. I also got it for a crazy cheap price so look out for deals.
- These are similar to the Alcohol pads that I use, I can’t seem to find the exact ones I bought!
- You don’t need to go so ‘jazzy’ with your nail brushes but here is a sample of different sizes which could be useful for your circuits.
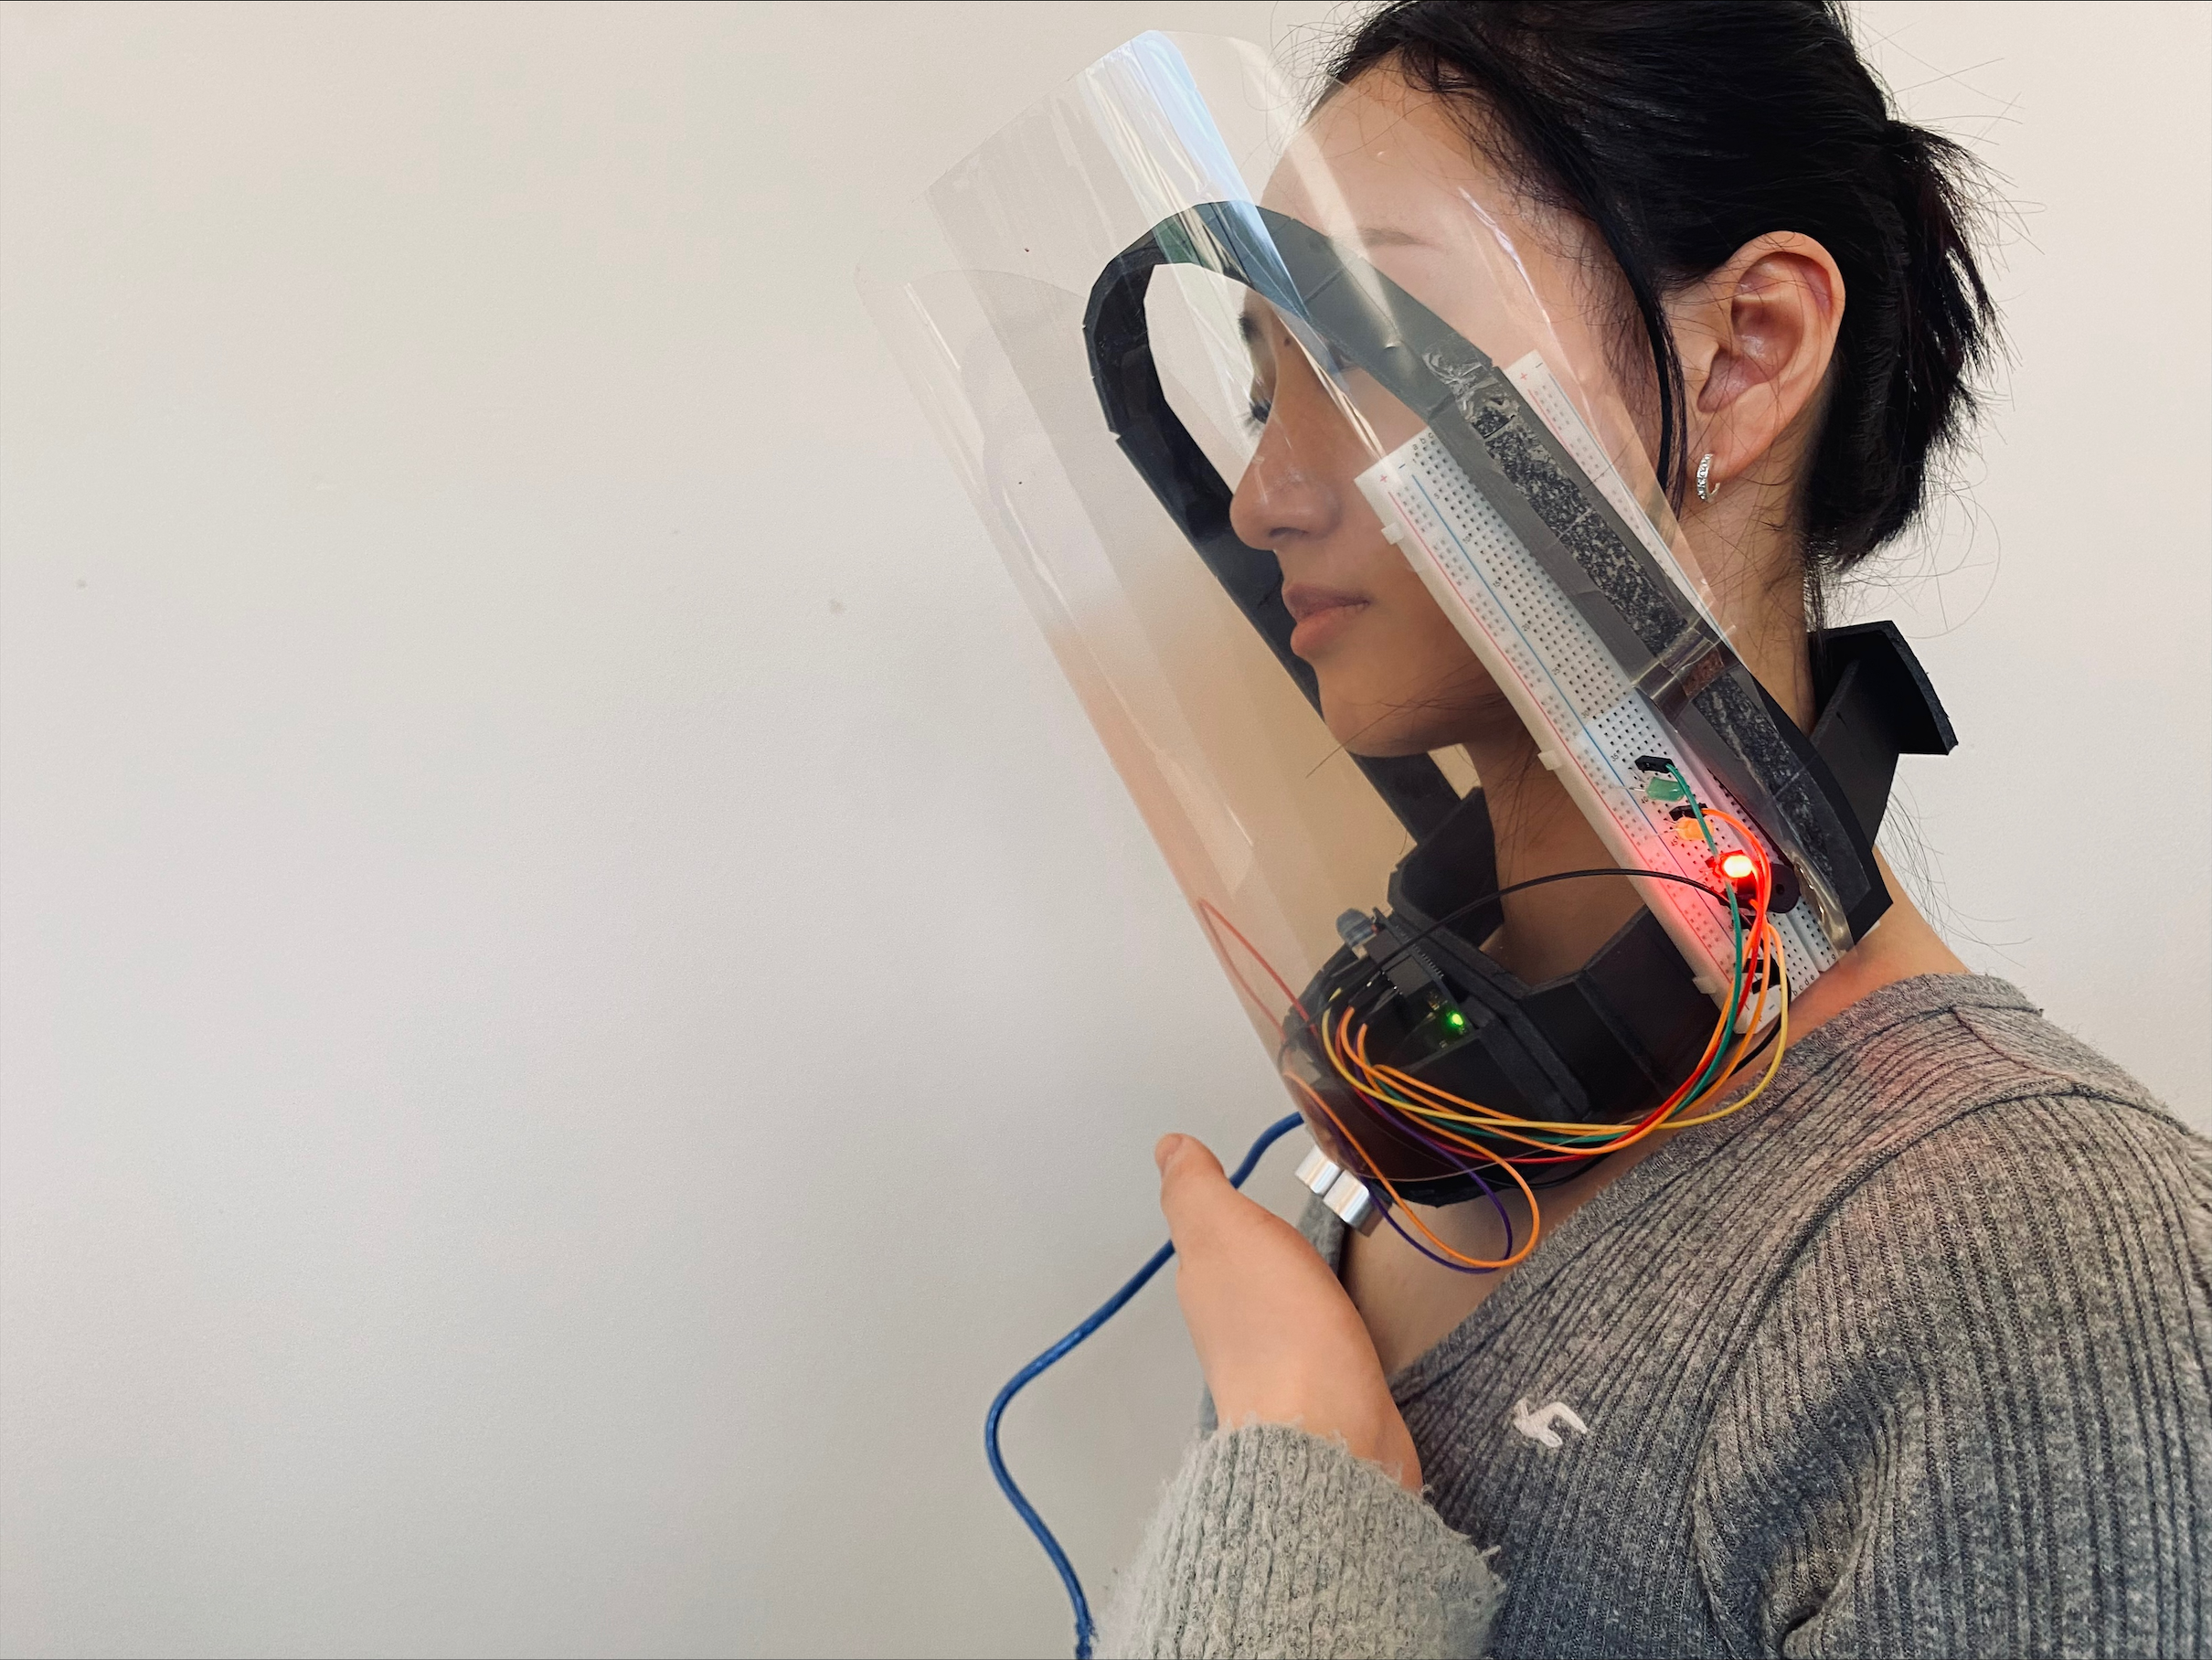
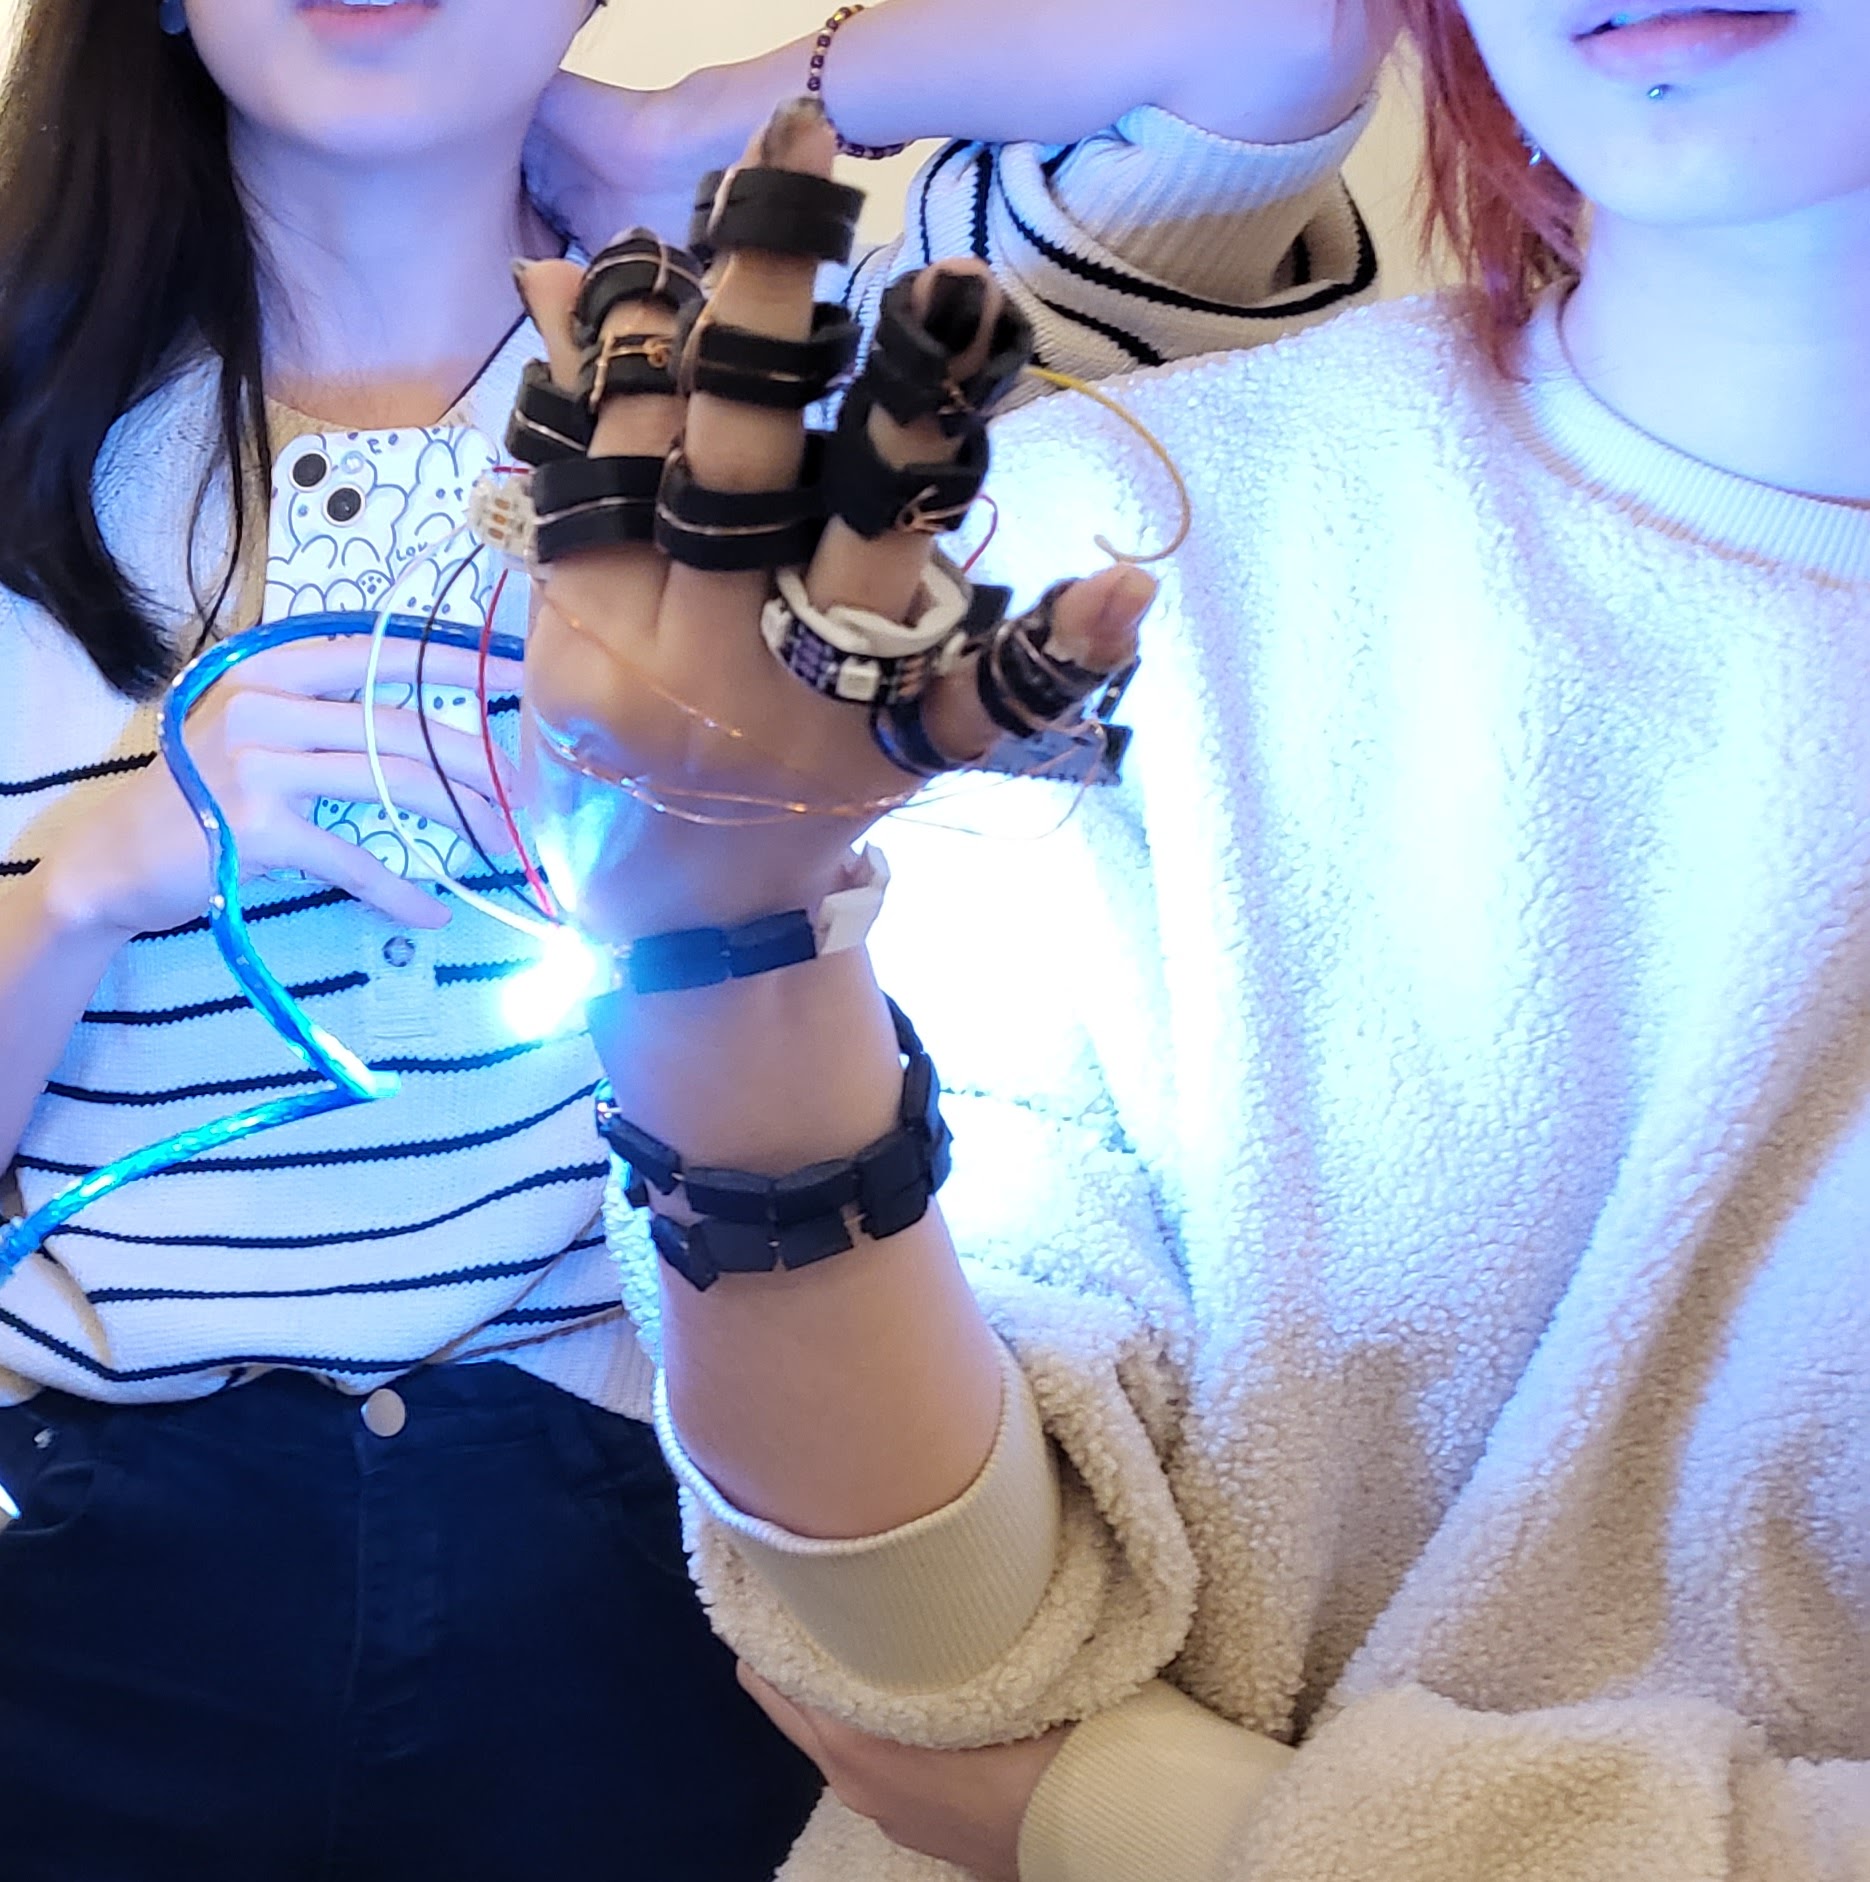
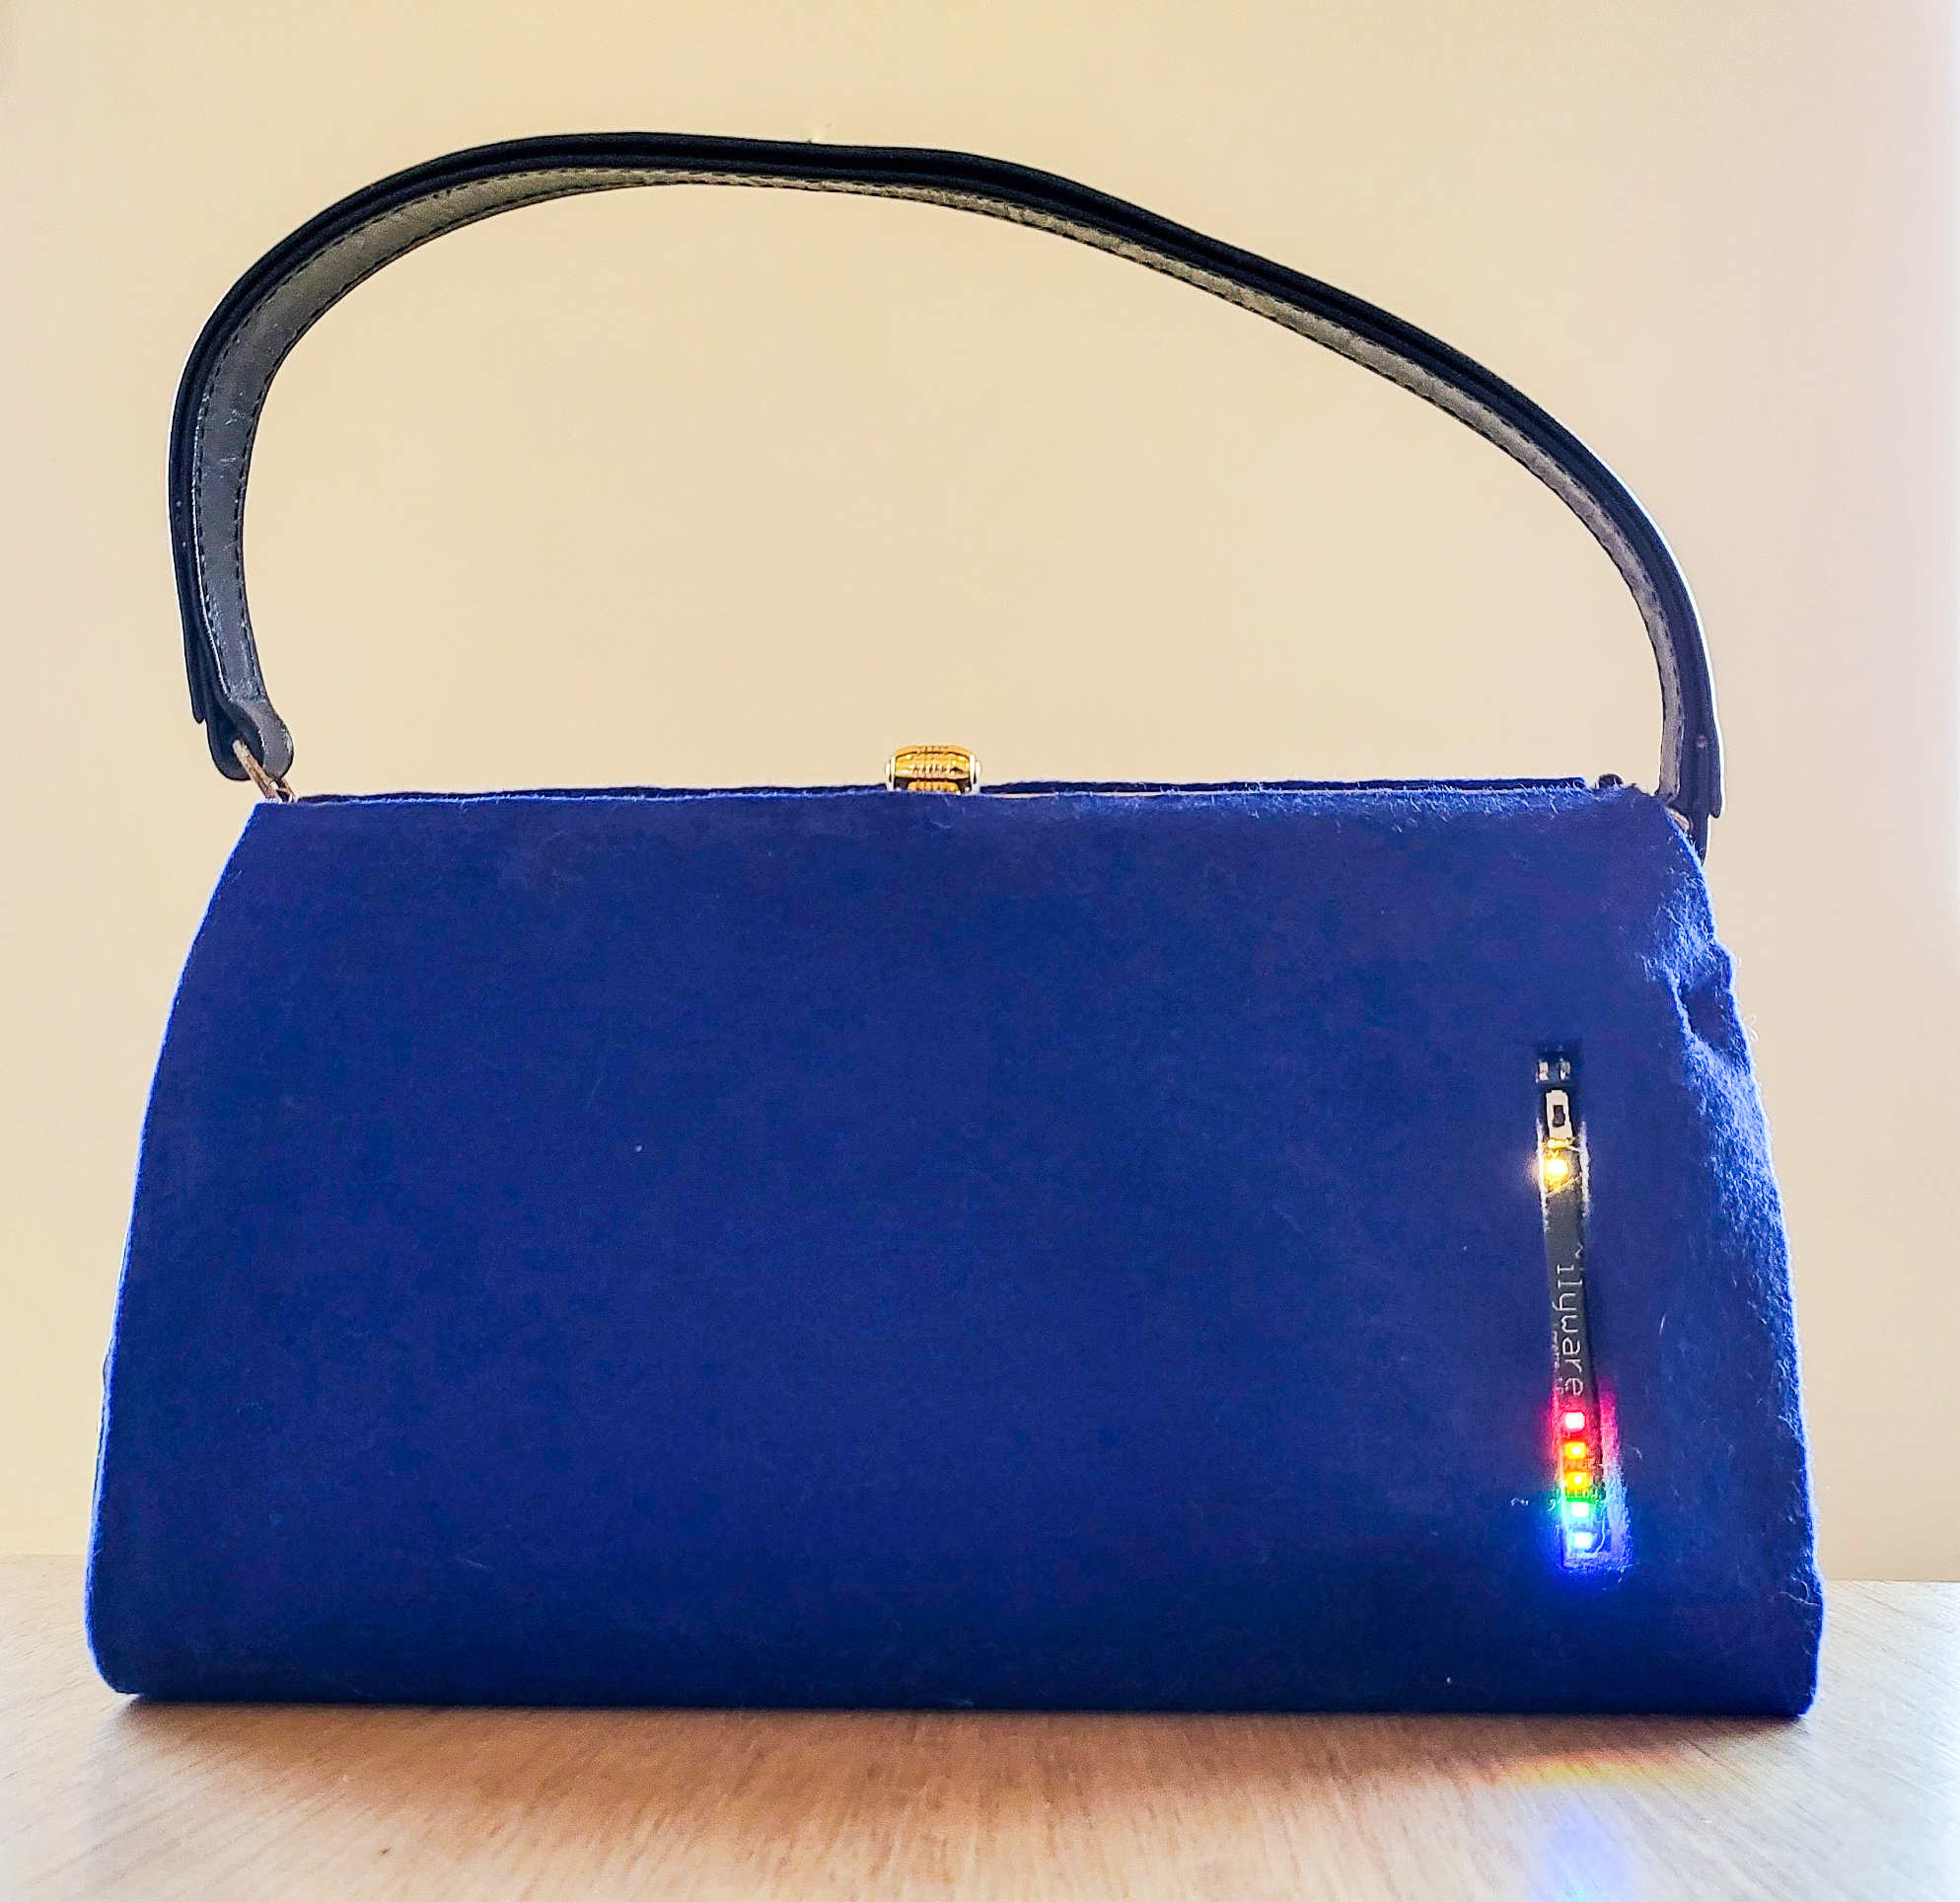
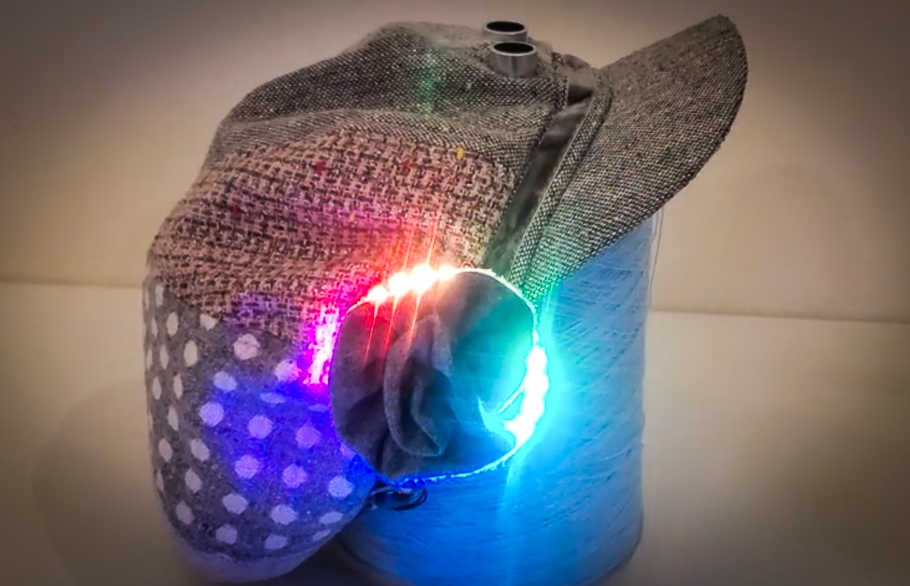
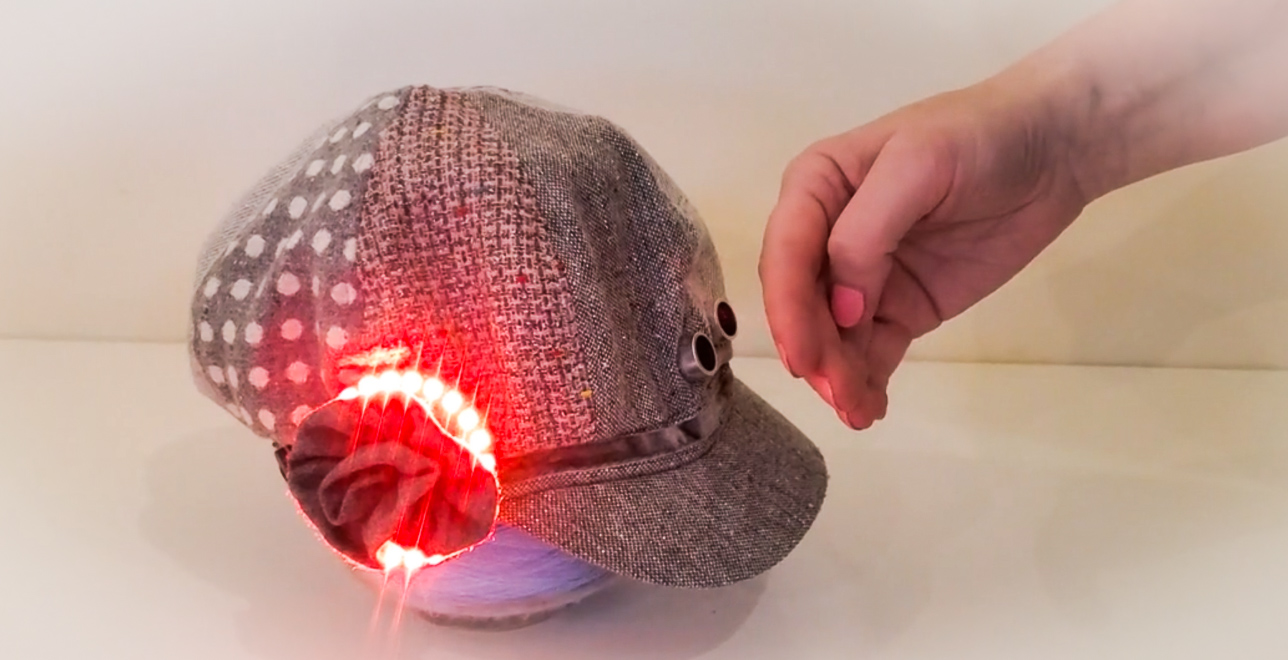
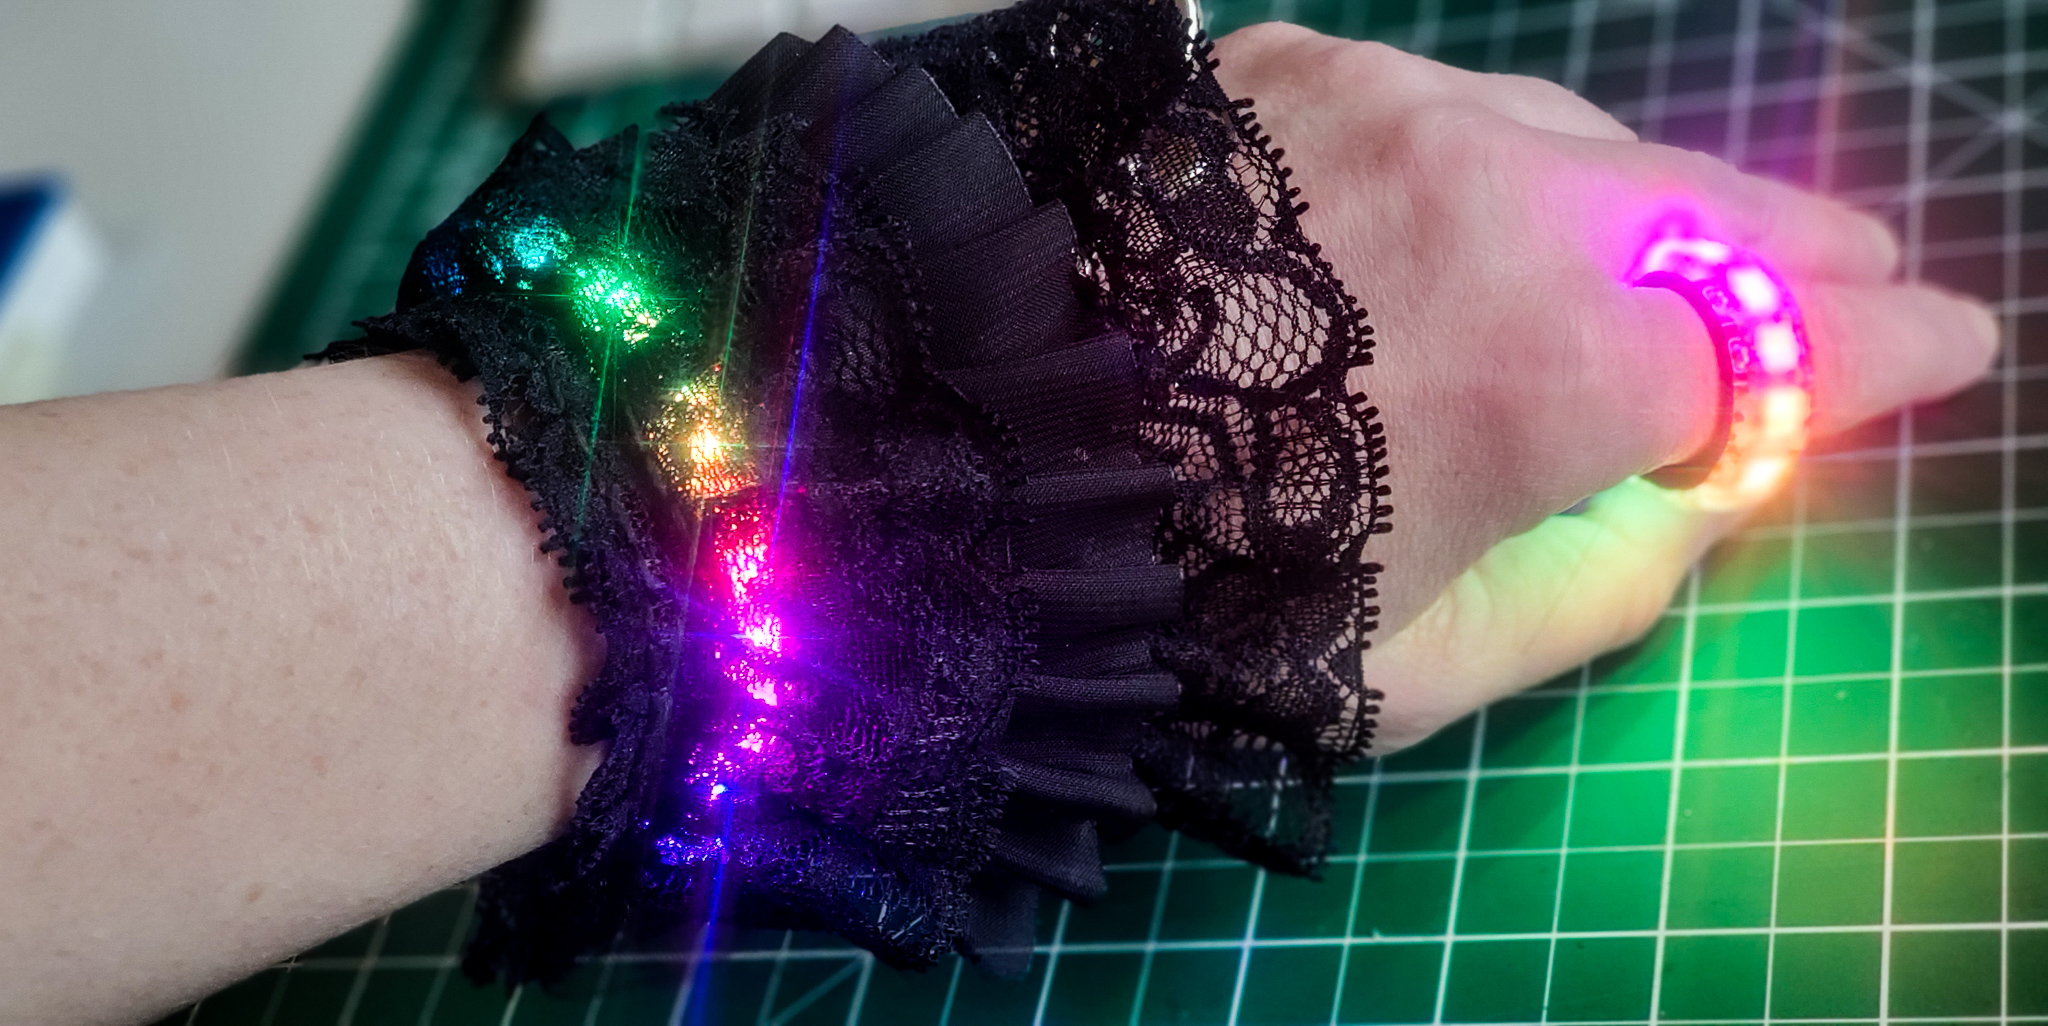
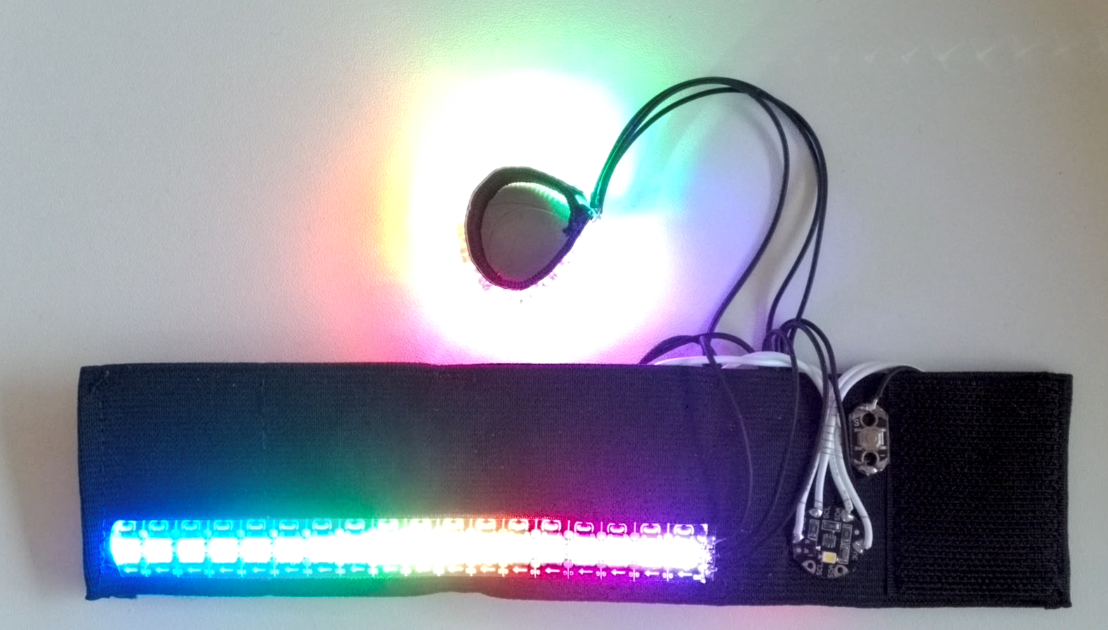
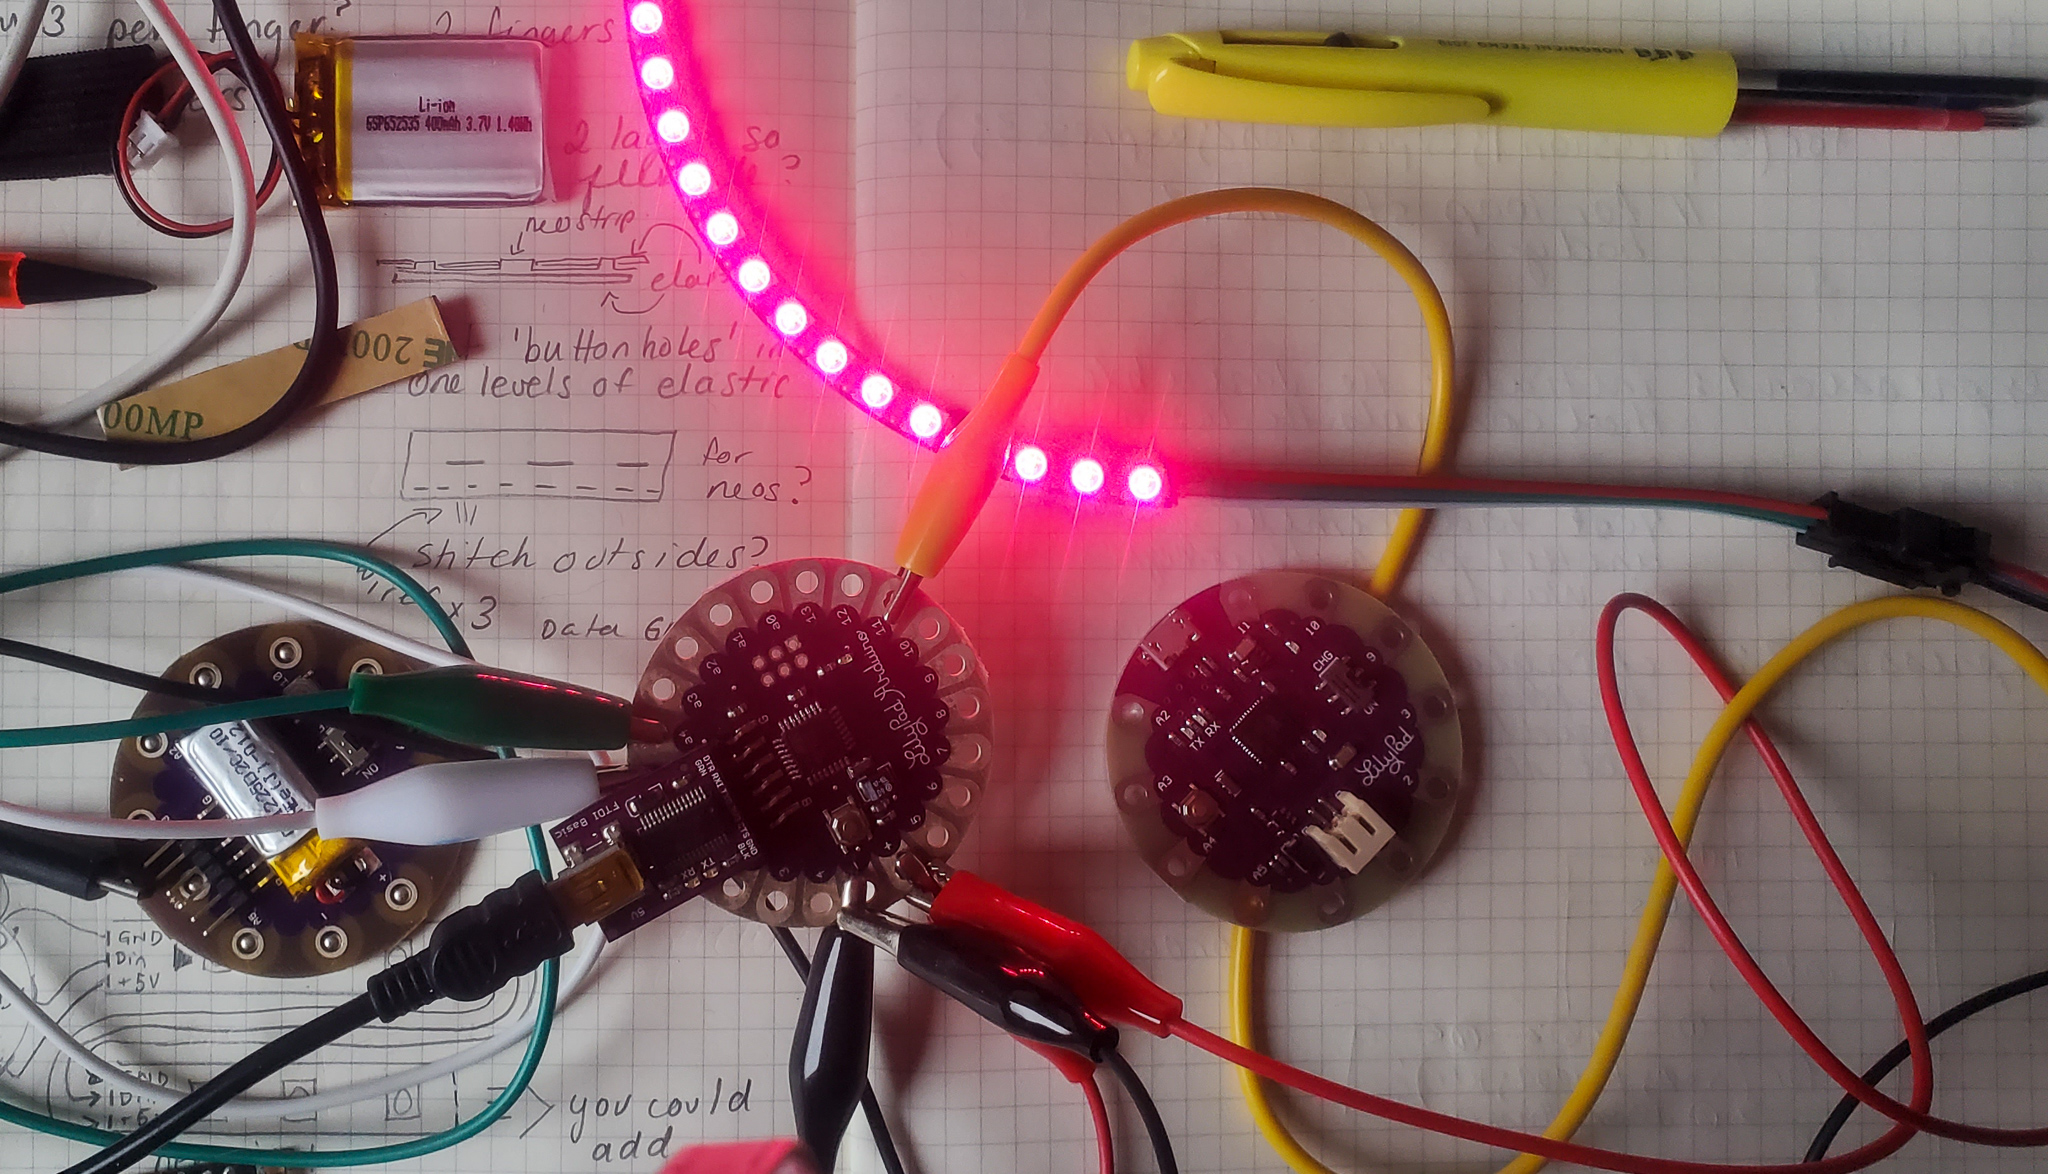
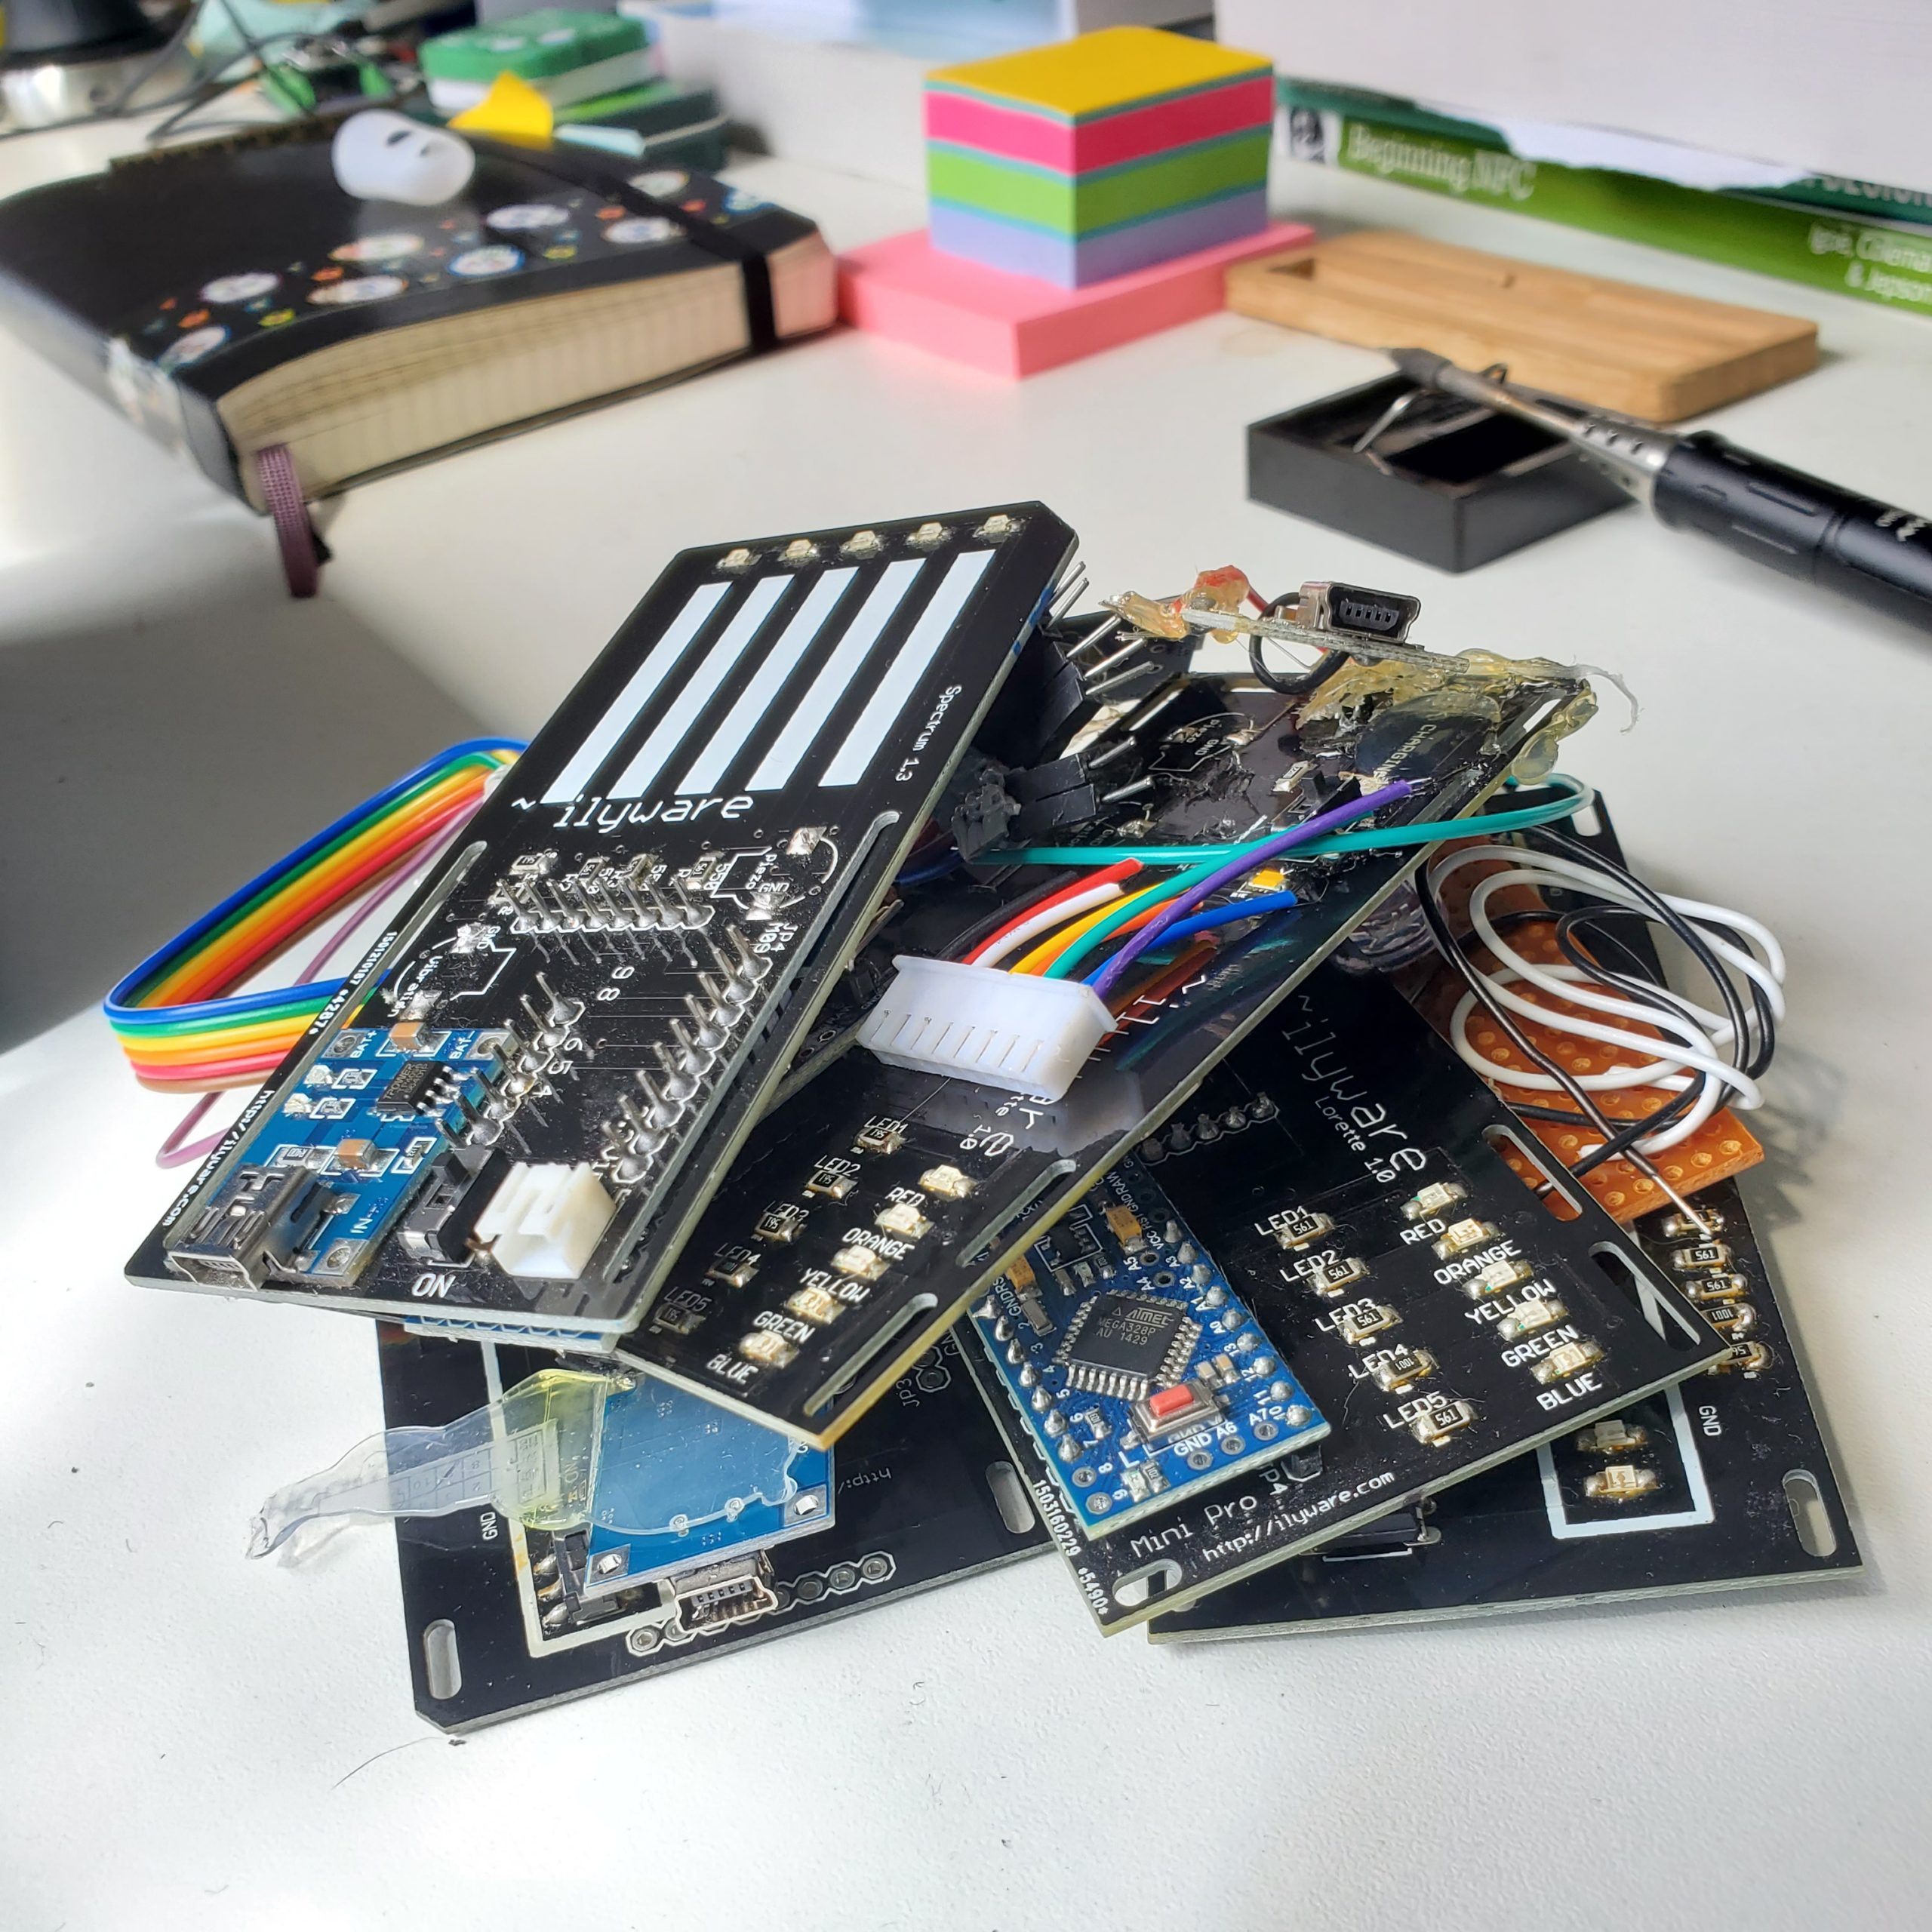
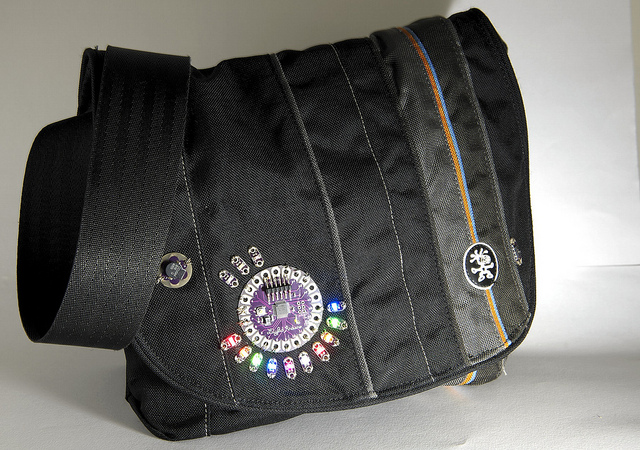
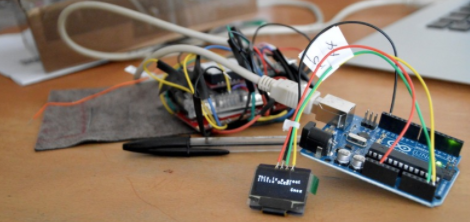
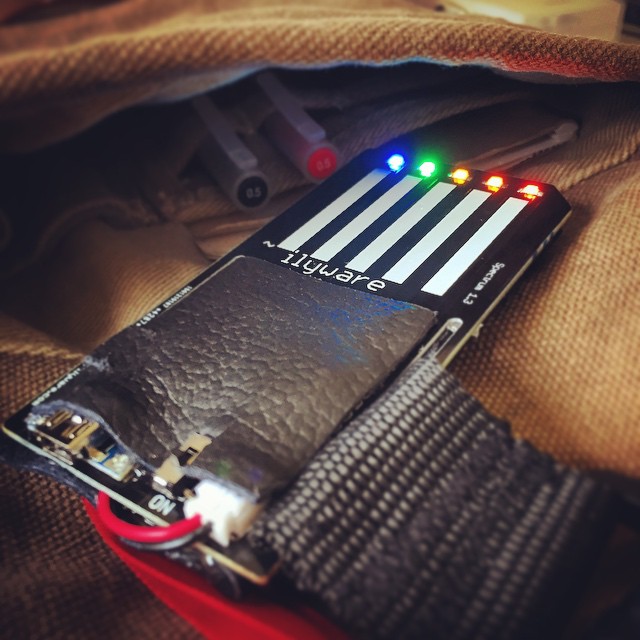
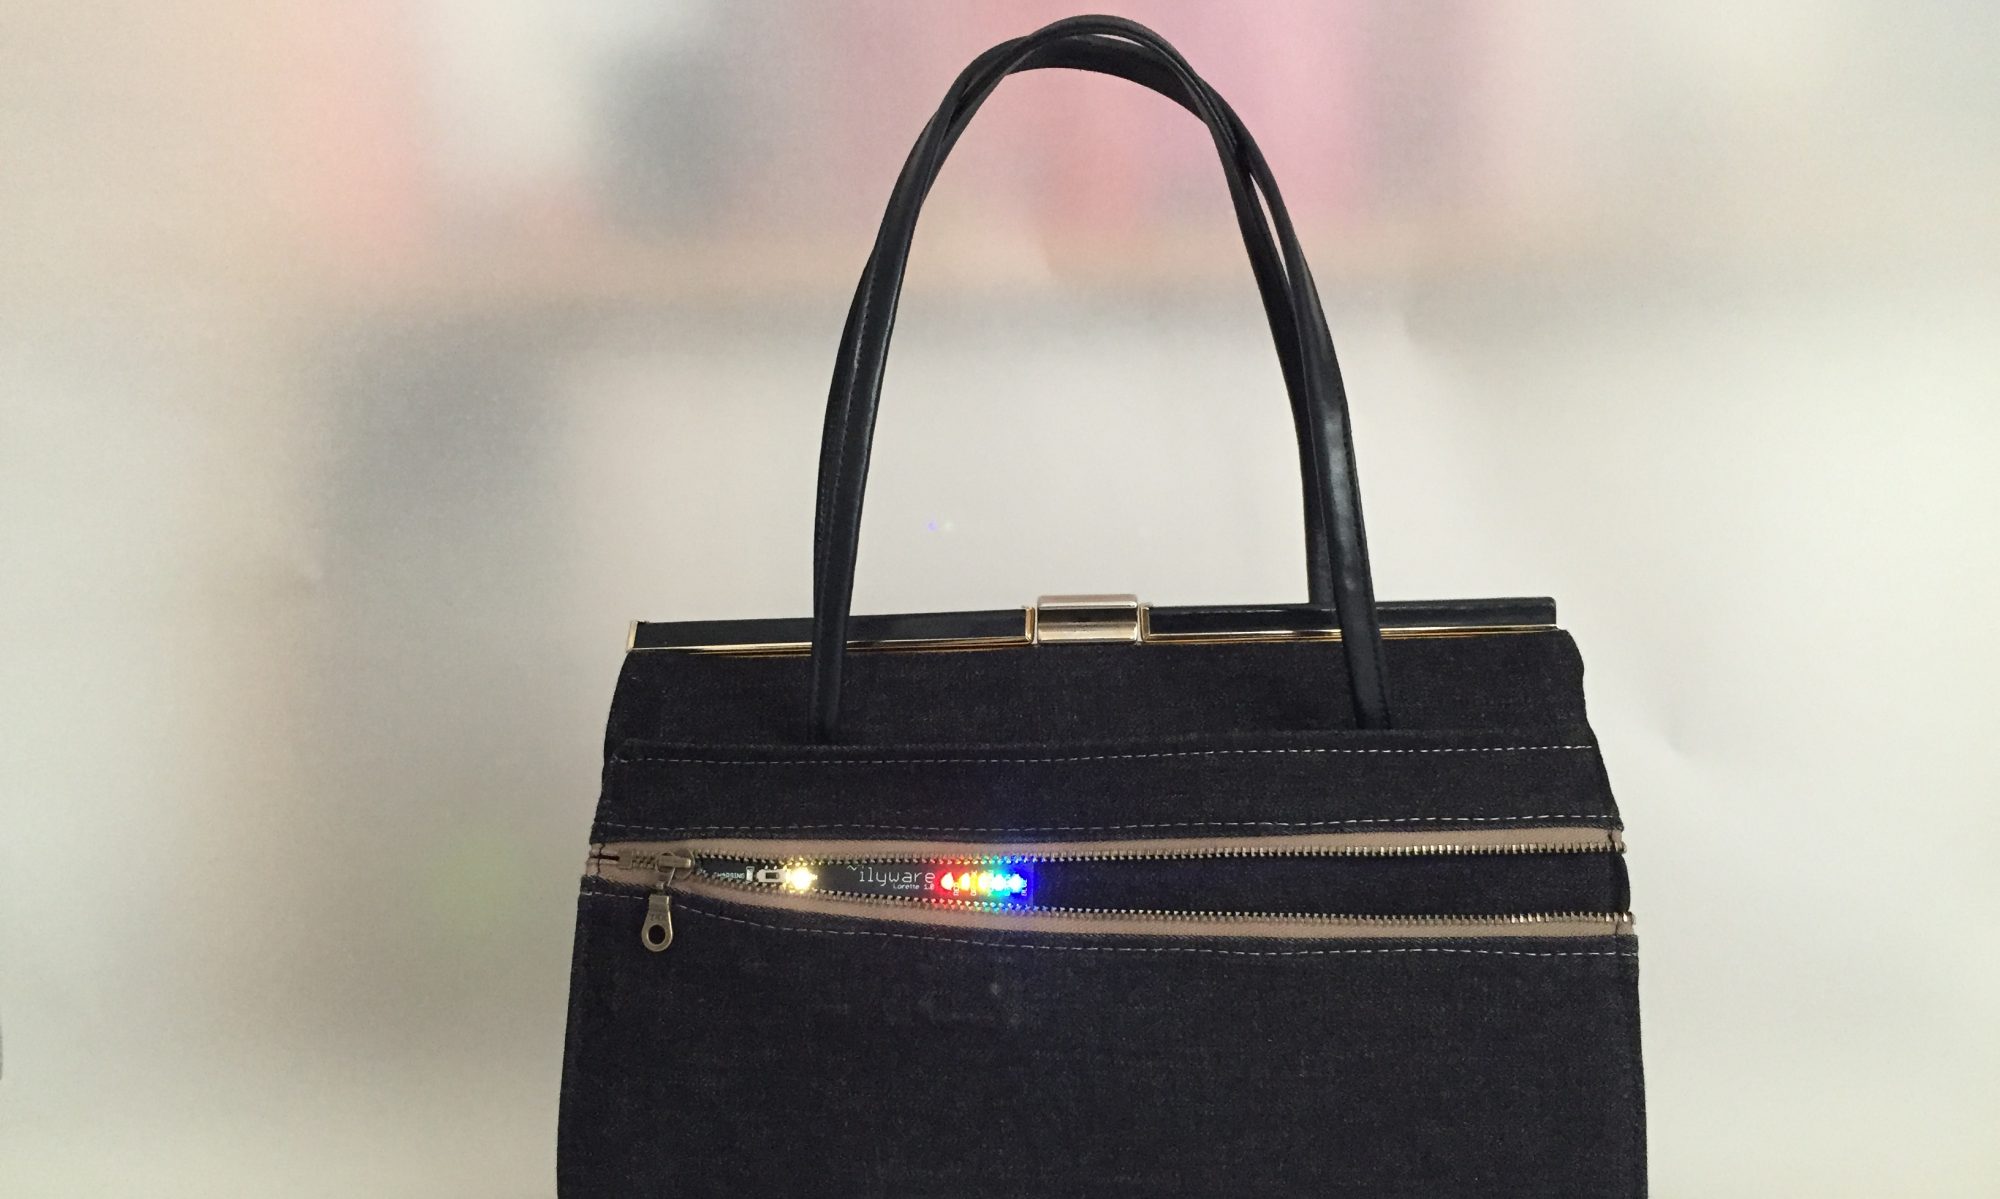
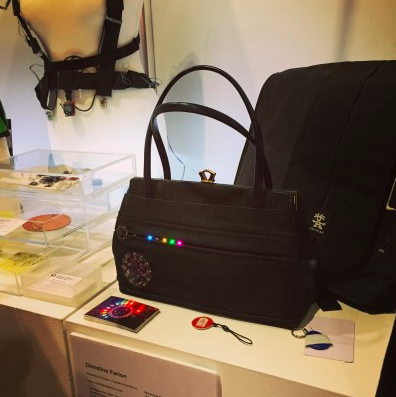
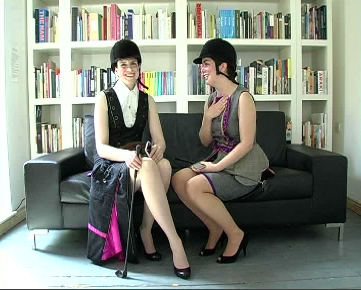
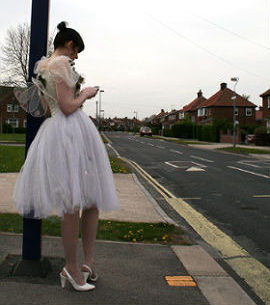
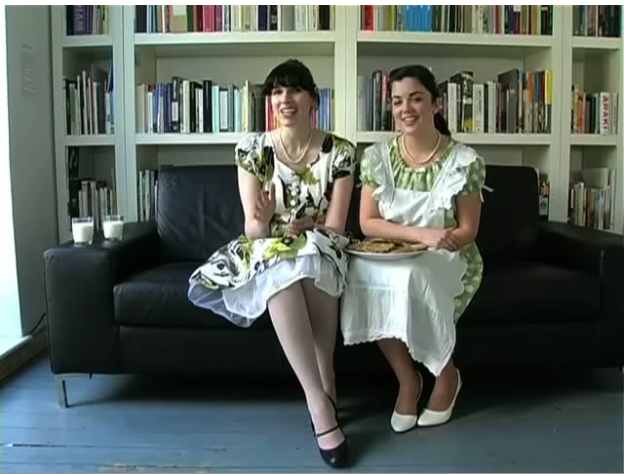
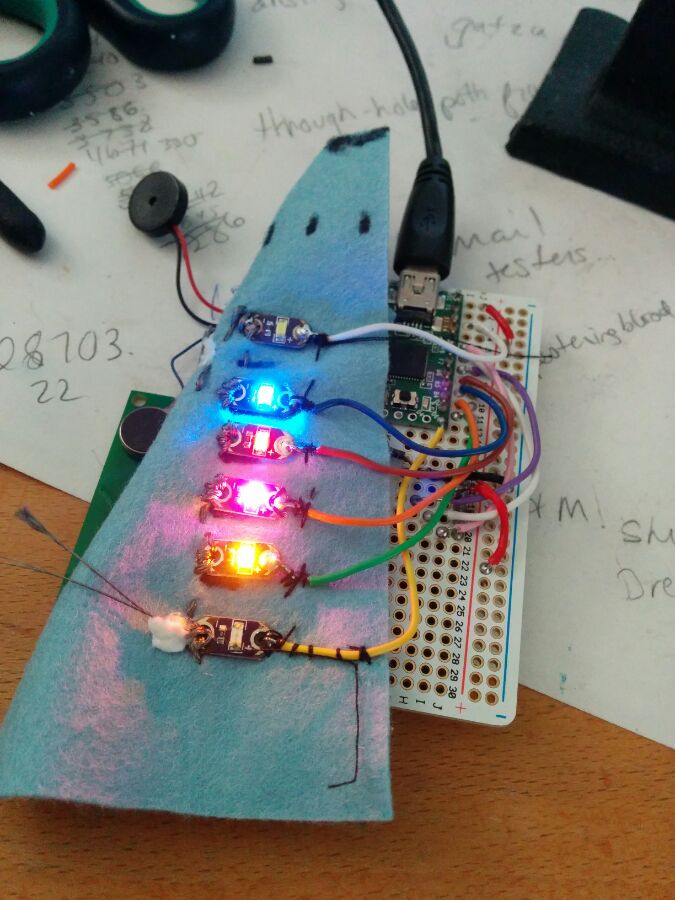
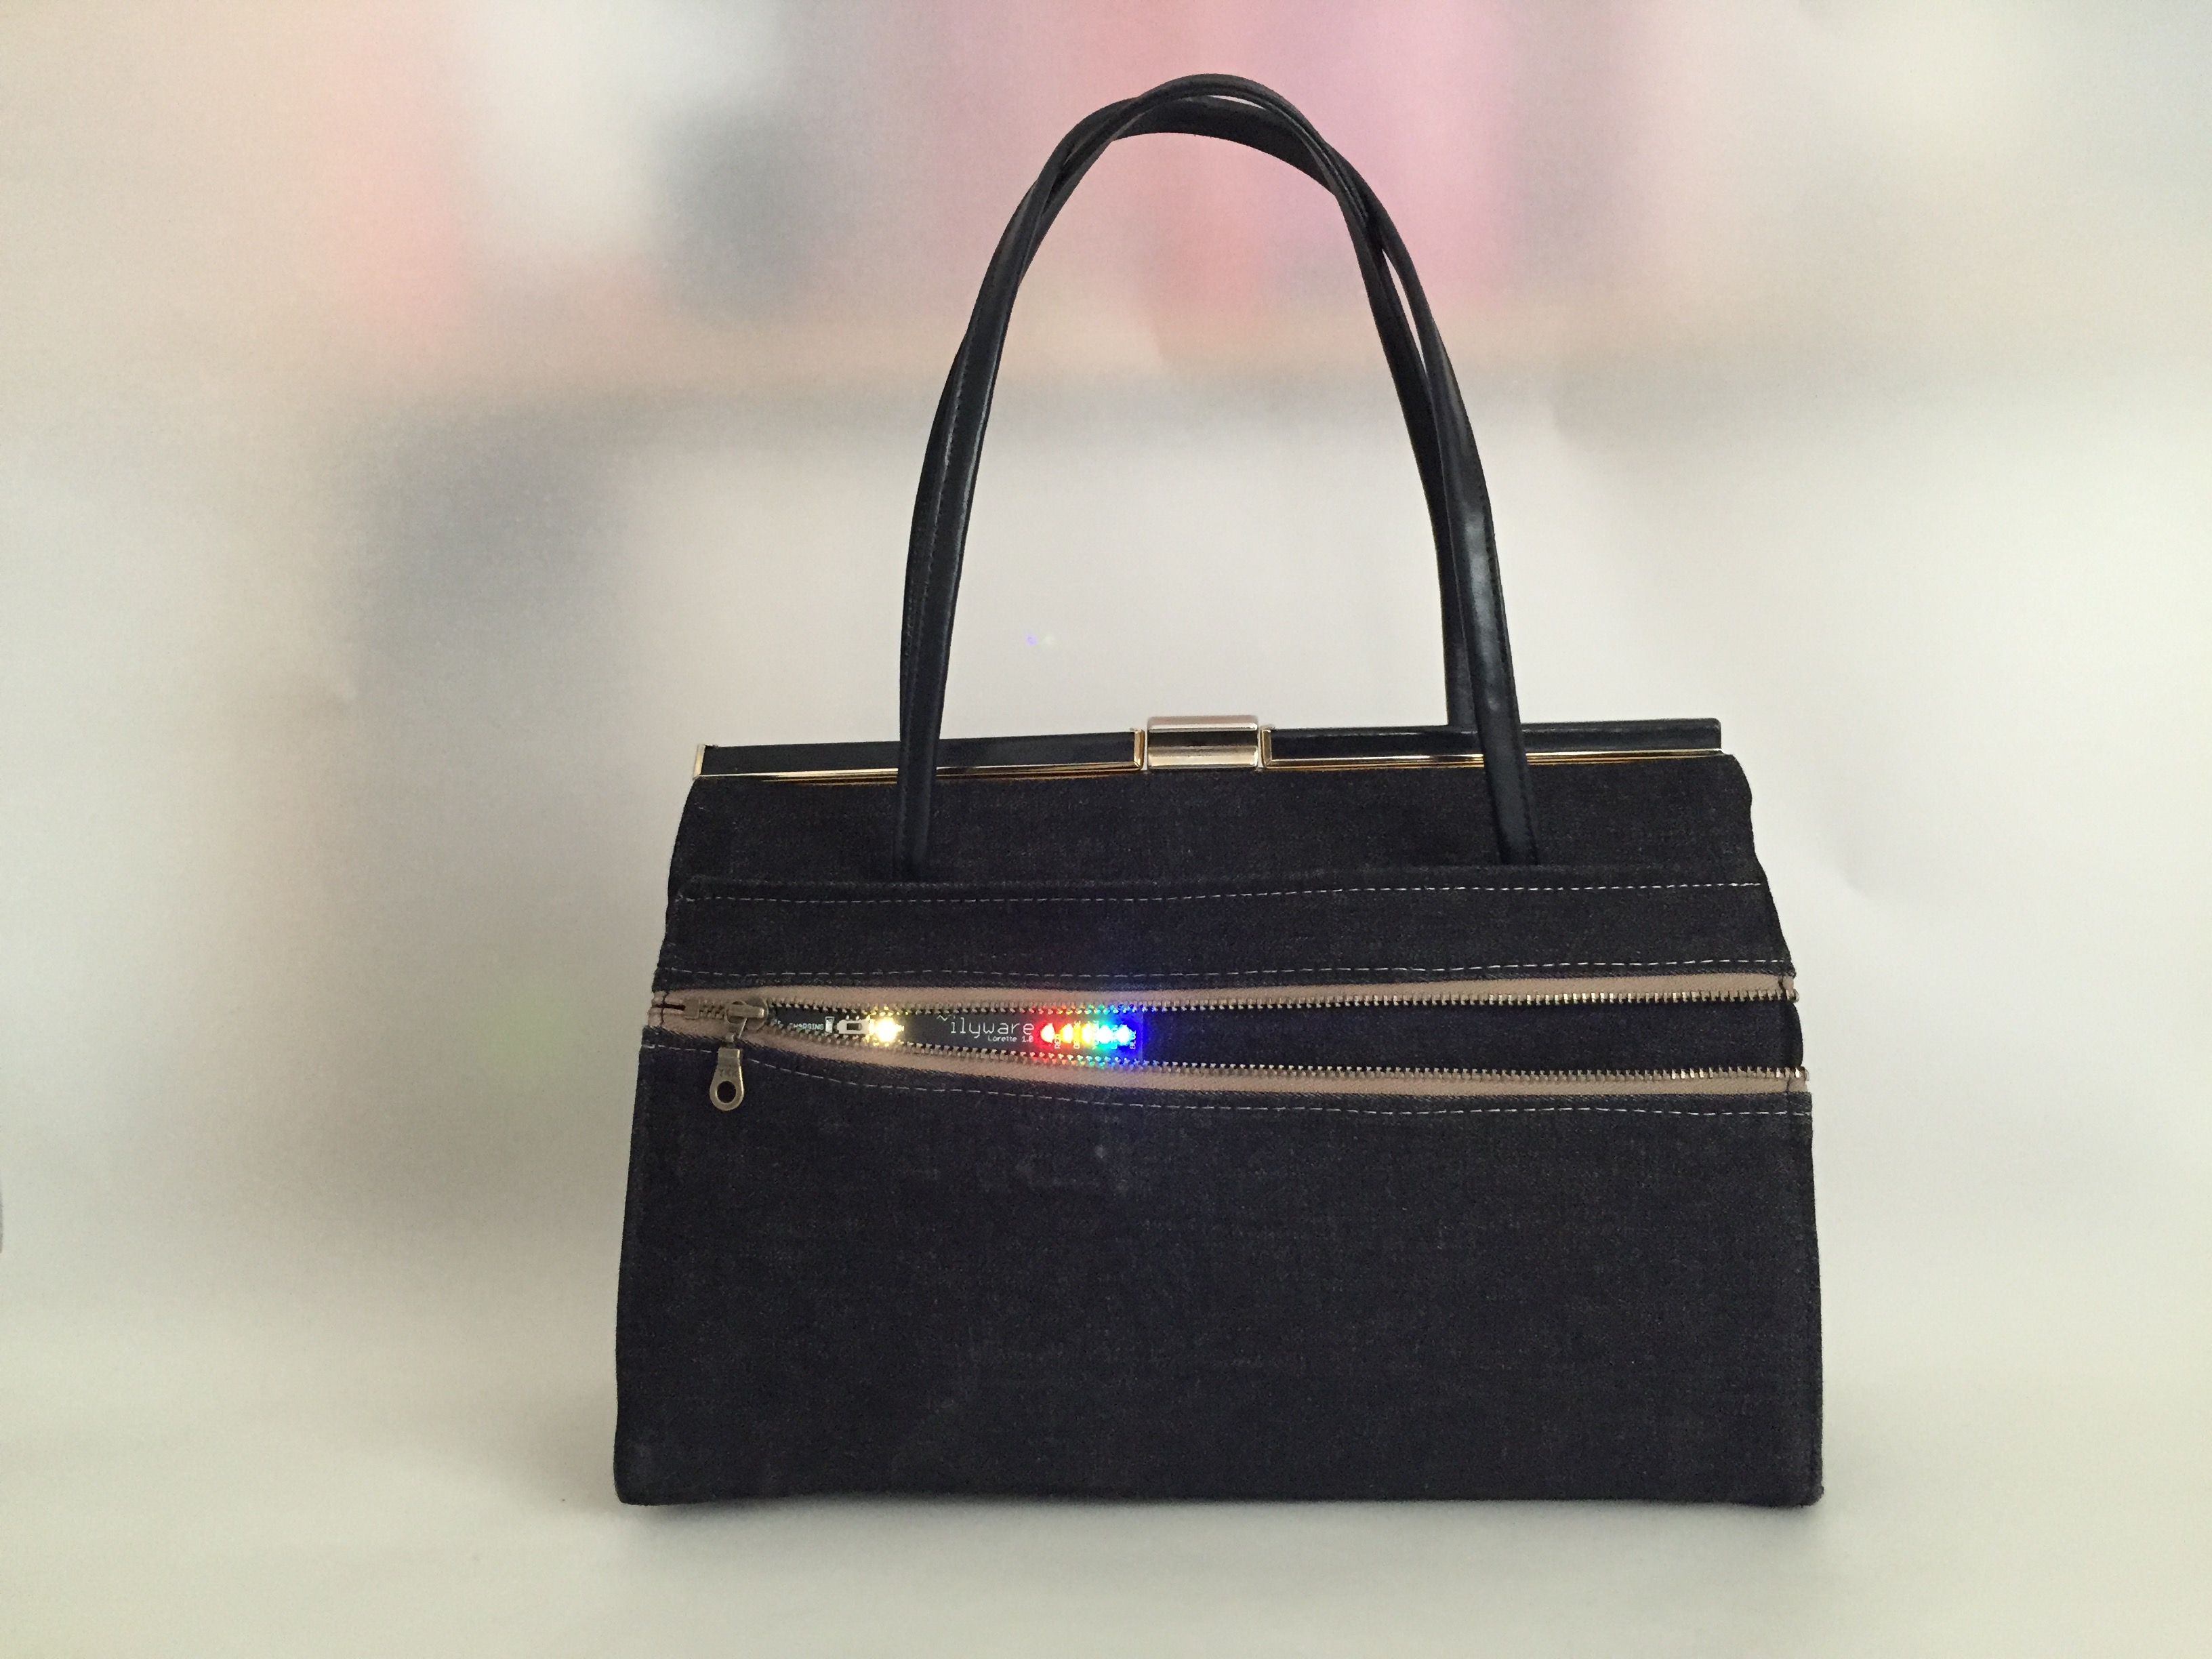
This is a follow on from a post I wrote about creating this jewellery and colour detection NeoPixel circuit.