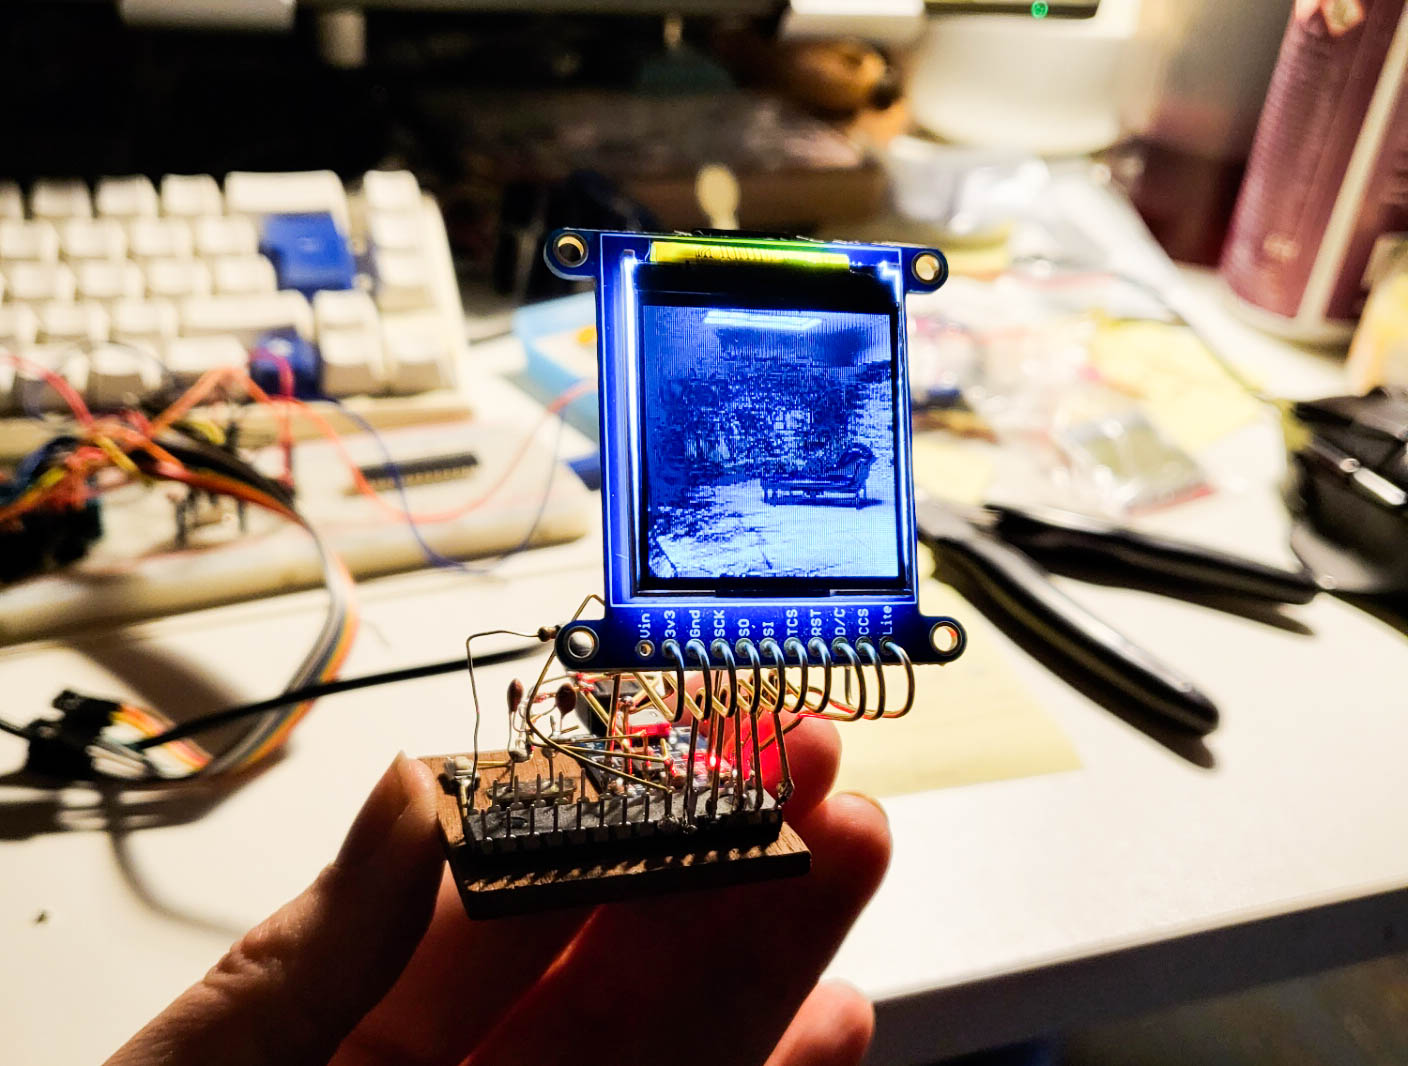
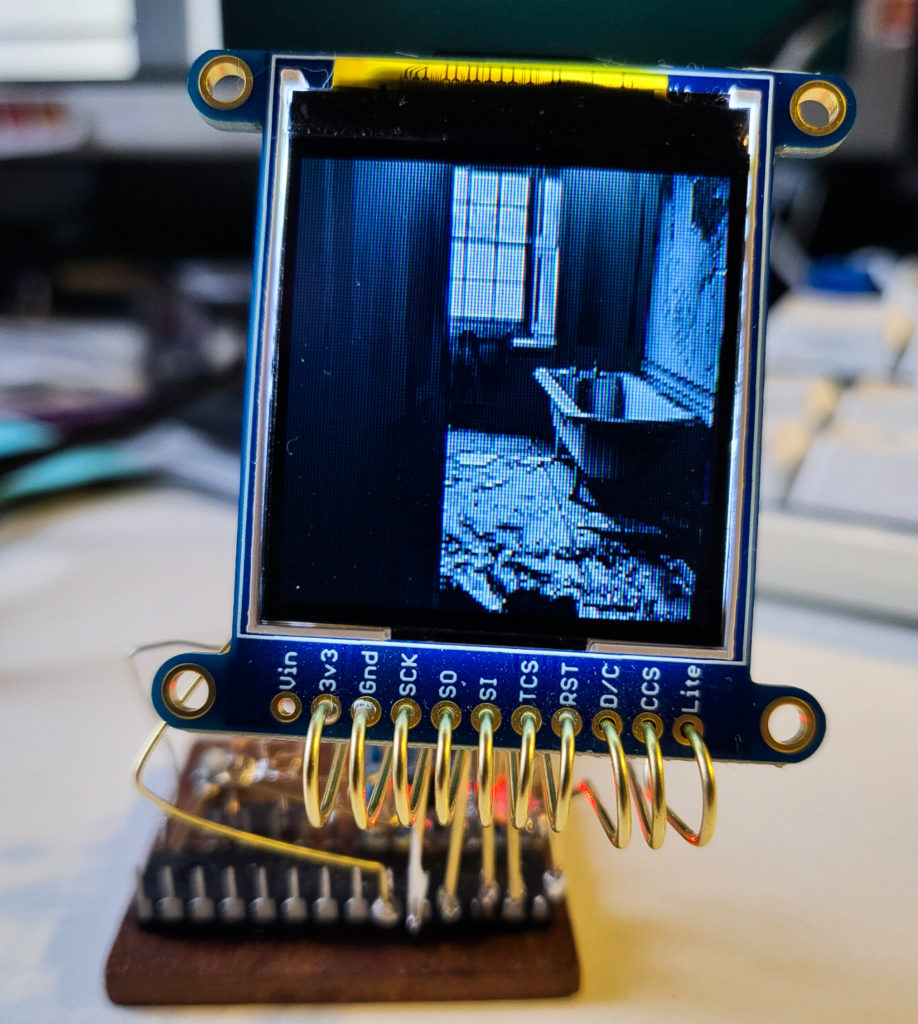
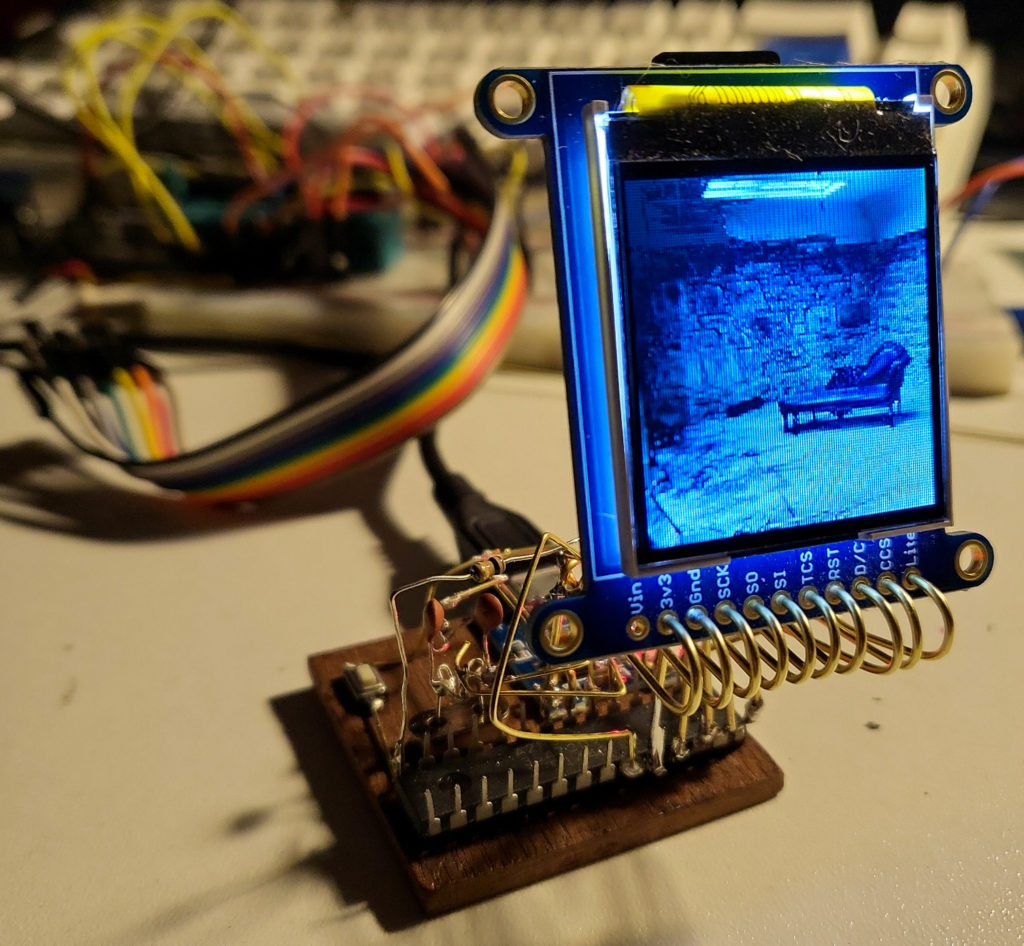
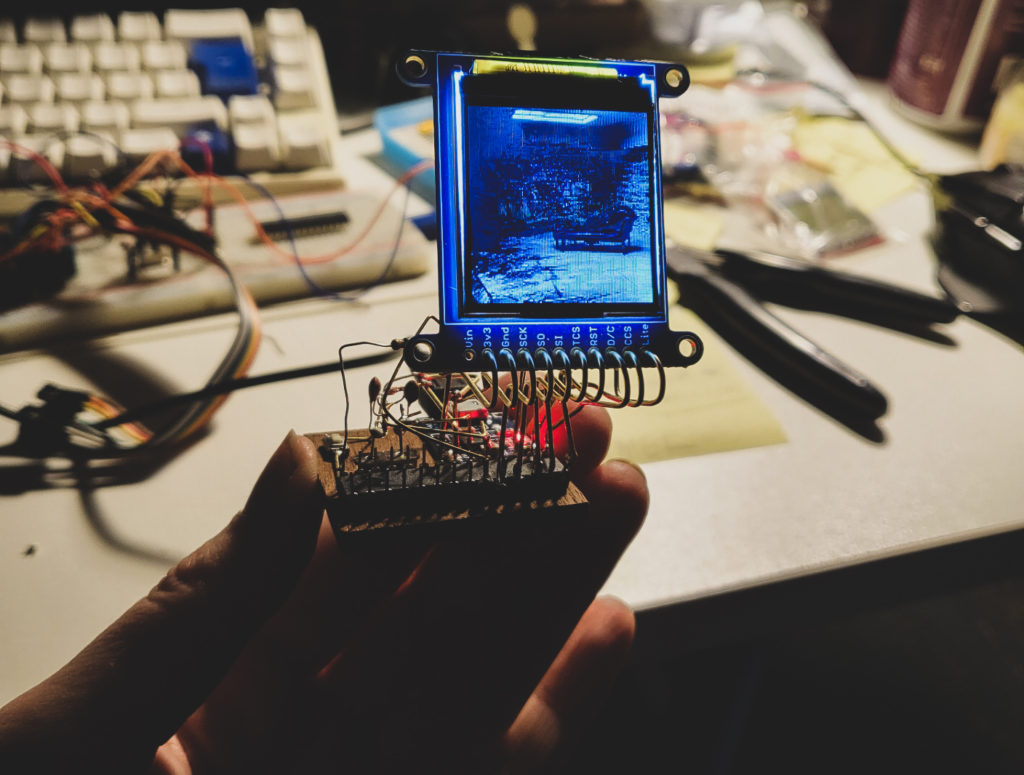
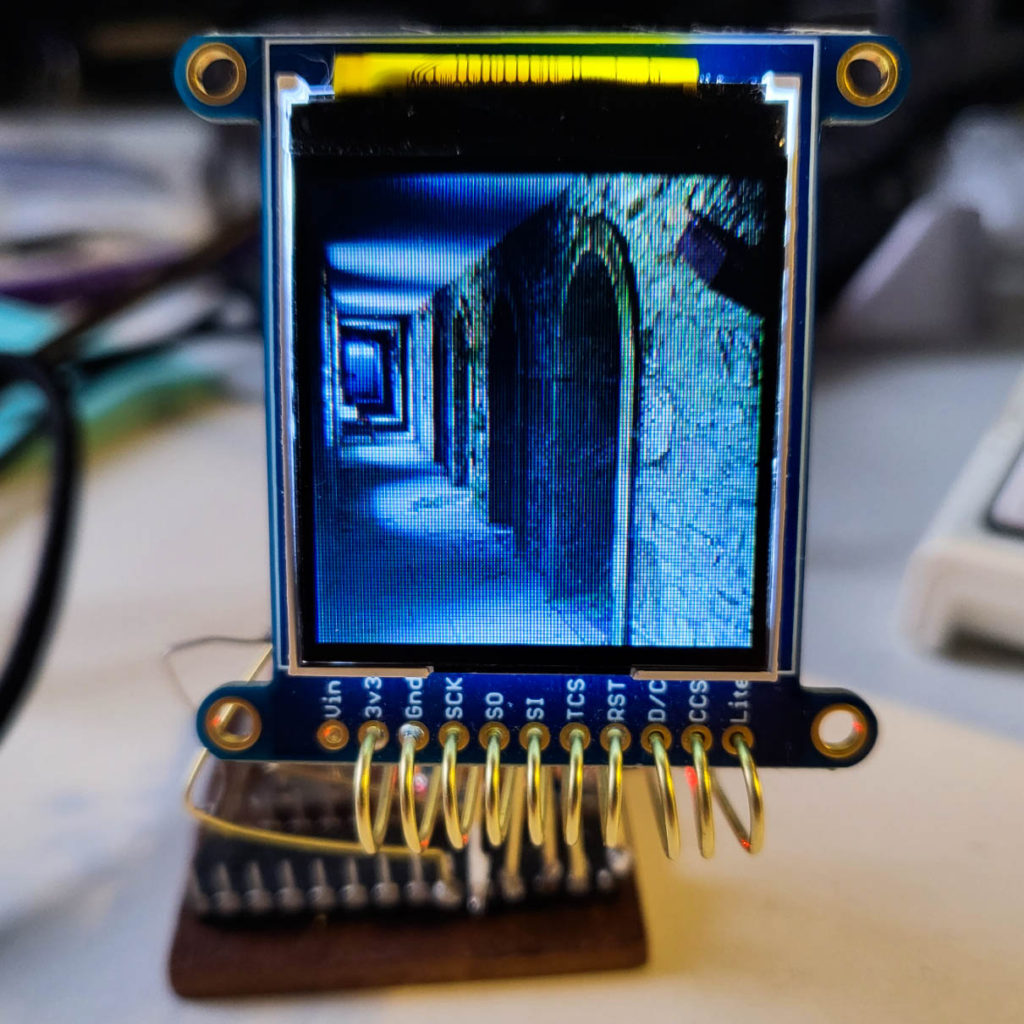
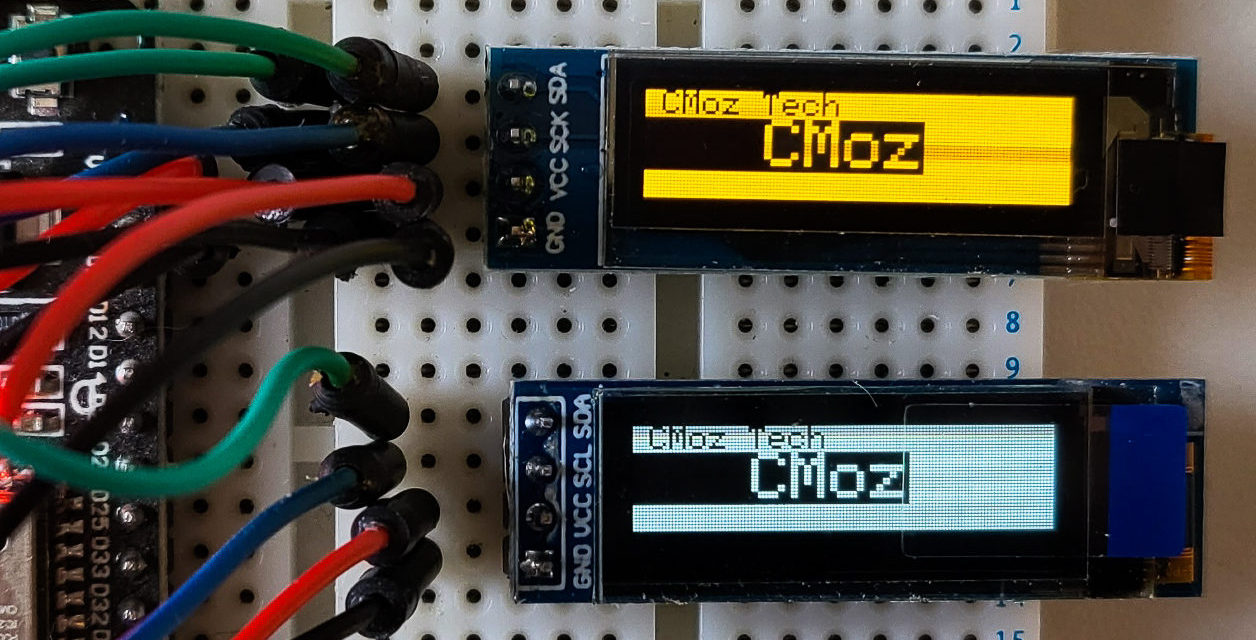
Hey – So I’ve been using the lovely TFT screens for some projects lately. Have you used these before? I’m using this one, so this information is specifically for that device. https://www.adafruit.com/product/2088 Adafruit 1.44″ Color TFT LCD Display with MicroSD Card breakout – ST7735R. They are super cute and are really clear – my photos don’t quite do this screen justice!
The Library information is here: https://learn.adafruit.com/adafruit-1-44-color-tft-with-micro-sd-socket/adafruit-gfx-library
Do you have a project that uses this screen? I had a few issues as I was programming it so this information could be a handy guide to some of the things that went wrong and how to fix them.
Colours
To use colours for text or the things you’re drawing, if you use the library provided by Adafruit, then you can just use their inbuilt colour names. These are predefined in the library so you only need to use the names provided and don’t need to copy the #define statements.
#define ST7735_BLACK 0x0000
#define ST7735_RED 0x001F
#define ST7735_GREEN 0x07E0
#define ST7735_WHITE 0xFFFF
#define ST7735_BLUE 0xF800
#define ST7735_CYAN 0x07FF
#define ST7735_YELLOW 0xFFE0
#define ST7735_MAGENTA 0xF81F
in your code you only need to use the colour name:
tft.fillScreen(ST7735_BLACK);However you can also use other colours and you just need to add a #define section to your code. Then, to use the colour, you only need to type the colour.
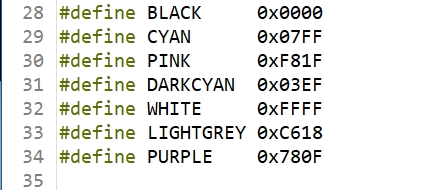
#define BLACK 0x0000
#define NAVY 0x000F
#define DARKGREEN 0x03E0
#define DARKCYAN 0x03EF
#define MAROON 0x7800
#define PURPLE 0x780F
#define OLIVE 0x7BE0
#define LIGHTGREY 0xC618
#define DARKGREY 0x7BEF
#define BLUE 0x001F
#define GREEN 0x07E0
#define CYAN 0x07FF
#define RED 0xF800
#define MAGENTA 0xF81F
#define YELLOW 0xFFE0
#define WHITE 0xFFFF
#define ORANGE 0xFD20
#define GREENYELLOW 0xAFE5
Again, if you put the defines in your code, then you can use the following:
tft.fillScreen(ST7735_BLACK);
Alter the amount of backlight for the screen
The LITE pin on the screen can be hooked up to a PWM pin and then you can control it. The amount of light can be anywhere from 0 to 255, the values of output in the analog pin. I’ve hooked mine up and then alter your code. You can change the brightness throughout the sketch you are using. For some of my images, I had them a little brighter than others. So have a play around!
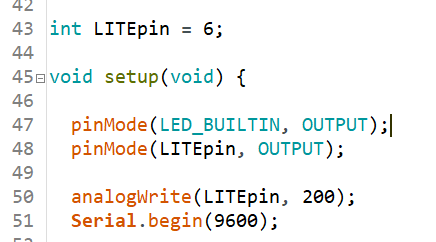
analogWrite(LITEpin, 250);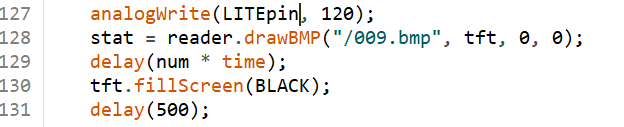
Set cursor if your text disapears!
This might be something that you don’t need to know – but I had an issue that my text would display once and then I couldn’t see it again. all you need to do is reset where your text will start from – you can do this with setCursor.
tft.setCursor(0, 0);Delays for displaying images…
There is a limit on the delay that can be used. Delays have drawbacks and shouldn’t really be used for long periods of time. However, because the program I’m using will only be displaying images, I didn’t have any other needs. However, I wanted images to be displayed for longer than the standard few seconds.
I found this idea on forums, and it works really well. Define using LONG type seconds, and then we can configure minutes and hours. Then in the delay, I was able to use 5 x minutes to create the amount of time I wanted.
unsigned long seconds = 1000L; // !!! SEE THE CAPITAL "L" USED!!!
unsigned long minutes = seconds * 60;
unsigned long hours = minutes * 60;
The code in the program:
delay(5 * minutes);You can use another code https://www.arduino.cc/en/Tutorial/BuiltInExamples/BlinkWithoutDelay and this blink without delay is a great place to start.
More information about the library:
http://adafruit.github.io/Adafruit-GFX-Library/html/class_adafruit___g_f_x.html
I hope this helps with any coding issues you may have run into!
Prepare your images for a 128 x 128 TFT display
Preparing images for your display is part of the process. You can use this for 128 x 128 displays but adapt it to suit the size of the display that you have.
I use Paint, it’s free and quick and easy!
In paint open the image you want to use for your screen.
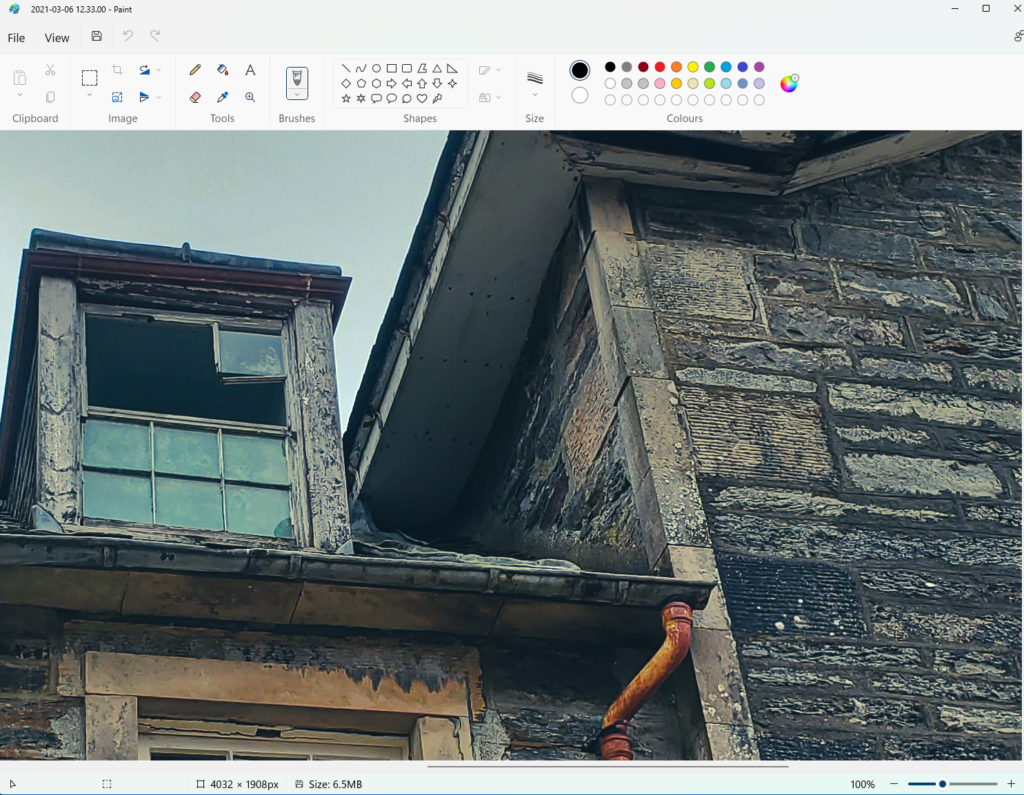
Change the size of the image to suit your TFT screen, mine is 128 x 128.
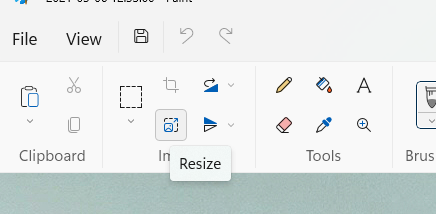
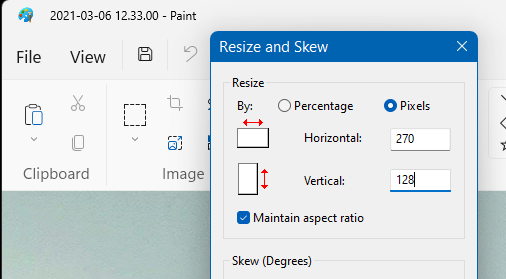
Choose PIXELS for the resize, and change the VERTICAL to 128 or whatever your height part of the screen is.
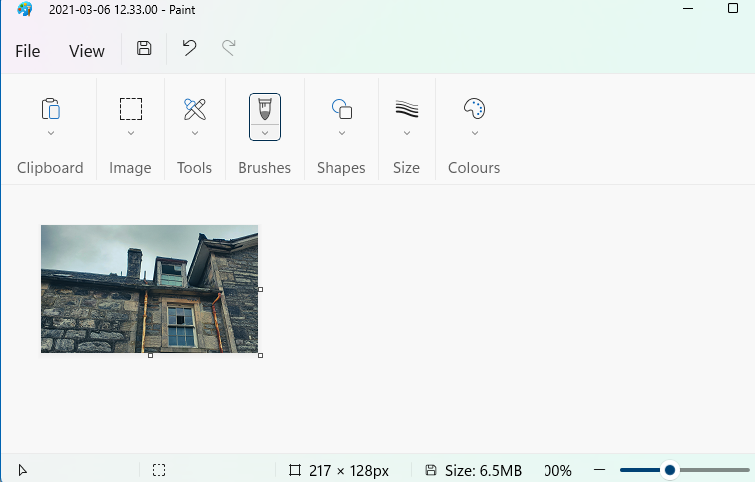
Now you need to selectively crop out the sides of the images that you don’t want to be included. Watch the size at the bottom of the Paint window to get the size right.
Save as .bmp file for your TFT
Now we need to save the file for use with our TFT. From the File Menu, choose Save as BMP Picture.
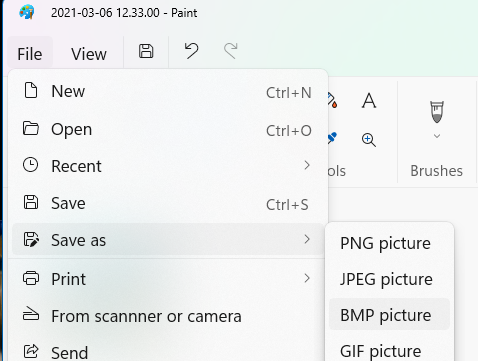
When the save window opens, save as type should be 24-bit Bitmap.

Save your files to your SD card and name them so they are easy to load without mistakes.


https://create.arduino.cc/projecthub/electropeak/ultimate-beginner-s-guide-to-run-tft-lcd-displays-by-arduino-081006