I’ve been very lucky to have been able to try out the fabulous GlowStitch from maker Steph https://www.makerqueen.com.au/ who has made these fun and useful sewable LEDs.
I’ve incorporated it into a design that would be very difficult and time-consuming to do if I didn’t have GlowStitch… I’ve added them to my mobile phone case! Now I have the best case that is so unique, and it only took a little time to set up. Here’s what I did:
Items needed
To make the bling phone case, I only needed:
- GlowStitch pack
- Felt or other material
- Glue
- Switch – optional
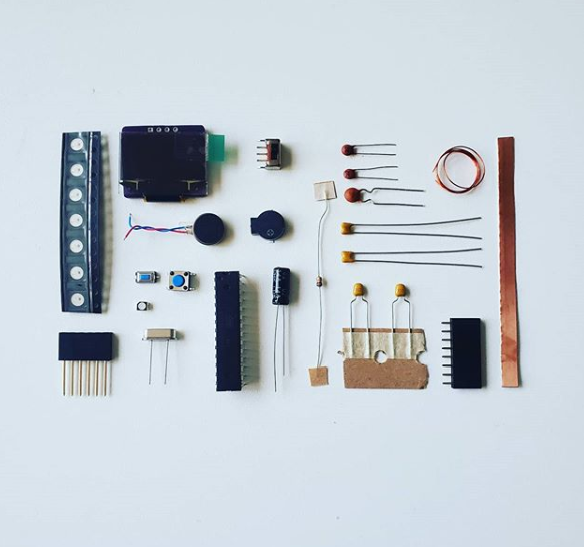
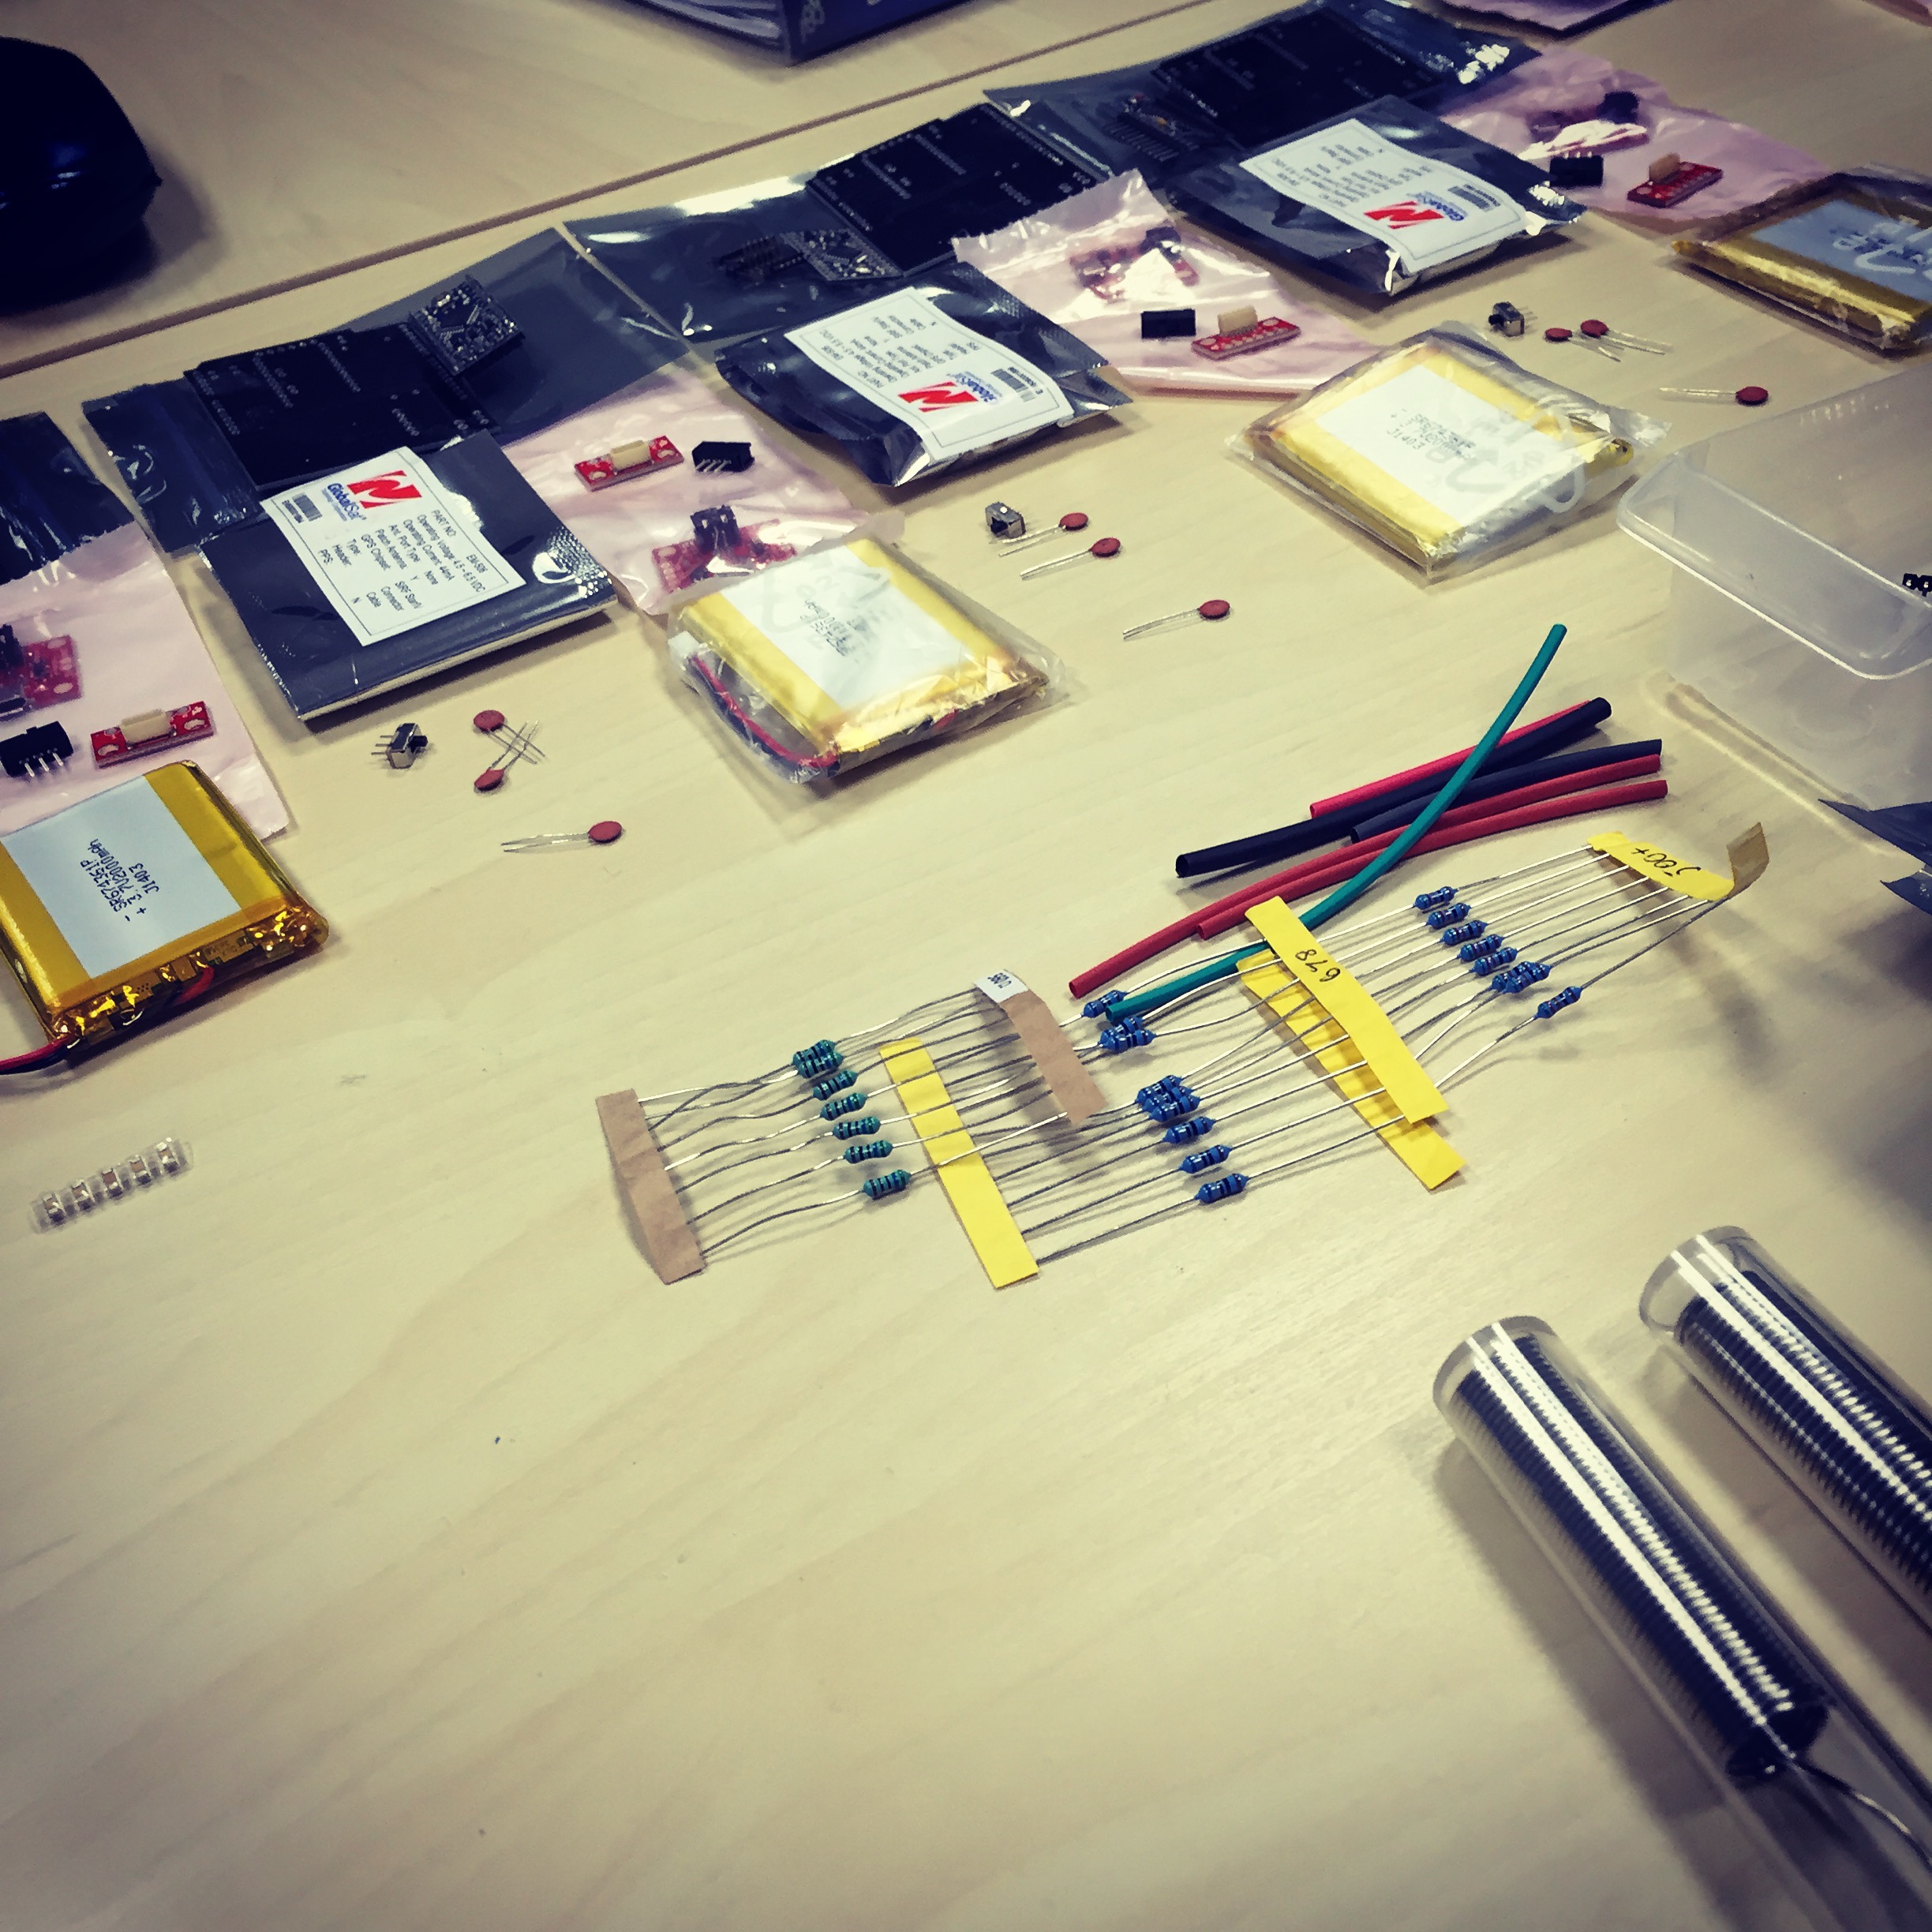
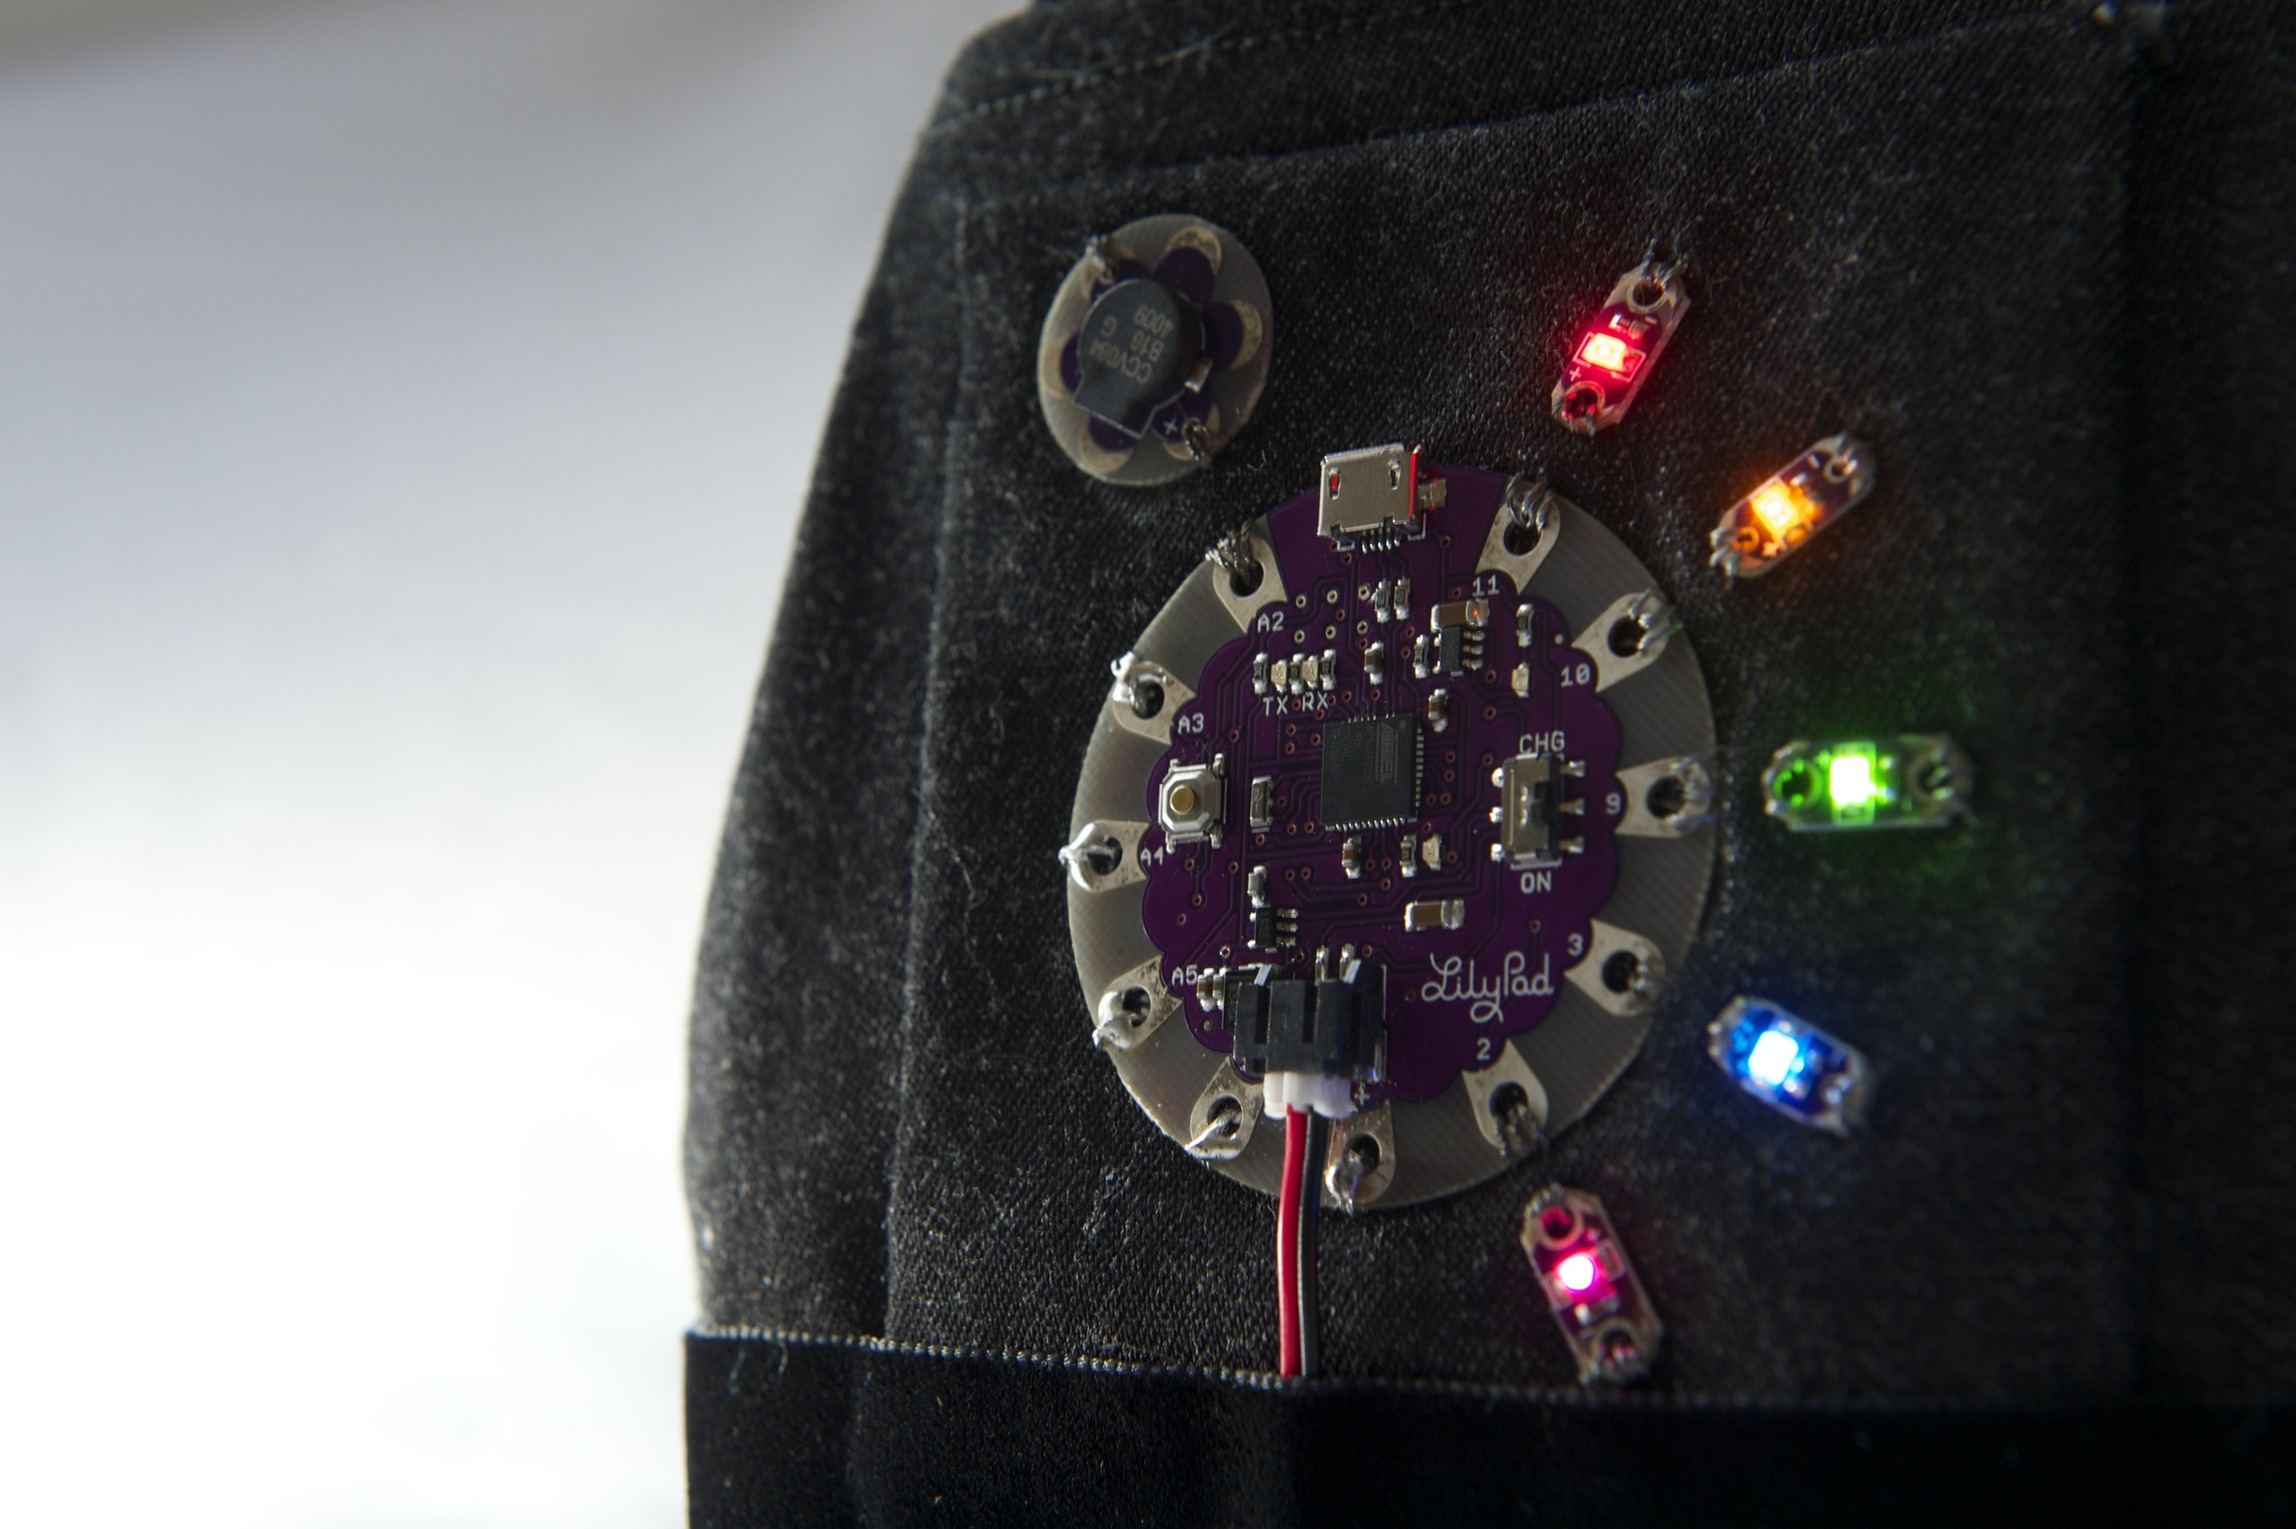
In the GlowStitch pack
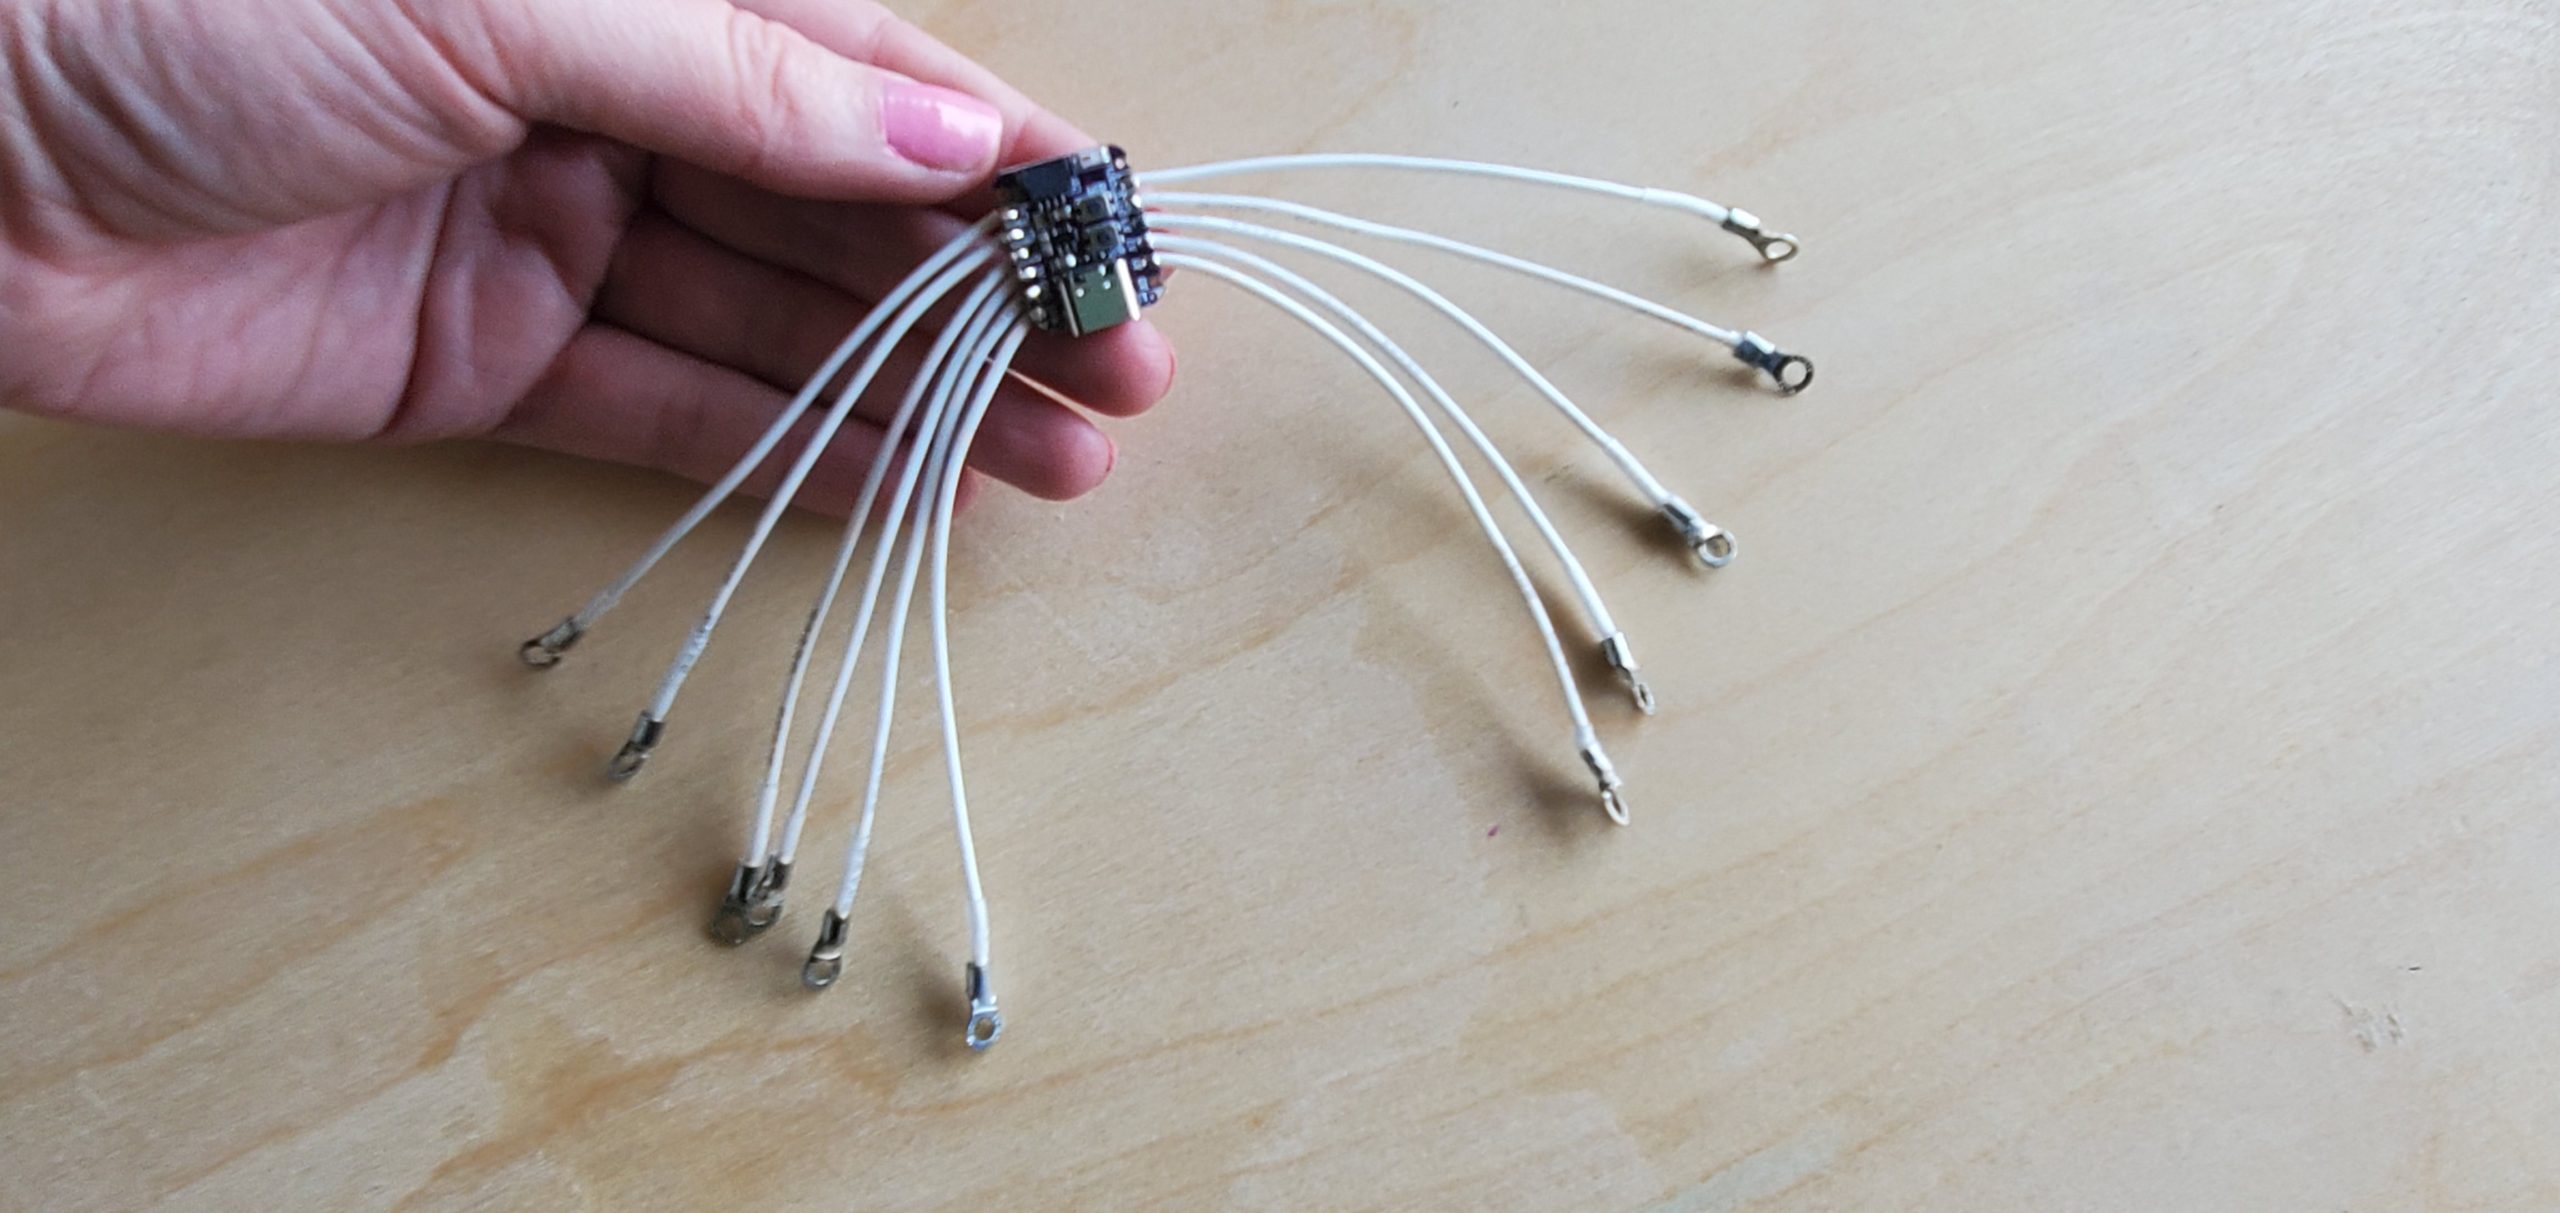
The GlowStitch pack contains instructions and project ideas which is great to get you up and running.
Inside the pack are the conductive tape, a battery holder, the LED strips, a battery, and a small screwdriver to remove a small safety screw on the battery holder. The components look and feel well-made and sturdy, and the design is great too.


I couldn’t believe how little it was when I first opened the pack. So cute – and super bright too! Now that we’ve seen the kit – let’s prepare the fabric.
Prepare fabric
First I started by measuring out my felt so that it would fit my phone case.
Taking the case off my mobile, I measured and then cut out the size so I could stick it to the case when I’m finished.


Cut the conductive tape
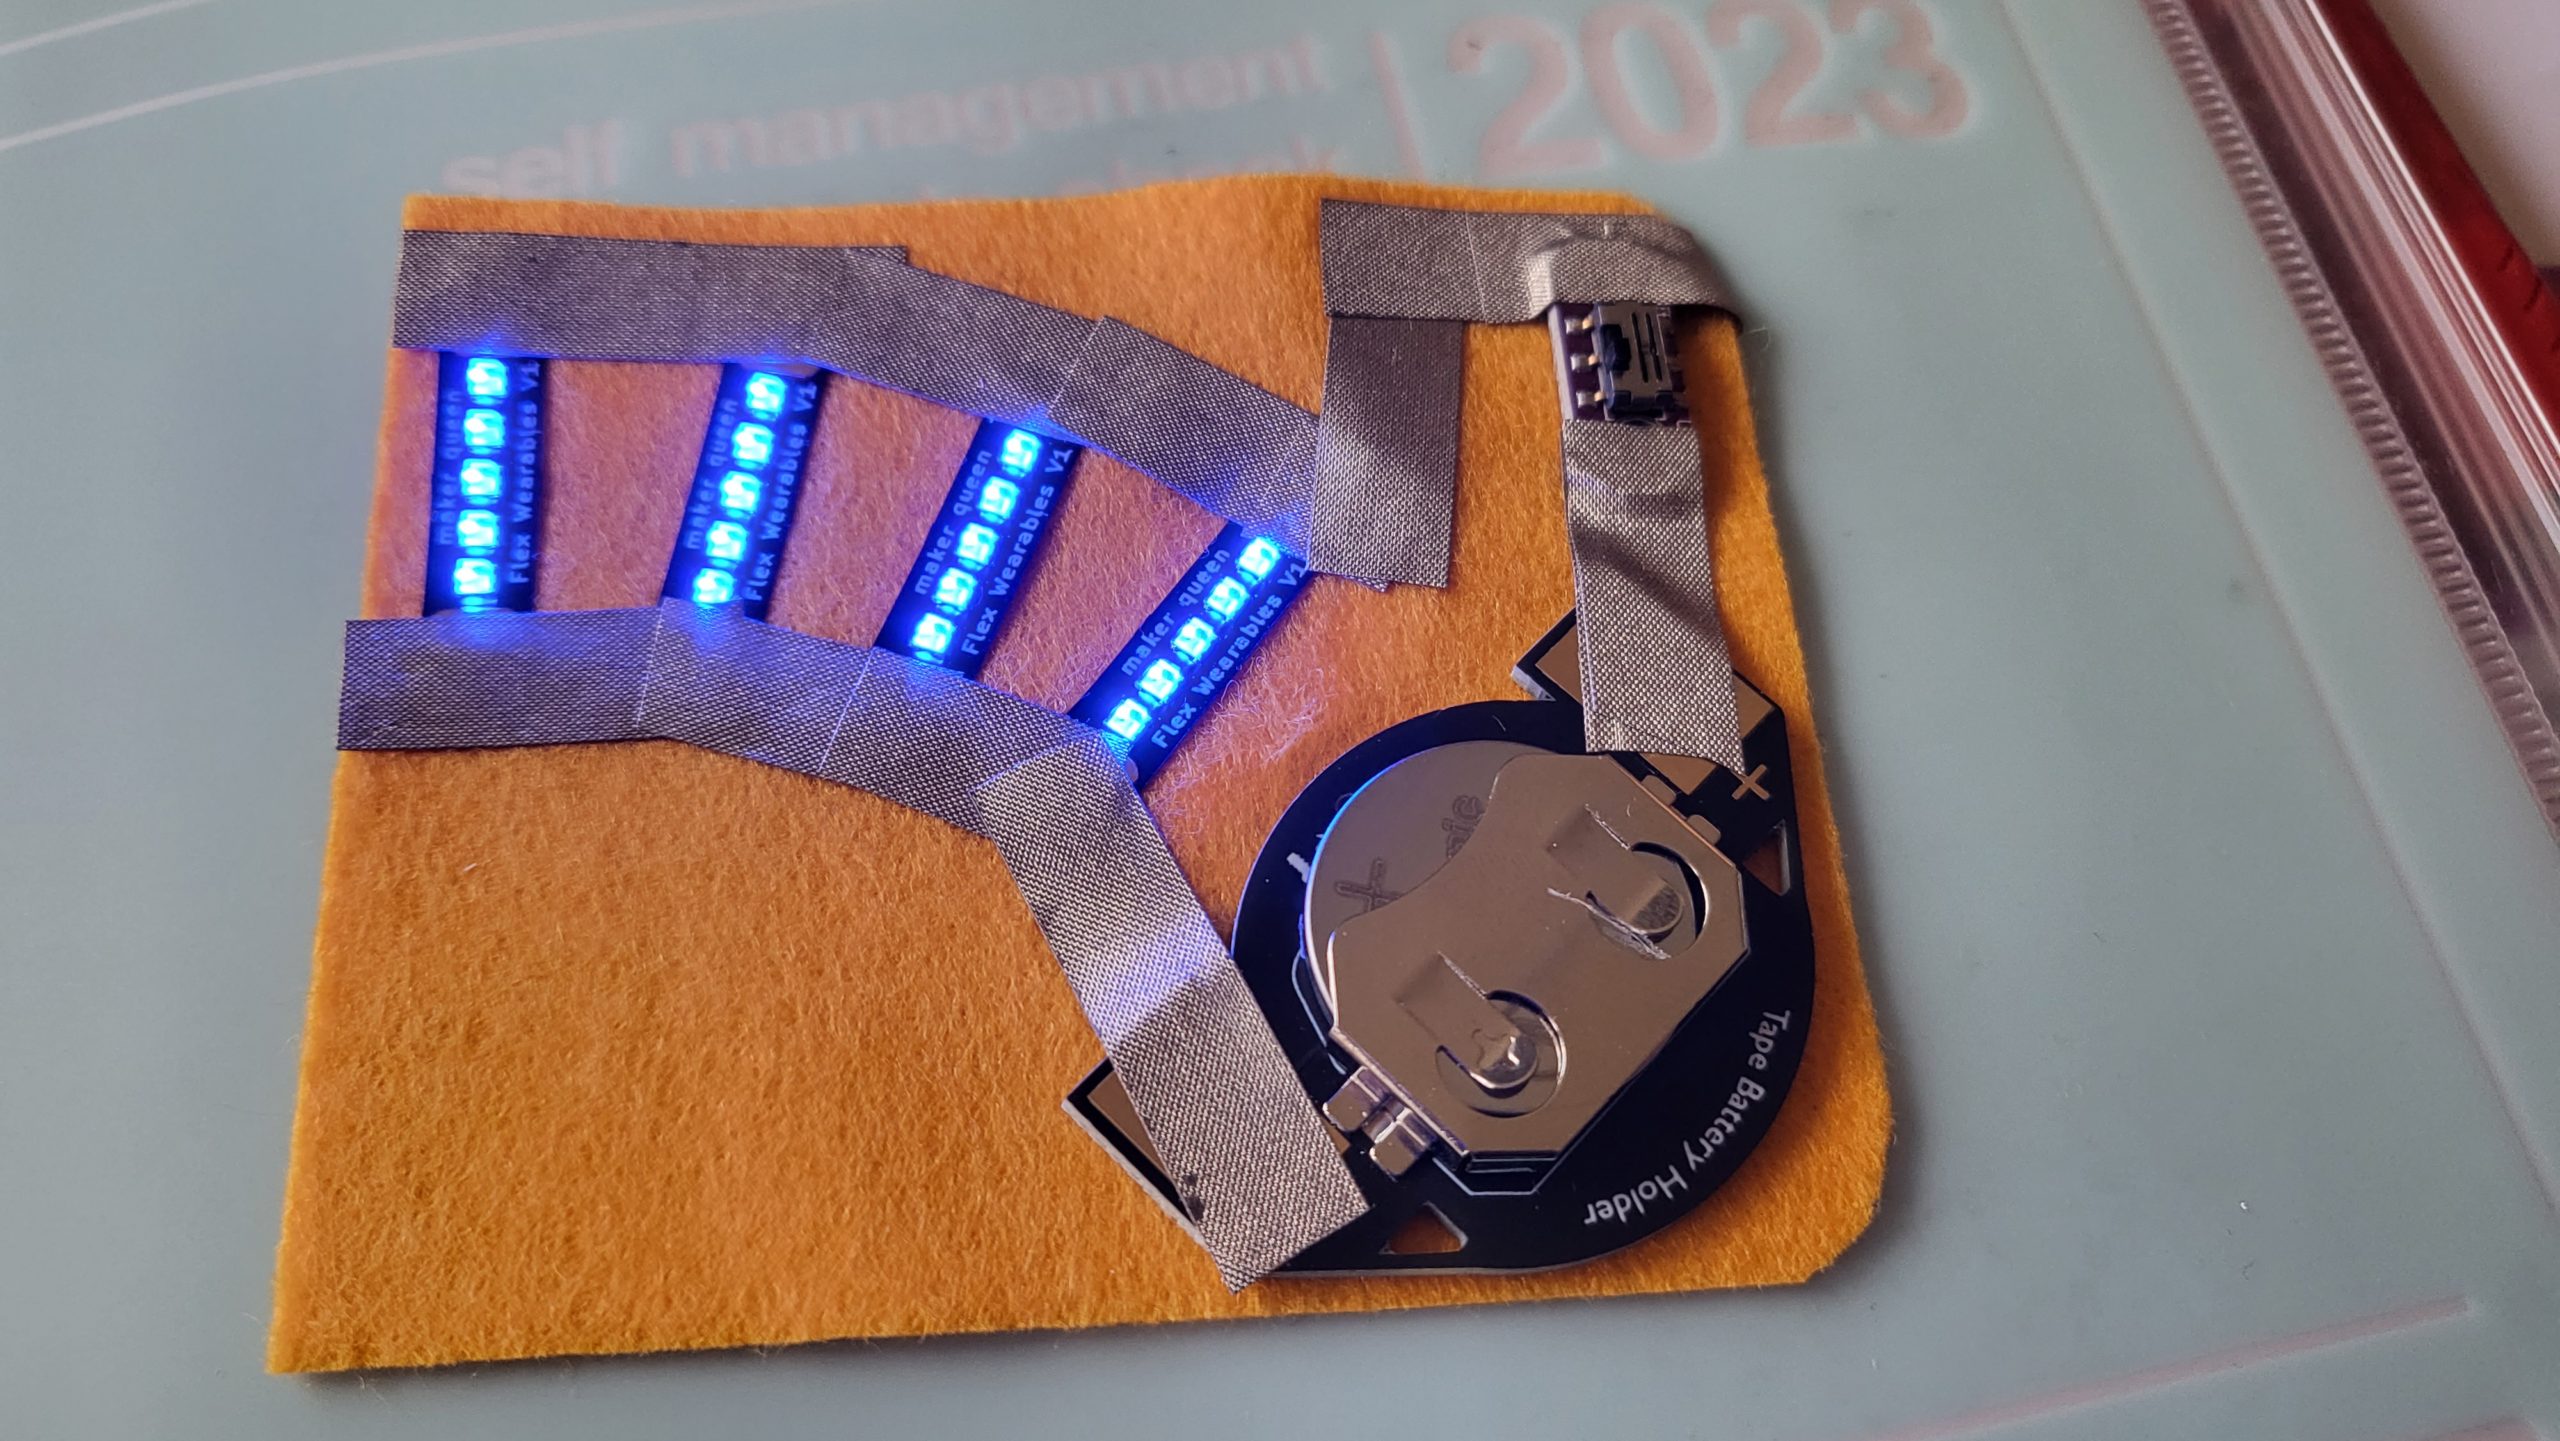
Included in the GlowStitch pack is conductive fabric tape. This stuff is great, it’s double-sided, and sticky so you can quickly add it to your circuit. It’s very conductive and I prefer it to the copper tape, so this was a great inclusion.
I placed the components on the fabric into place, you can use a little glue to hold them there if you like. I didn’t glue down the switch though.

I cut several small pieces of conductive tape so that it would fit my circuit.
First I started to place the tape on the ground side – of the circuit.

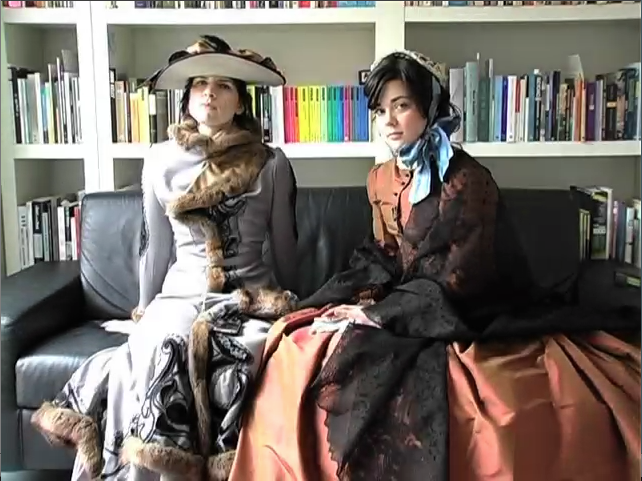
Note: I actually have a diary this year that has a front pocket, and I was thinking that this same project could be to add the bling to my diary. The fabric could be slipped into the pocket and it looks great there too. I’ll show a photo at the end.
Connect the positive + side
After completing the ground side, connect the positive side.

Don’t finish the last connection to the battery holder, let’s add the switch now.
Adding a switch
I wanted a switch so I can turn this on and off. You can actually make a switch from the conductive tape, but I had this switch handy so I used it.


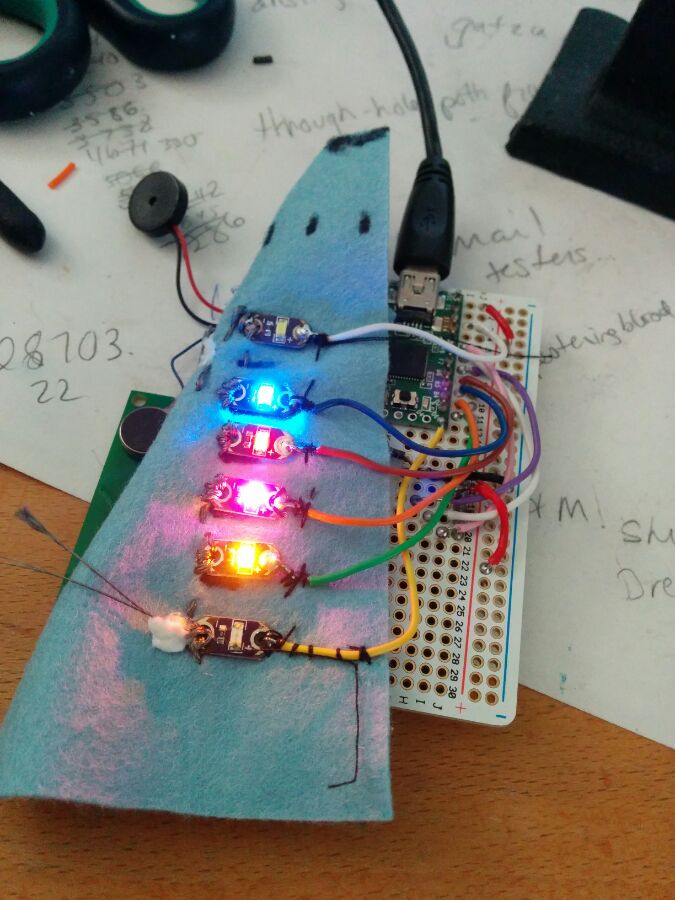
Now try your LEDS! Put the battery in the battery holder and switch it on.

Now glue this to your phone case. You can even use hot glue with a glue gun to really secure it in place.
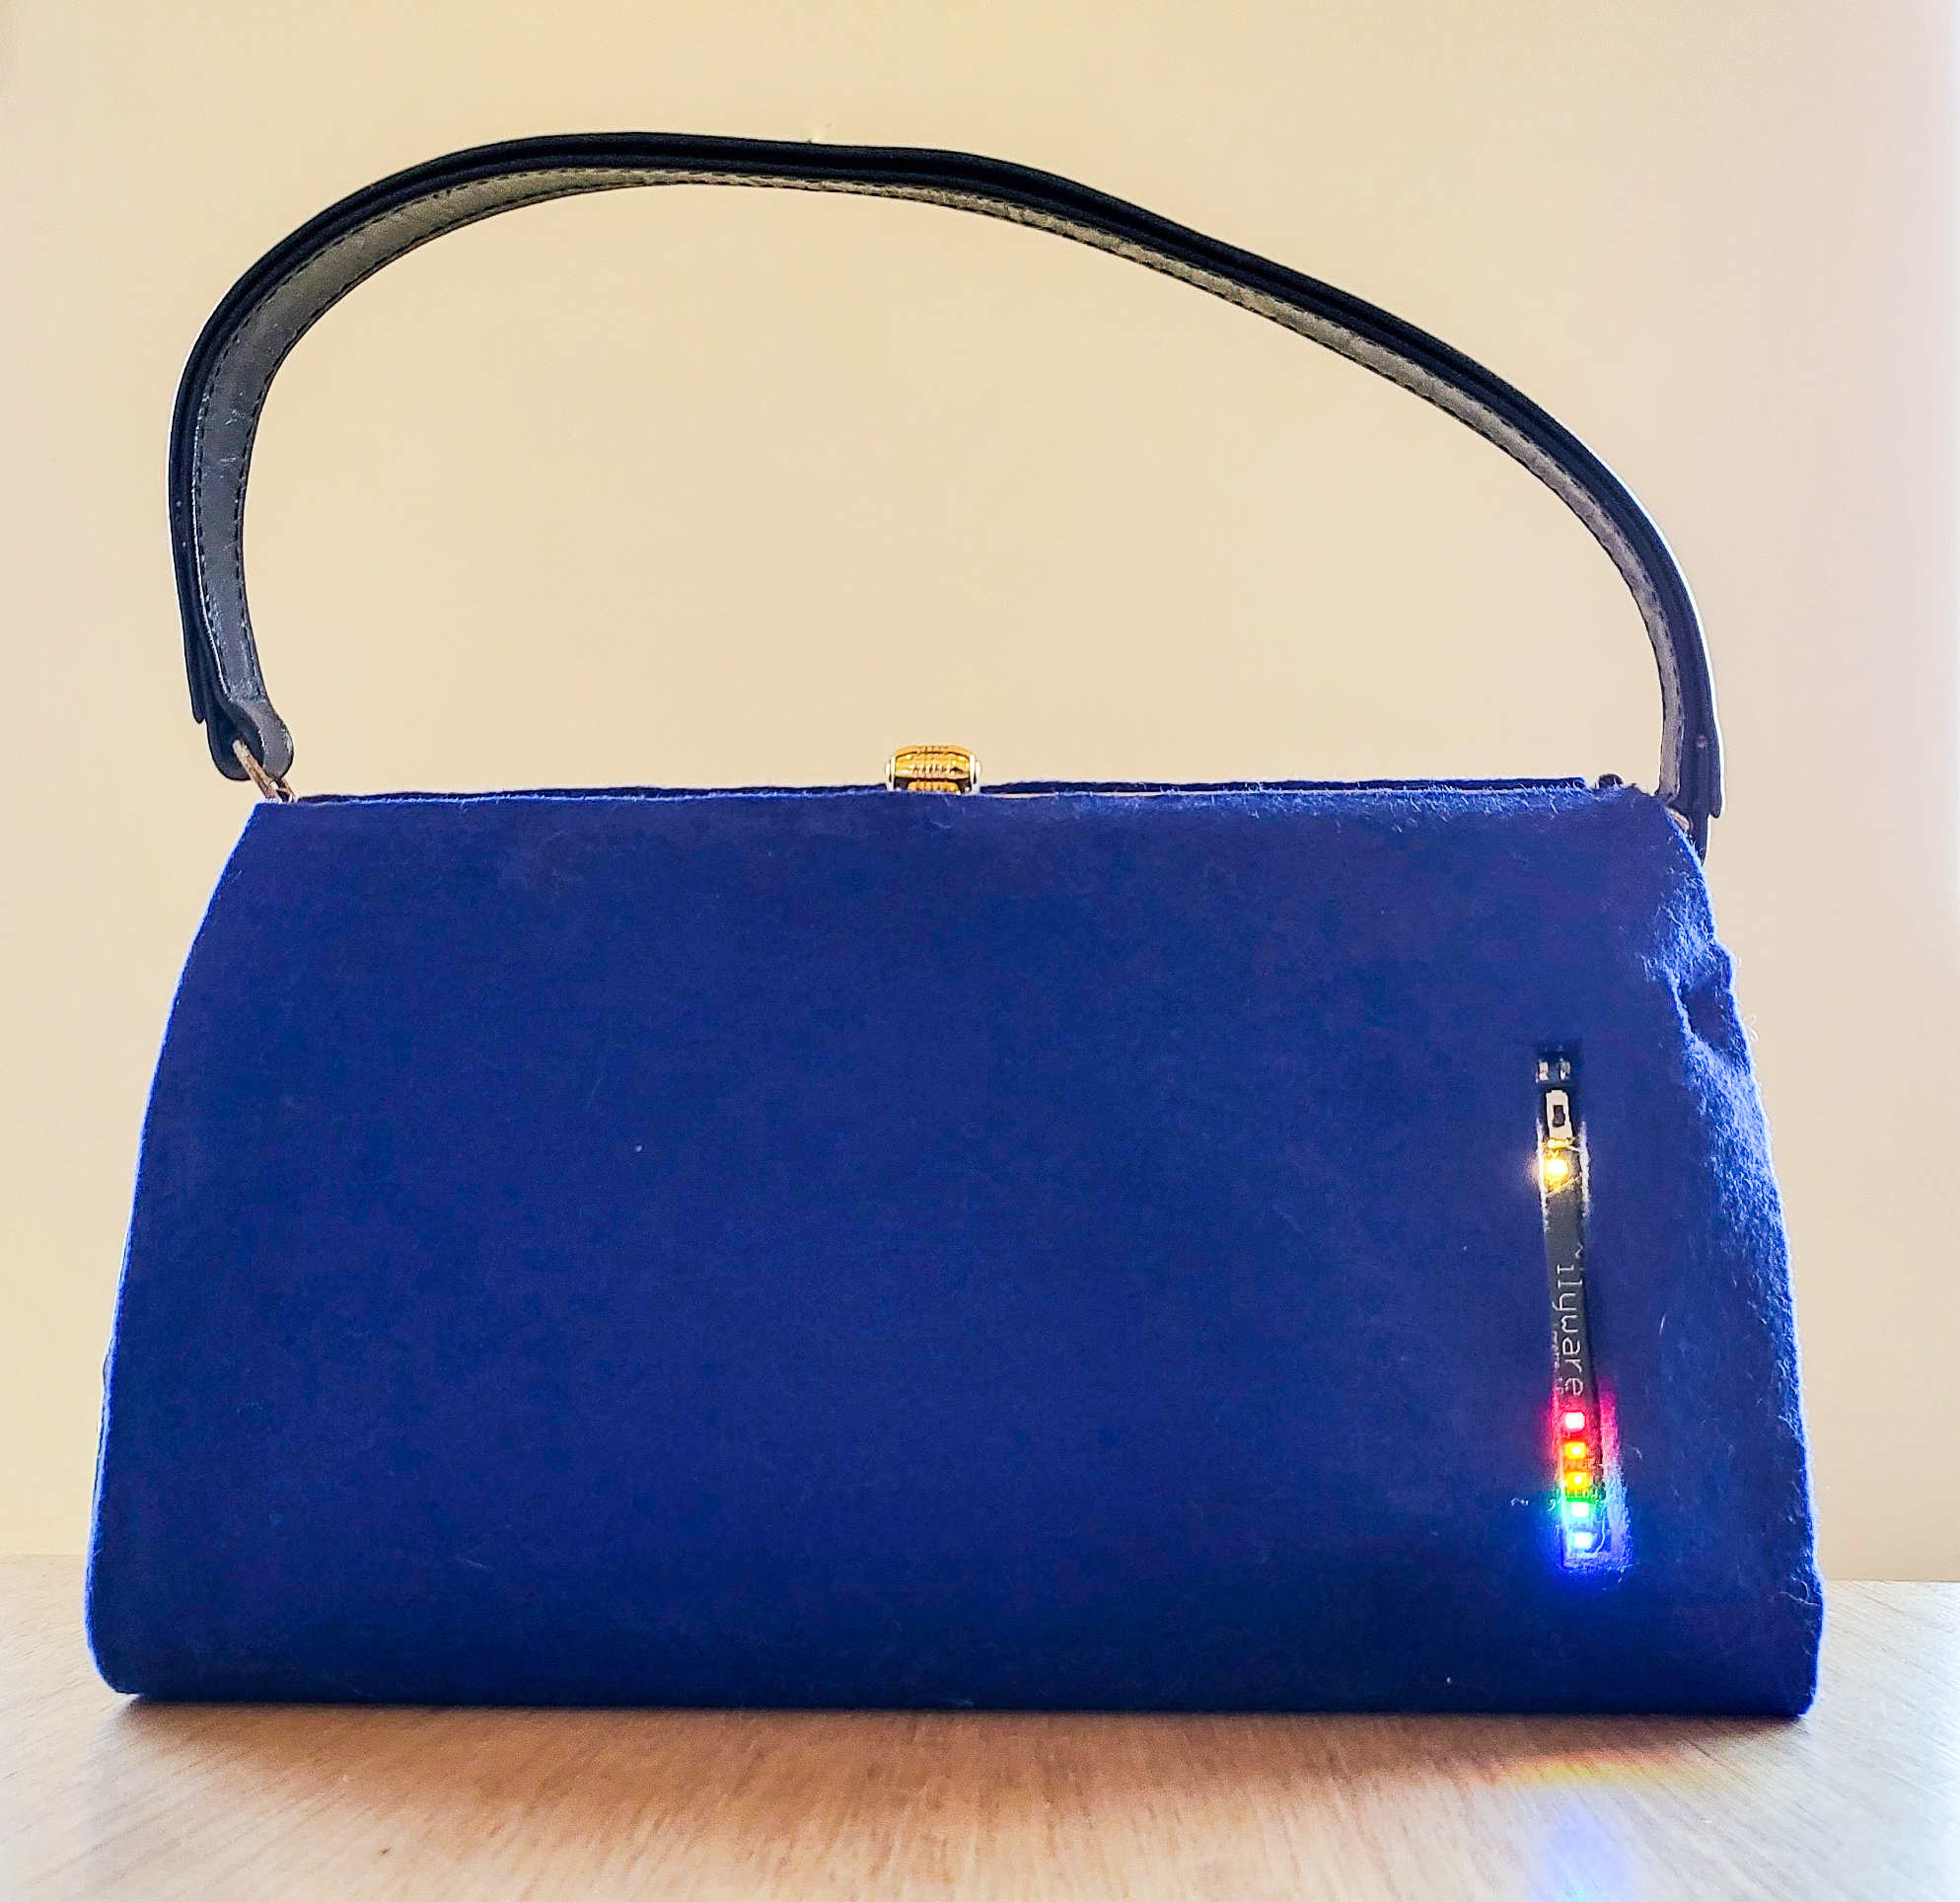
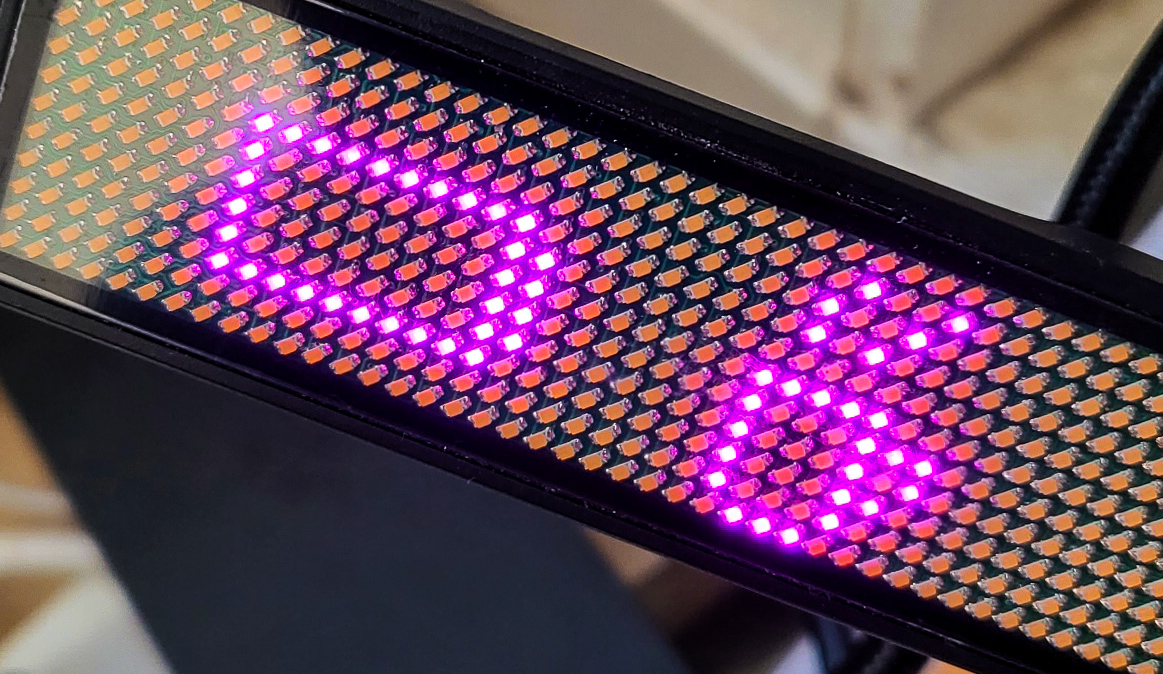
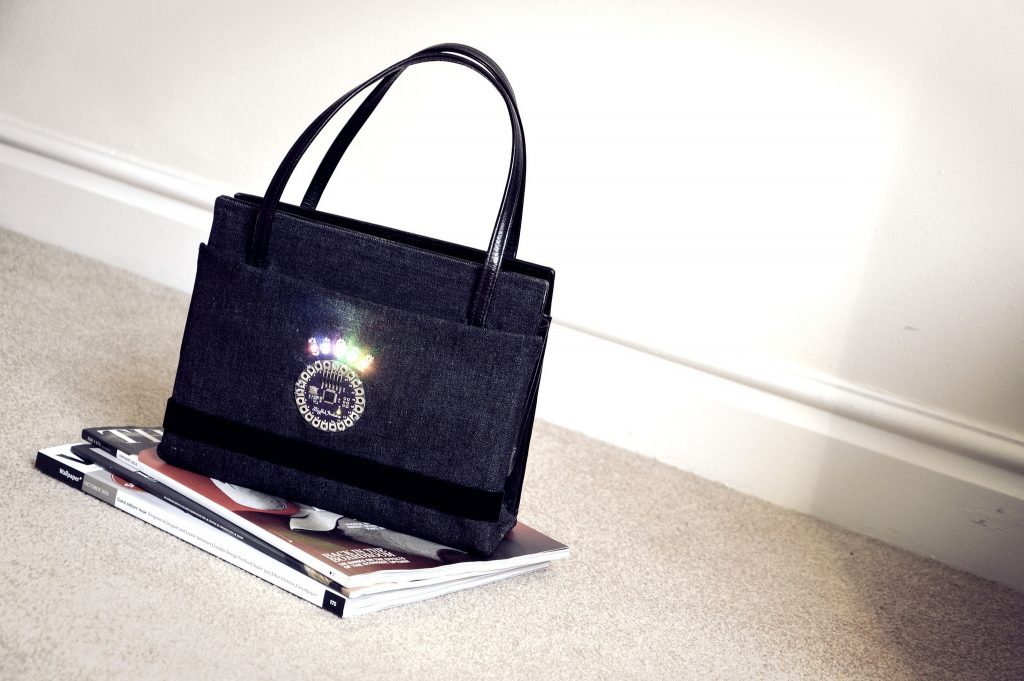
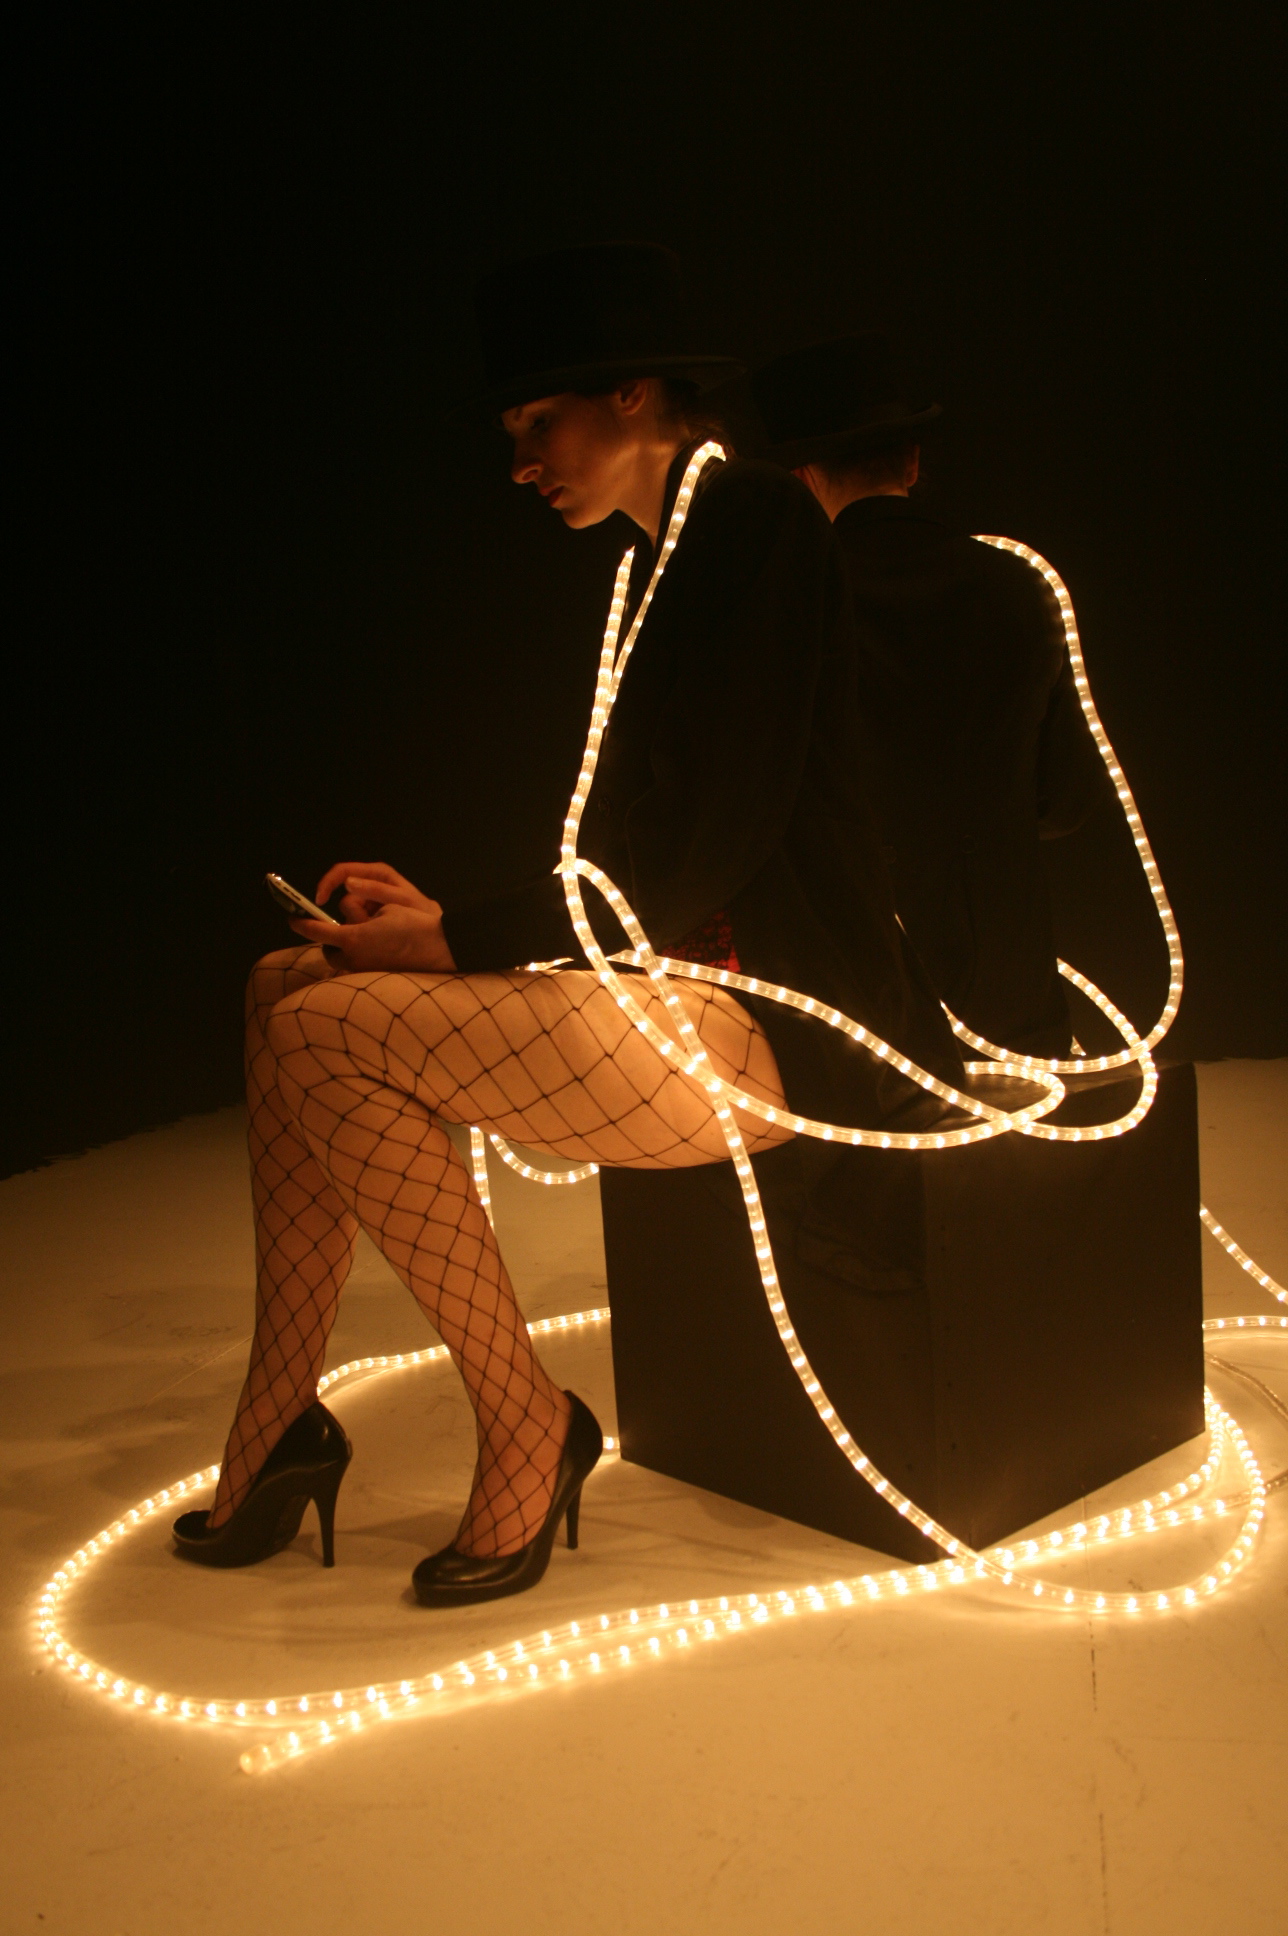
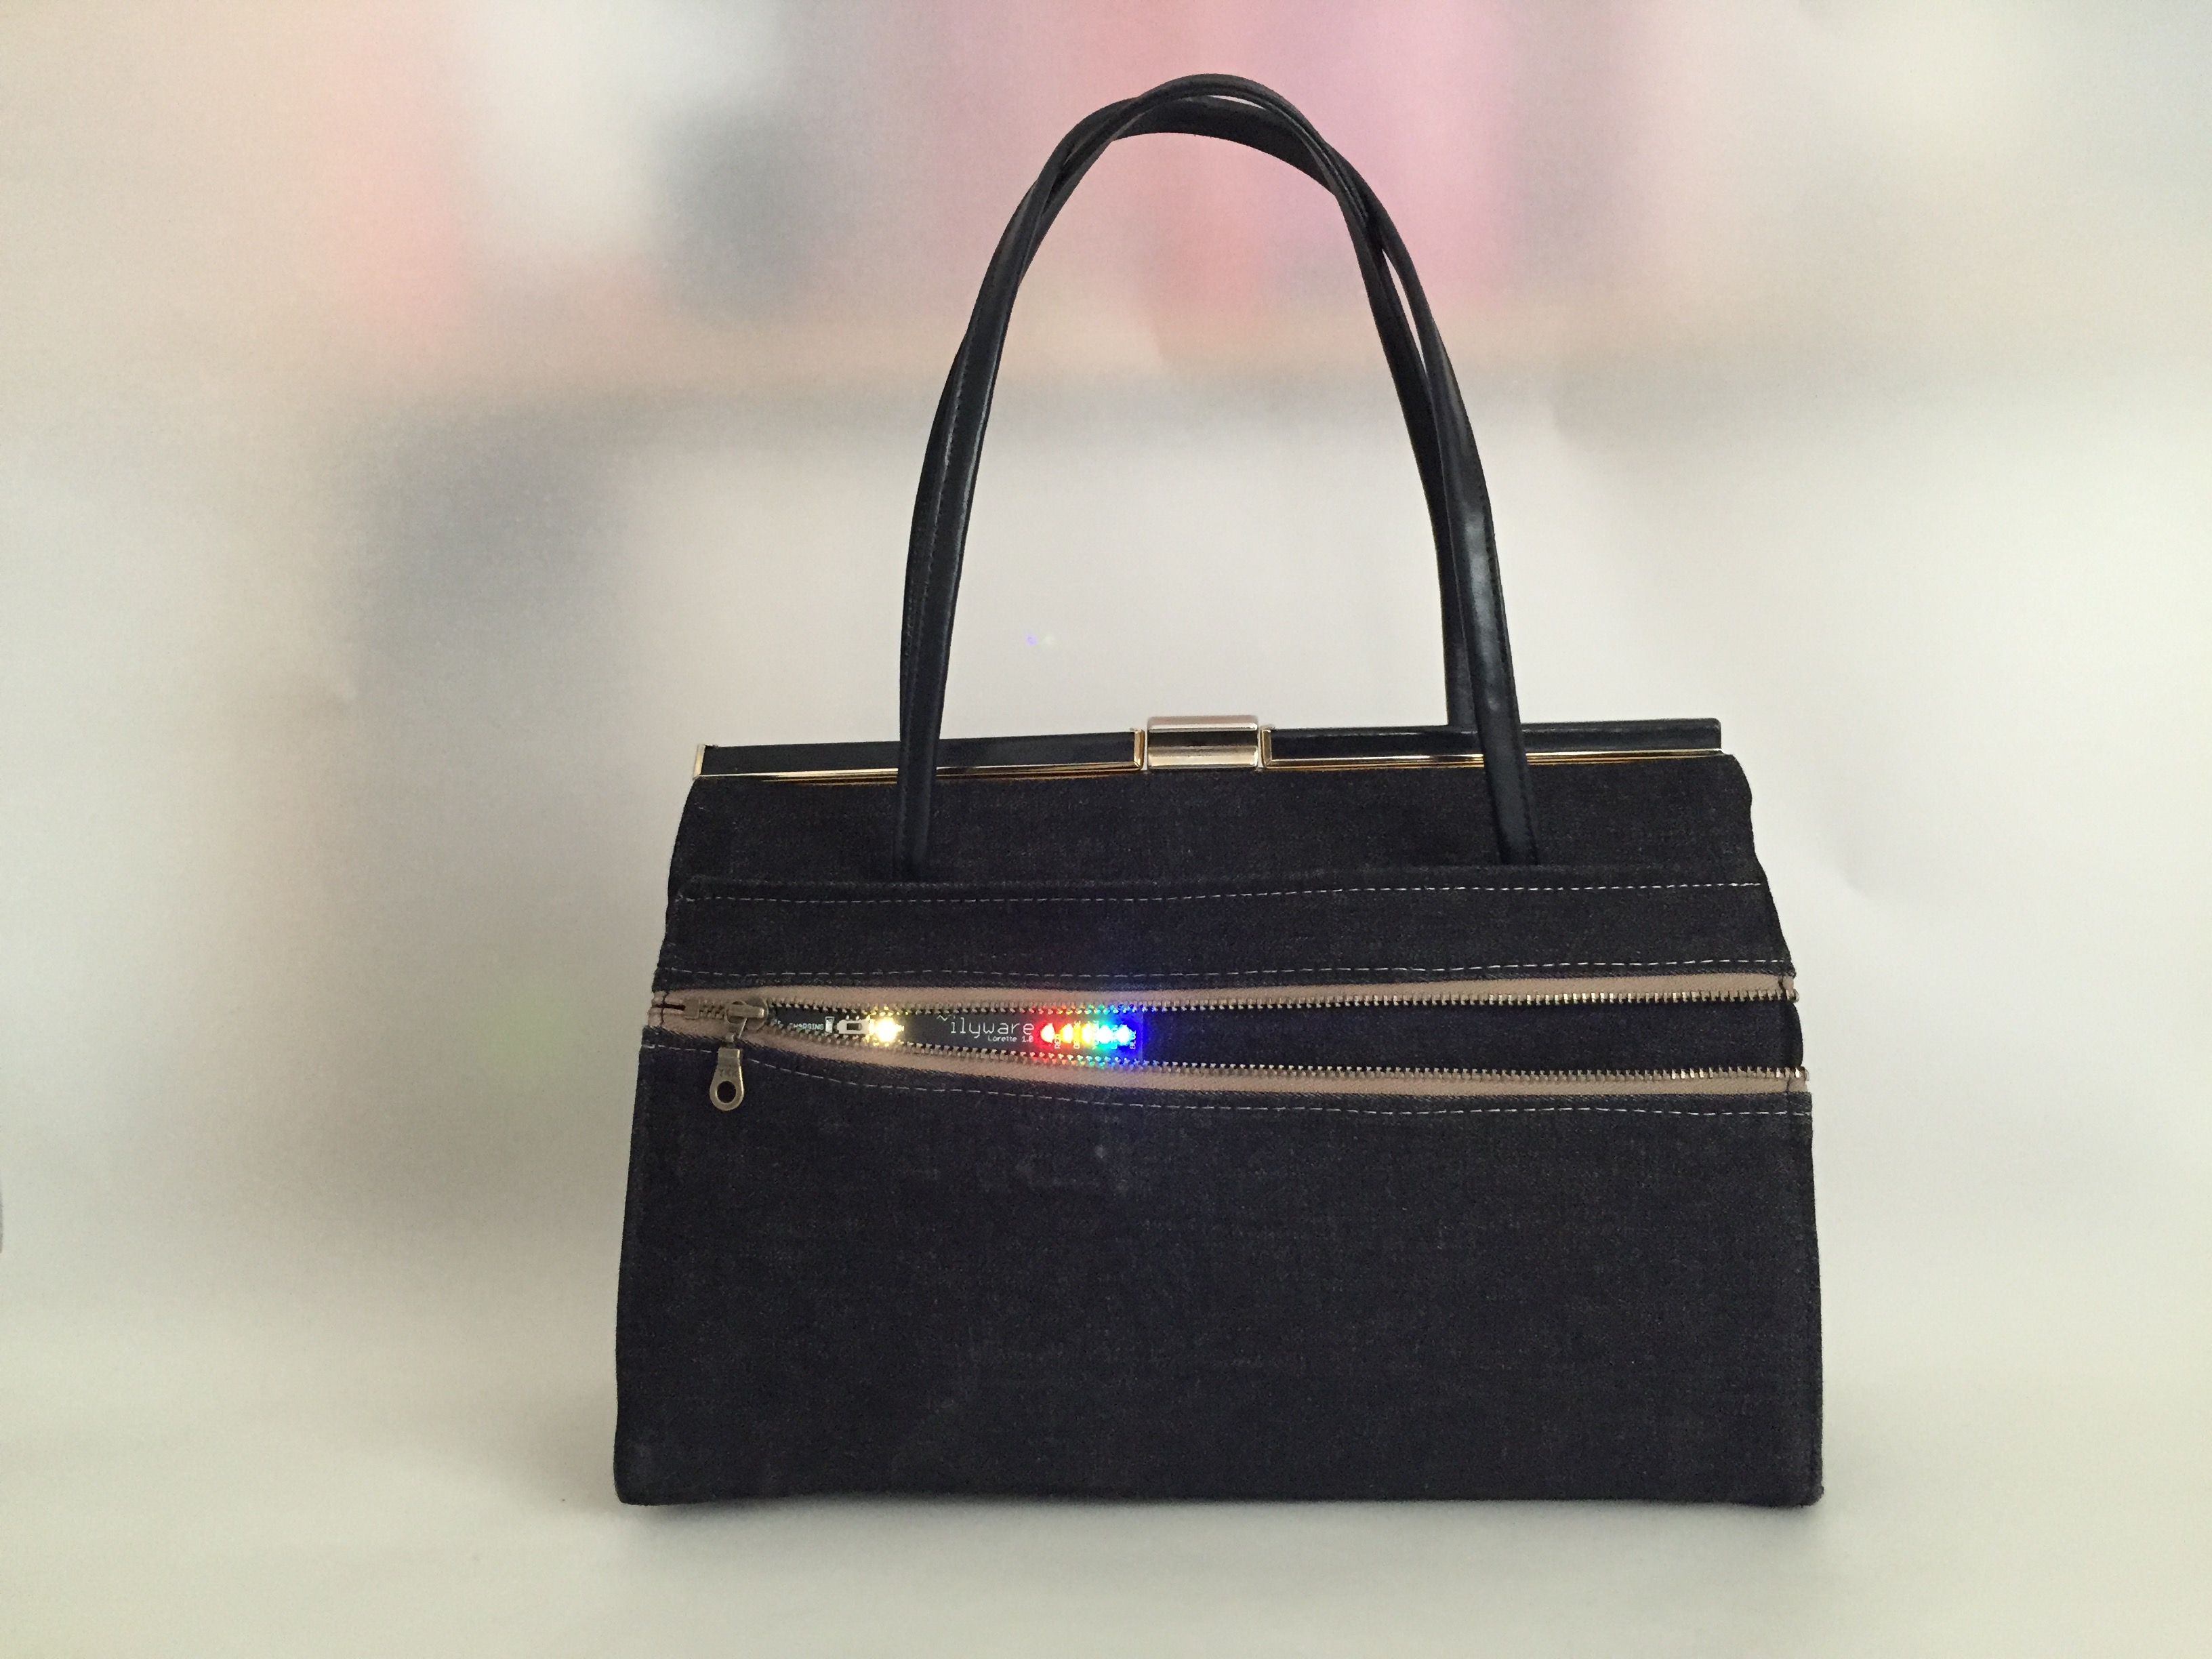
Final GlowStitch Bling design!
With it finished, in no time at all, here is the final view…


I’m really pleased with how this turned out. My phone looks very bling.
Other ideas
As I briefly mentioned, I also wanted to add this to my diary, here is the photo:

For ideas and inspiration look at the GlowStitch website. You can also follow Steph on Twitter: https://twitter.com/sjpiper145.
Also show your support for the project here: https://www.crowdsupply.com/makerqueenau/glowstitch-leds. (launching around December 2022)
Finding gems like this is still rare in the wearable tech world. There is still so much to explore and build upon for wearables, so if you’re a maker, supporting projects like this is a great way to show support for the field.
Keep making!