The context for this piece was to create something that would have engagement and appeal to someone who would use it. Ultimately I wanted to try to create a “machine” that could in some way provoke a reaction, an emotion or a need to use it again for that hit.
Edit: This was published a few years back. I’ve bumped the post forward.


The Inspiration
This lyric from The Verve seemed to capture the thought perfectly;
Imagine the future Woke up with a scream I was buying some feelings From a feeling machine” – The Verve
Looking at the way I experience the compelling nature of artworks I wanted to create that experience for others. The Secret Deposit Box was the final concept, where the users would provide the content that allows others an emotional response when they interact. In a way, it is completely about two people who are connected through sharing their secret. It is anonymous yet at the same time a very connected experience.
Secret Deposit Box from Christine on Vimeo.
The human connection is the primary goal, and reading through Interaction Design, the user-centered approach is key; finding a way for engagement, appeal and touch. I decided to focus on secrets after seeing a few different sources including a compelling series of photographs by Simon Jessop that was in The Guardian every Saturday for a period of eighteen months.

‘Secrets’ Simon Jessop
1 Simon Jessop is a photographer who was commissioned to take photographs of strangers holding a blackboard with their handwritten secret on it, in front of their face to avoid detection. It proved to be a very popular and engaging series that can be seen on his site.
The art world has a way of making us think and feel in response to experiencing an artwork. This is what I want to achieve, so I spent time remembering artworks that had a profound effect on me in some way, or that I made an emotional connection.
Initial artworks that sprang to mind were Ivor Blue by James Turrell (created by hues of blue that were inside a wall), Ron Mueck’s Angel and Nantes Triptych by Bill Viola.
The photographs do not do these works of art justice, and I was mesmerised when I saw them in person.

“Angel” (Photo credit: metropilot)
The videos which seem to be floating, More information about this piece can be found http://www.tate.org.uk/servlet/ViewWork?workid=20961&tabview=text
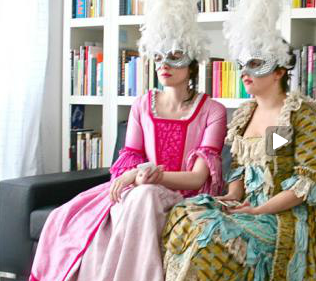
In addition to Jessops photos, Gillian Wearing created works dealing with confessions. The people confessing were disguised wearing comic masks in addition to a series of videos called “Secrets and Lies”.

Secrets and Lies – Gillian Wearing
In 2009, Wearing’s “Secrets and Lies” still image from the video. Another video piece was of people who had responded to an advertisement that was placed in Time Out Magazine asking for people to ‘Confess all on video’. Many replied and confessed to a variety of things they felt they had done wrong or a particular vice they had.
Heath, C., Lehn, D., & Osborne, J. (n.d.). Interaction and Interactives: collaboration and participation with computer-based exhibits. Science, 1-23.
The idea of sharing a secret seems alluring to many people. Both the sharing and then reading another’s secret are compelling to us. This online project which is also an app Post Secret http://www.postsecret.com/ lets people send in their secret on a postcard.
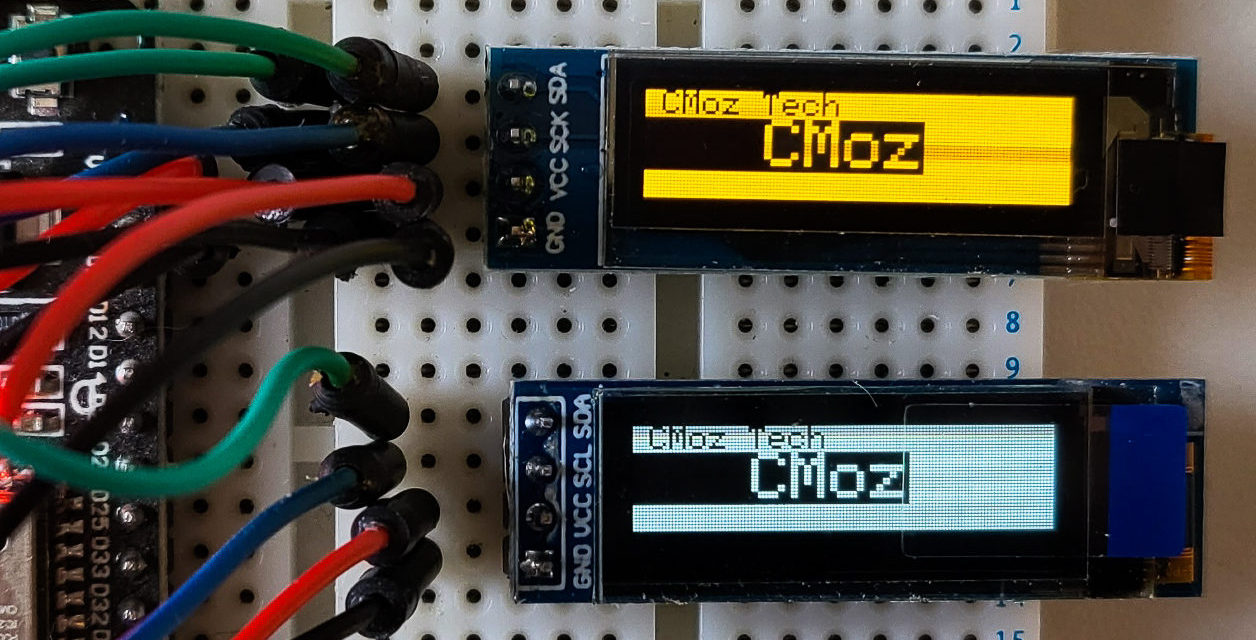
The OLED monochrome (white) display from Adafruit with tutorial files to get the unit connected and tested are at http://ladyada.net/products/oled12864/
Design Description
There are 3 steps the user will take.
Step 1 is to write their secret
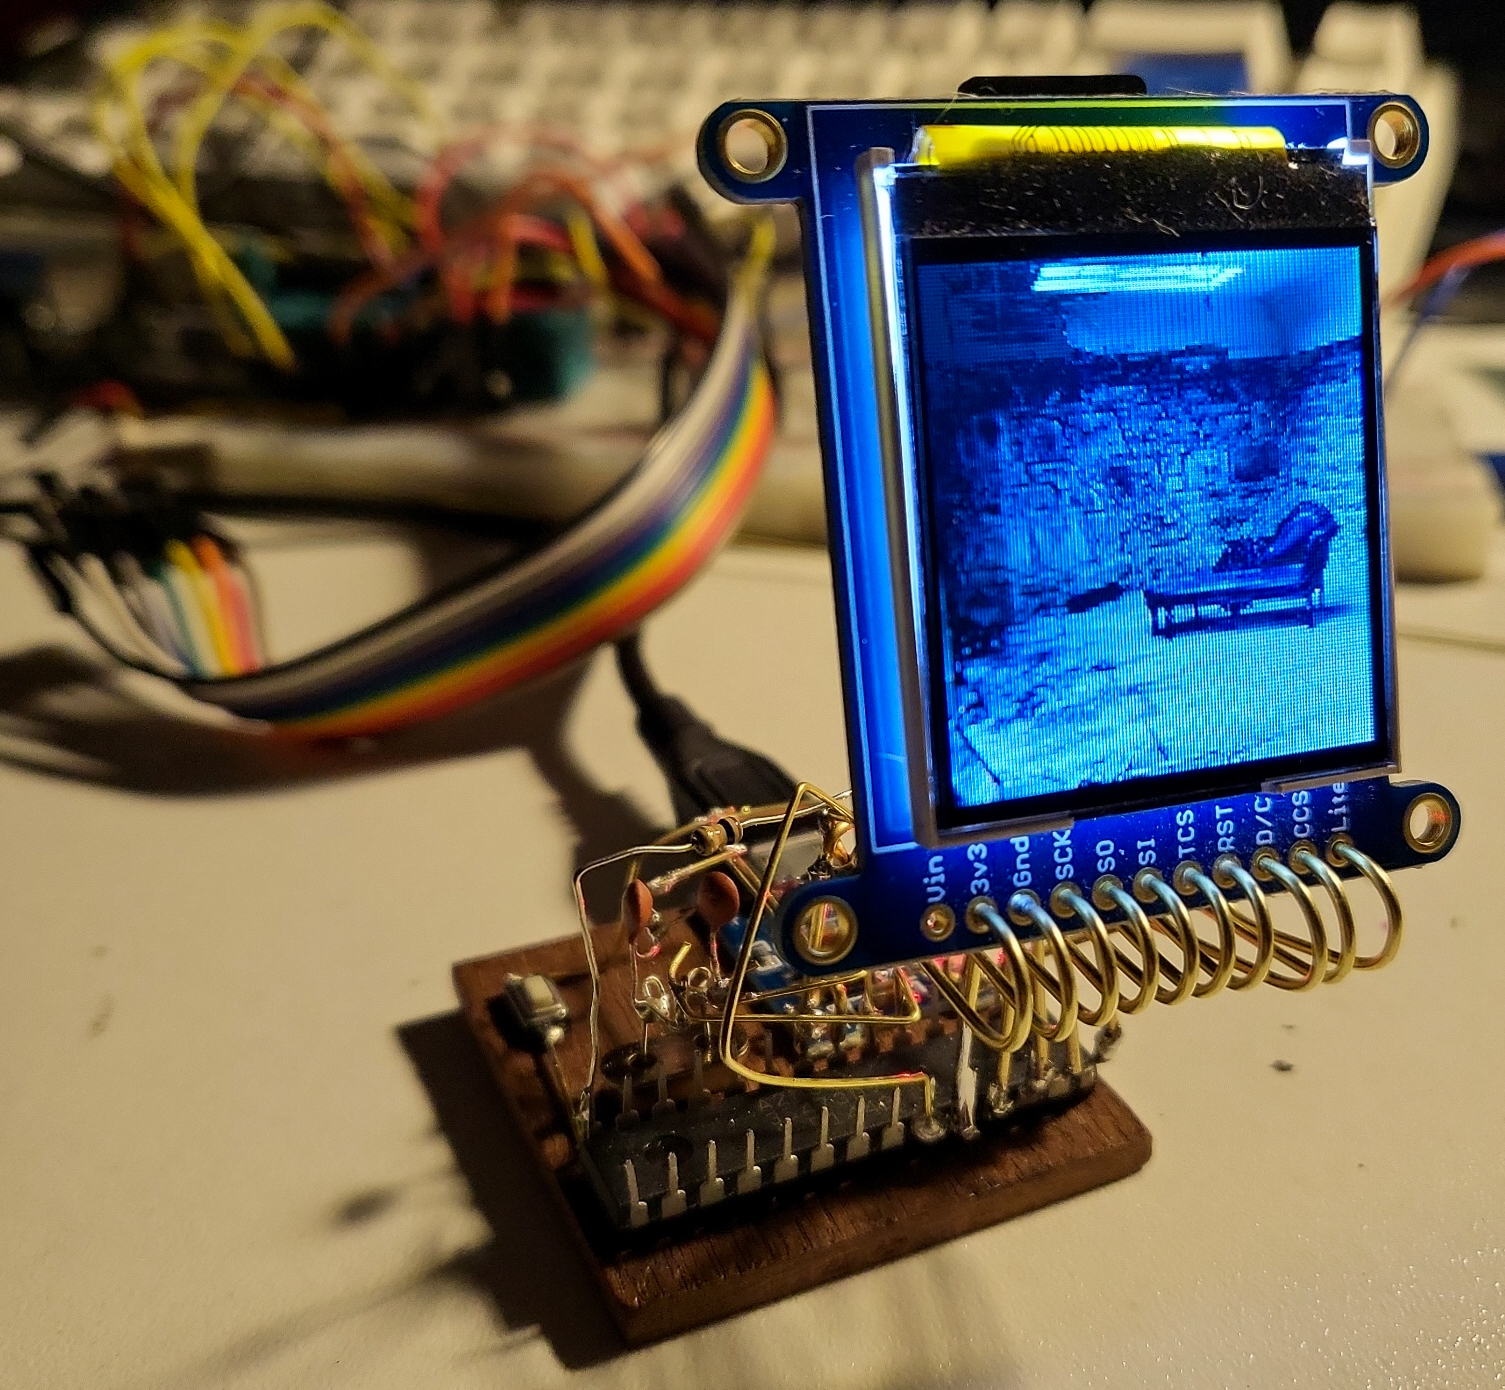
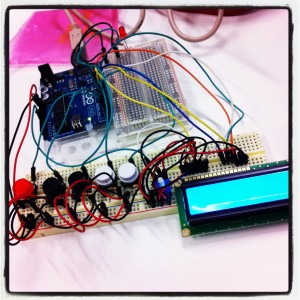
Early prototypes had an Arduino controller with an OLED display which will be initially visible to the participant, but the buttons will remain under a discreet panel so they are out of the way but as I found myself explaining the project and how the machine worked I would often omit that aspect. This led to me not including it in the final piece and keeping this initial process very straightforward.
Step 2 involves them scanning this secret they have written.
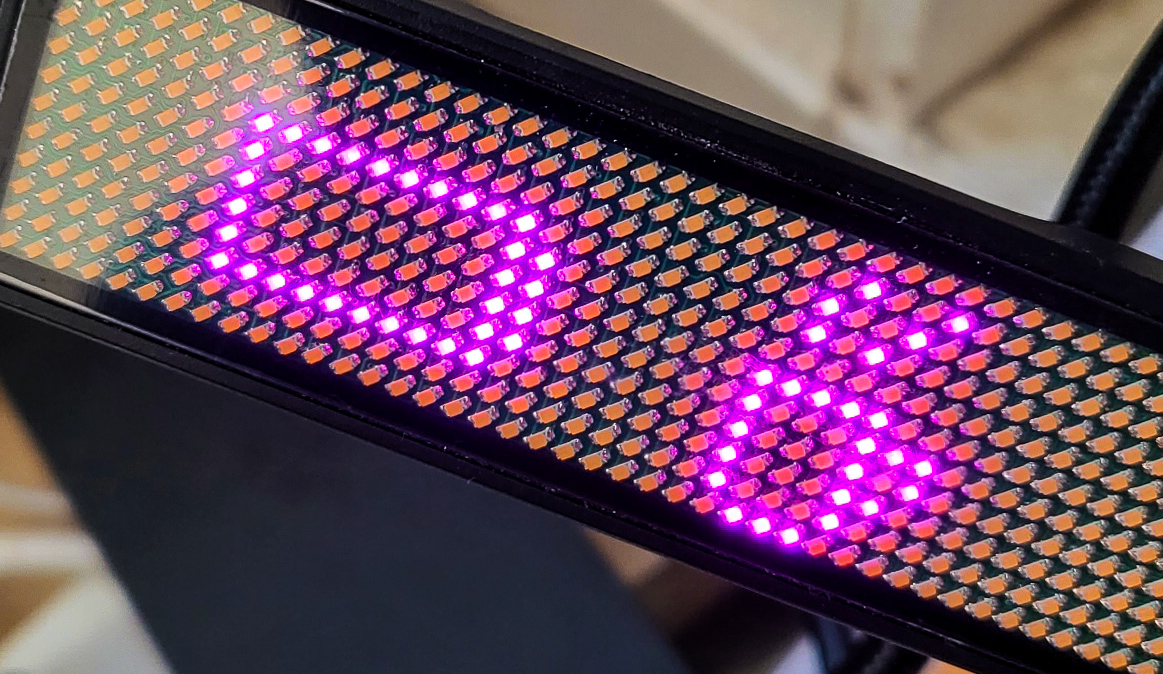
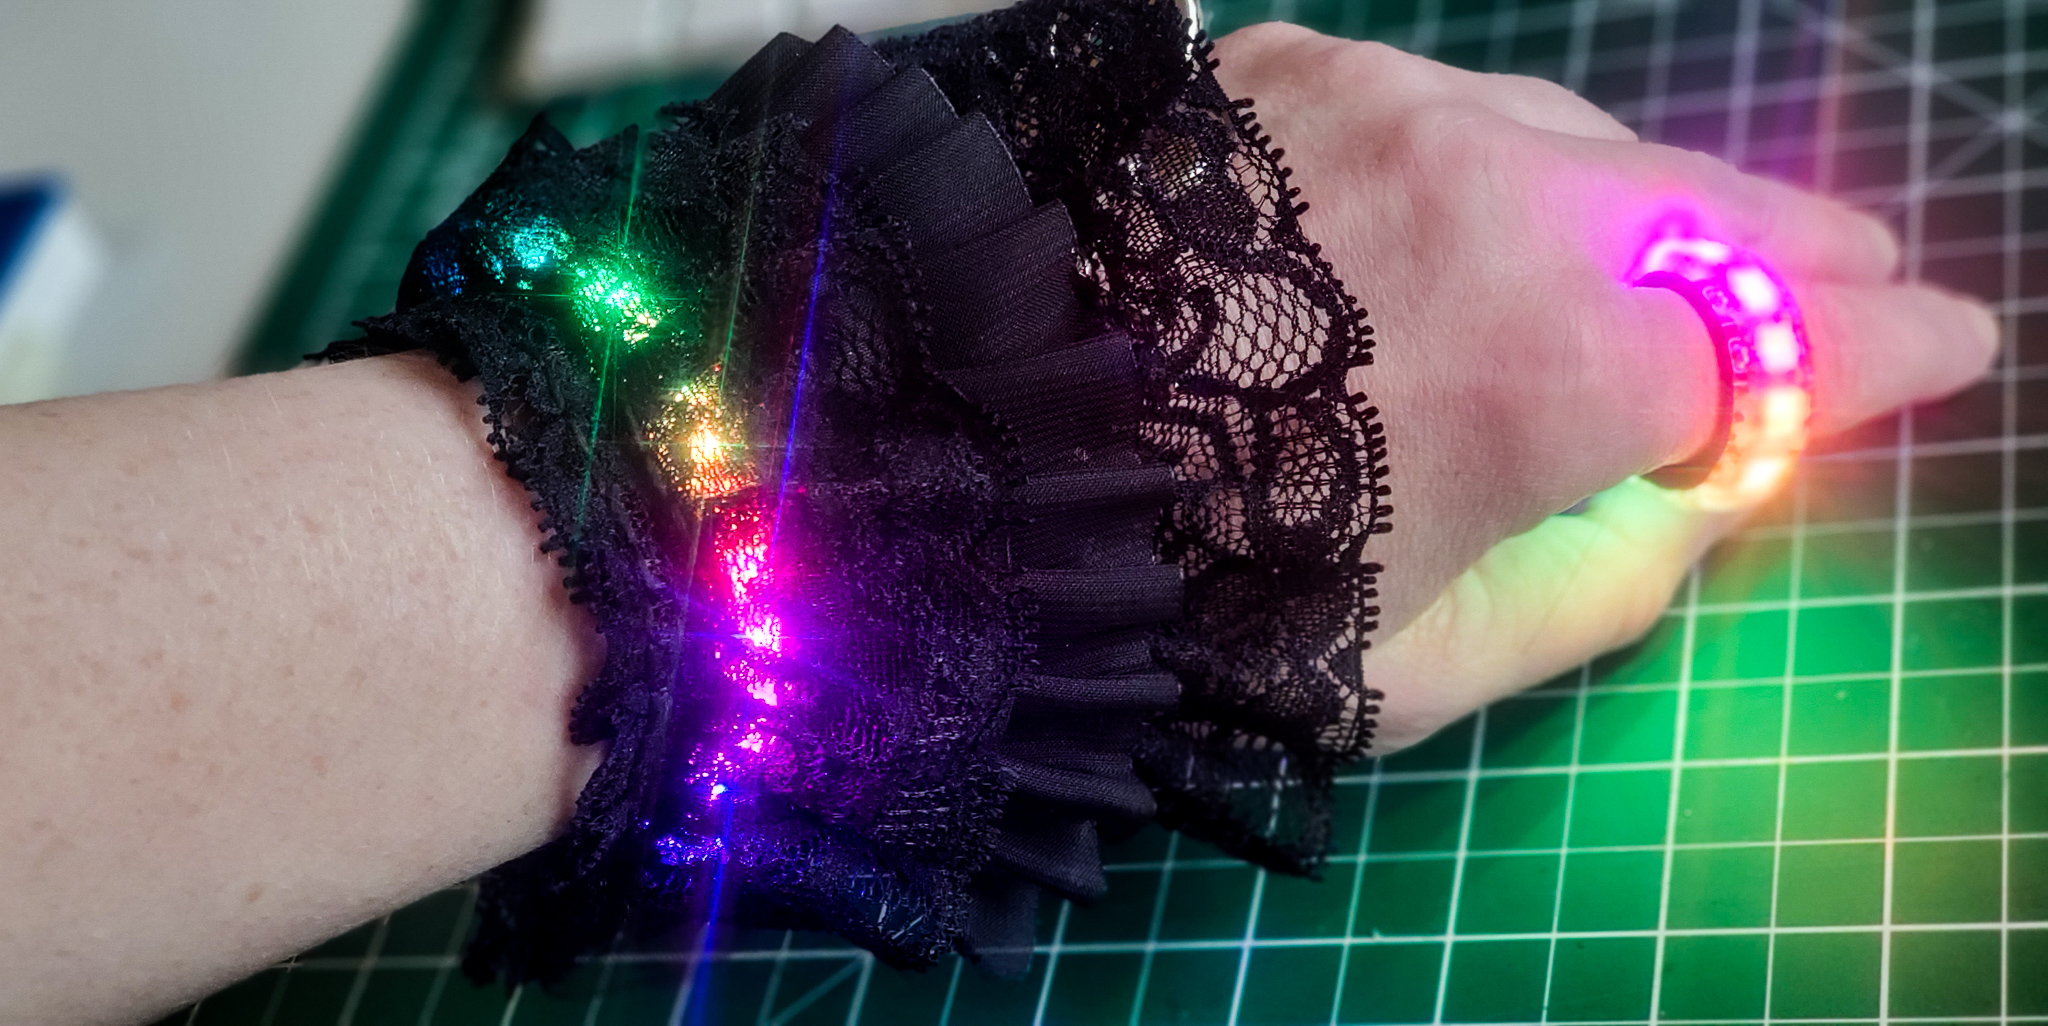
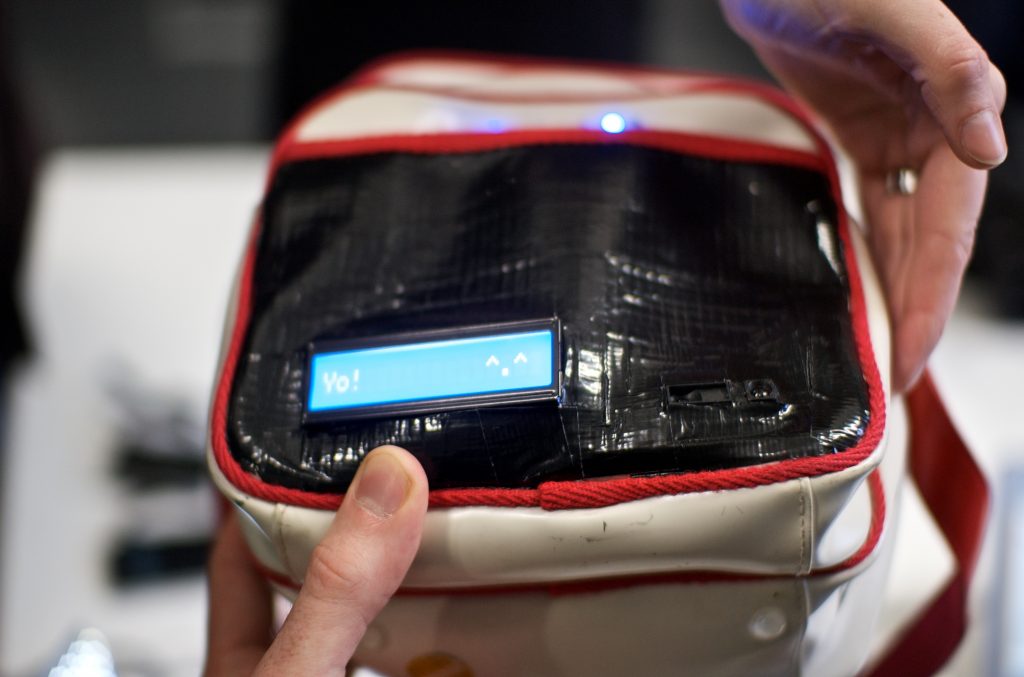
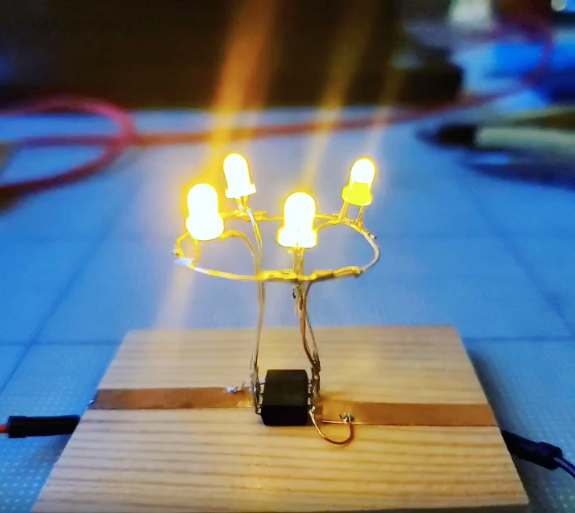
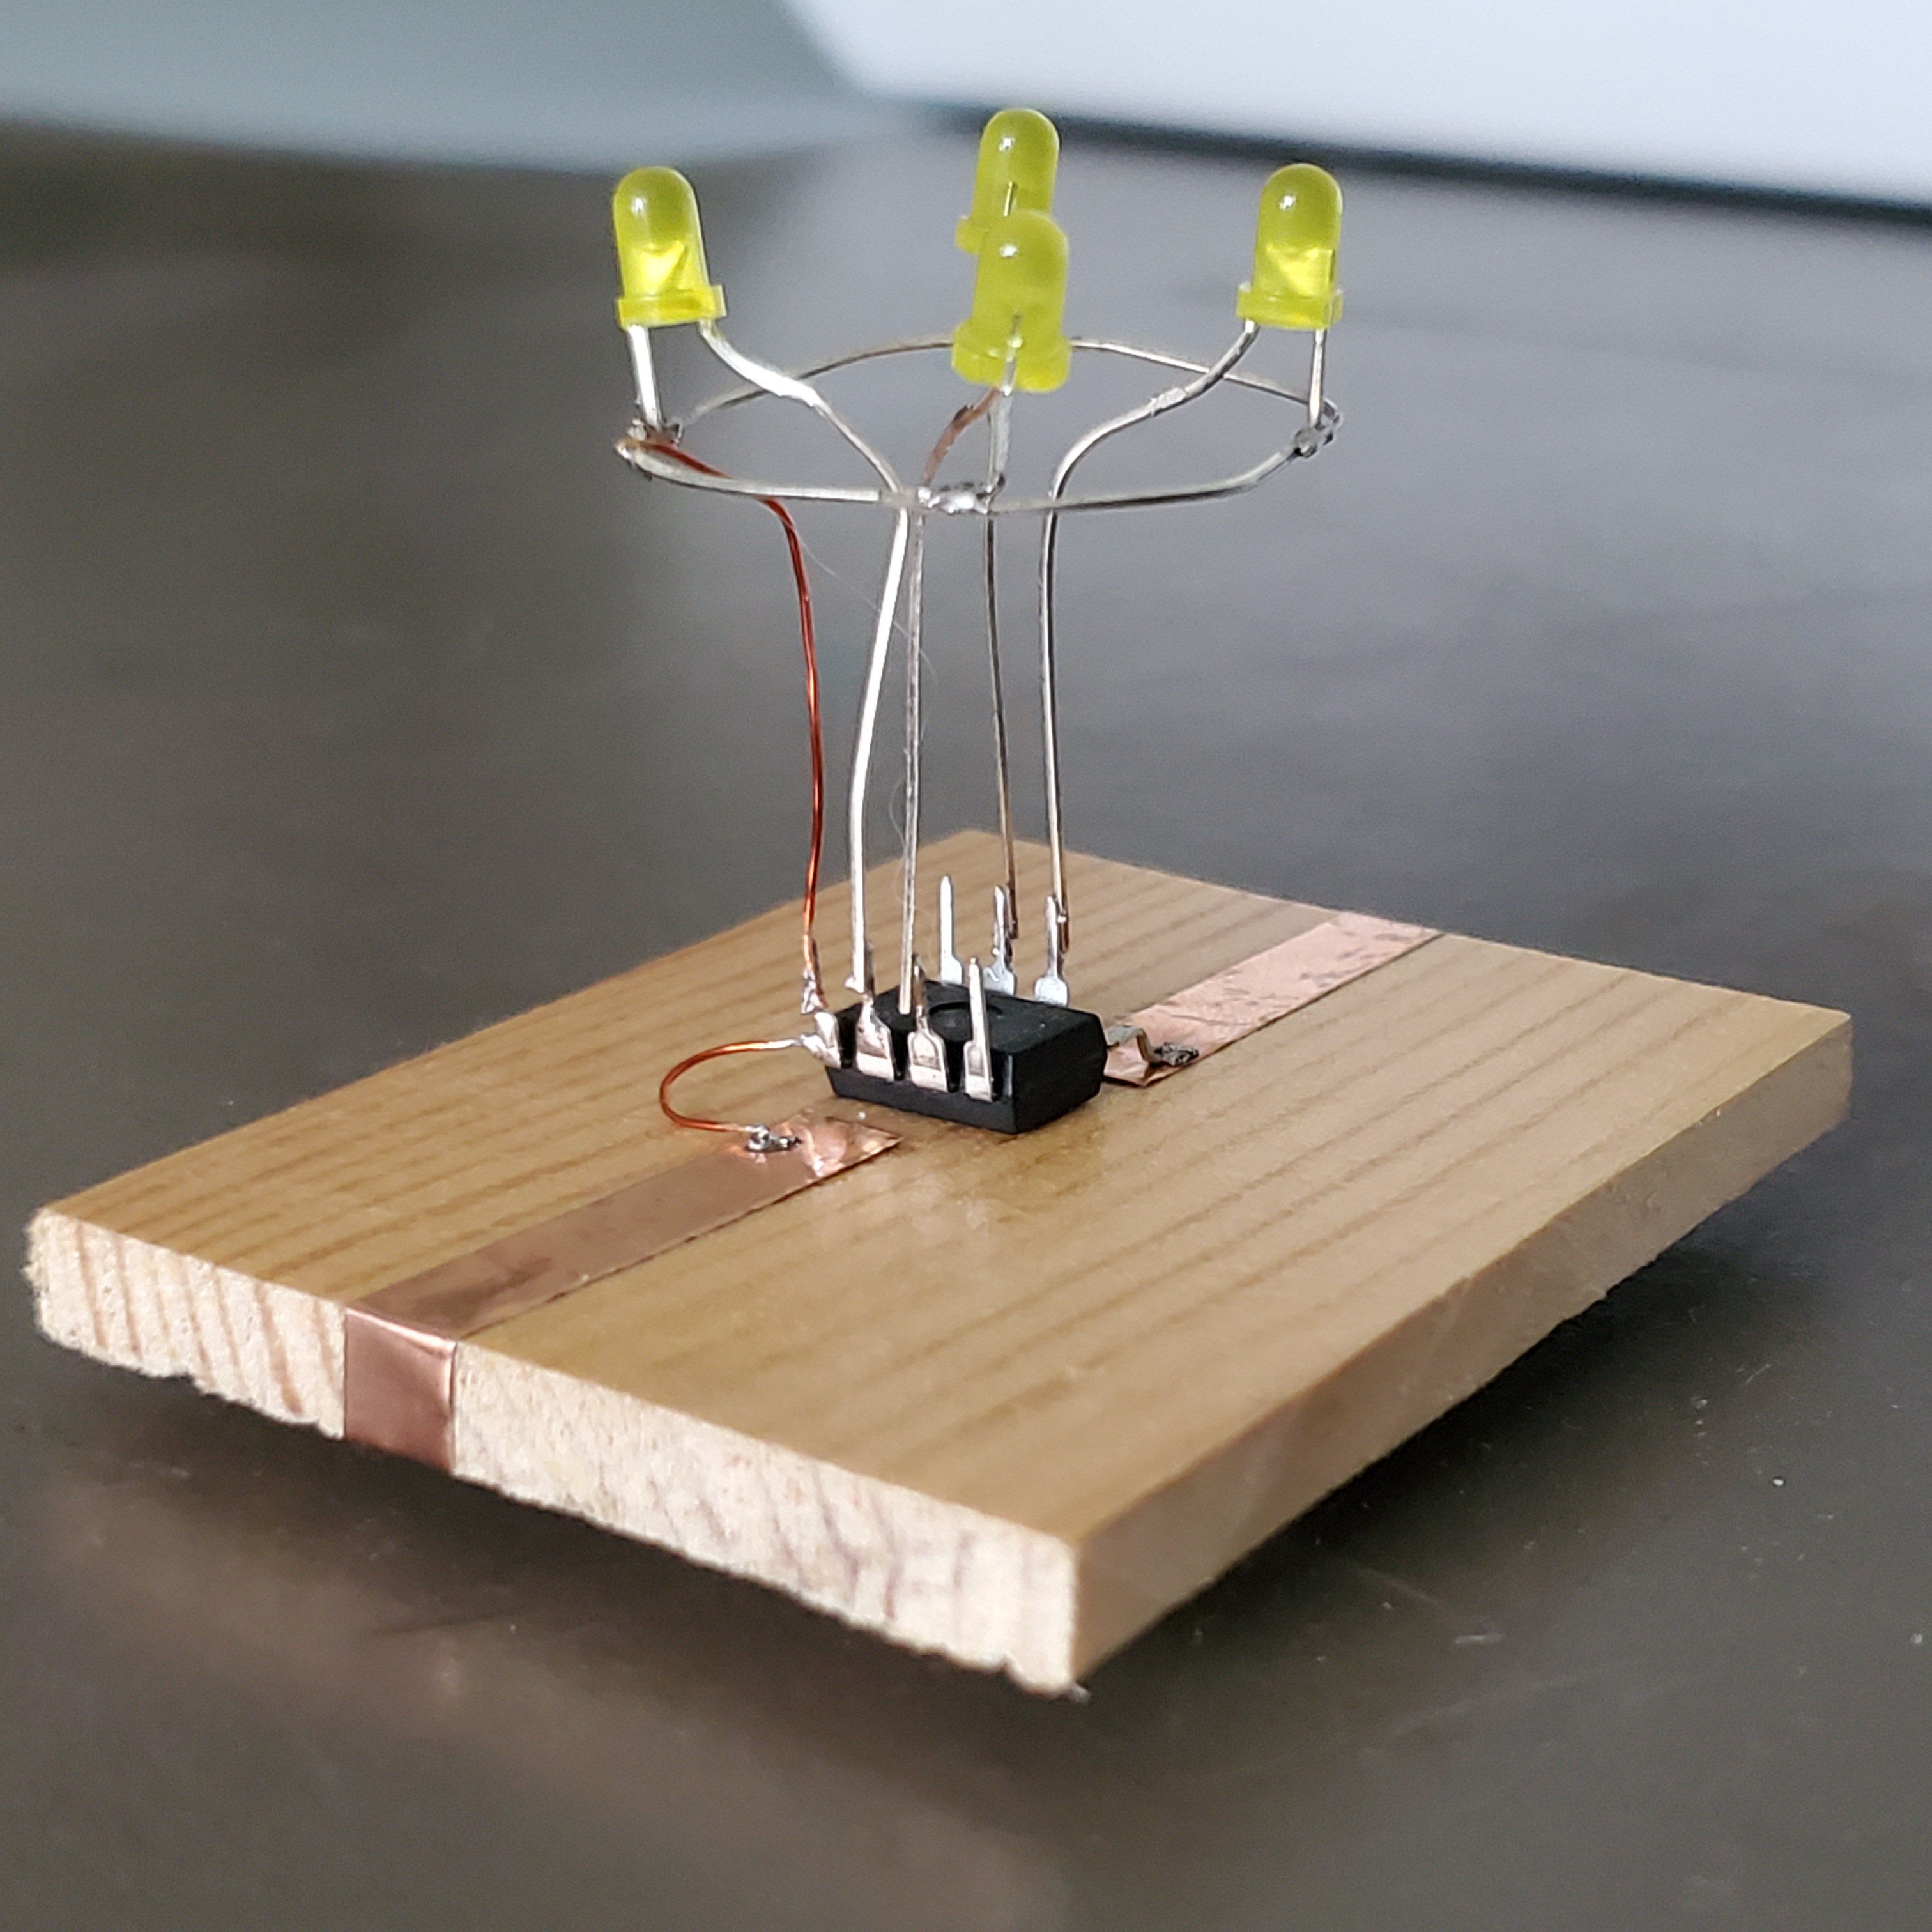
This will also trigger some LEDs that are super bright so they know there has been a photo taken. A sound will also be activated. Looking at web cam tools as a means of capturing a bitmap version of their scanned secrets.
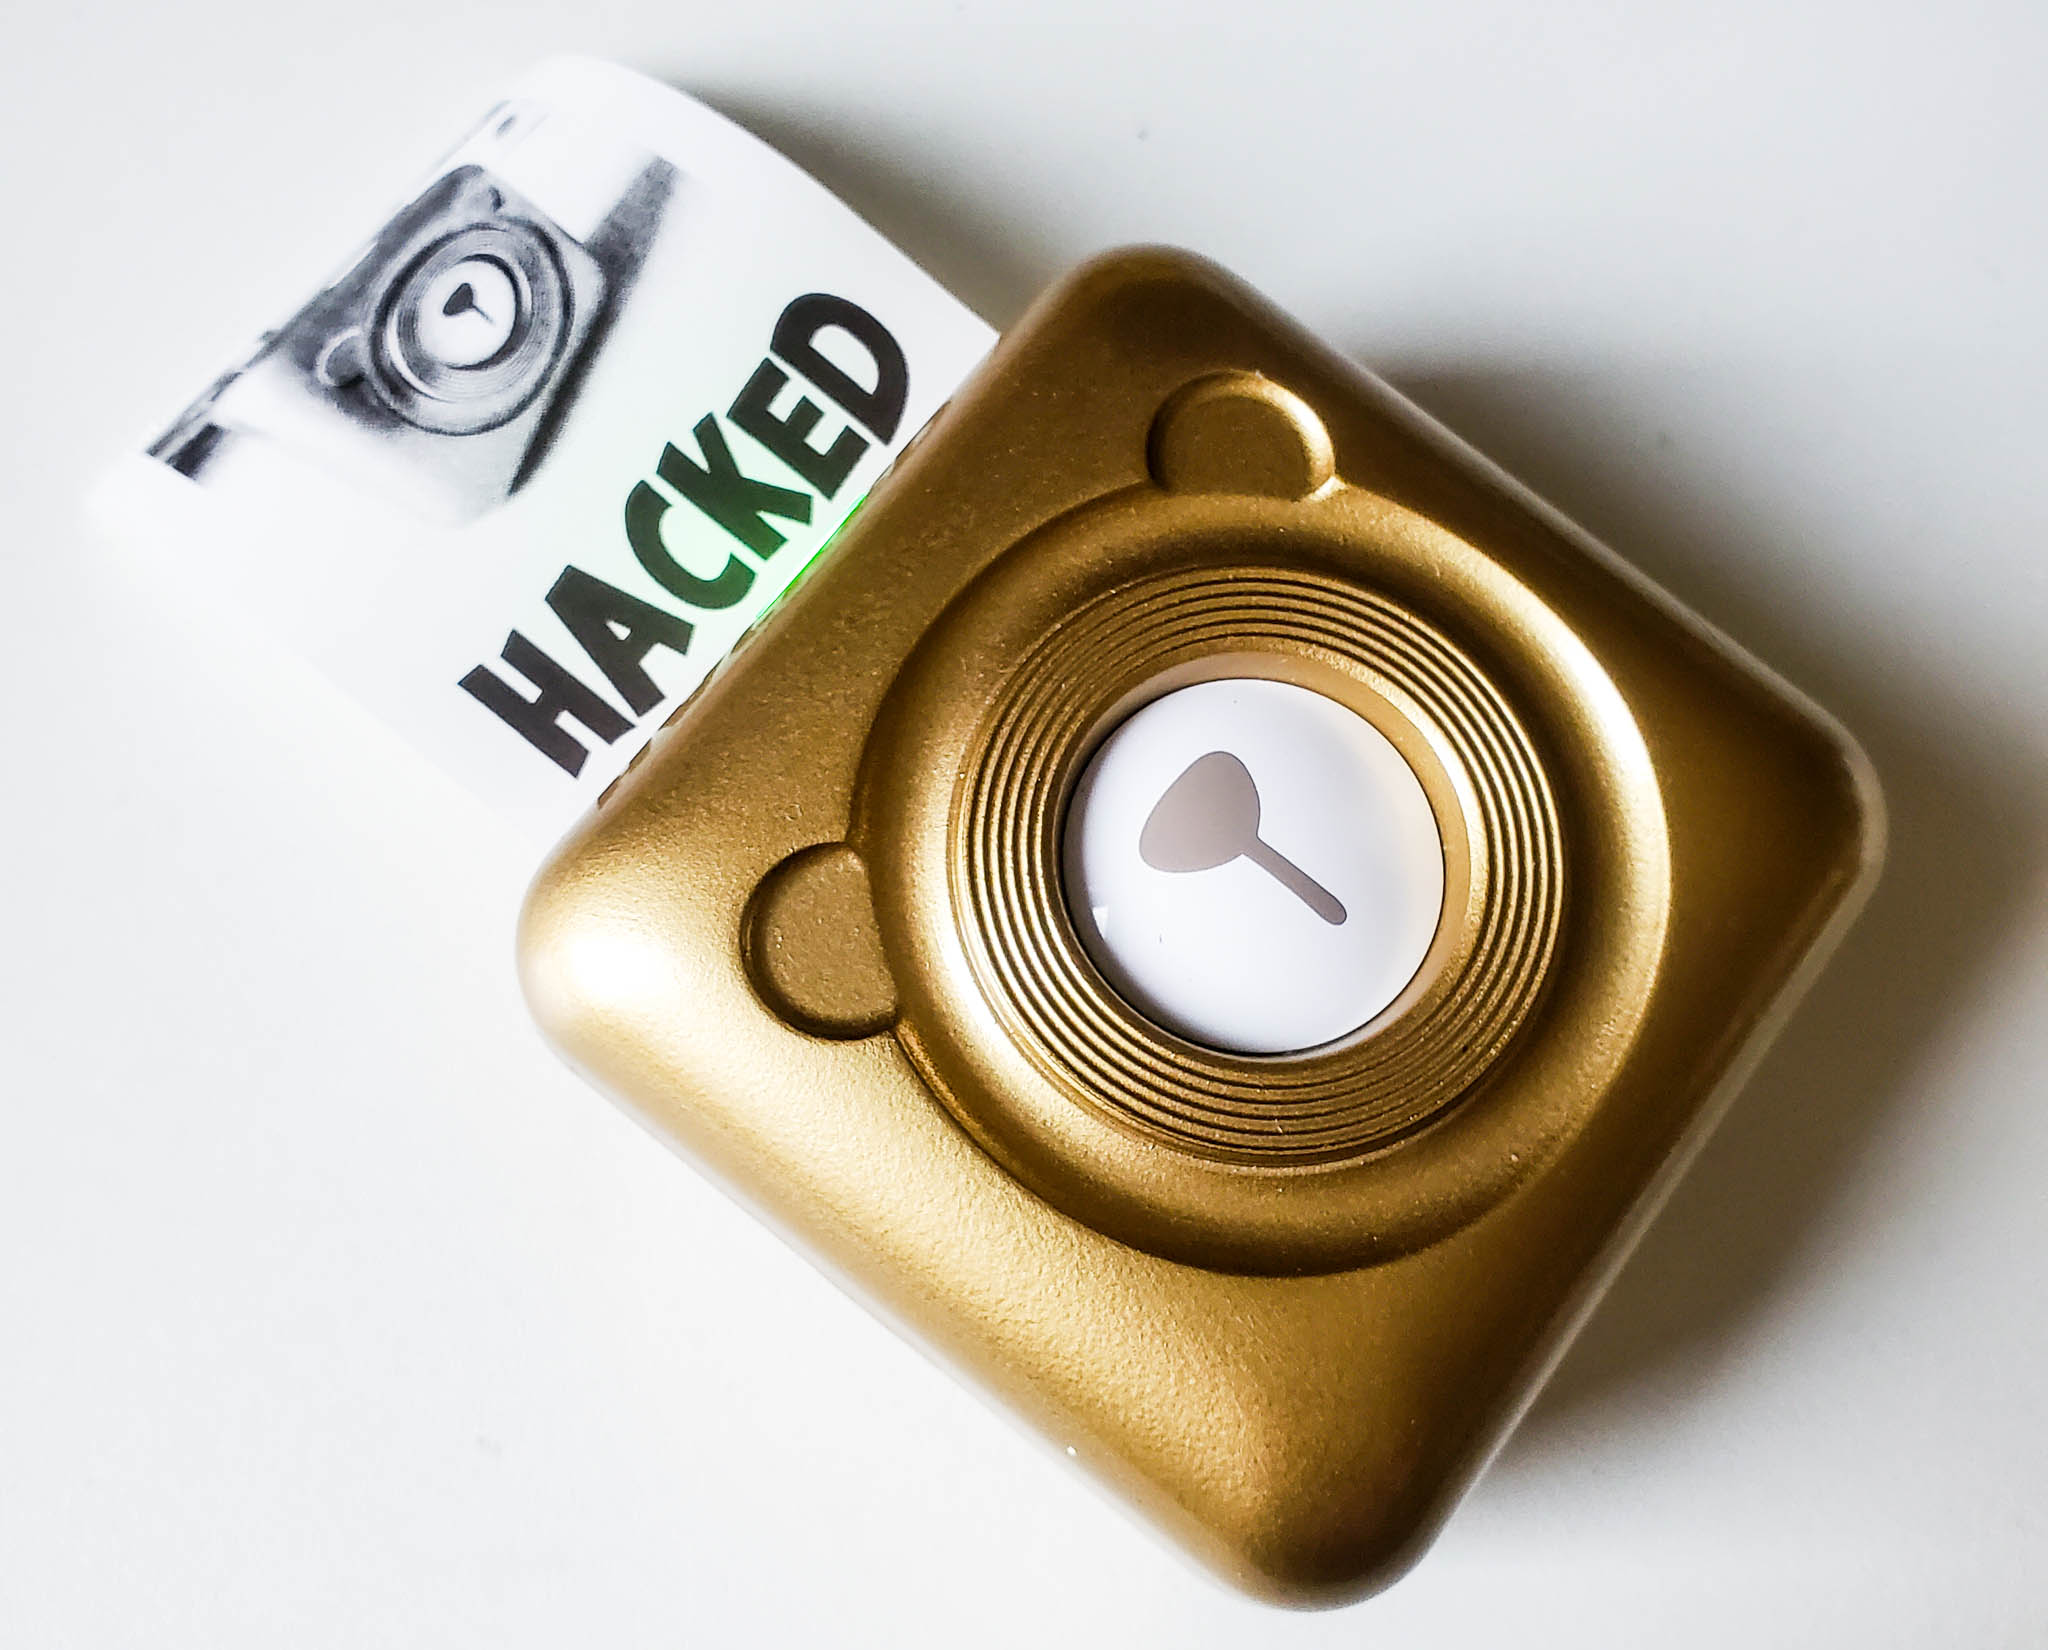
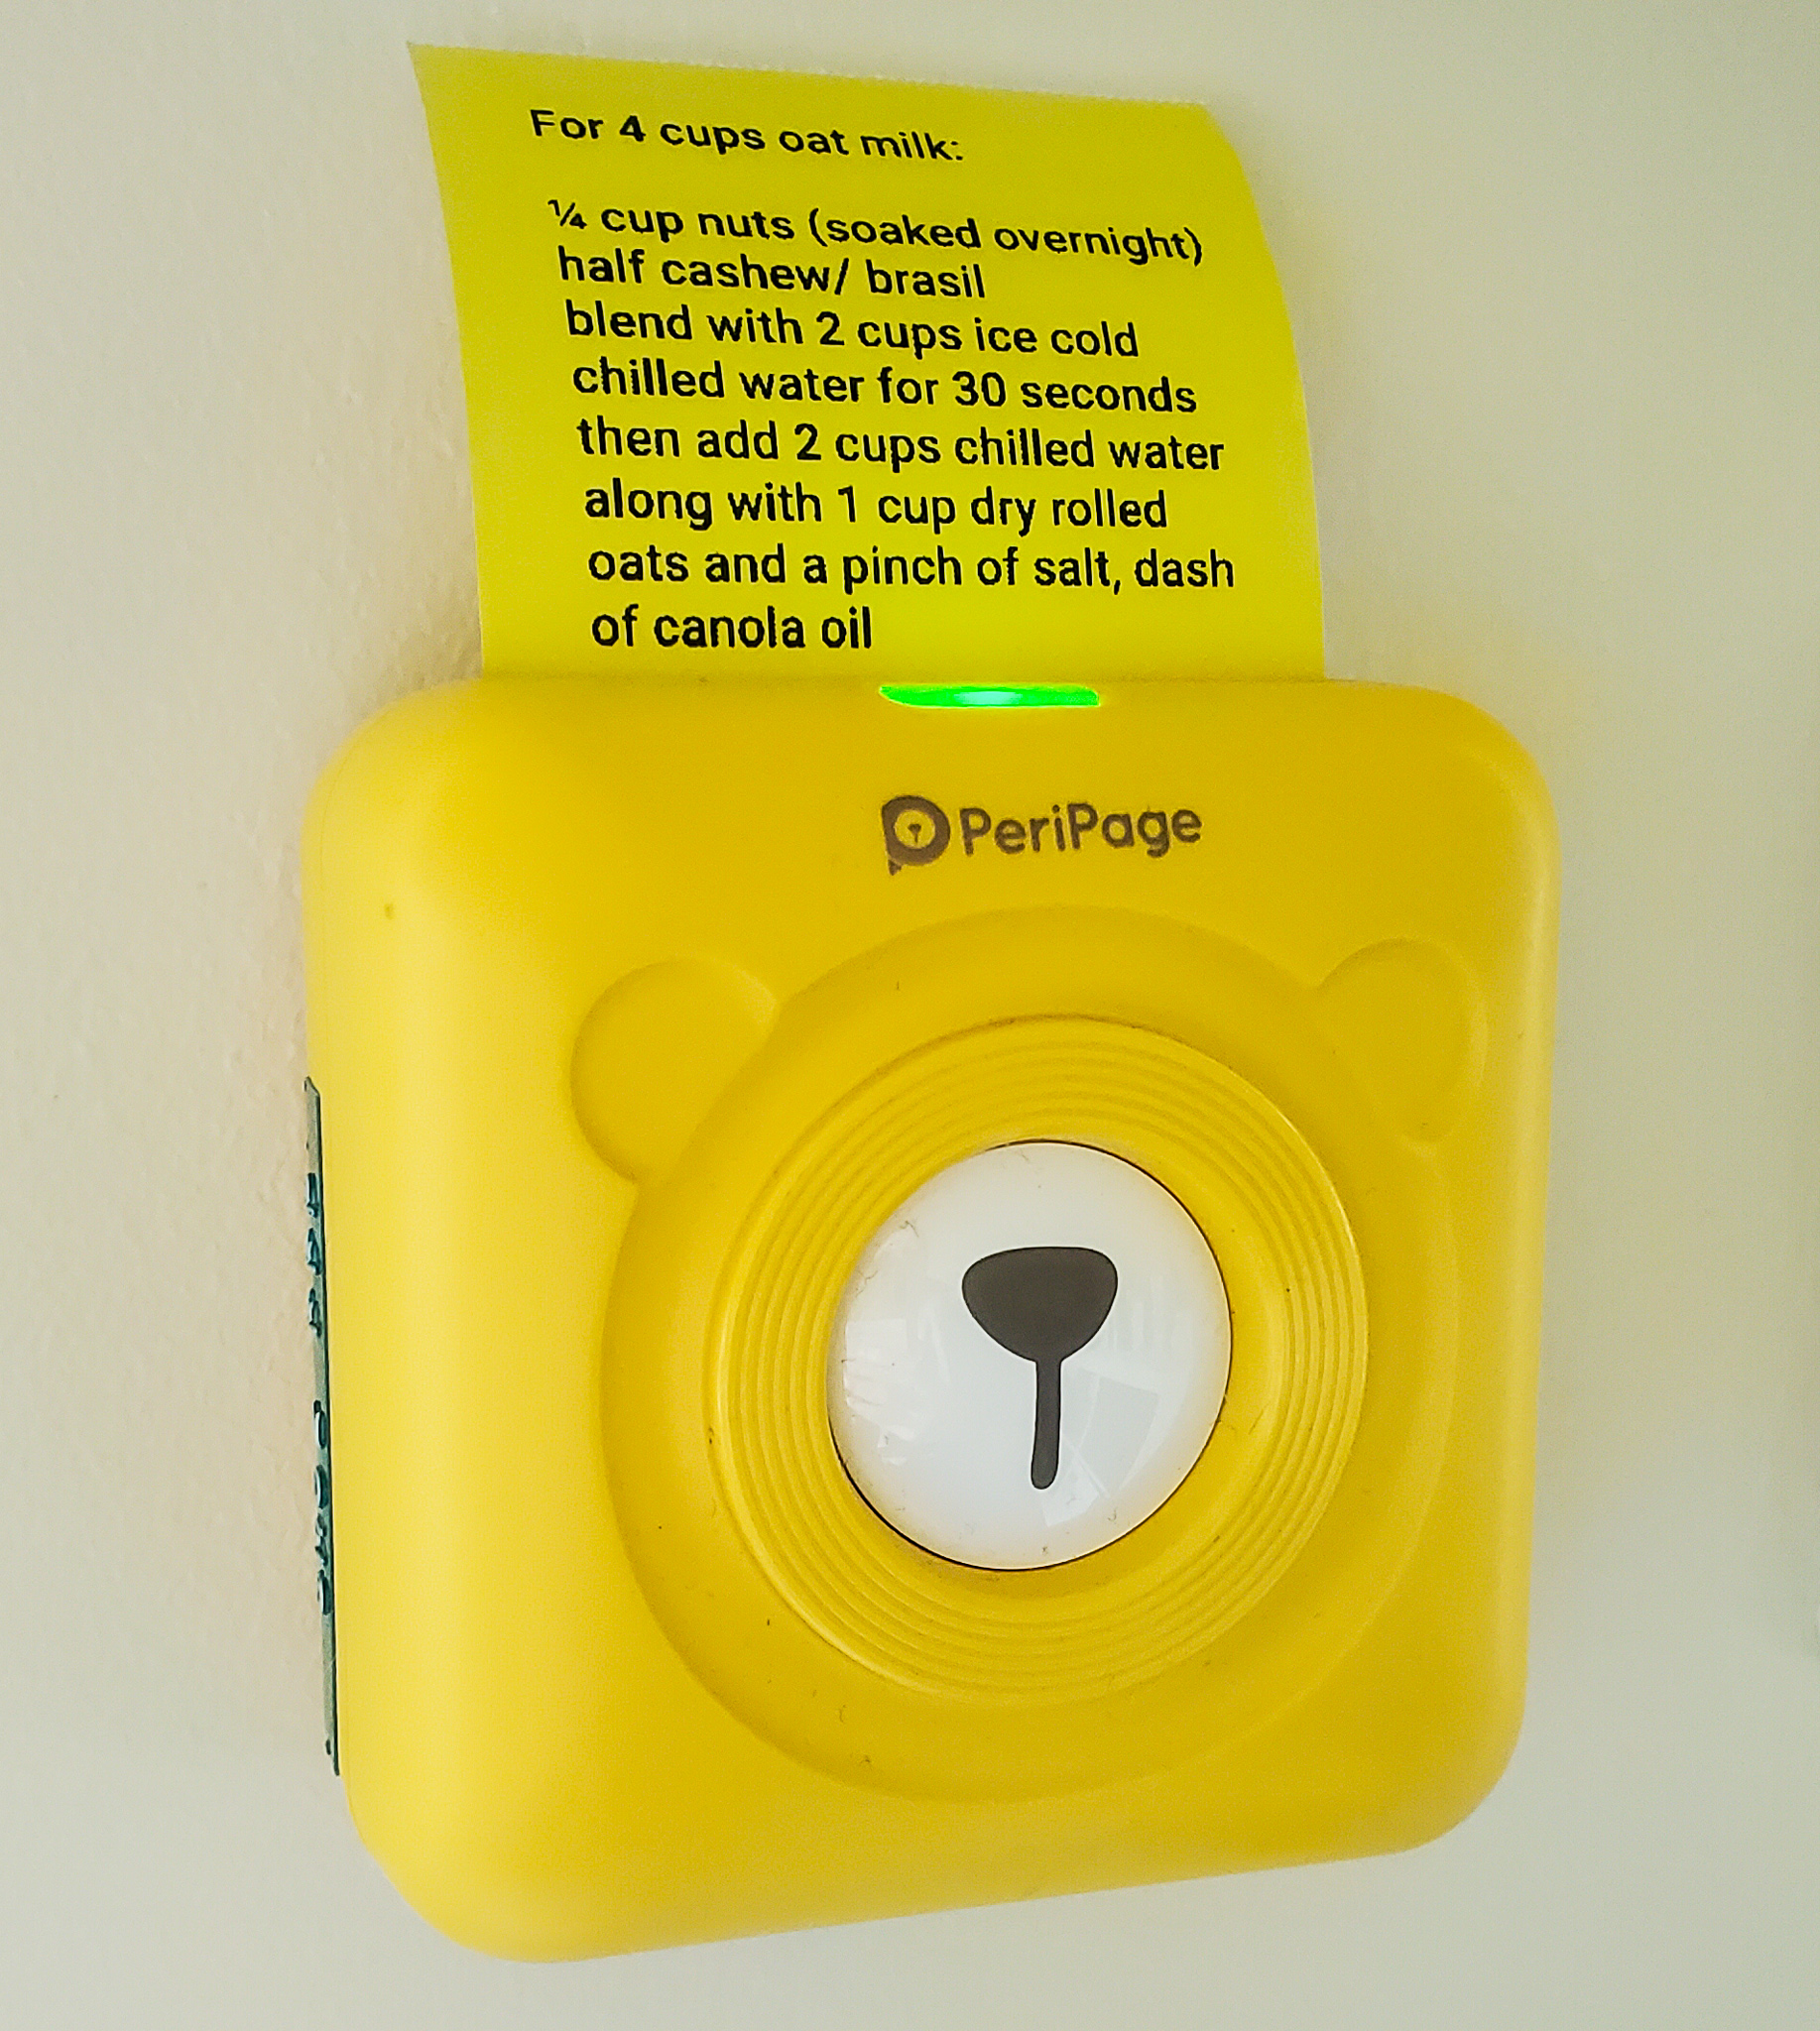
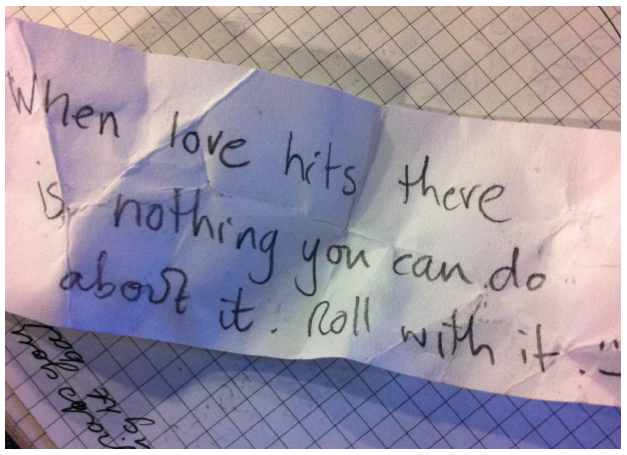
Step 3 They then scrunch up the paper and deposit it into the Secret Deposit Box. There is also a secret printed out for them, which they tear off.
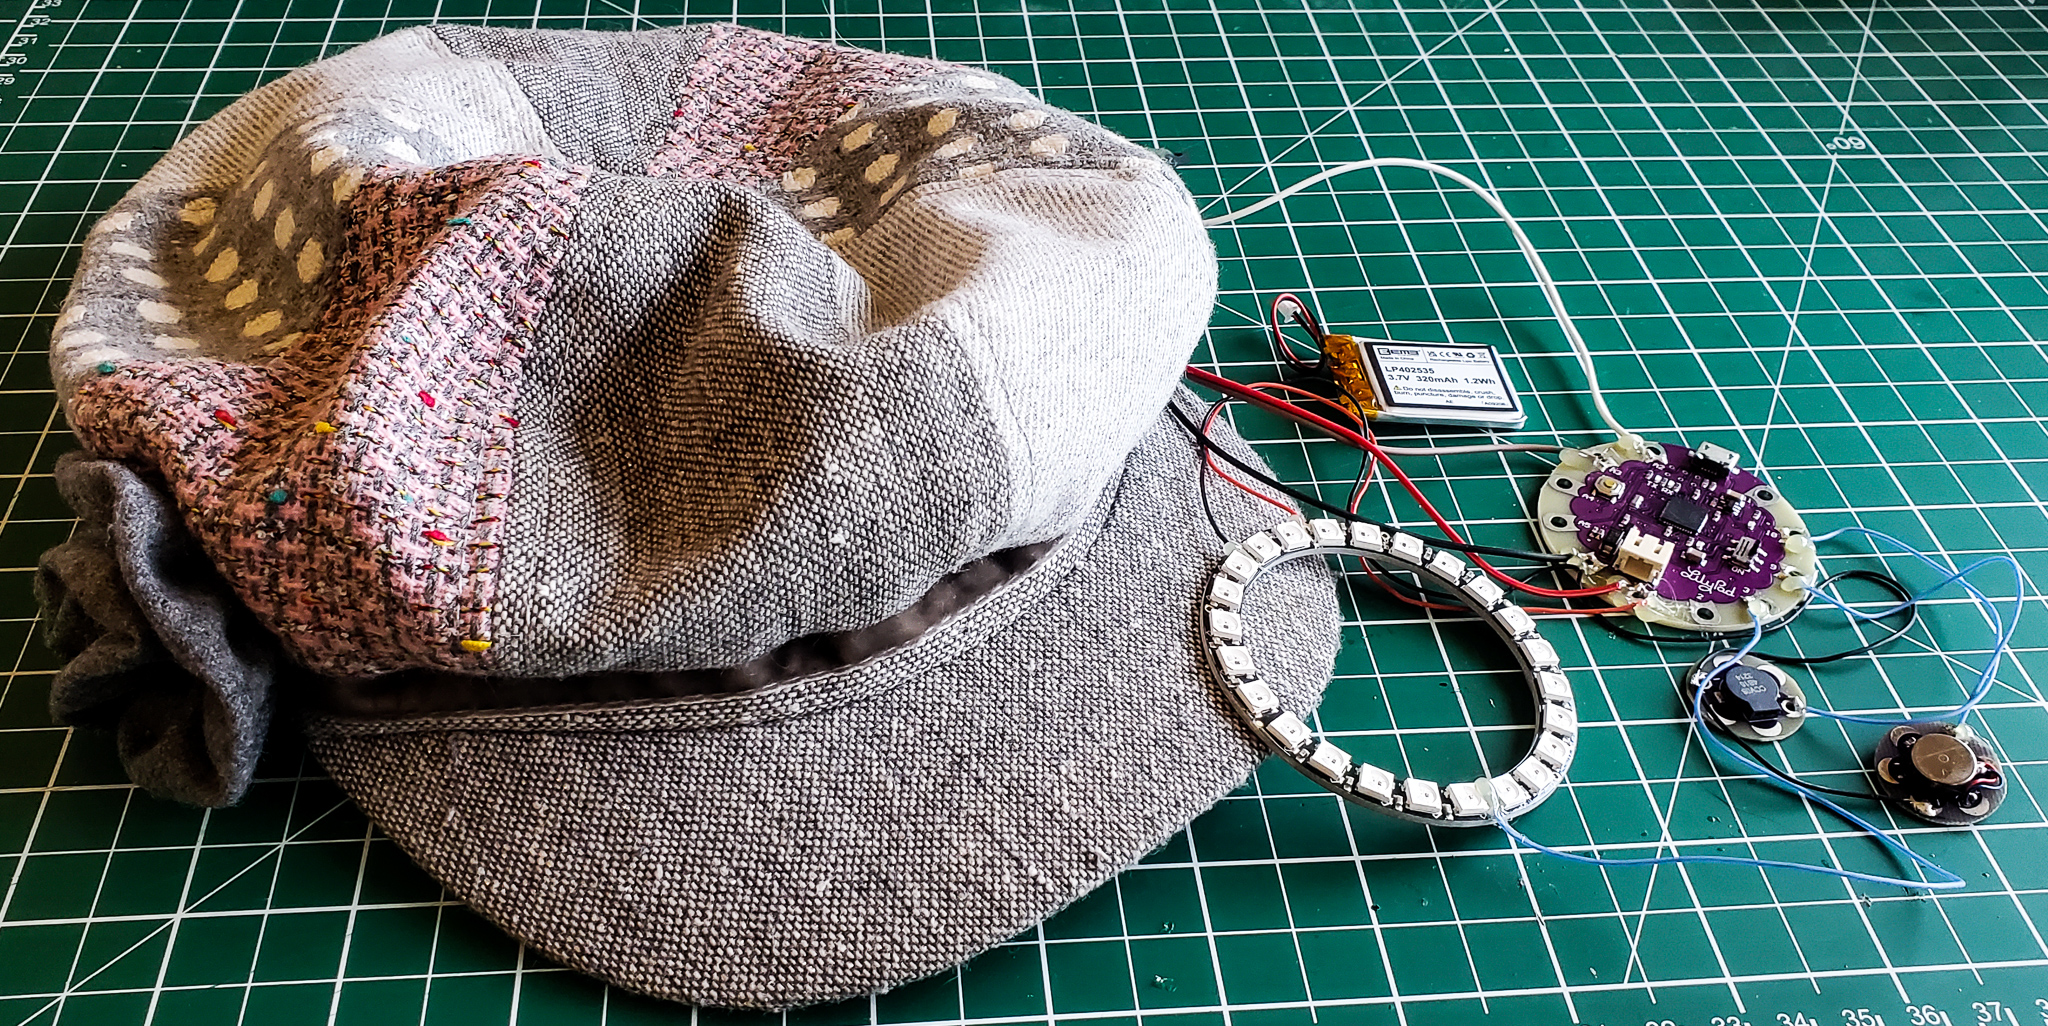
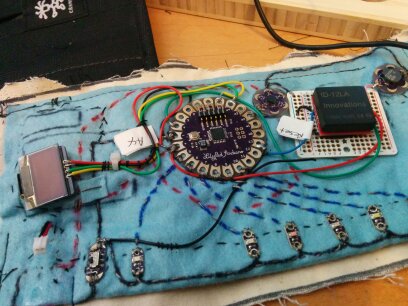
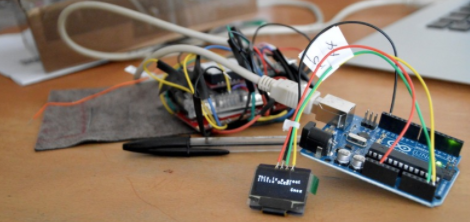
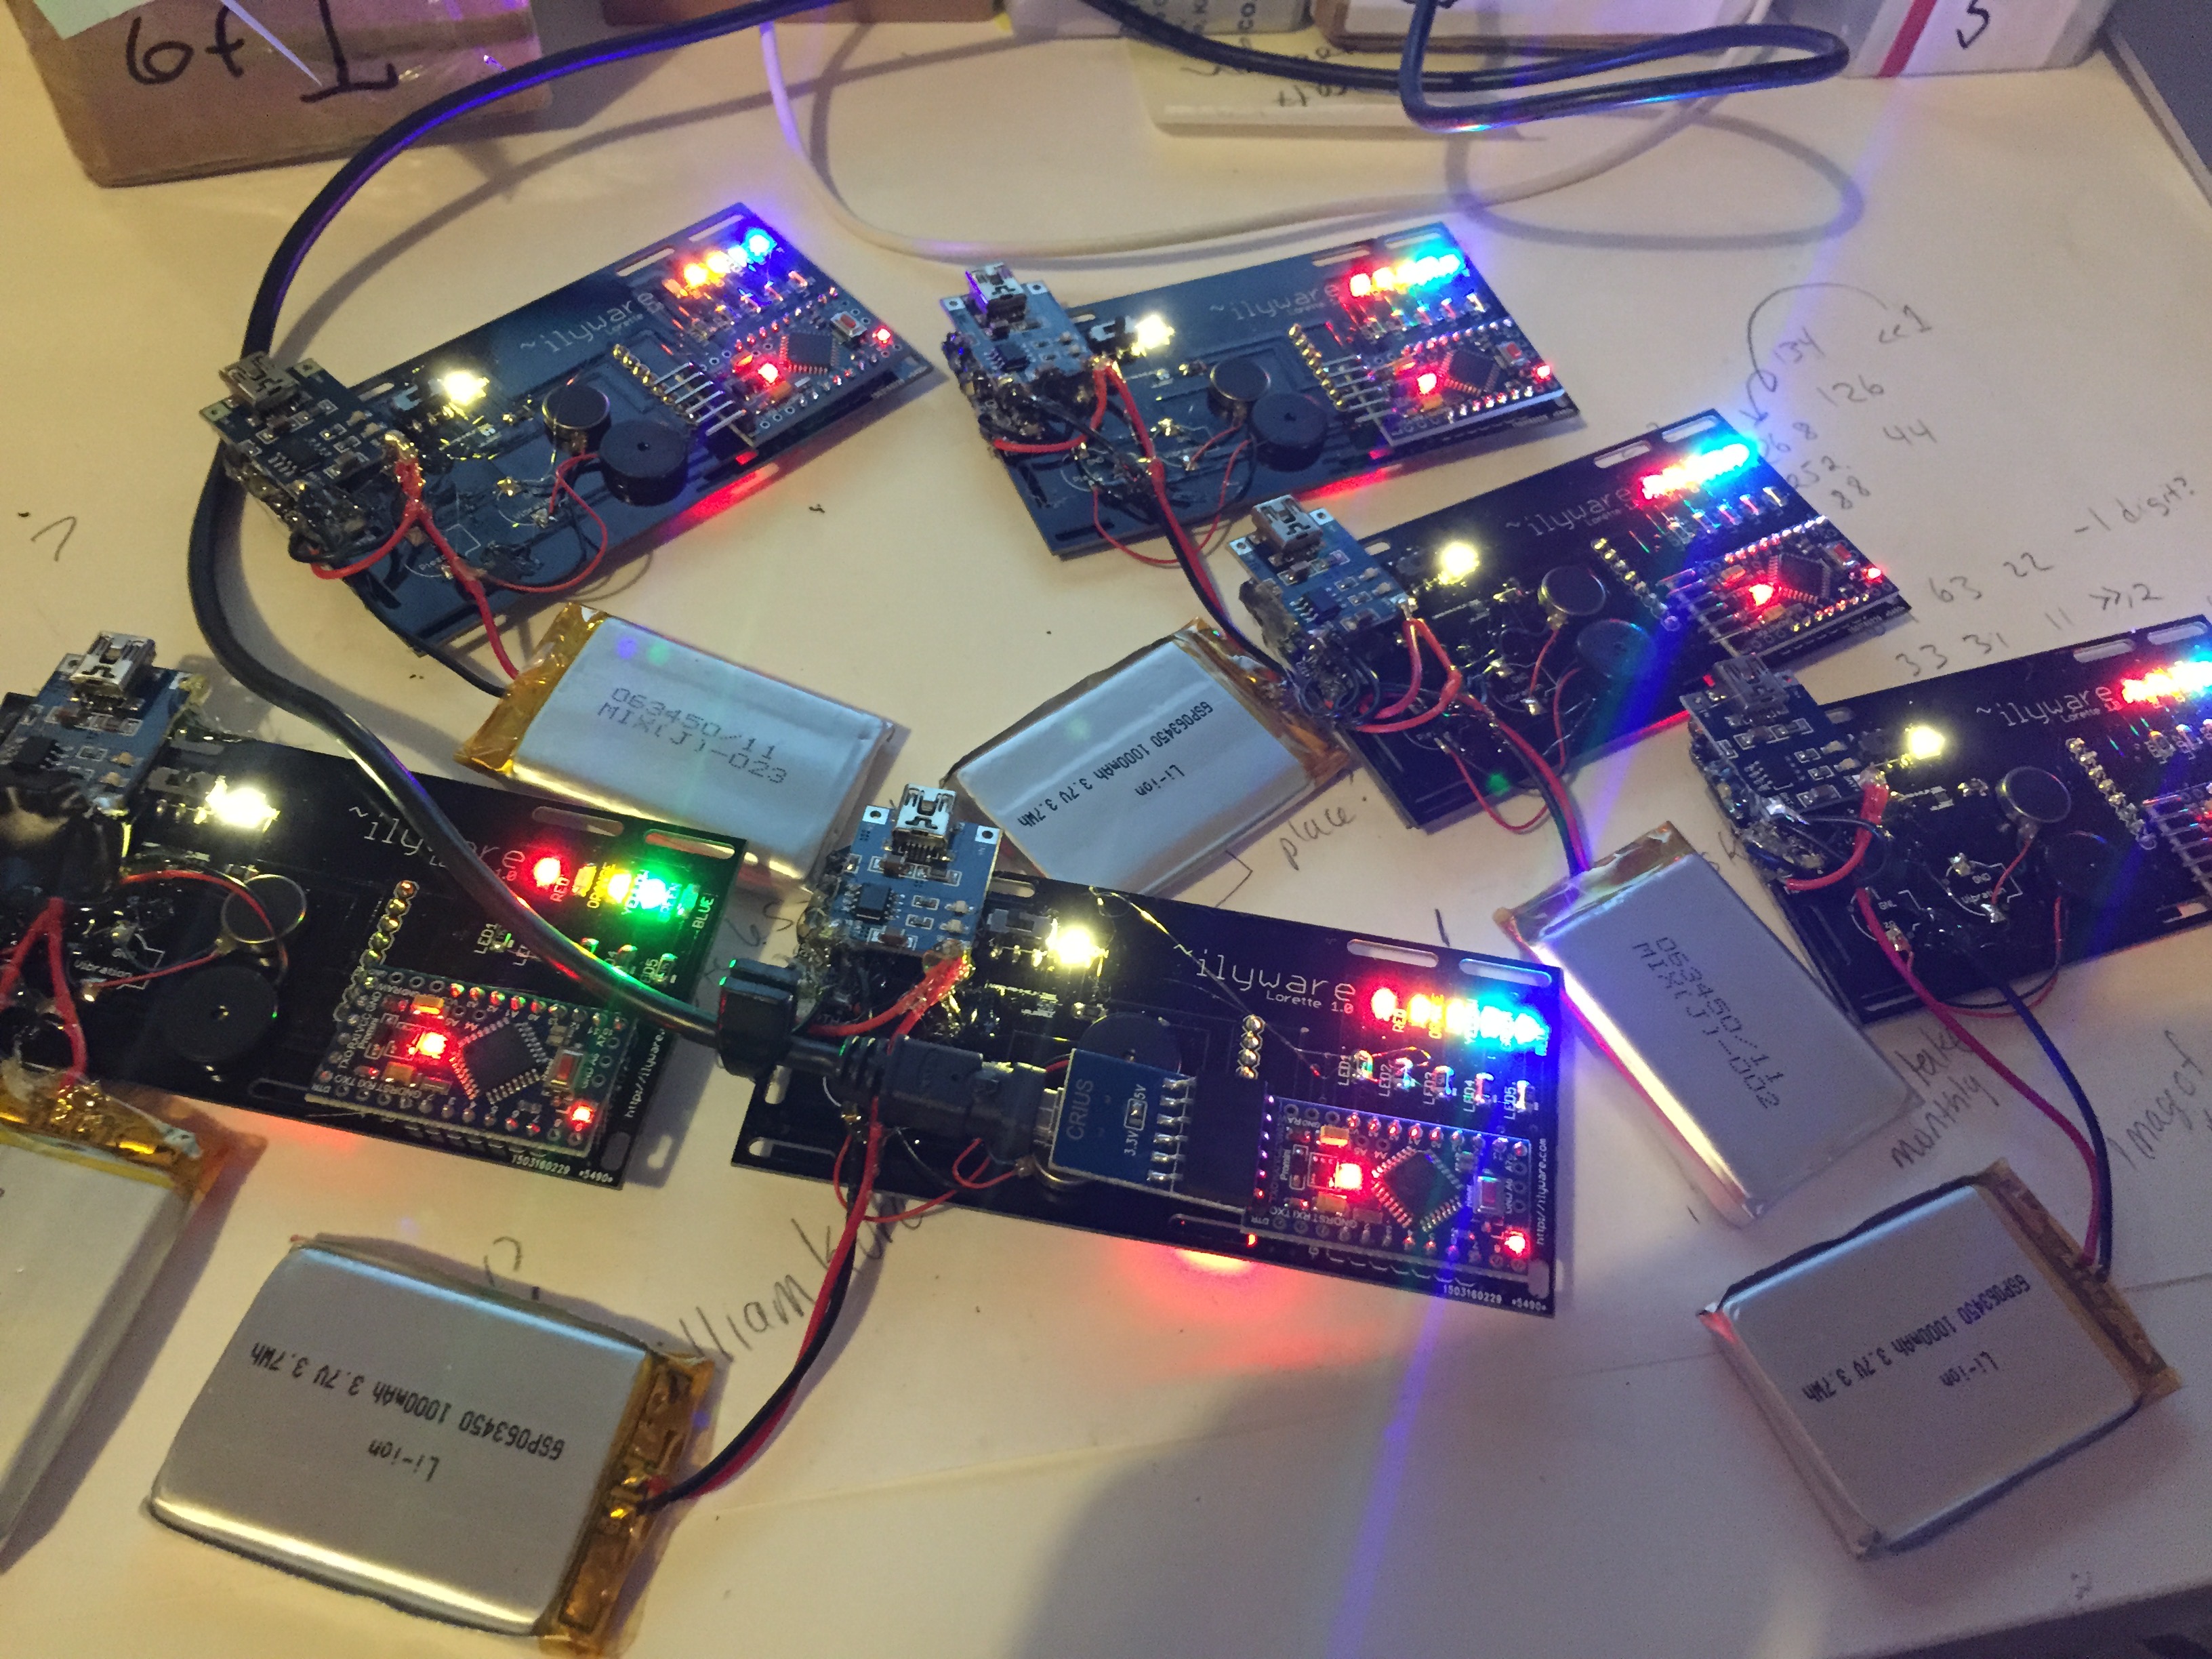
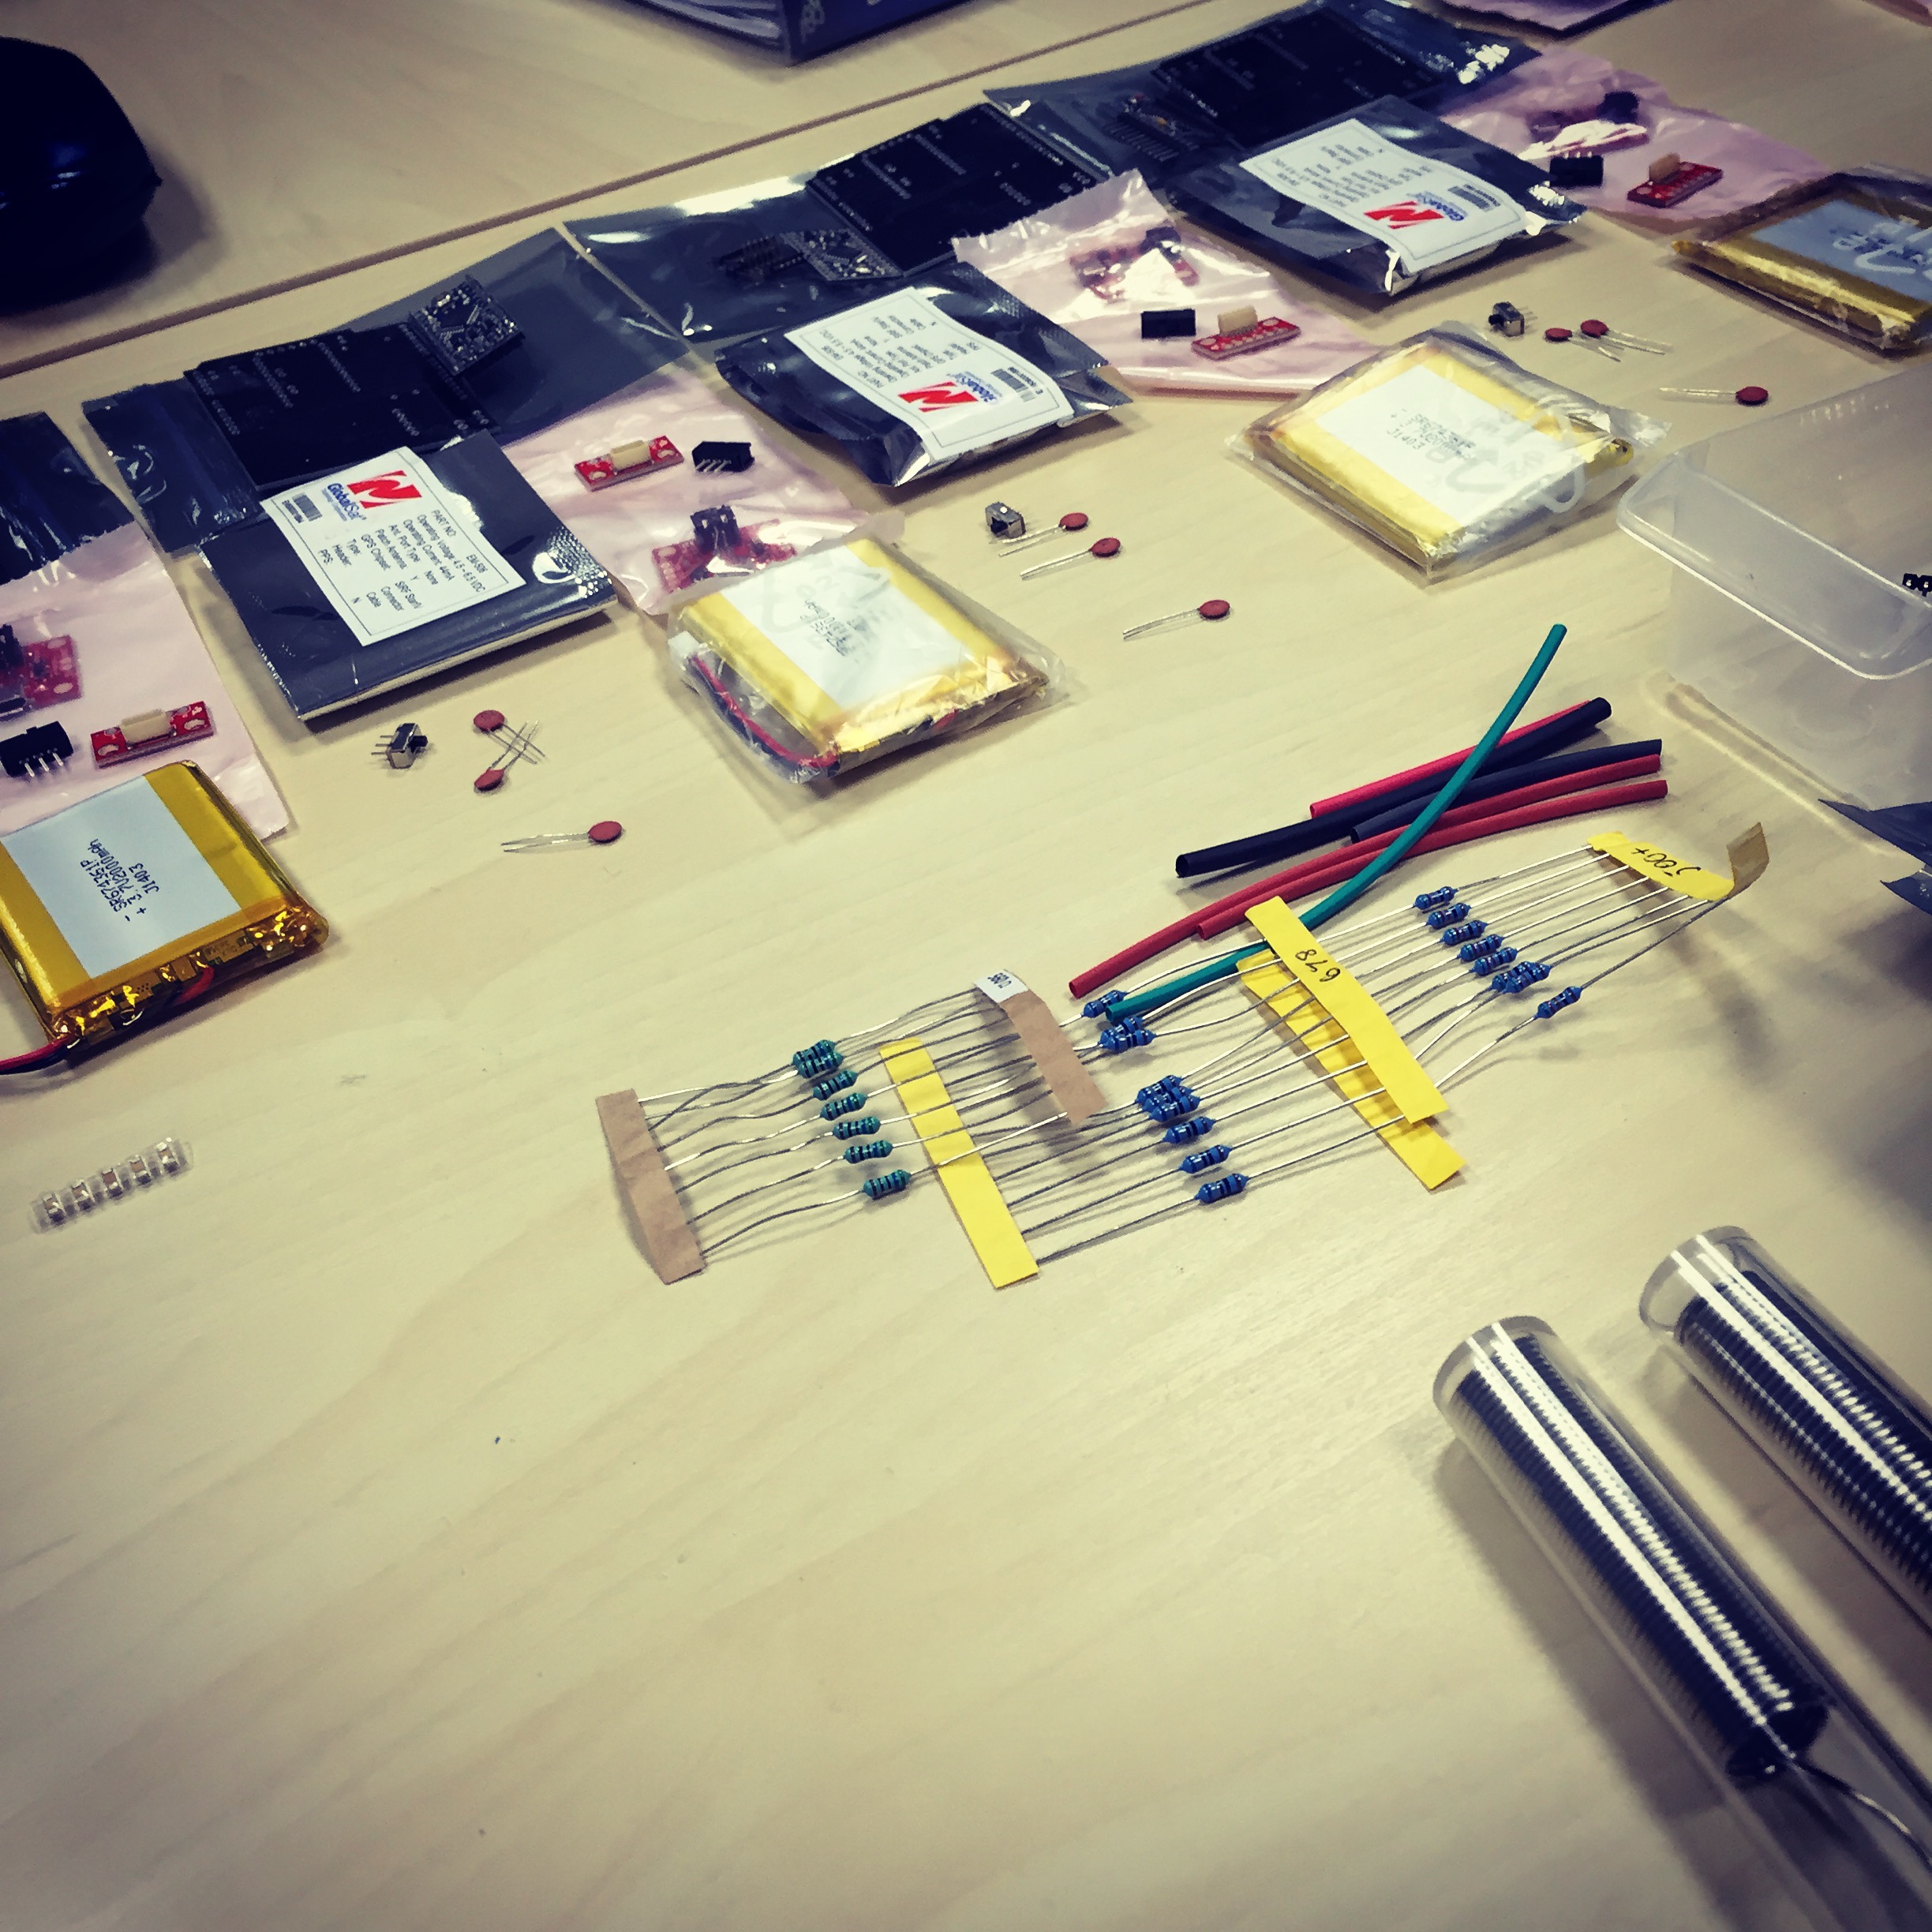
Hardware
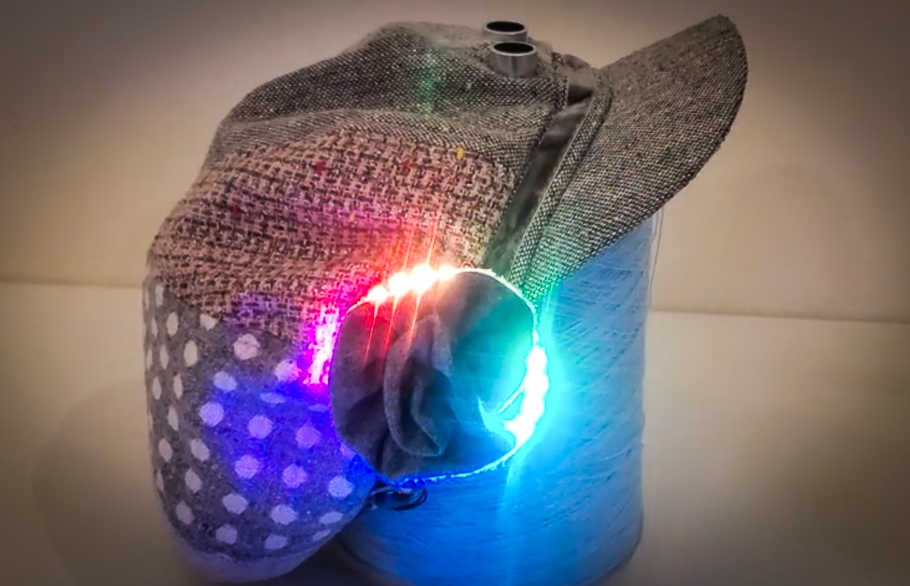
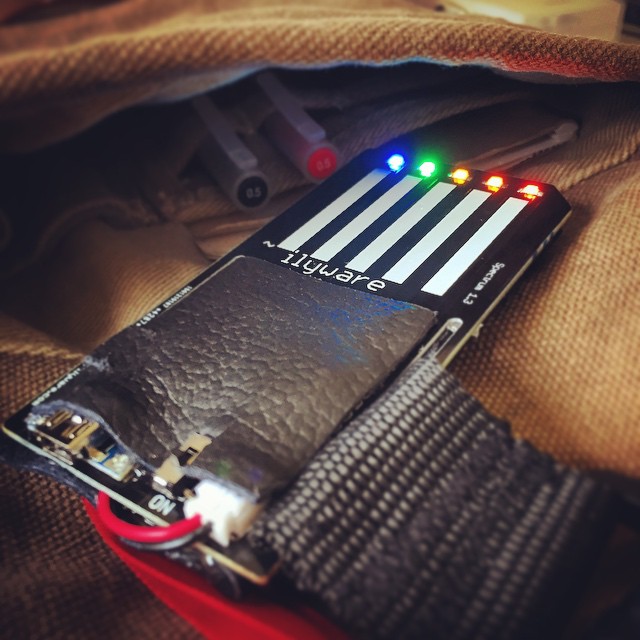
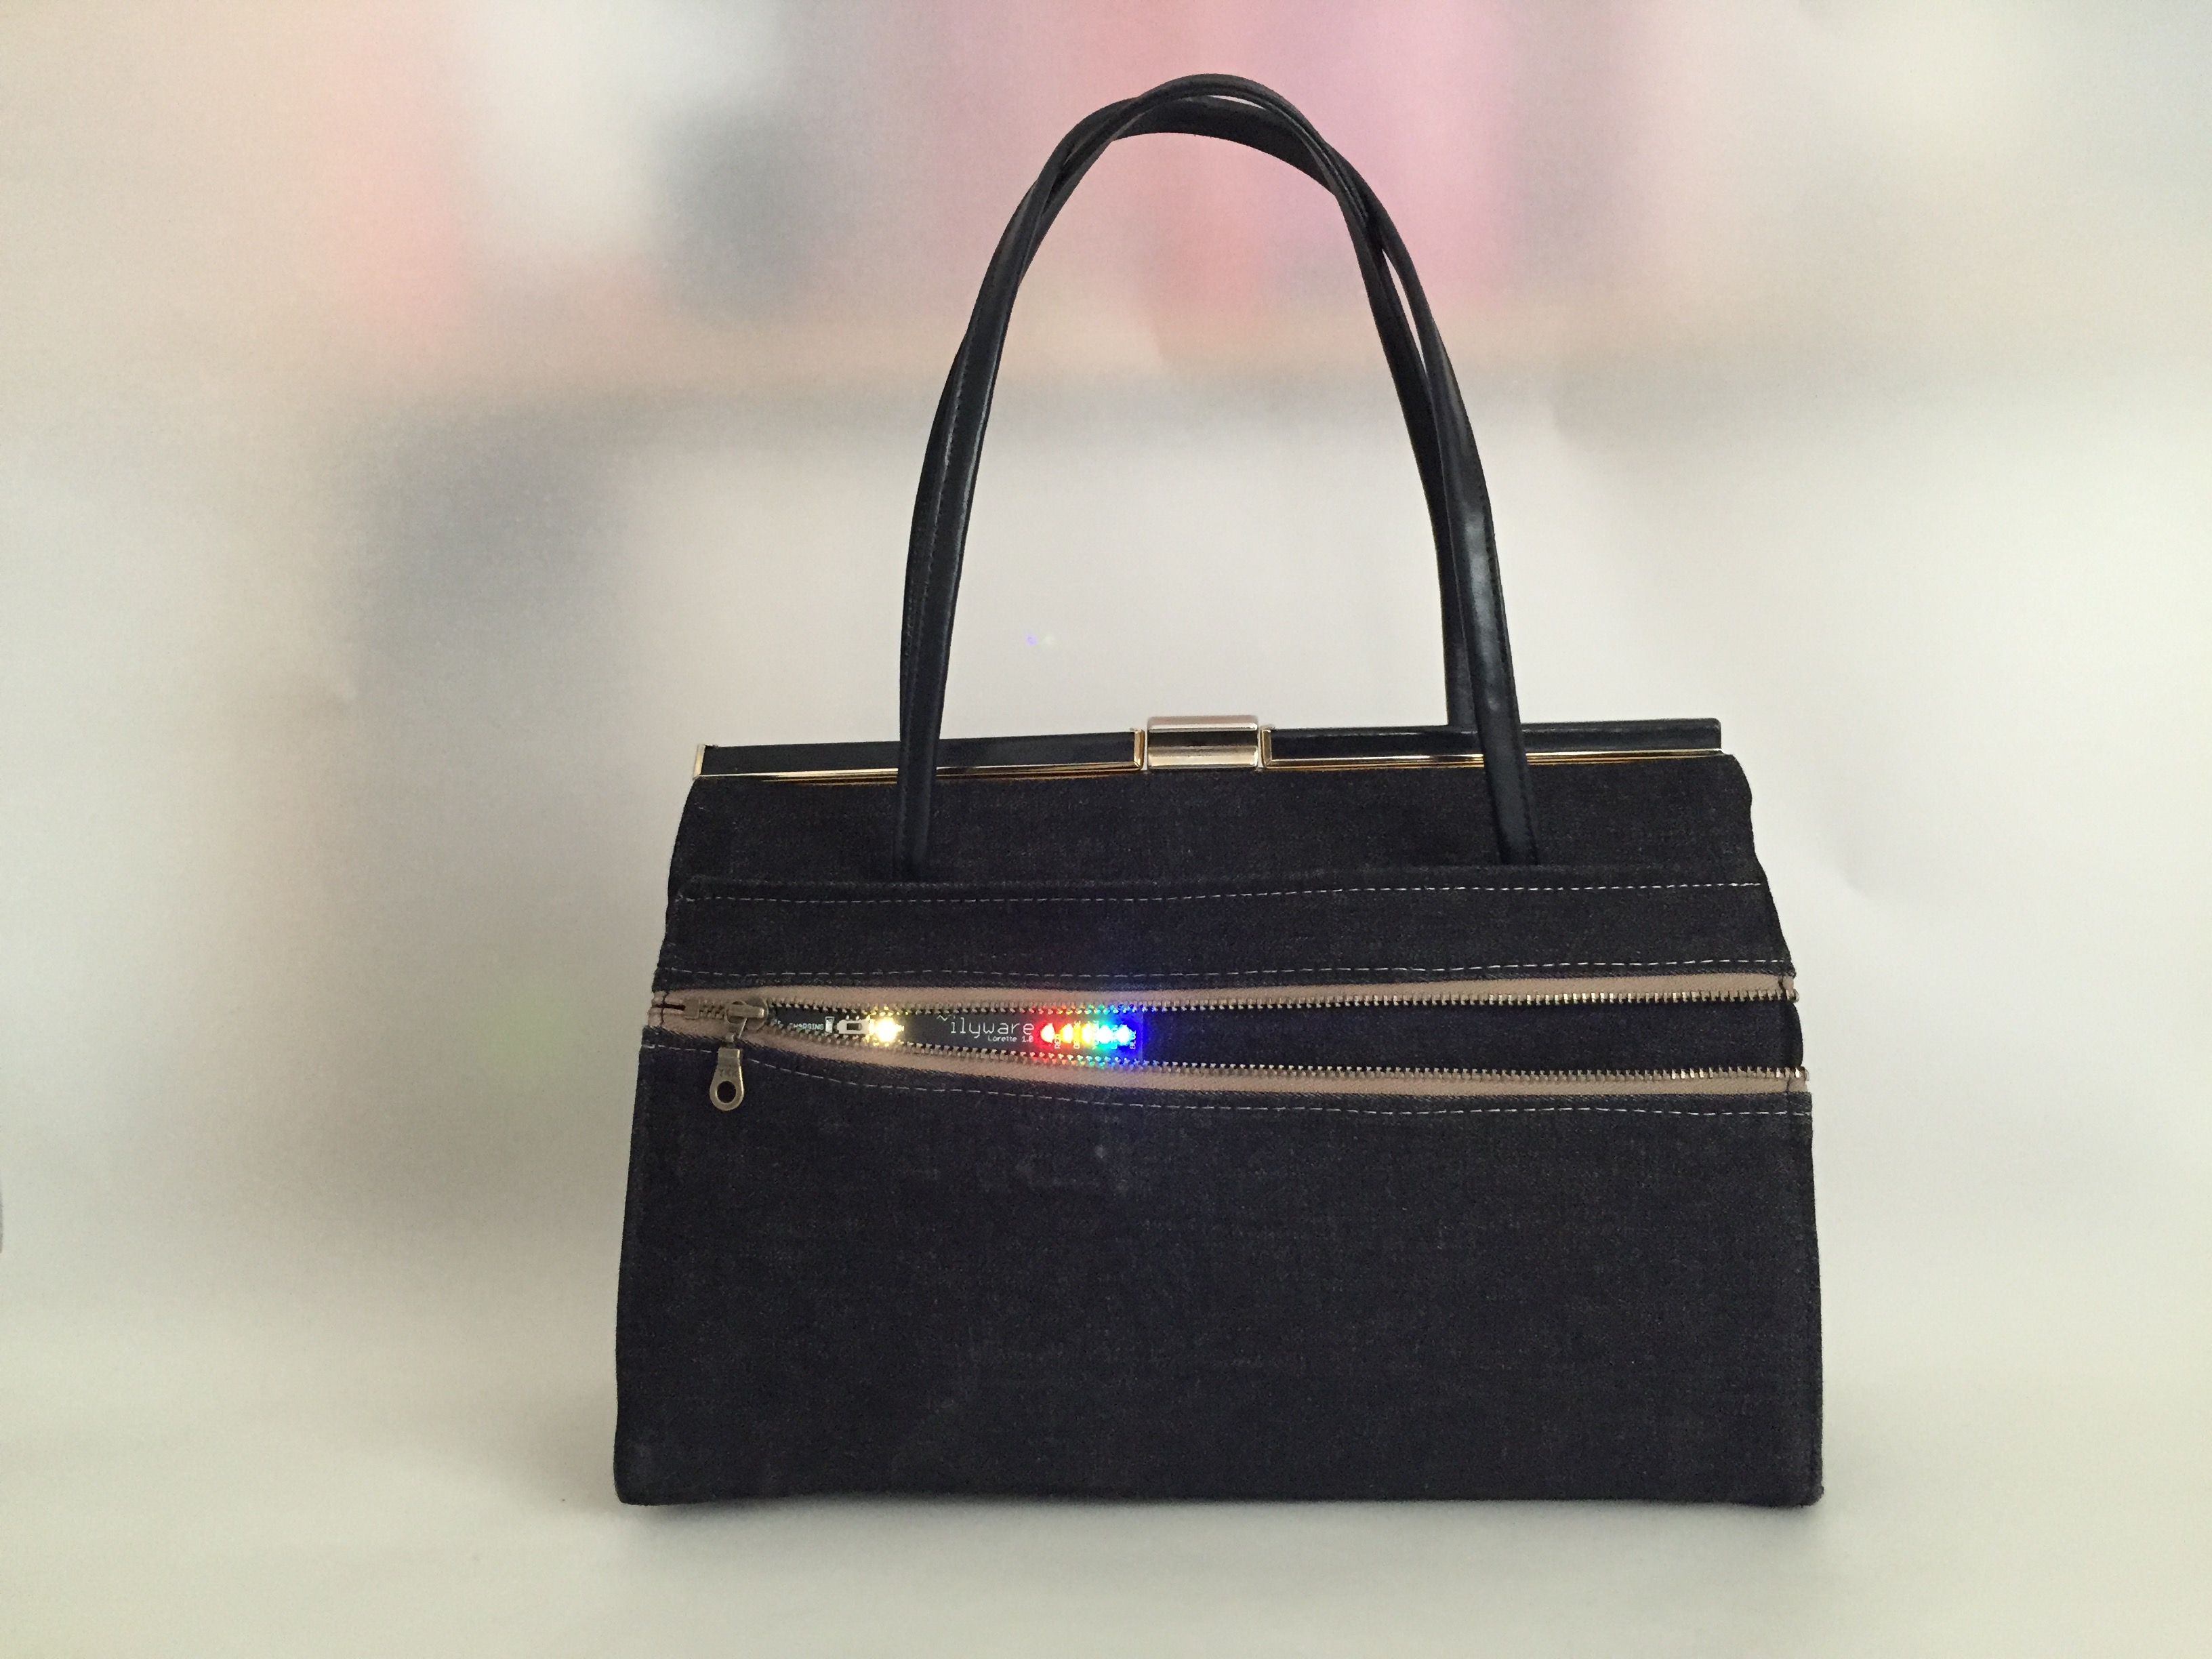
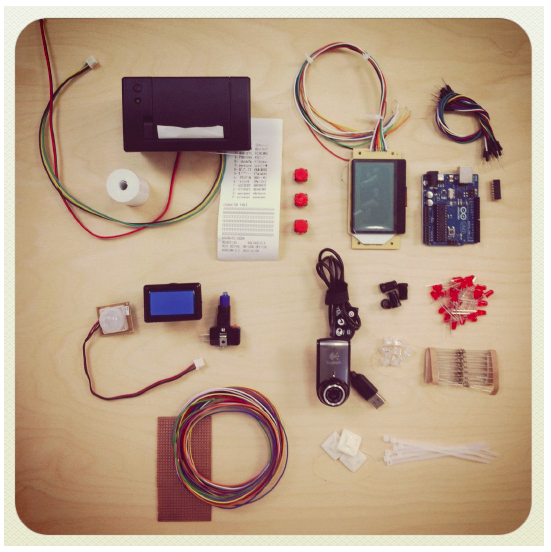
The main hardware used for the final piece was a mini thermal printer, a web cam, an Arduino Uno board and a large arcade style button. There were other additions to the project but those are the core items. The other things were blue LEDs that ran separately on a teensy board. RGB lights to light up the area where people were to deposit the secrets. There was an LCD monitor initially that after making paper prototypes I realized that this was an extra step of complication that didn’t really have a lot of benefit for the user.
The product list for the initial construction is as follows:
- £22.00 OLED monochrome display 128 x 64 white
http://proto-pic.co.uk/monochrome-128×64-oled-graphic-display/
- £4.00 x 3 Illuminated push buttons (arcade style large) http://proto-pic.co.uk/led-tactile-button-green/
- £34.99 Thermal Printer http://www.coolcomponents.co.uk/catalog/product_info.php?cPath=27&products_id=695
- £9.98 Webcam for taking photographs of the secret or looking at CMOS camera
for £6.00 http://proto-pic.co.uk/cmos-camera-1300×1040/ unsure if I need a board to connect to this? (Free in the end as I borrowed one from a friend)
- £3.00 Bright ‘Flash” style LEDs x 2 to indicate a photo is taken.
- £3.00 Big Button to press to ‘activate’ the scan
Items that I or Queen Mary University already have:
- Laptop
- Processing / Arduino Software
- 5V wall adapter (to power the printer)
- Piezo for scan sound “flash” / “falling paper”
- Generic fastenings
- Motion sensor
- Multicolour LEDs x 6
- Arduino board
- Power Bar
- USB Extender
- Black Acrylic Paint / Stencils / Brush
- Pencils
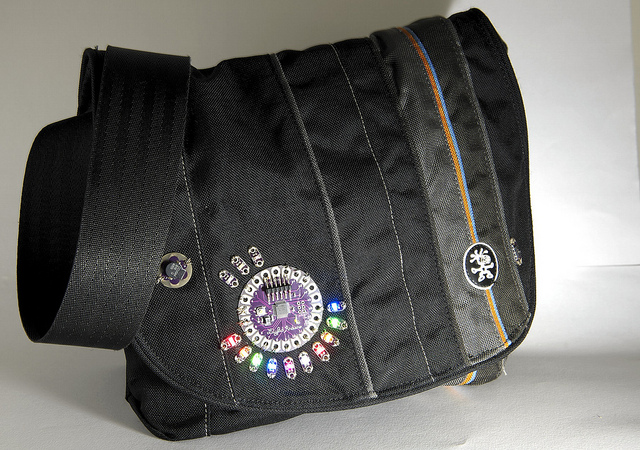
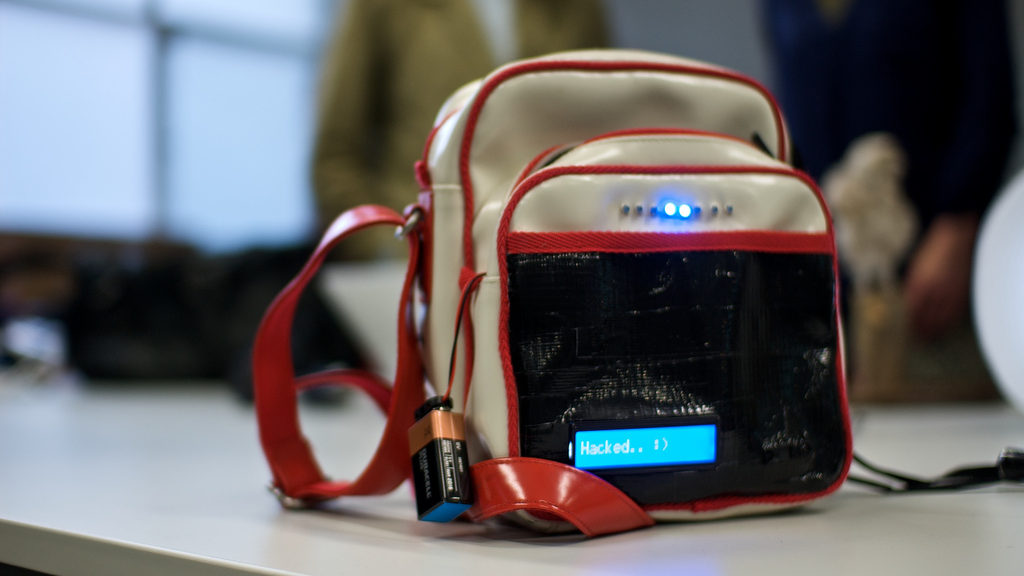
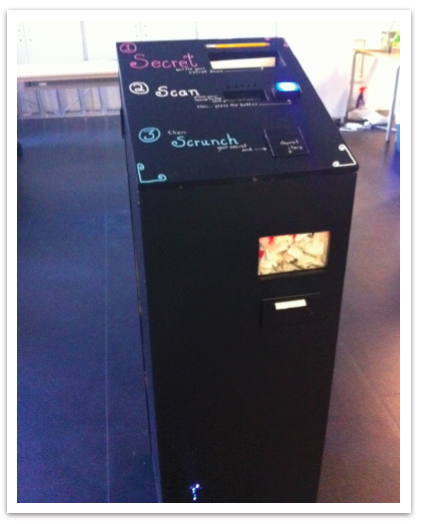
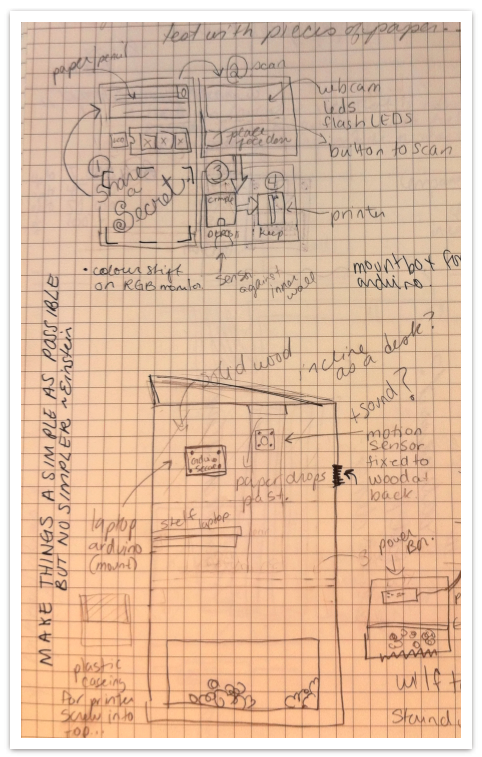
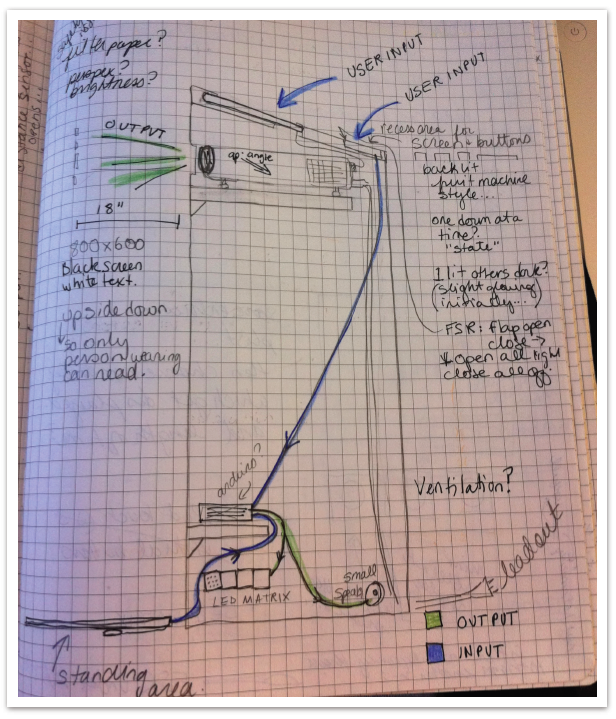
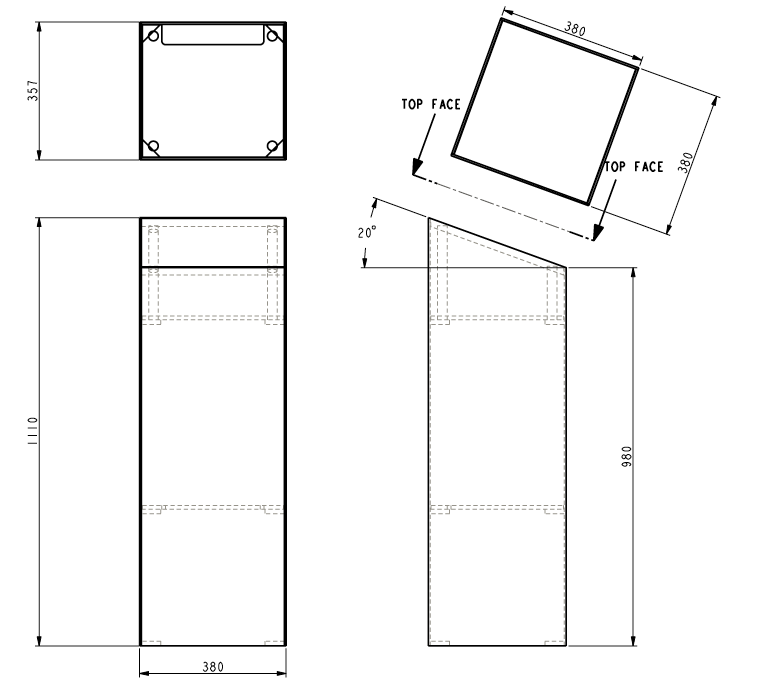
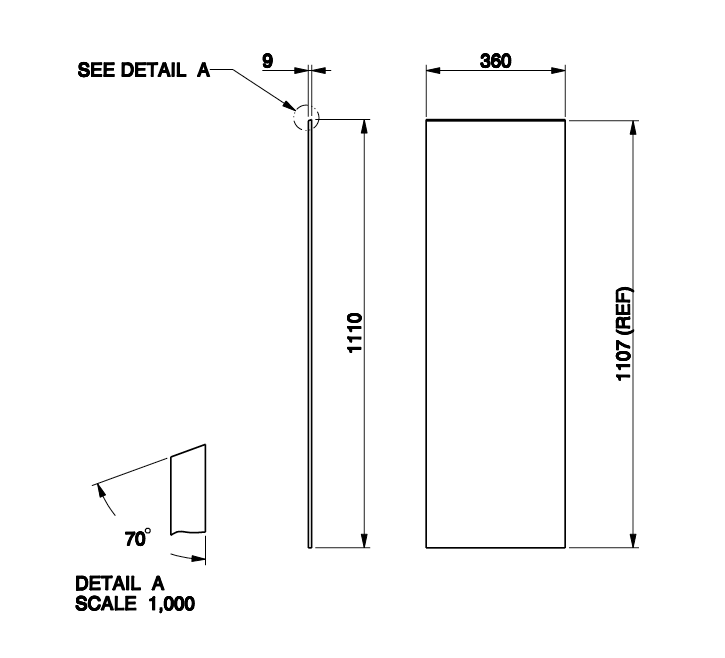
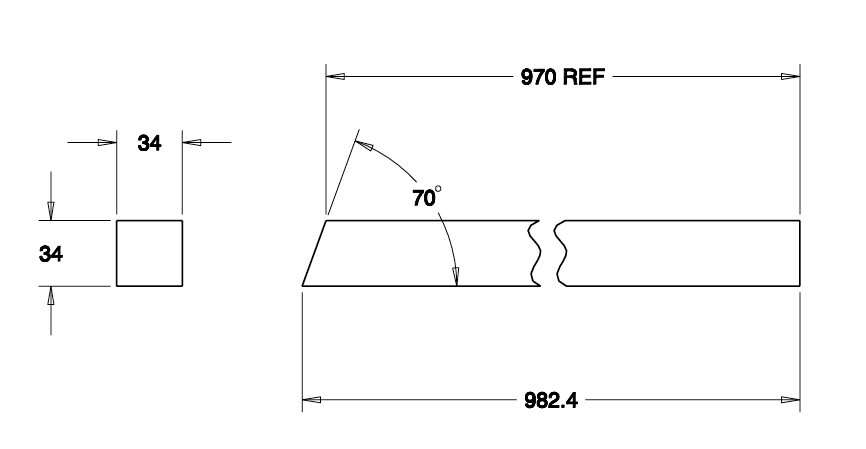
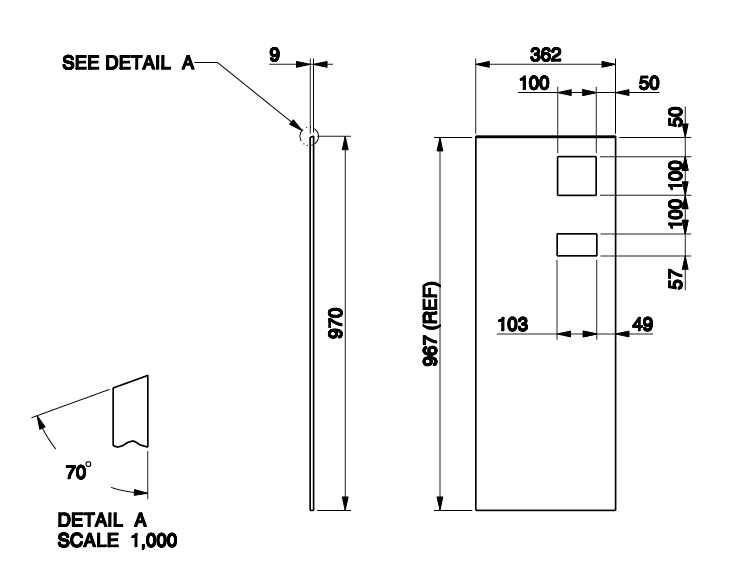
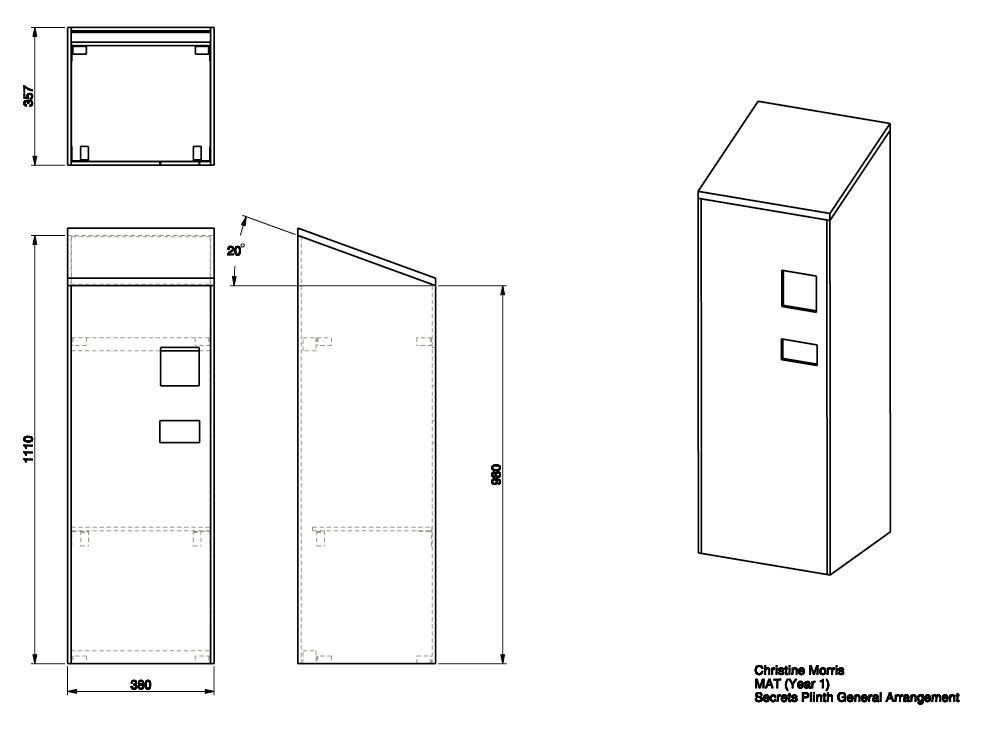
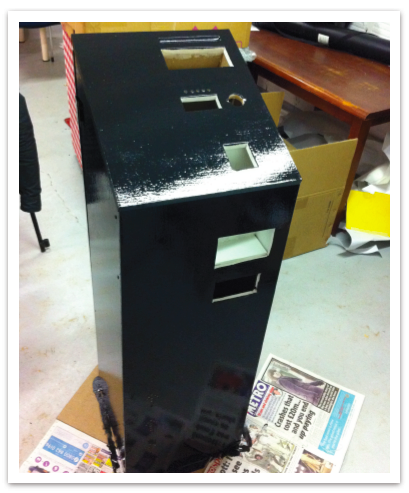
The outcome of constructing this product will take the form of a plinth. Very much like a typical plinth you might see in an art gallery but with an angled top. The top surface will have detailed areas, listing the steps mentioned earlier. There will be a box area as the receptacle for the paper and a groove for the pencil.
I anticipate the largest area will be occupied by the paper / scanning area. There will be space on the plinth to write the secret as well so the top isn’t totally taken up. It will also have a clear area to the plinth so that they can physically see the previous secrets that have been put in the plinth. I hope to have a very engaging and perhaps mysterious plinth that will engage people who take the time to explore it.
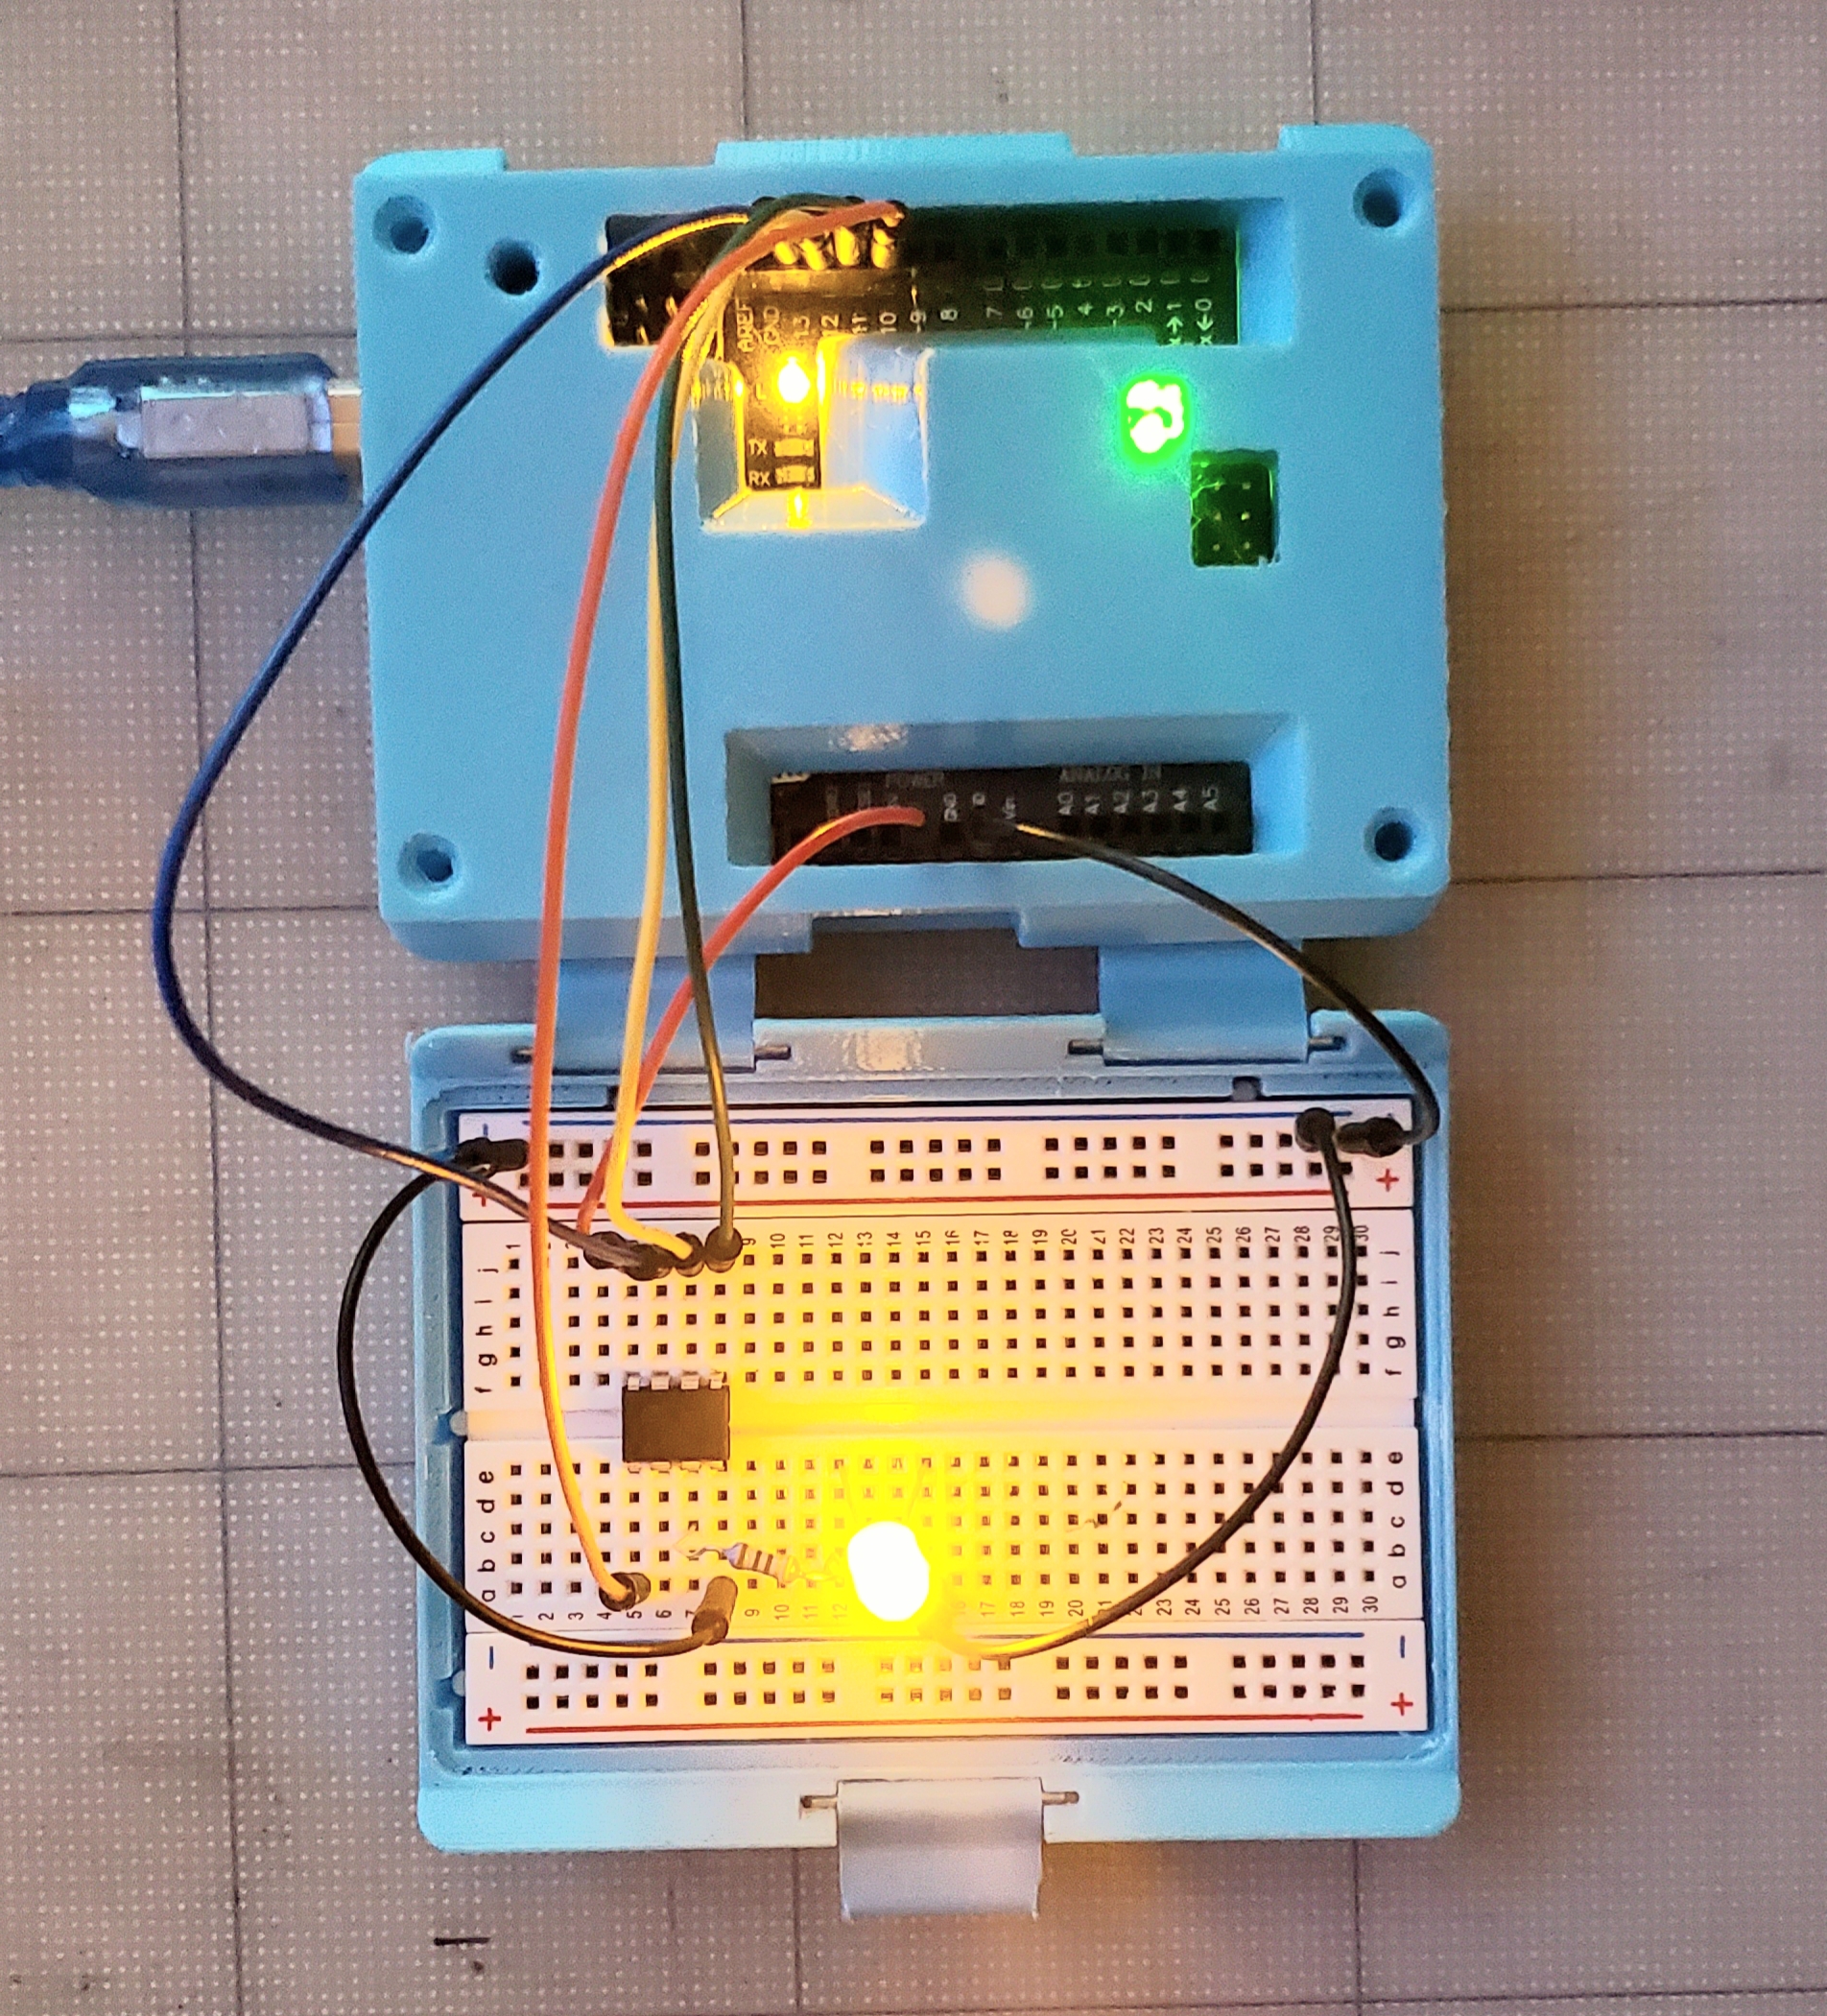
Implementation
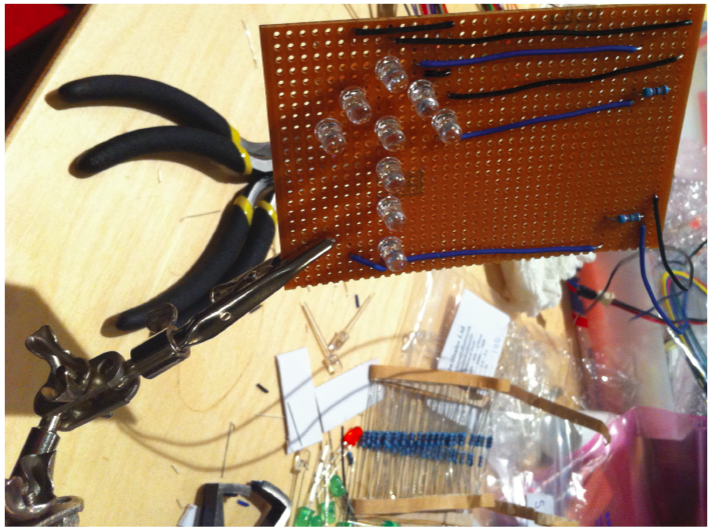
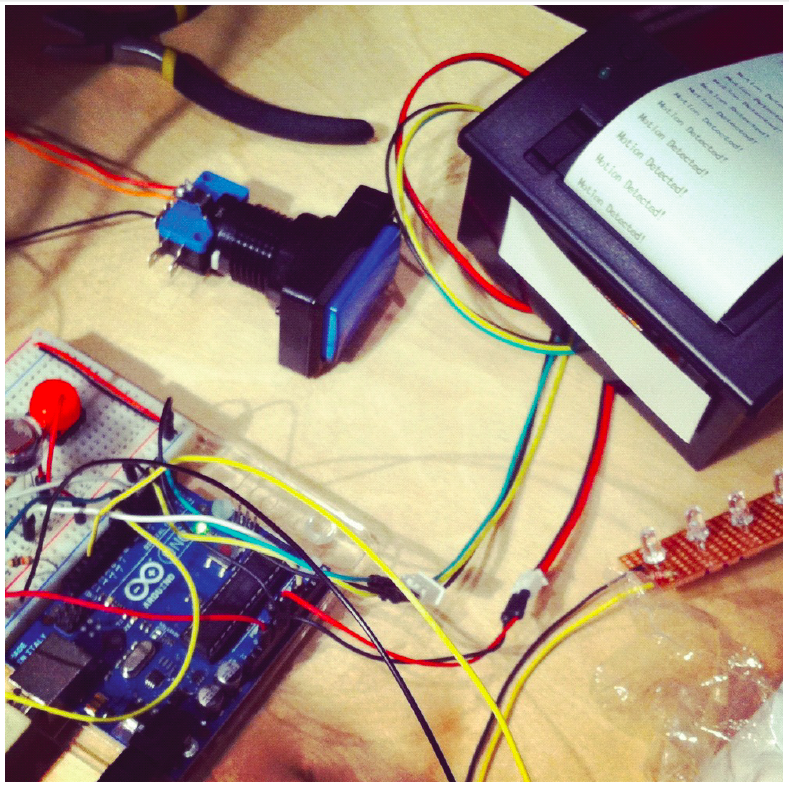
The construction of this project was done in several stages. There were periods of design and evolution that was done during a code-testing phase. I worked iteratively, testing the code one by one. Then getting the code to work together. For example, I hooked up the button and ran the simple code to ensure the button was working. Once the button was error free I integrated it with the more complex code. Testing as I went.

Some code issues and problems
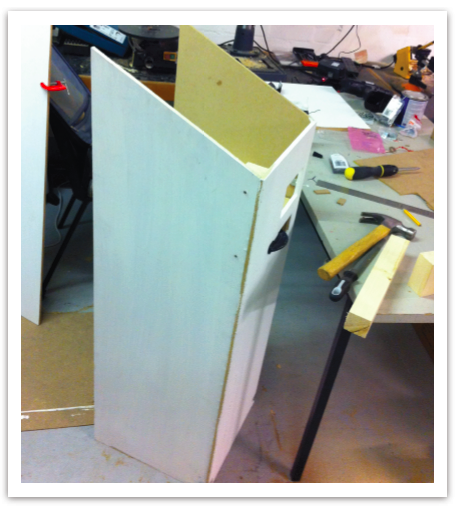
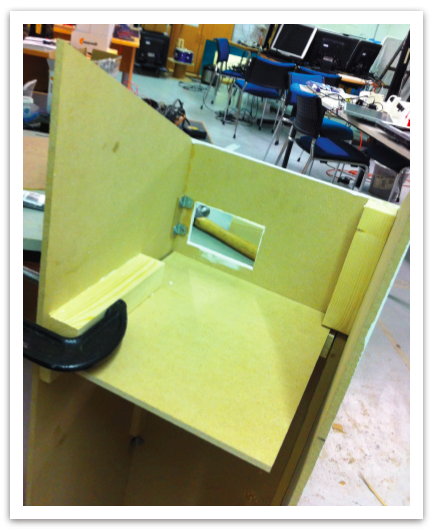
For the plinth construction, I had to build the box myself so there were a few issues with it and it wasn’t constructed to plan but it is very sturdy and did the purpose it was intended for.
Some issues I encountered were that initially there was also a screen to serve as a prompt for someone to know what to write, but as I found myself explaining the project I kept omitting that detail due to it becoming confused for them. When explaining the project I kept it simple in terms of saying it was 4 main sections, Secret (where you write yours down), Scan (where the secret is captured), Scrunch (where you get rid of your secret) and Save (a print of someone else’s secret). The flow of that seemed really tight and so when I came to do the prototype I decided to stick with that and make it very streamlined.
Code issues were things like, once I had the Arduino communicating with the mac, and taking an image, although I had an image on the screen as it should be, it was saving a black photo. I was using:
save("../data/"+"image"+saveincr+".jpg");
when I realized that the issue would be that I am not telling it explicitly what to save, so I modified it to:
myCapture.save("../data/"+"image"+saveincr+".jpg");
which solved that issue. Also, the image format for the thermal printer has to be in 1 bit bmp format. I initially tried tests with taking the image and exporting it through Photoshop which was not working as the lowest amount of bits I could bring it down to was 4. The advice through the forums all were for PC systems, not mac.
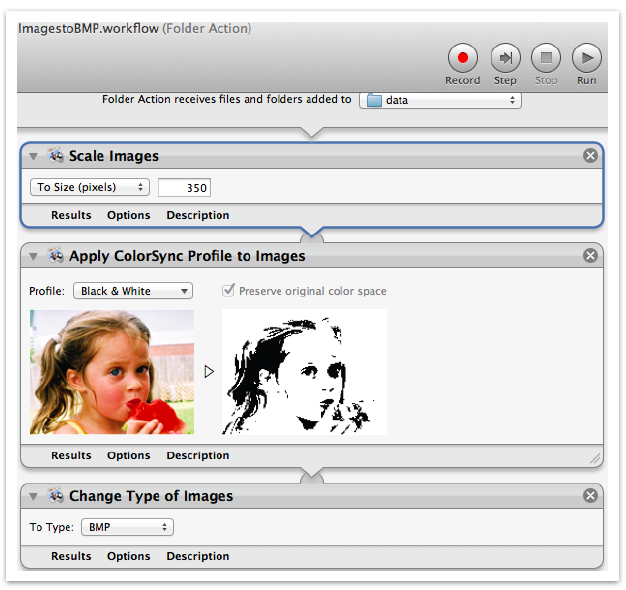
Automator for Mac
I eventually used Automator to create a workflow on the data folder where the images were being saved. My eventual workflow at this stage was scale images, to be sure they were the correct size, to applying the ColorSync profiles to make it Black & white, and finally save it as a .bmp file.
The other issue was creating the file that would contain the data required by the thermal printer. This resulted in extra processing code that is used to write it to the correct sequence of data.
Results
When the box was presented it was interesting to observe people using it. The instructions were clear for some but for others, they seemed to want to use it to get to the end result as fast as possible. Meaning they skimmed the instructions, which I thought had been minimal anyway, and so usually at the scanning (step 2) a few people were so excited to get the secret out of the box that they forgot to remove their secret from it to scrunch it up and deposit it.
I was able to tell them but I see that as a failure of the system in terms of them receiving the secret and that being viewed of the final step (which ultimately it is).
Reactions when using the project
The work was a success in terms of the compelling nature the box seemed to have. People were asking me if they could put in more than one secret. Of course, they can! That was great.
The reactions of people reading the secrets and wanting more was fantastic. Some people chose to share the secrets they got with others but many reacted and then kept them. Several days after the event was finished I went back to read the secrets written on the paper. Reading them in time on the paper was more powerful than reading on the slip of thermal paper that was printed.
This made me think again of the box in terms of what it does for the viewer and I would actually love to do another version where the secrets are written on paper, and put into a big area similar to a bingo machine or lottery machine, and when you put in your secret, you watch the machine spin the secrets and then it will give you the actual paper secret that someone else had written.
Issues I encountered
Also on the day of the presentation when I set up the secret deposit box, the code wasn’t working as I had intended. I wasn’t sure why, so I had to amend the code to have it function on a basic level. This was fine and it didn’t ultimately change the work. However, I knew it didn’t have the same code on it that I had intended.
Construction of Secret Deposit Box
Due to the fact that the secret deposit box construction took a lot of time including trips to the hardware shop for supplies that I felt my code and assembly time was reduced and I hadn’t planned for that. If I had to do this again I think I would start with the construction of the housing, even though this is risky itself as the design had changed at a few different iterations. Even so, I would have loved to have built my electronic components in-situ and to have a lot more time perfecting the code.
Improvements & observations
I think I would have also liked to have more time to be able to test it. Having people try it on the exhibition day was difficult because a few issues surfaced. I didn’t have time to fix the issues because people were using it.
It seemed that once people read the initial instructions, the concept was easy to grasp. There were even people telling others how it worked. I didn’t see many people reading the instructions indicating it was intuitive.
Improvements to the instructions could take the form of sections. Each section could be in a “box” or outline. Users would have to acknowledge
Confusing parts?
Some people found the flap for the secrets confusing. They didn’t know which side to lift or to slide the secret inside somehow. As well the scanning area, designed in the end to be like a punch card design, seemed confusing for some. They had to be told to be sure to remove their secret paper. I had wanted to have a shredder system but at that point, it had already become so complex that I had to decide to stop the project at a certain point. This would perhaps be an interesting idea to revisit with the shredder to actually then destroy their secrets.
Overall
Overall the Secret Deposit Box was a success due to the reactions of the people using it. I observed them wanting more so I was satisfied that this was effectively the feelings machine that I set out to make.
(was 2012)